5 Questions You MUST Ask Before You Install a Mailbox
If you’ve got a dead mailbox hanging by a splinter, or it fell over and died the way mine did, then you’ve got to ask yourself the question, “Am I going to replace my own mailbox or do I need to hire a professional?”
Installing your own mailbox isn’t tough, but you have to ask a few more questions before you just jump right into it, which we’ll cover in this post.
Here’s how my dead mailbox looked when it finally keeled over!
BEFORE

AFTER!

5 Questions You MUST Ask Before You Install a New Mailbox
So before you jump into this project of installing a new DIY mailbox, ask yourself these important questions. You’ll thank yourself!
(I participant in the Amazon Services LLC Associates Program, an affiliate advertising program designed to provide a means for me to earn fees by linking to Amazon.com and affiliated sites).
1. I’m Not Digging Up Utilities, Am I?
Did you know that if you dial 811 from anywhere in the U.S. they’ll put you in touch with your state’s call center, who will then contact your utility company to let them know you’re about to start digging in your yard? If you’re planning to dig anywhere in your yard, particular deeper than 24″ (at least, there’s what the freeze line is in my area, so check to see what your freeze line is, as well), you are required to have them come to your house to mark the location of utilities around the are you’re planning to dig (even if you’re hiring a professional to do the job).
You’re required to wait at least 2 days before you start digging. And then once they come to mark the location of buried utility lines, you’ve got 10 days to start digging.
It’s not just awesome that they do this, but necessary: if you don’t call 811 before you dig (or check out their website to check your own state rules), you could get hit with fees and penalties if you hit a utility (and it could be dangerous). It could cost you thousands of dollars! So be sure to know where utility lines are buried on your property before you start digging.
2. What Style of Mailbox Do I Want?
There’s the obvious of wood vs. plastic. But even the way it’s mounted makes all the difference in the world! There are top mounted ones and ones that extend on an arm, etc. Which one is best?
Then there is the popular kind that has a planter on the back of them and has an arm that extends outwards, which I think looks awesome!
….Or you can buy a butt-ugly plastic mailbox like this. HAHAHA.

You can also construct a really inexpensive pressure treated wooden mailbox post. It only costs about $25, and you could paint it to your liking.

If you’re trying to build your own mailbox, these are great DIY plans to build your own mailbox post, which is probably much more labor intensive, but so much more rewarding!
3. Am I Going to Accidentally Knock Down My Mailbox Post?
Yep, if you don’t take into account the type of mailbox you want (e.g. top-mounted one vs. one sitting on an arm), along with the USPC regulations on mailboxes, you could end up your mailbox extending past your curb, and then guess who’s going to accidentally into it when she comes to visit on Christmas? Yep–your 85-year-old Aunt Betty.
Guidelines suggest 6″-8″ back from the edge of the curb. (FYI, USPC also says mailboxes should be 41″ to 45″ in height to the bottom of the mailbox edge.)
So, be sure to plan accordingly for your new mailbox post.

3. Do I Have All the Tools To Do This?
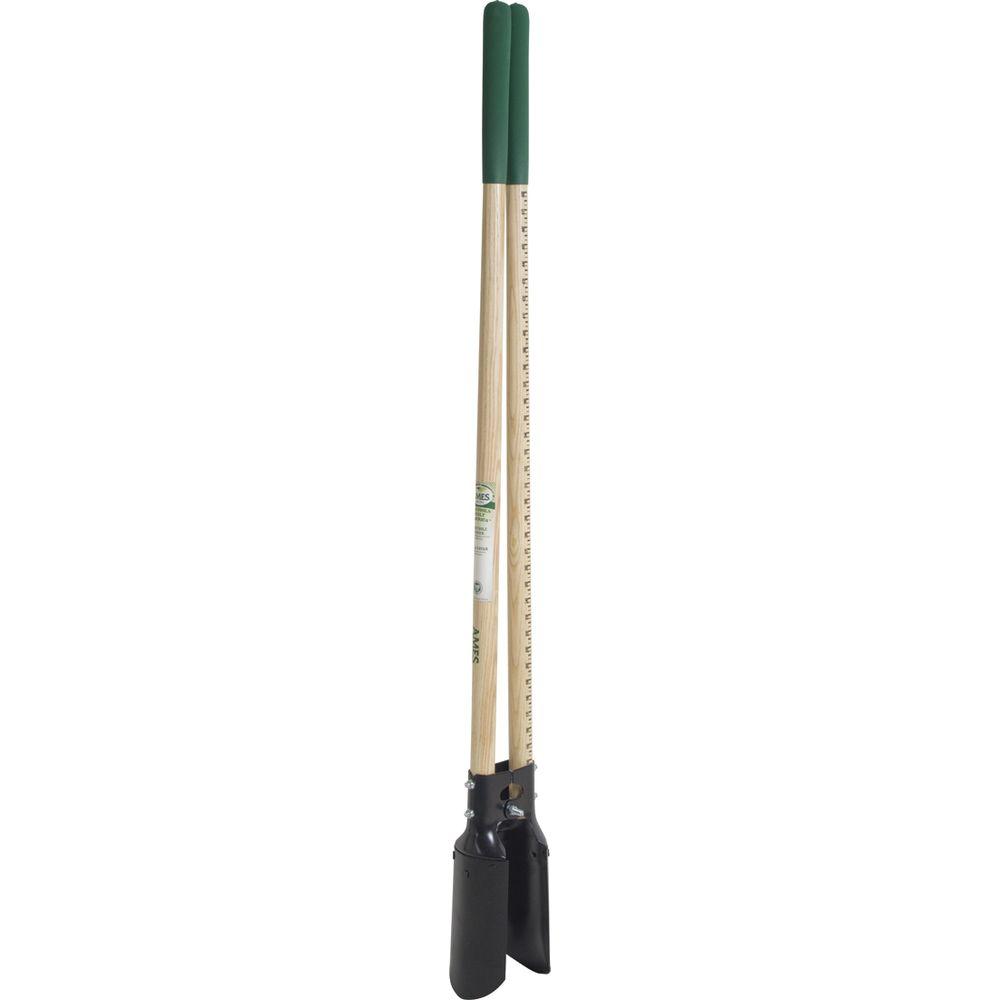
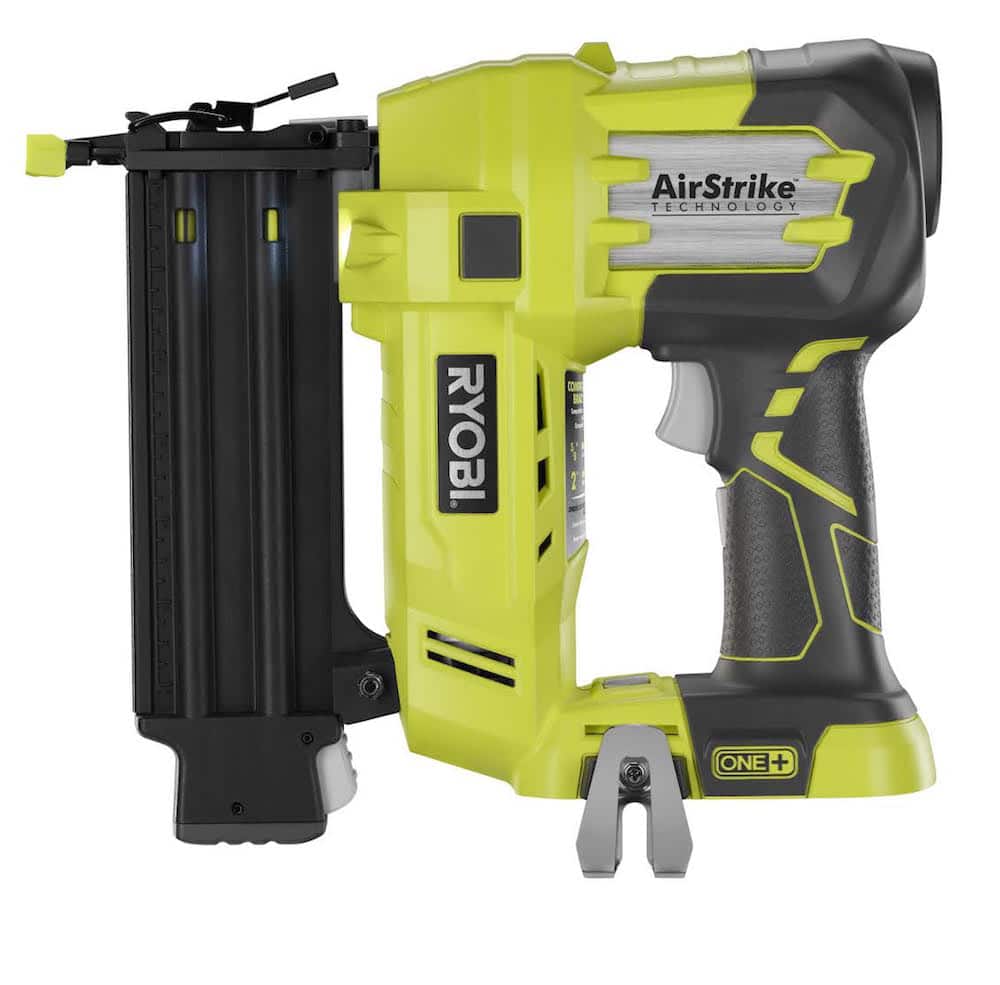
Tools aren’t too difficult, especially if you’re just installing a mailbox kit. If you’re building your own, it’s going to require a circular saw or some other method of cutting notches to join posts to create an “arm” to mount the mailbox. You’ll also need a screwdriver and some galvanized screws that won’t rust. You’ll also want to pick up a post digger, for about $35.
You can watch this video on how to use the post digger.
If you’re building your own post, you’ll also need:
- a 4’x4′ about 6′ long (2′ will be buried) – You may also need a post depending on it you’re using a kit
- Galvanized screwns or nails – They won’t rust.
- Circular saw – for cutting notches to join the post with the arm.
- Cement – Comes in a 50lb or 60lb bag.
5. How Do I Build a DIY Mailbox Post?
The key is making a plan and being patient, not rushing to do it. Now that you know the USPC mailbox guidelines on distance and height, and you know what style you want, you just have to figure out how to do it. If you’re just using one of the kits from the home improvement store, they’re pretty easy to assemble and probably have their own YouTube videos.

But if you’re going the same route that I am, building a mailbox post from scratch, here are the best “How-To” videos for how to do it:
Resources
How to Notch Wood for a Mailbox Post – Great video from Ana White on how to notch wood, which you’ll need to do to build a post.
VIDEO: How to Build a Mailbox Post – This video will show you how to build the actual post.
MAILBOX PLANS: How to Build a Mailbox Post – This excellent post gives easy-to-read plans for a standard mailbox plan.
VIDEO: How to Install a Mailbox Post – This video will show you how to set the post in the ground securely. If you’re building your own, be sure to build the whole post before installing it in the ground.
How to Build a DIY Mailbox Post
So do you want to see how I made my own DIY mailbox?

Building your own mailbox isn’t difficult as long as you’re asking the right questions and following the right instructions. Have you ever built your own mailbox?

Download the 5 freebies!

Thrift Diving inspires women to decorate, improve, and maintain their home themselves...using paint, power tools, and thrift stores! Use these 5 printables, checklists, and ebooks to get started!
We’re in the processing of moving into a new house and it has a boring, old-fashioned mailbox. I want a new one but there are definitely a few things to consider! I saw a mailbox that looked like a fish and I would really like one for our new house.
Fabulous tutorial!!! And I LOVE some of the mailboxes you posted. lol So funny!!!
Nancy
Can I just tell you that I Love this post? It’s hilarious – and so useful too! Can’t wait to see how your mailbox turns out!
LOL, thanks Megan!! I just wish I had time to work on finishing it up! It’s so hard being a full-time employee, then coming home when it’s dark to a a house full of screaming, playful boys, and then it’s 9 p.m. and you have no light outside to work on your mailbox! LOL. I’ll get it done soon….I HOPE! Thanks for commenting!
We don’t have mail boxes like these in the UK but I recently bought a home with a larger plot and decided to go down this route. Your post is a massive help and so thank you is all I have to say
WHAT!? Really? What sort of mailboxes do you have in the UK? Do you have one of those big group mailboxes?
I need to install a junk mailbox, as if it is going to work.
Oh my, nope…never had to do this. Ours are brick, so I sure HOPE I don’t have to! So many choices when it comes to mailboxes…
Blessings,
Cindy
Ahhh….now brick is probably the best option! Reminds me of the 3 little pigs: brick will withstand all! 🙂
I have had a plastic mailbox for about 15 years. It has held up well to the weather (extremely hot is summer, freezing in winter). Whereas my neighbors metal boxes are developing stiff hinges on the door (probably just need WD40), my box is like brand new.
Hey Anna! You’re right, the plastic ones do hold up. They make some really cute plastic ones. I like the ones that just fit right over the wooden post. They seem sturdy!
Or your mail delivery person pulls on your box while sitting in the middle of the car, making it lean and one day pulls it over rather then deliver packages.
Plastic in this case…better choice then replacing it 6 times in 5 years.
I admire you for taking on this project! I am looking forward to seeing the mailbox that you picked out. My dad had to replace our mailbox post from time to time when I was growing up but I never really paid attention to what he was doing. Now I wished I’d watched as he did so many DIY projects.
Hindsight is always 20/20, isn’t it? 🙂 I wish I had watched my grandfather doing projects, as well. Maybe I could have been his little apprentice or something. It’s such a valuable skill to have, knowing how to construct everyday stuff!
Love this ..its turning into the mailbox saga…Cant wait for the unveiling
HAHA, I know! I feel bad for posting about boring ‘ole mailboxes, but it’s my life right now! LOL.
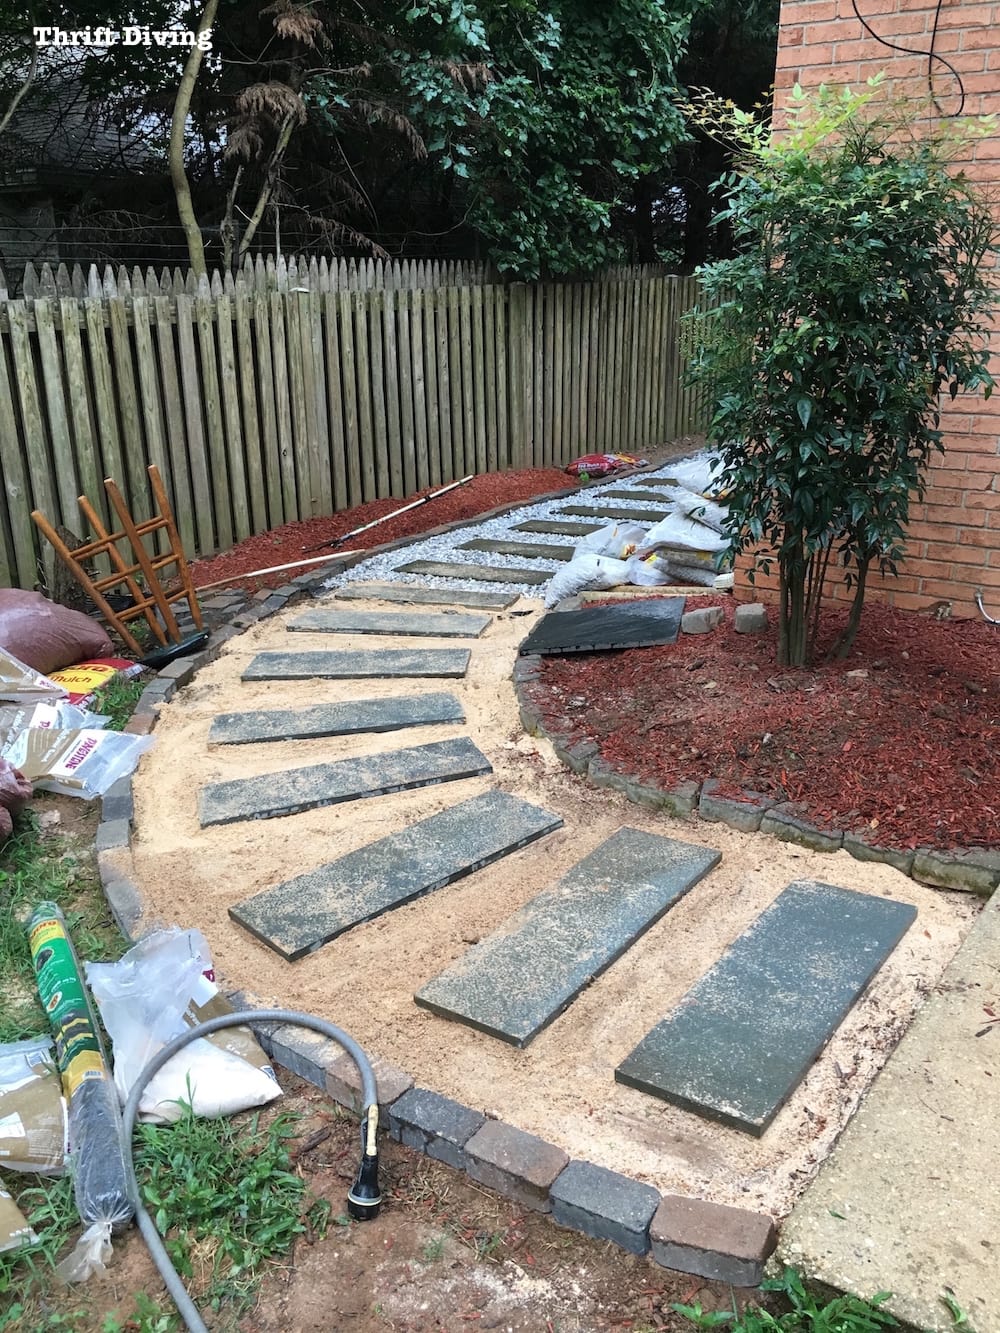
I so wish you were in the KC. I would be the excited kid going look at this and look at this! Love your blog. A couple of1x2’s to help hold the post stable while the concrete dries. If you haven’t set the post yet put some gravel in the bottom of the hole for the post to sit on for drainage. The 1×2’s will be cut off at 18″ to make a couple of stakes to drive into the ground. Then one end of the 1×2 is screwed out nailed to the stake while the other end will be fastened to the post once leveled. Put the stakes 90 degrees to each other for holding the post plumb. Be sure to check height requirement and set back with your local post office before getting started. While it’s possible to adjust once the post is up, pre planning is just as important as calling 811 Dig Right first. Digging down to your local frost levels could hit a utility.
Great advice indeed. Yep, we already set the post, but if you can tell from the post, stupid me totally didn’t CONSTRUCT the post first and THEN set it! HA! I know one day I will look back and think, “I can’t believe I did that.” LOL. When I get time, I’m going to set to work to probably notch a top piece (and arm part) and then attach the mailbox to that. Then comes the fun part–DECORATING IT!! Can’t wait for that! 🙂 Thanks for commenting on what is not that exciting of a post. LOL
Is kind of amazing at times how something that I’ve done so often will be a more difficult task for some one else. My friend needed a new mail box and post this summer so I said I would do it. She thought it was so cool to do the project I just said what else. Then it sunk in that she just knocked out her first project on her new home and I got to help. That was great.
Can you come over and help meeeeee? LOL. I know, it’s funny when you run across newbie’s at something you’re like, “I got this.” I know mailboxes are so dull and really not post-worthy, but it’s exciting learning how they’re constructed. It really adds to the curb appeal when you’ve got a pretty mailbox! Any tips on making sure this project turns out?