How to Create Custom Laser Designs – xTool Laser Engraving
This post is sponsored by ZDigitizing.com.
I’m a creative person, but one thing I’m not is a graphic designer.
Don’t ask me to design a logo, graphic, or any visual that matters, because I have no idea what looks good. And even worse, don’t ask me to digitize an image or design in Adobe Illustrator. Using Illustrator is like speaking a foreign language.
It’s disappointing, because Adobe Illustrator has been on my “Wish List” for years as software I want to learn. I envisioned tweaks to my logo…simple design edits…maybe even find ready-made images and add a smidge here or there to customize it.
But you know how life gets in the way, and then you move goals further and further down the list.
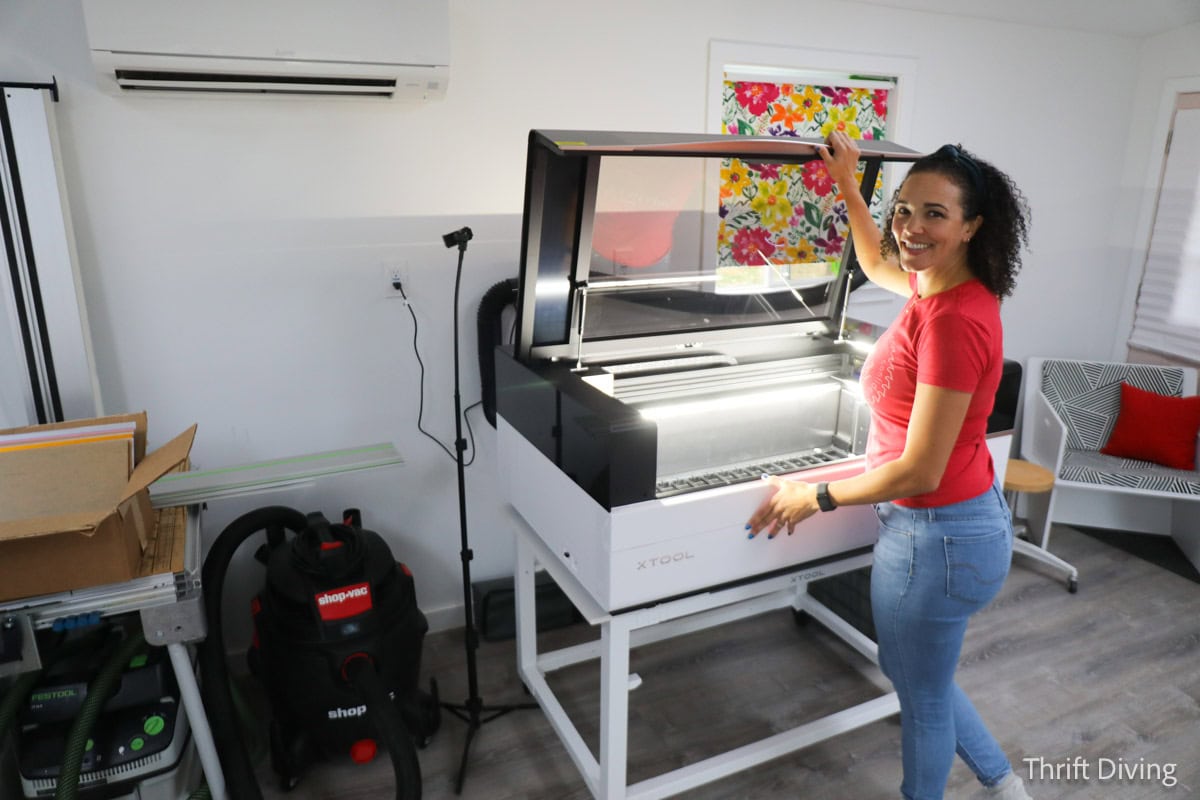
So when I got my xTool P3 laser engraver, I knew I would have to find ready-made designs that I could use for my projects, because wasn’t good at creating my own–either from imagination or from existing images that would need to be digitized into an .svg format.
What happens with a lot of people who are new to laser engraving and laser cutting, they become intimidated with where to start–Where do I find designs? How do I create custom designs? What do I even cut and engrave first? Will it turn out?! What happens is that they end up not even unboxing their laser engraver/cutter or they just leave it sit, unused!
But recently I had the opportunity to test out ZDigitizing, a service that creates embroidery digitizing and vector art for any image for laser engraving and cutting–whether it’s simple text, a logo, a more detailed image, or even creating a file from a “live” image.
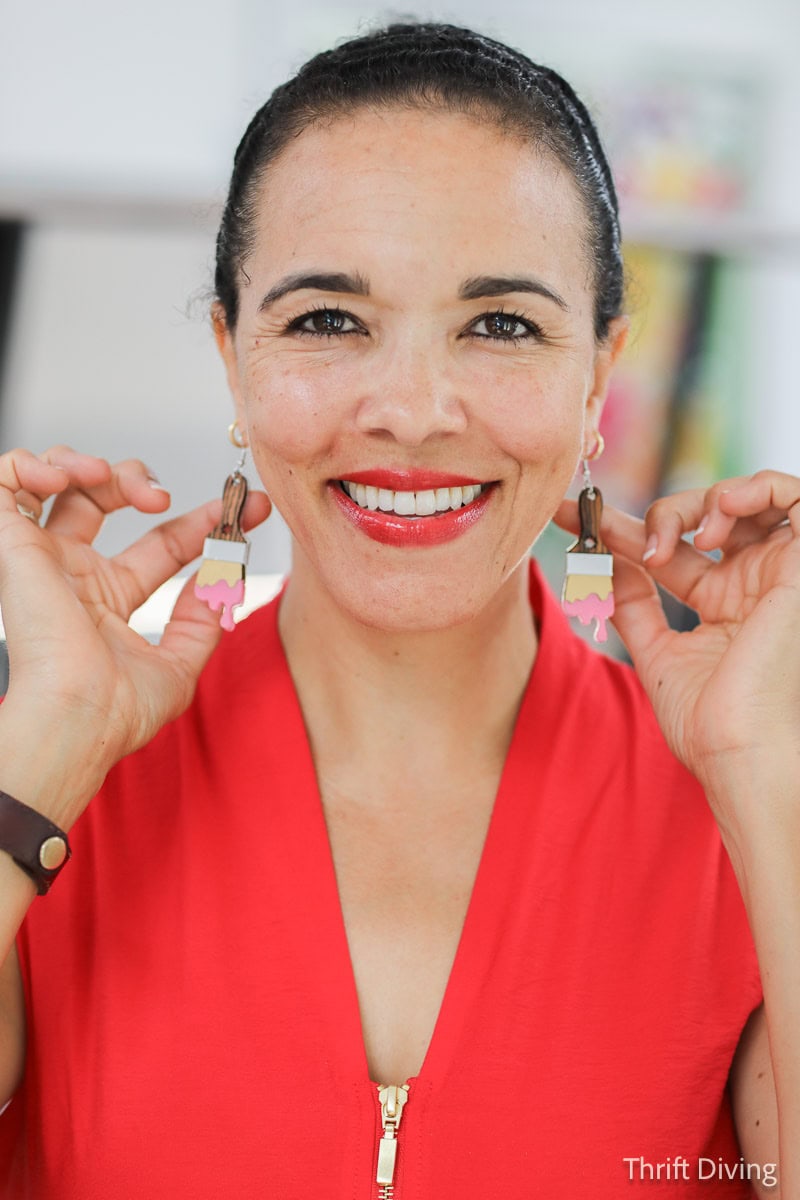
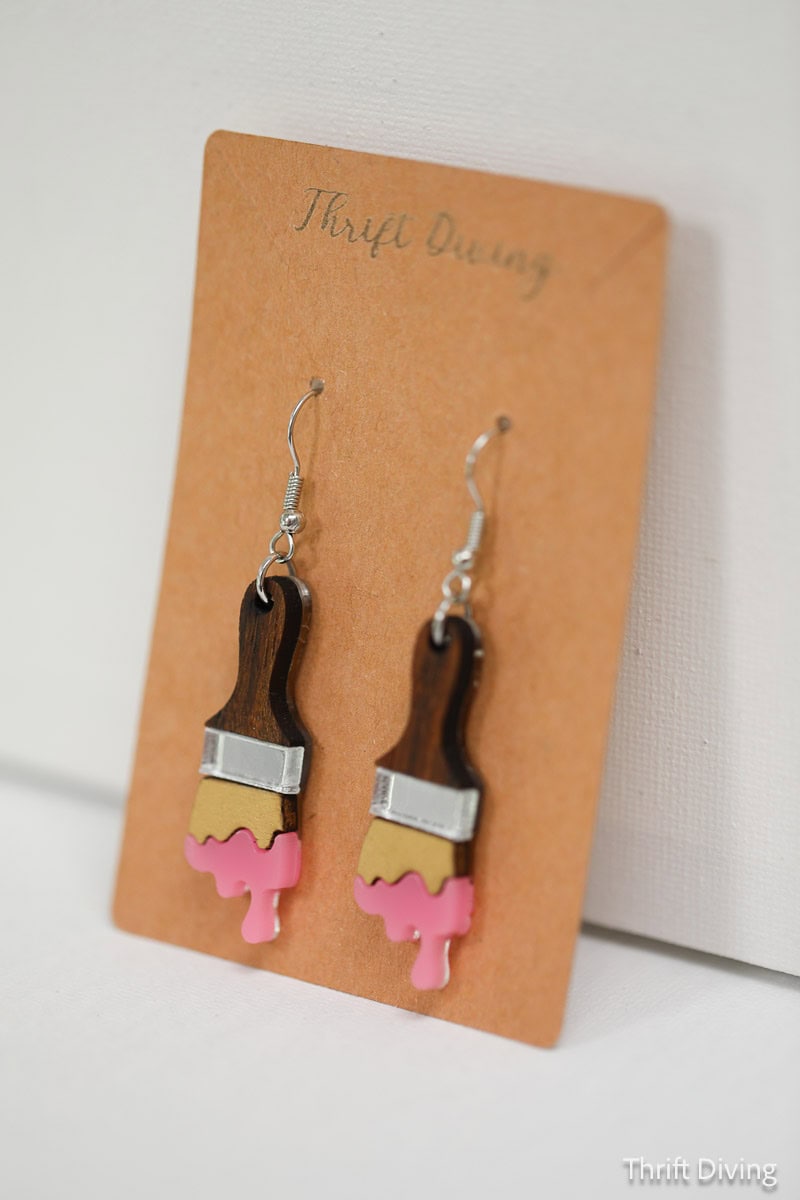
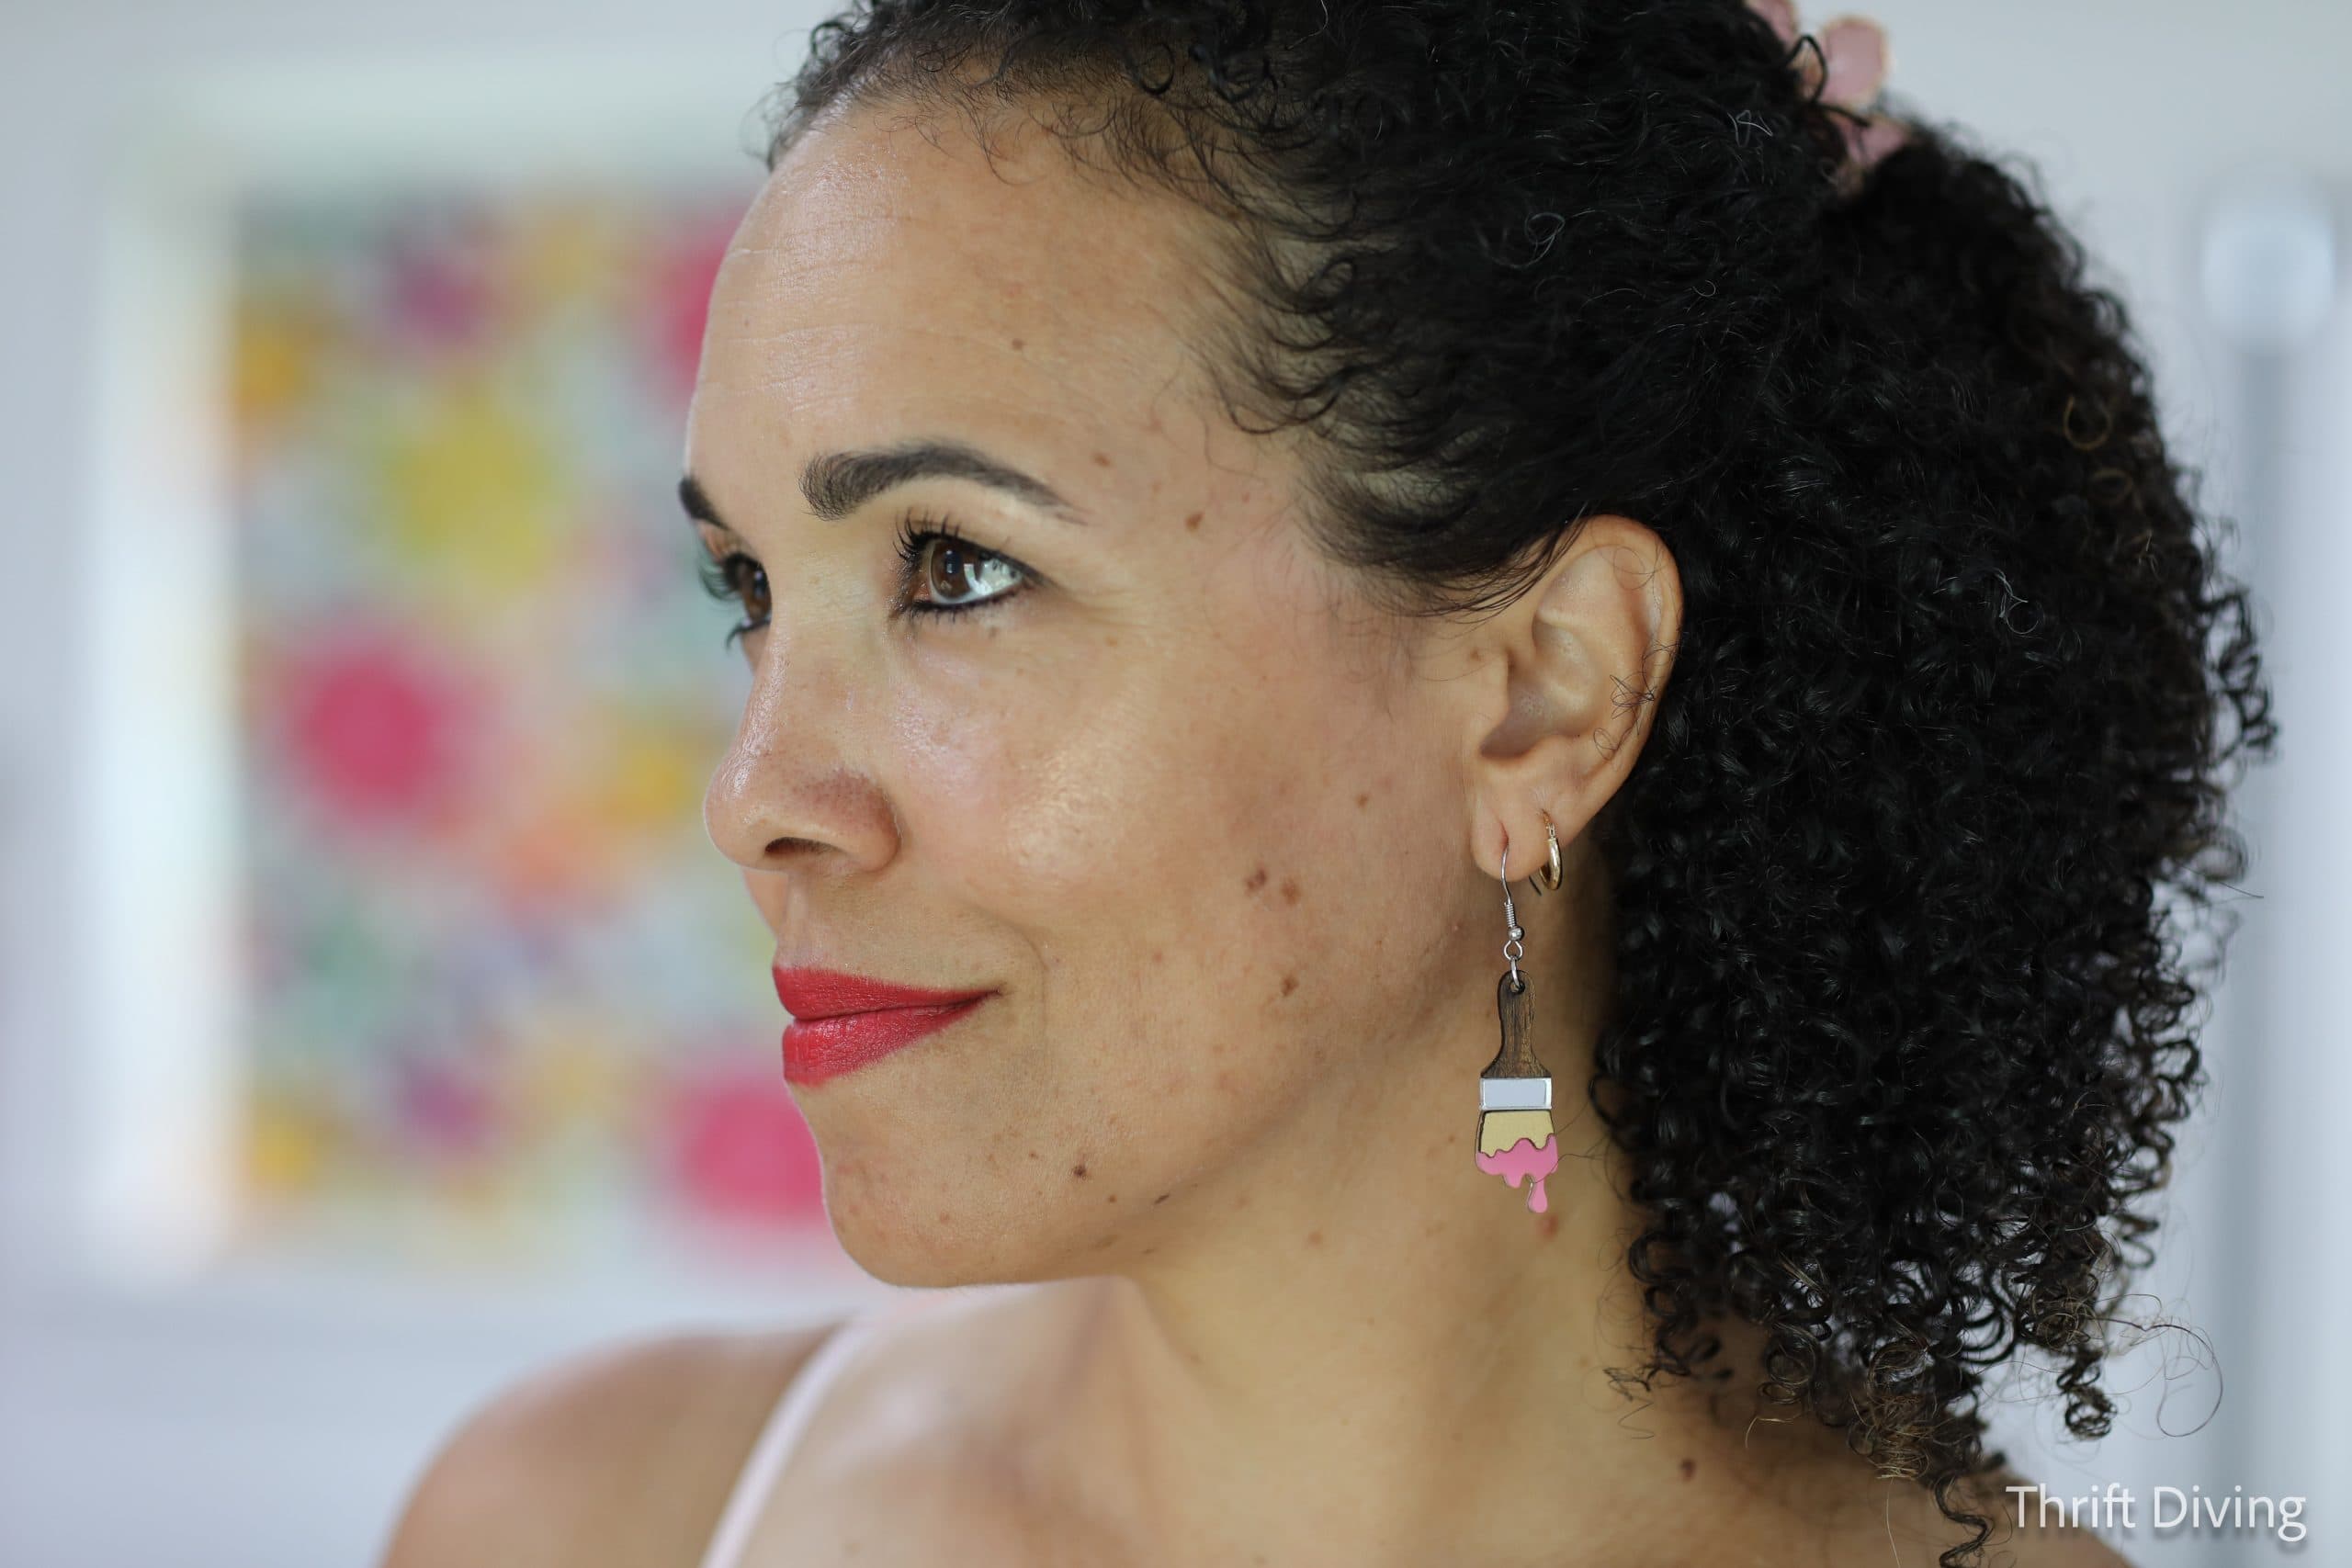
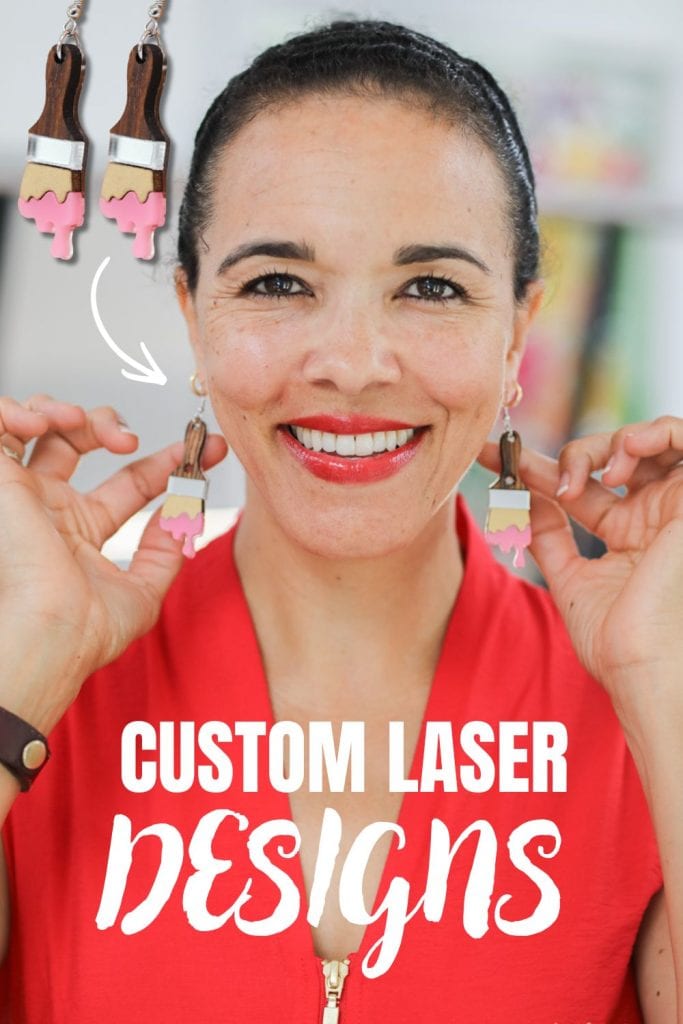
Being able to create things I have always wanted to create (e.g. paint brush earrings!!!) allowed me to move forward on my laser cutting and engraving and put my machine to use, instead of it sitting because I didn’t know what to make.
They allowed me to pick any 10 images to send to them to be digitized. Keep reading to find out more about what my experience was like working with them, and how some of the projects turned out with the digitized files they created for me!
Click HERE to save this post on Pinterest!
STOP Leaving Your Laser Cutter in the Box – Make Easy Custom Designs!
Here’s how I was able to take my laser engraving to the next level! Watch below. 🙂
Tools and Materials
When doing some of these laser engraved and laser cut projects, here’s what tools and materials I used:
- xTool P3 laser engraver and cutter
- 1/8″ basswood
- 1/8″ mirror acrylic
- 1/8″ exotic wood
- 1/8″ Earring hardware
Resources
There are lots of places to find ready-made images, but my favorite place to get custom digitized images is from ZDigitizing. You can send them simple text, logos, monograms, or even more complex designs like images of pets and people, scenery, etc.
Ready-made places are great, too but when you want custom designs, and you don’t have time or knowledge to do it yourself, having an affordable service like ZDigitizing in your pocket to convert the file to send to your laser cutter/engraver, is a must! (NOTE: Some links contain affiliate links, on which I earn a commission if you subscribe, but only supports Thrift Diving and doesn’t cost you anything!).
- ZDigitizing.com (save 50% off your first order for new customers with code: “thrift50”)
- xTool.com
- xTool Studio software
- CreativeFabrica.com
- Leonardo.ai
- ChatGPT.com
- Canva.com
STEP 1: Find Your Favorite Designs
It’s overwhelming with how many designs are available for laser engraving! Just open a site like Creative Fabrica and you’ll see how many ready-made designs have been uploaded by users and ready to be downloaded, for a small subscription fee. In fact, it’s where I found my amazing butterfly design that I’ve been using for all my exotic wood journals!
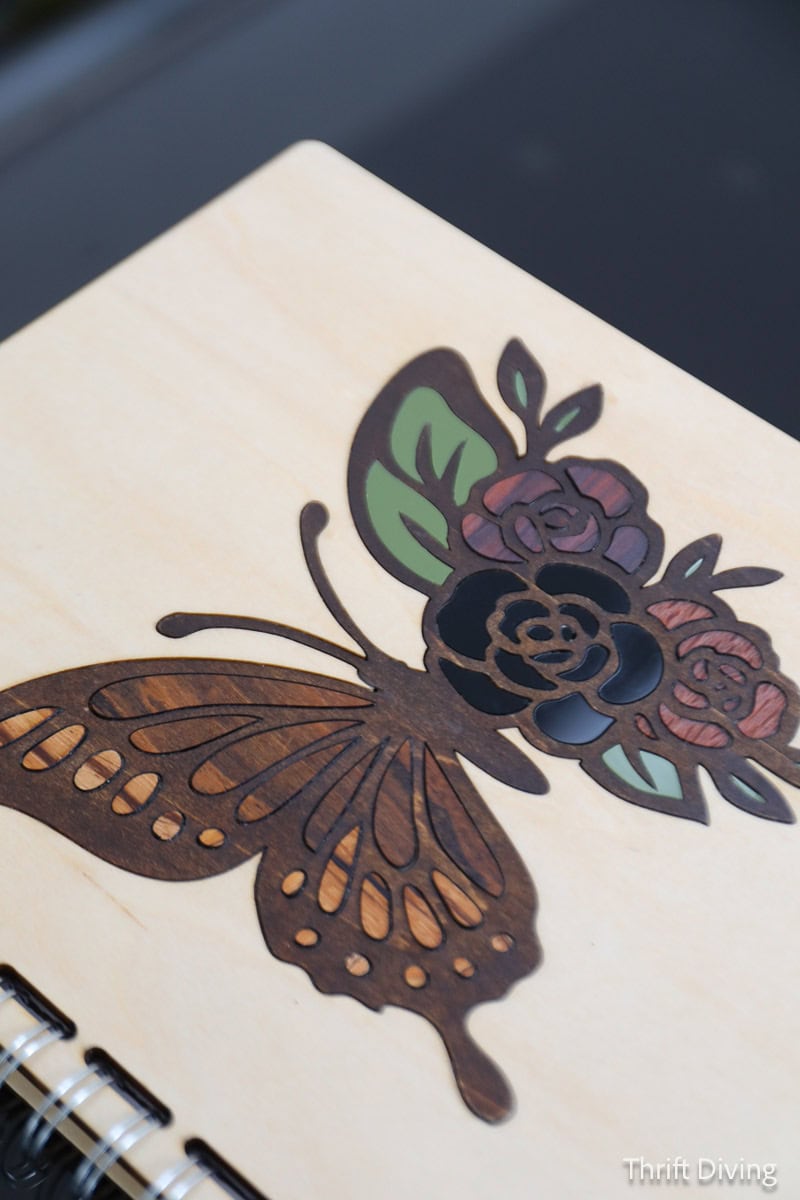
Sites like Creative Fabric are great for finding tried and tested designs that people love. You can create amazing stuff, even if you think you’re not creative. Just download, send to xTool Studio (or whatever laser program you’re using), and you’ve got a ready-made project. But I can guarantee you’re not going to find an image of your dog Sparky on Creative Fabric! LOL. You won’t find cultural symbols, personal designs, or the stick figure drawing your 9-year-old drew of your family.
If you want those images sent to your laser engraver, you need a custom digitizing service to convert the images into an .svg file that is recognizable by your laser software.
STEP 2: You Can Use ChatGPT or Leonard.io to Create Images!
I’m not one of those “AI sucks, and we should just stop using AI!” kinds of people. I wholeheartedly have found AI to be useful in helping to create images of what I have in my mind, but am too non-technical to create in Adobe Illustrator myself.
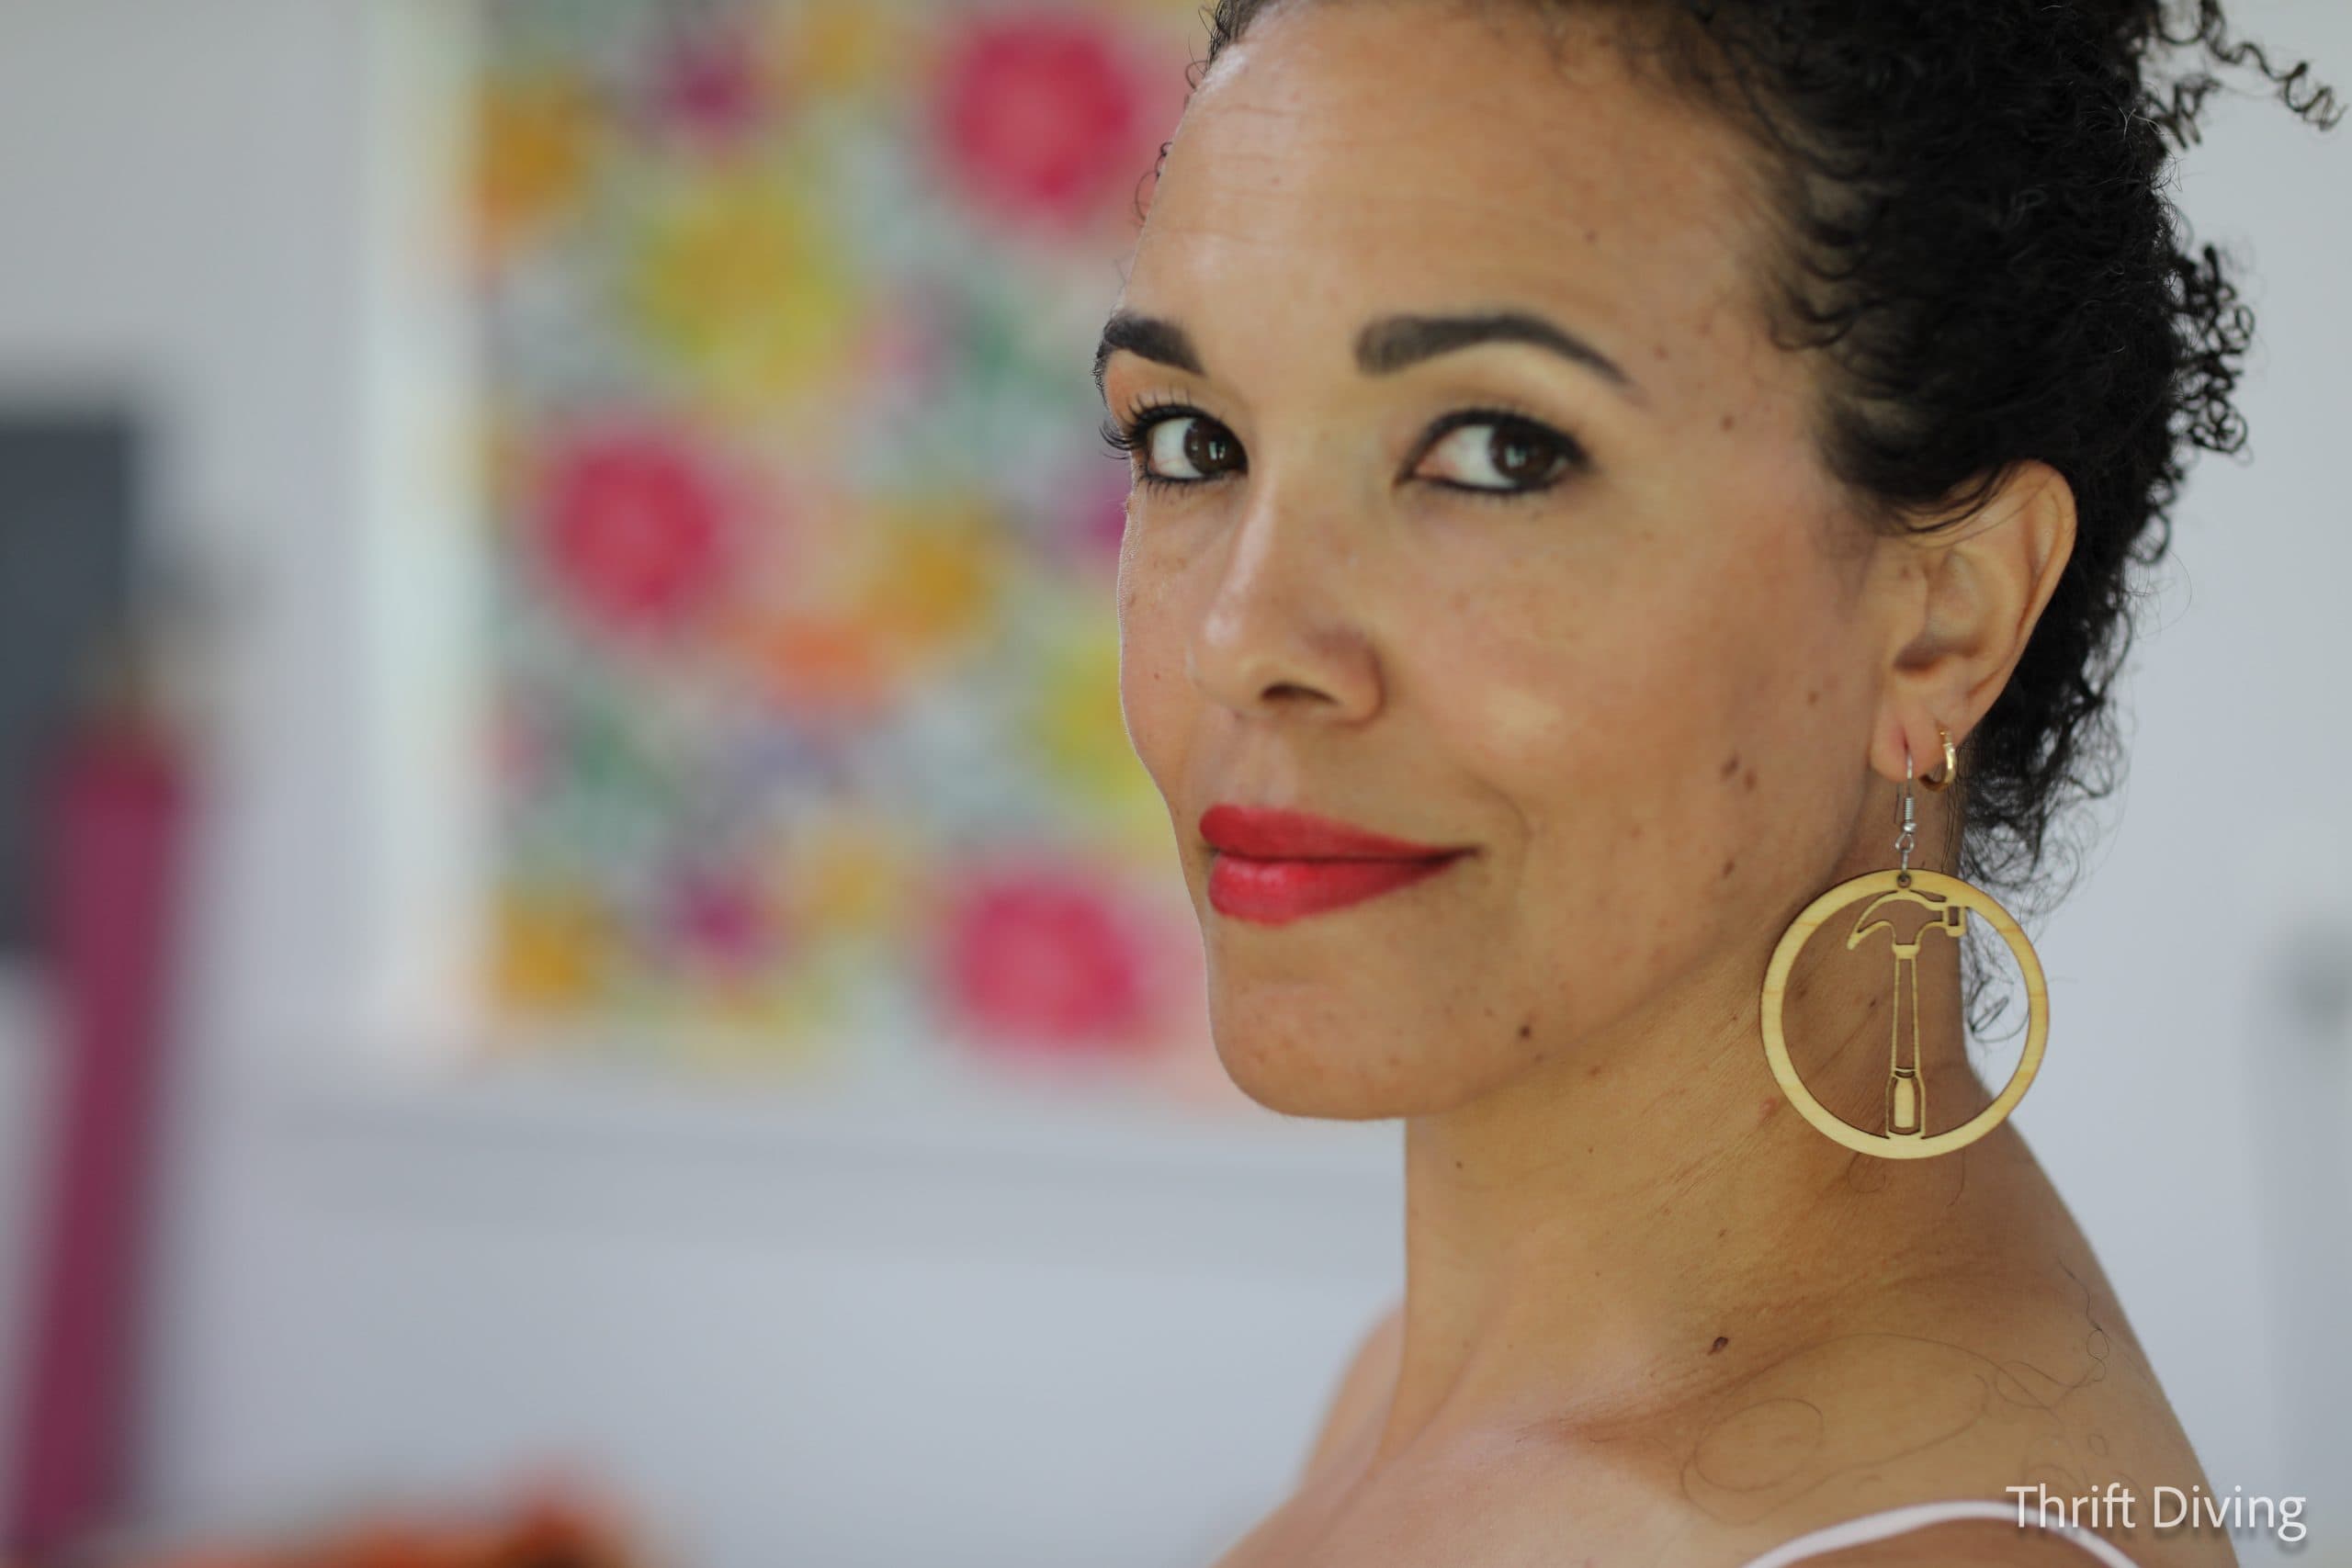
When I began laser engraving and cutting, I wanted hammer earrings. There were no “hammer earrings” files that already existed that I could find. So I asked Leonardo.ai to create hammer earrings. It created those below, and then I hired someone on Fiverr to digitize the file. However, the design, once cut, made the hammer too thin and easily breakable.
It took me a long time to figure out how to clean up the file myself so the earrings weren’t so flimsy. This is what I was able to create, and I love, love, love them!
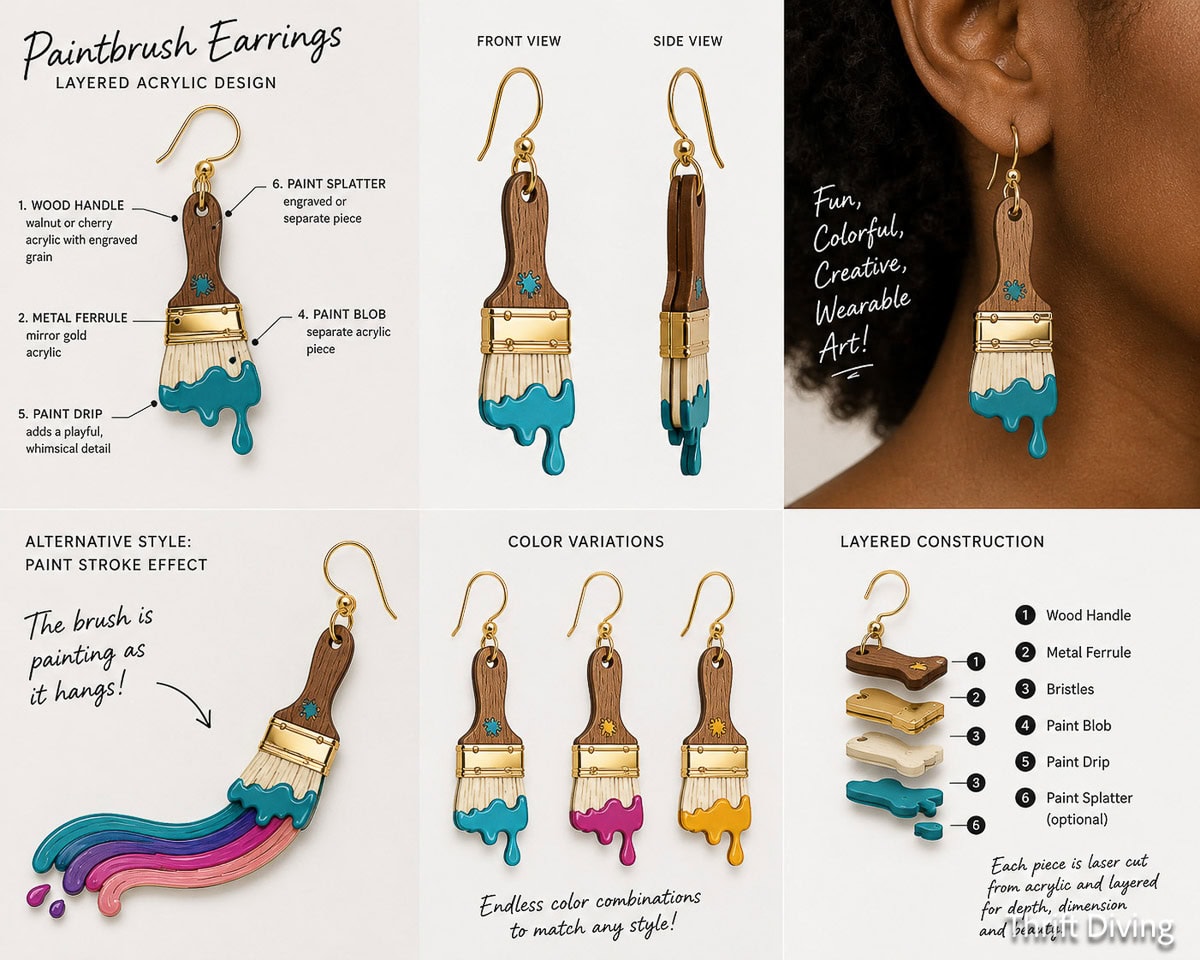
Next I wanted paint brush earrings, so I asked ChatGPT to conceptualize what I had in mind. I was so impressed when it delivered a mock-up of exactly what I was looking for! I was blown away by how it was able to take my conversation and create this image. And this is why I’m not upset about AI. Finally, there is a way for “non-creative” people who aren’t graphic designers to create the ideas they have in their head.
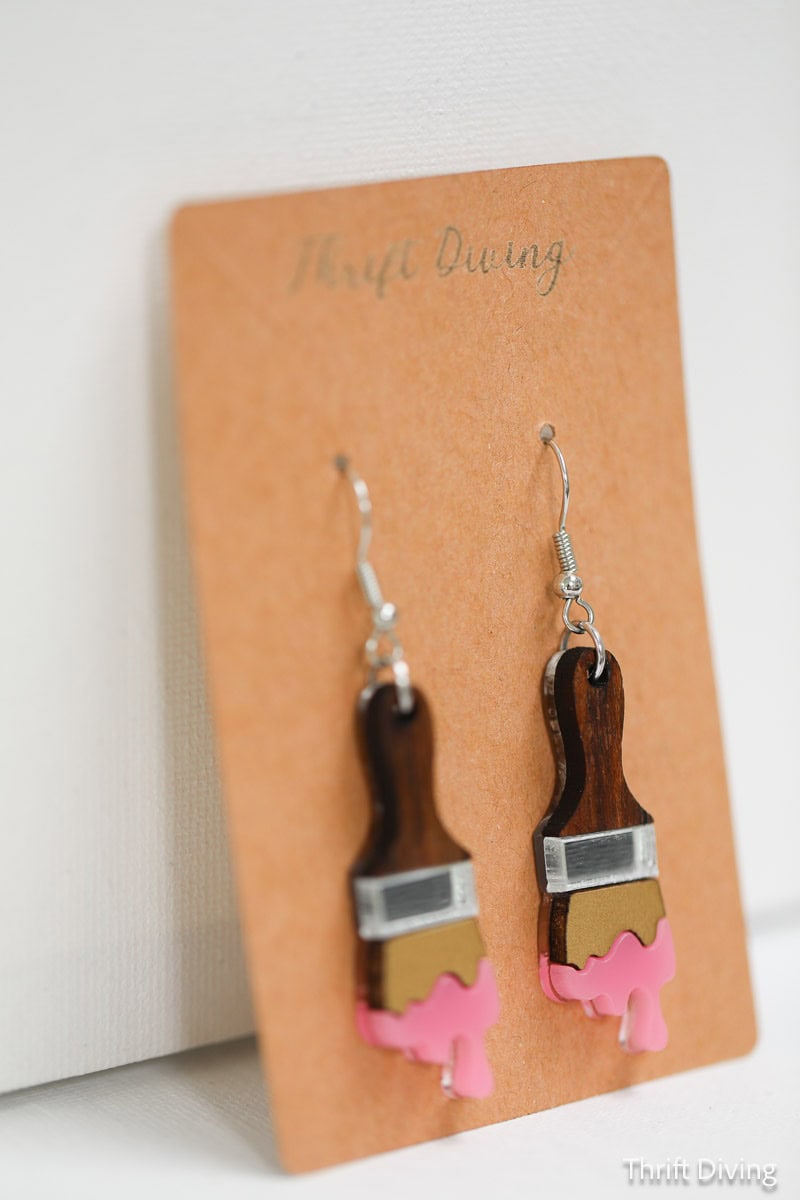
Once I ran everything through my xTool P3 laser engraver, these cute paint brush earrings with dripping paint are what I was able to create with my favorite exotic woods, mirror acrylic, and colorful acrylic!
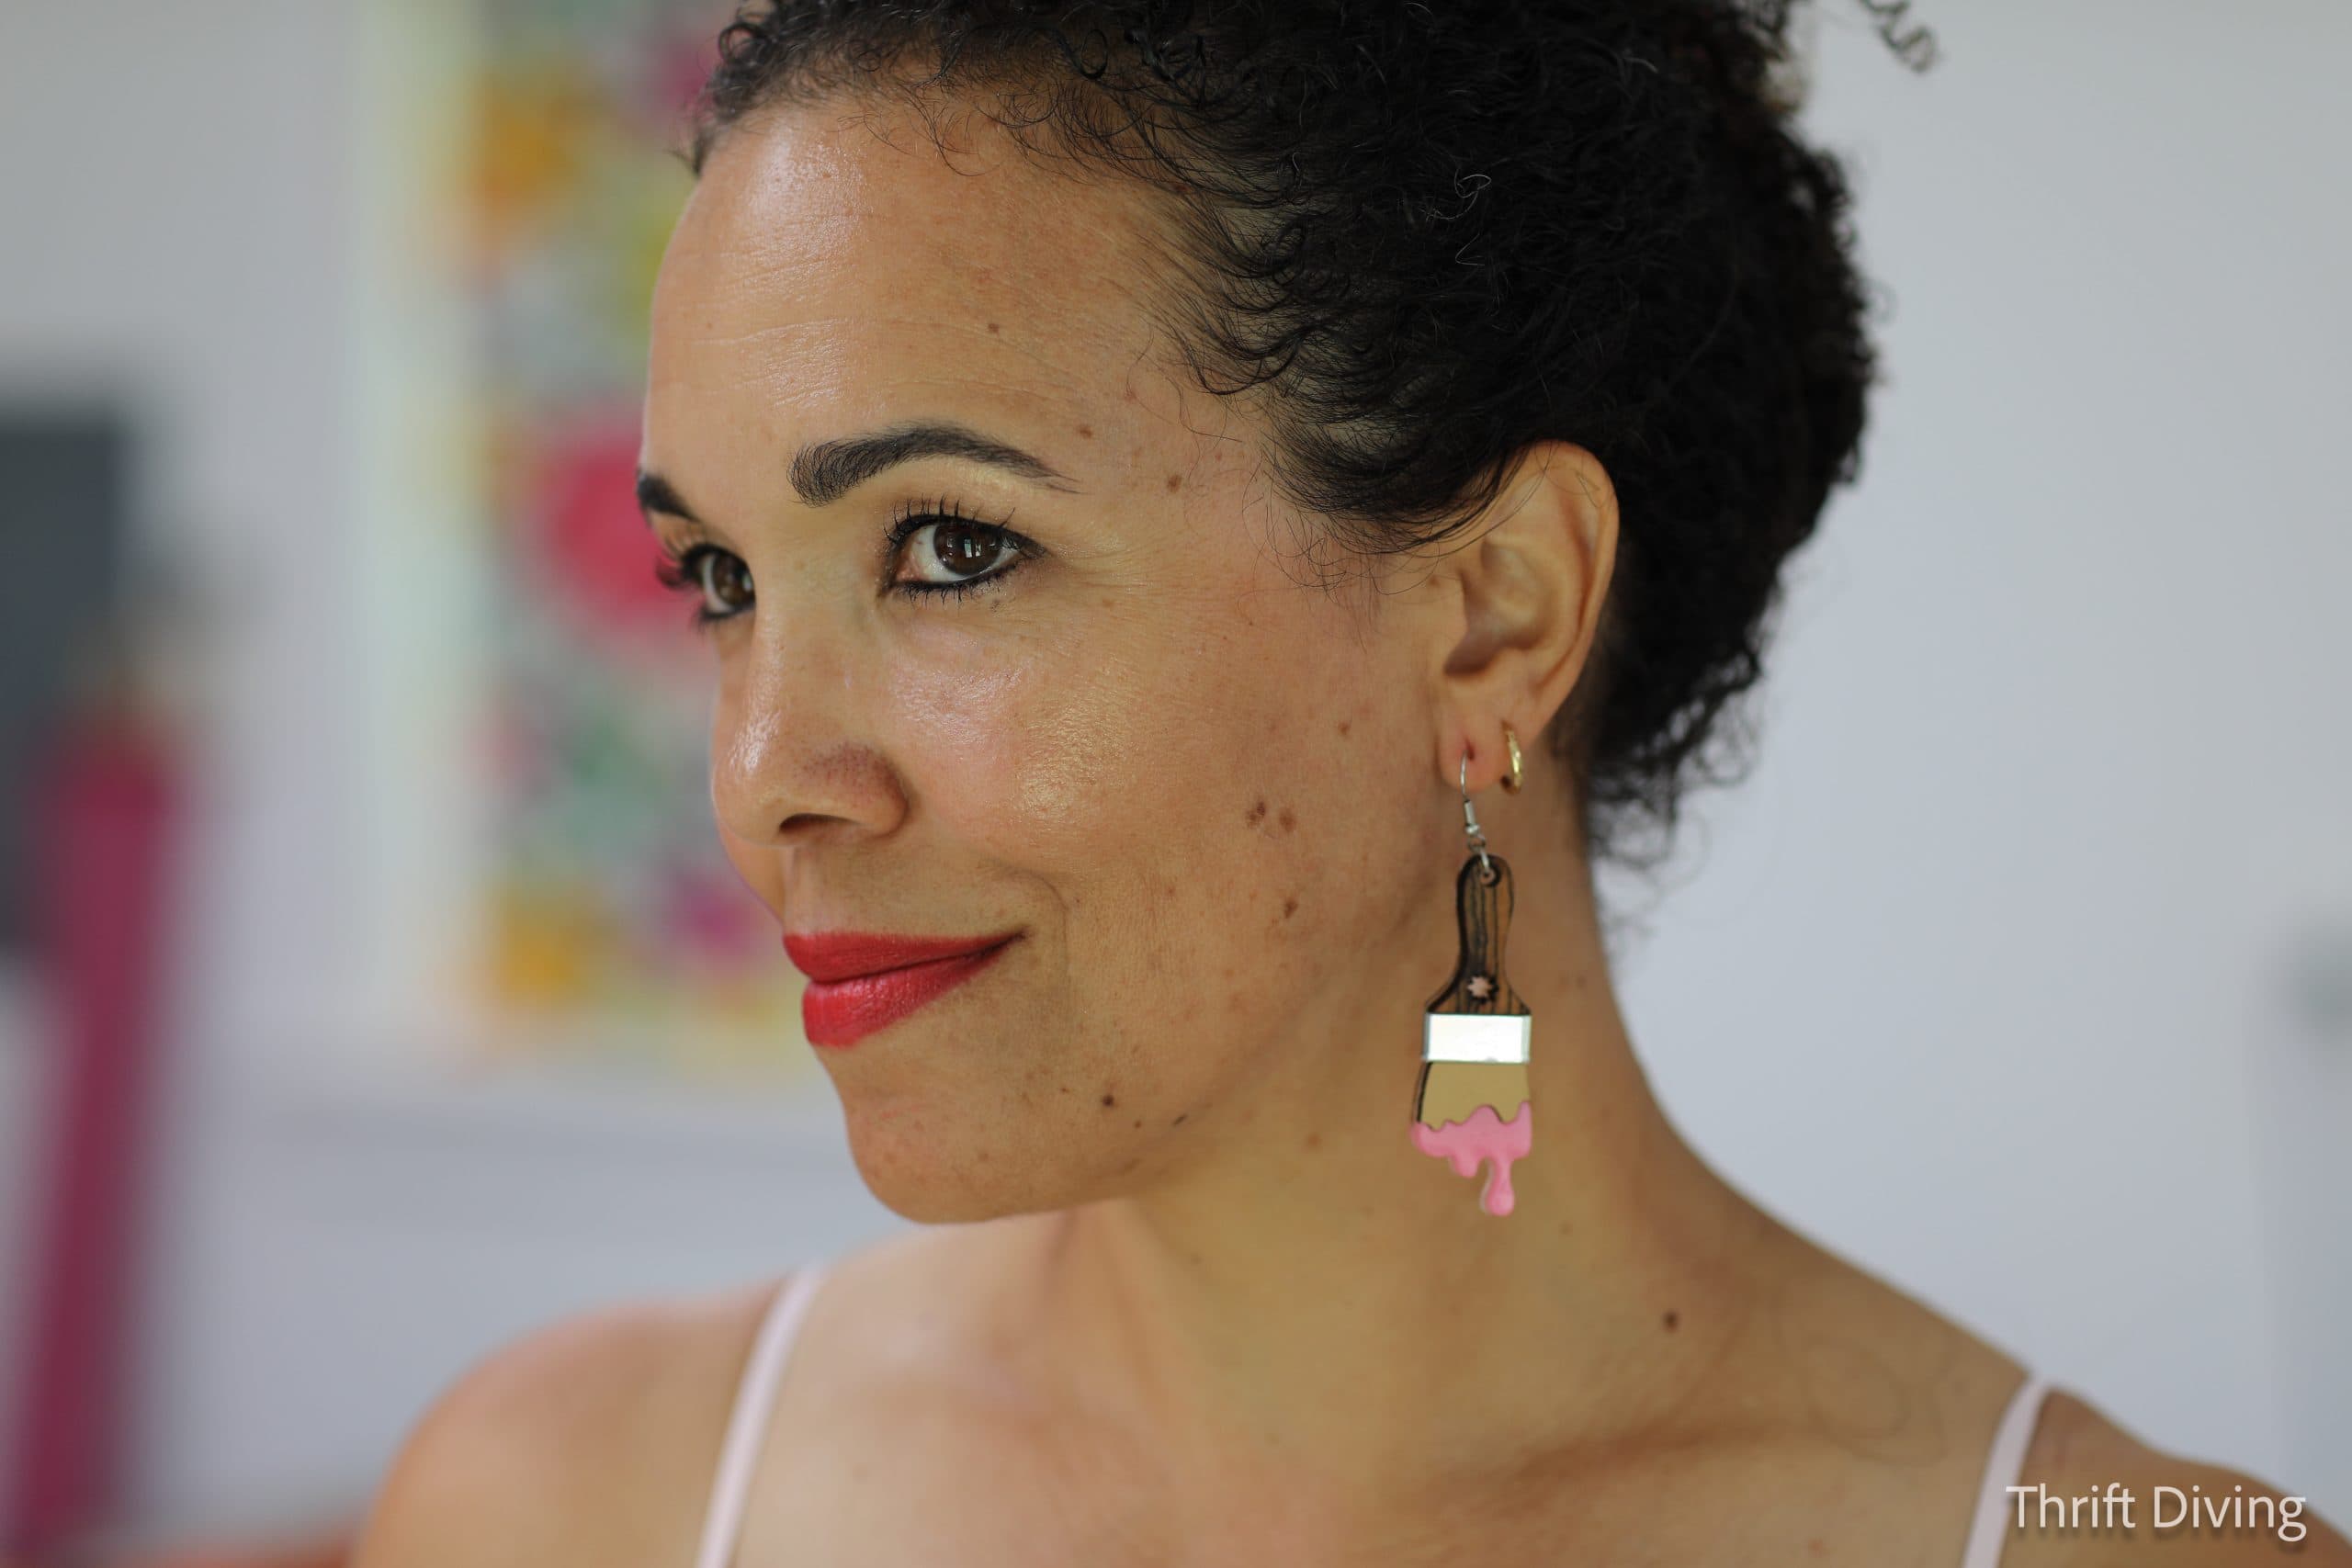
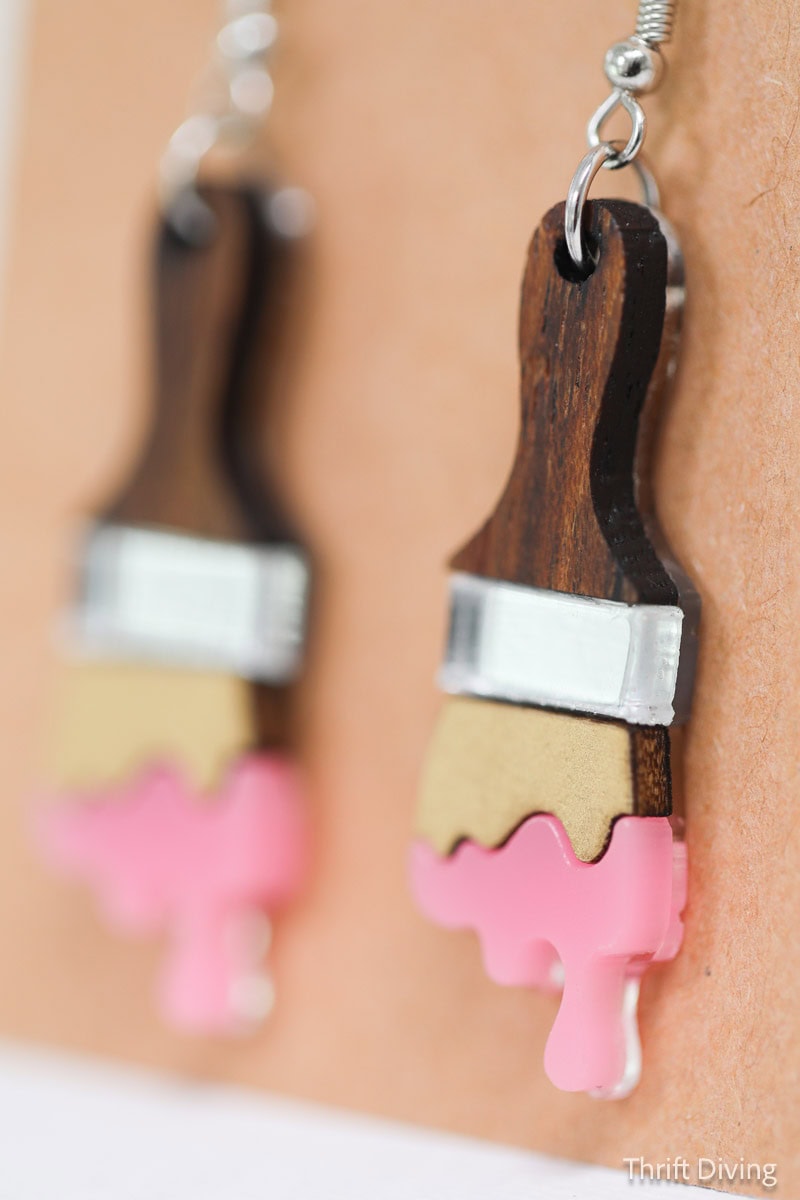
STEP 3: Send Custom Images to ZDigitizing
AI can give you all the ideas and images you want, but it won’t help you properly execute them unless you have a service like ZDigitizing to format them for your laser program (at least, not right now!).
ZDigitizing reached out and offered to try their digitizing service. I was intrigued because of the frustrating experience in trying to fix the hammer earrings.
So I sent my paint brush earrings mock-up to them (along with several other images), and asked them to convert them into .svg formats (they have multiple formats they can create; just let them know which ones you need). After a few edits, here’s what they sent back to me.
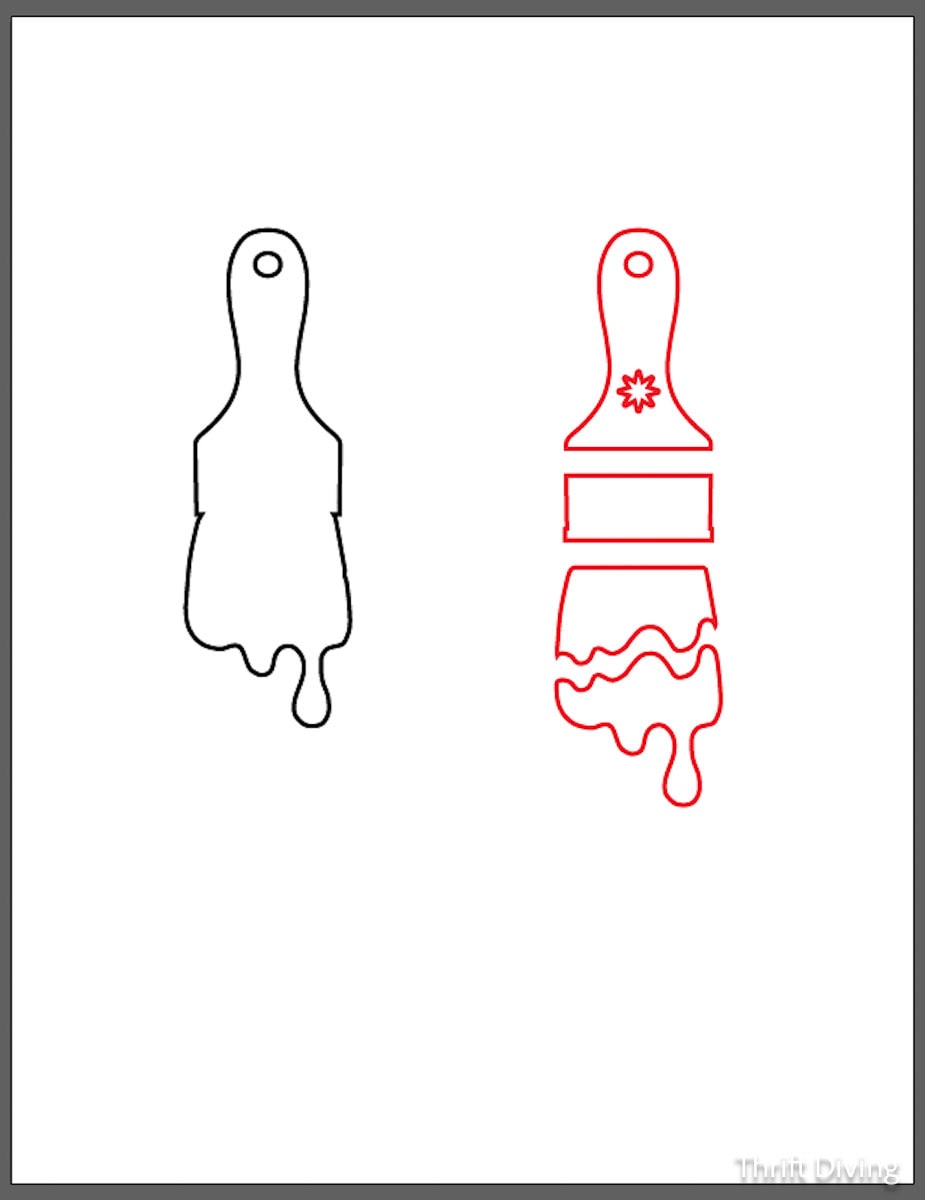
I cut out the materials on my xTool P3 laser cutter and engraver, using 1/8″ clear acrylic for the backer, and then super gluing the exotic wood handle, mirror acrylic, gold basswood (for the bristles), and the pink acrylic for the paint drip.
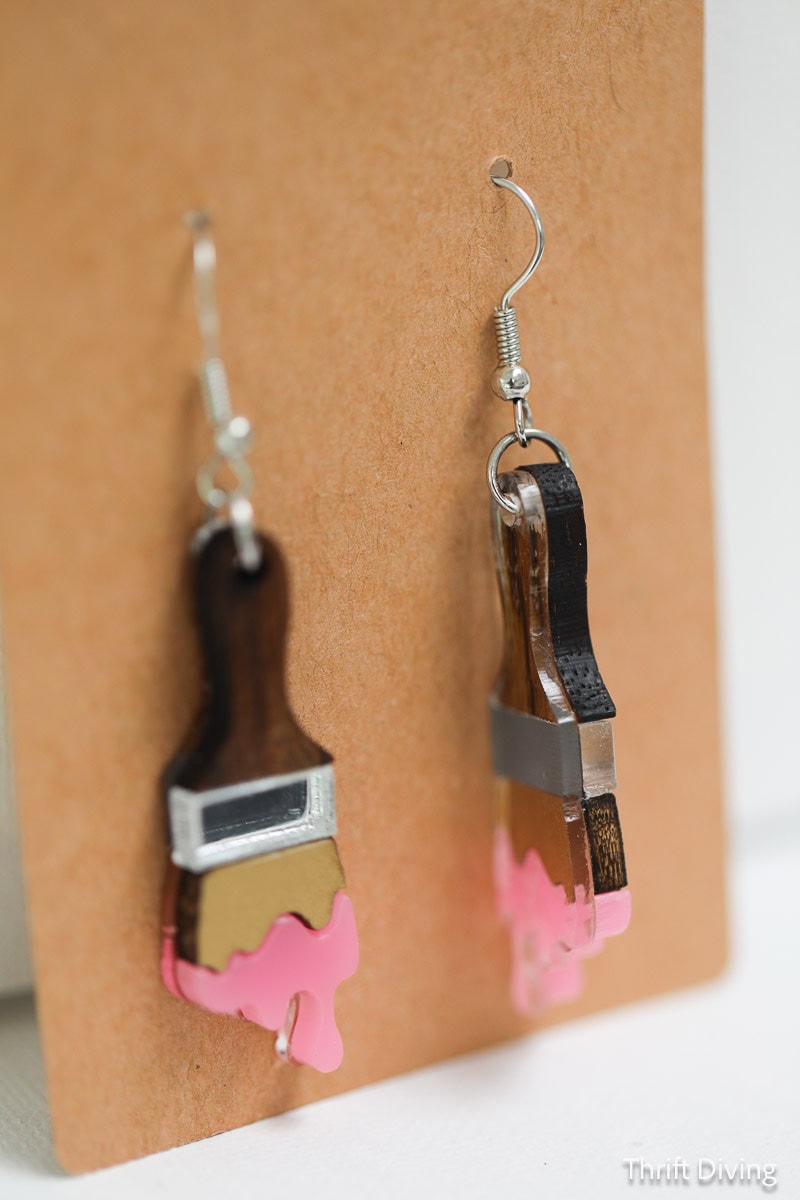
These paint brush earrings turned out so cute that one of my friends already ordered a pair and asked me to ship them to her DIY-loving mom for her birthday! 🙂
STEP 3: Review and Test Designs
When working with a company to digitize your images, it’s a relationship. For some images, depending on their complexity, you may need a couple rounds of edits. You should work with a company or designer that is very quick and responsive to your edits. ZDigitizing was very customer-oriented and got edits back to me ASAP.
When they sent back images, I ran them through my laser cutter and engraver to see how they would turn out. Some images required no edits, and some required 1-3 edits.
One of my favorite images is this Cozy Craft Room image that ChatGPT created for me! (I’ve been wanting to engrave coloring pages onto wood and paint them!)
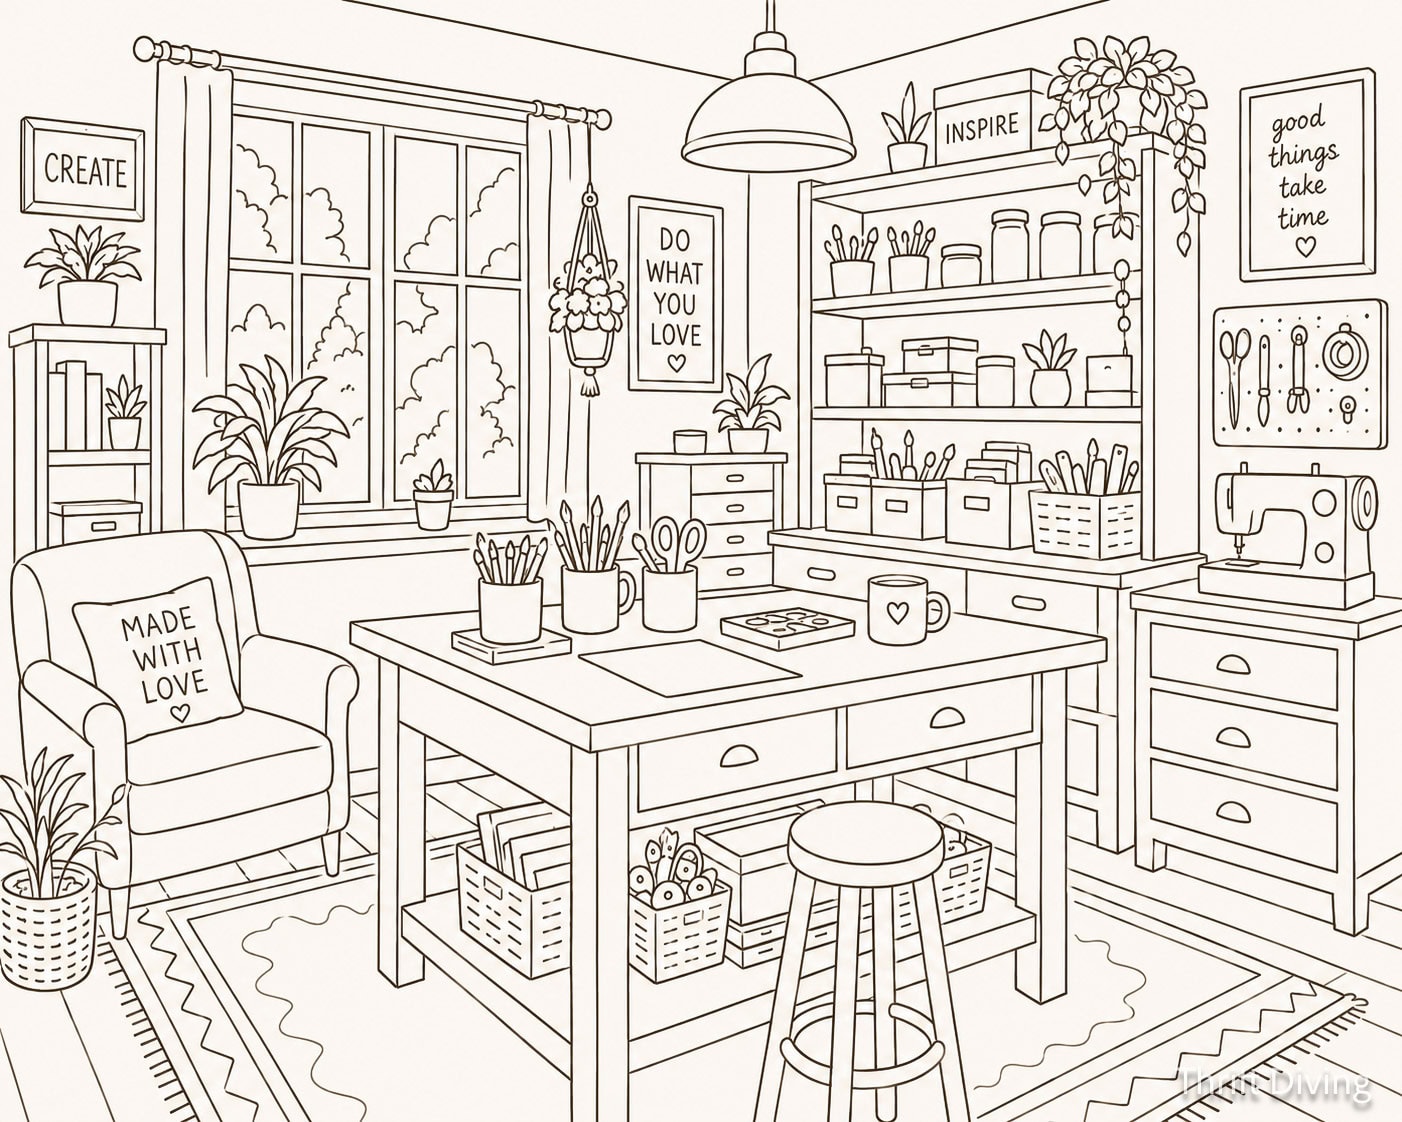
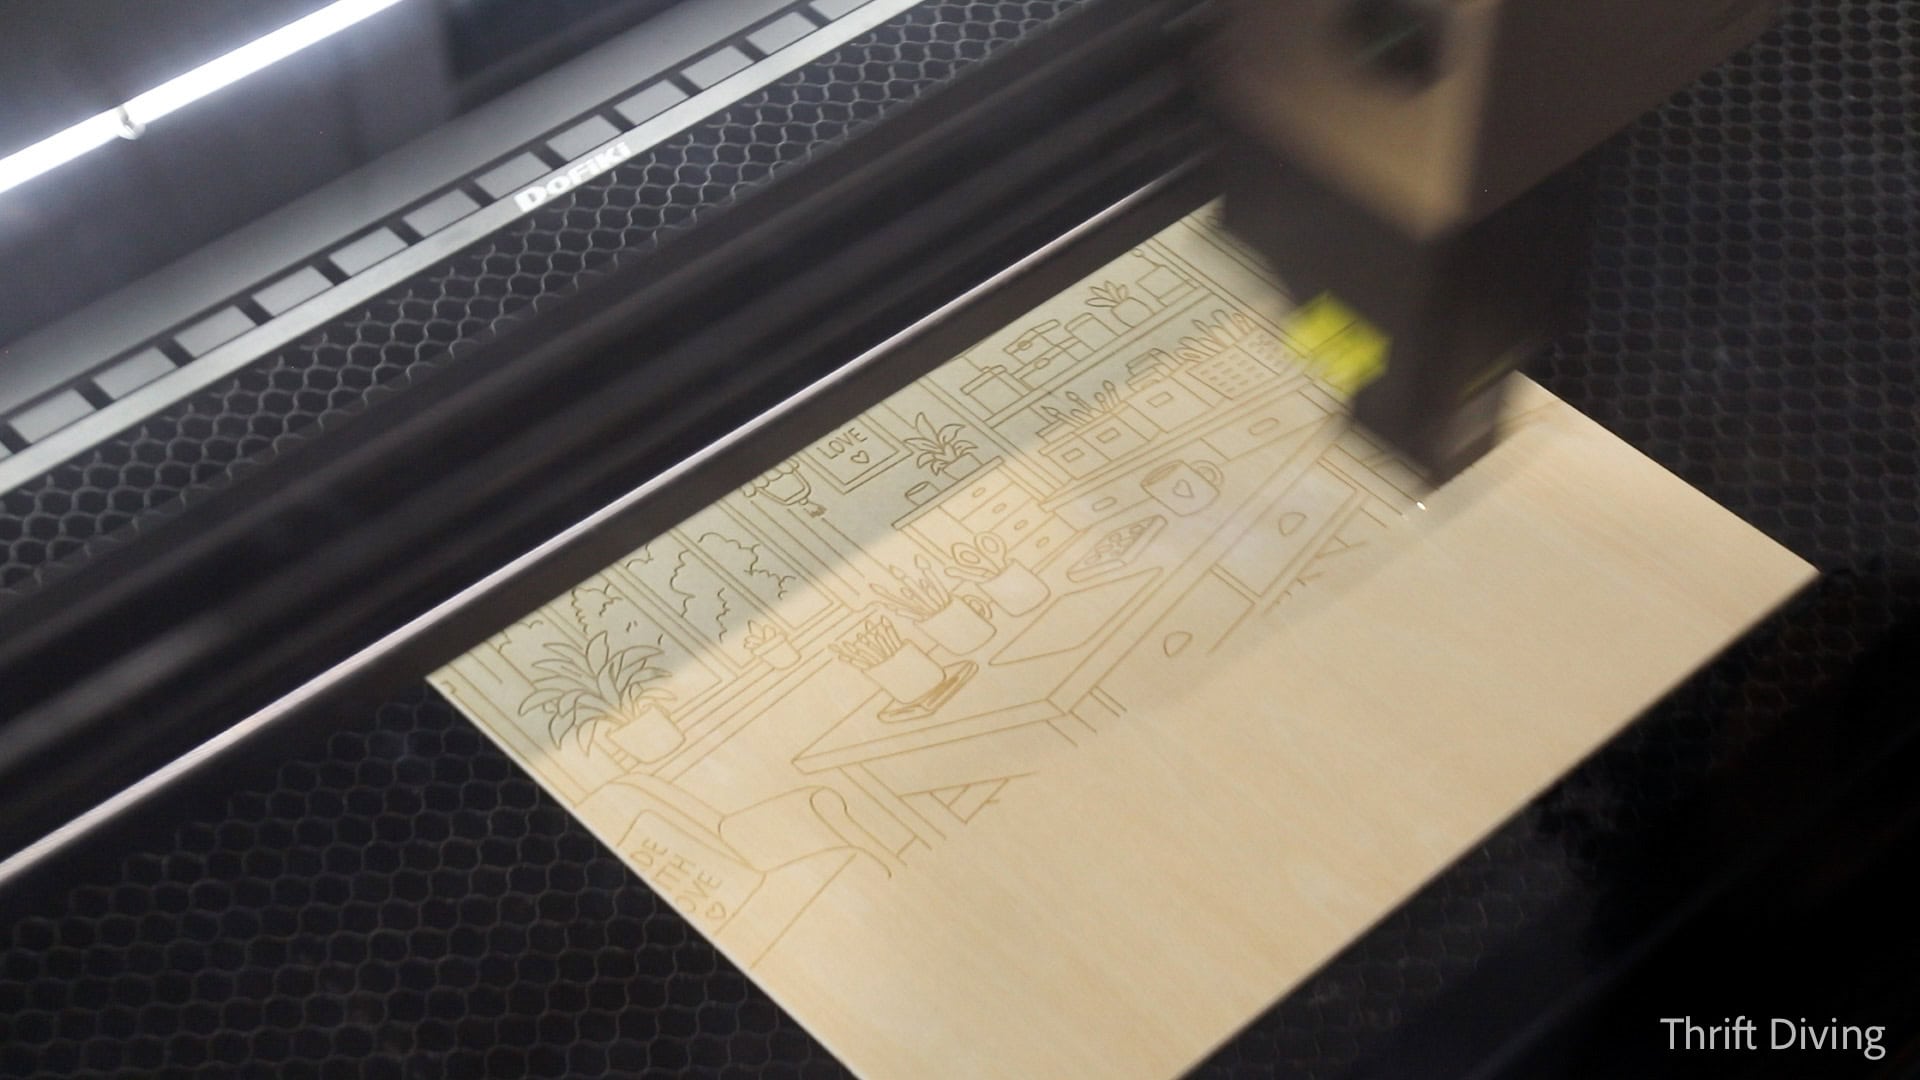
They did a pretty good job with the final result! I took the wooden painting kits to my mom’s house, pulled out the craft paints, and we spent quality time together painting our wooden images! 🙂
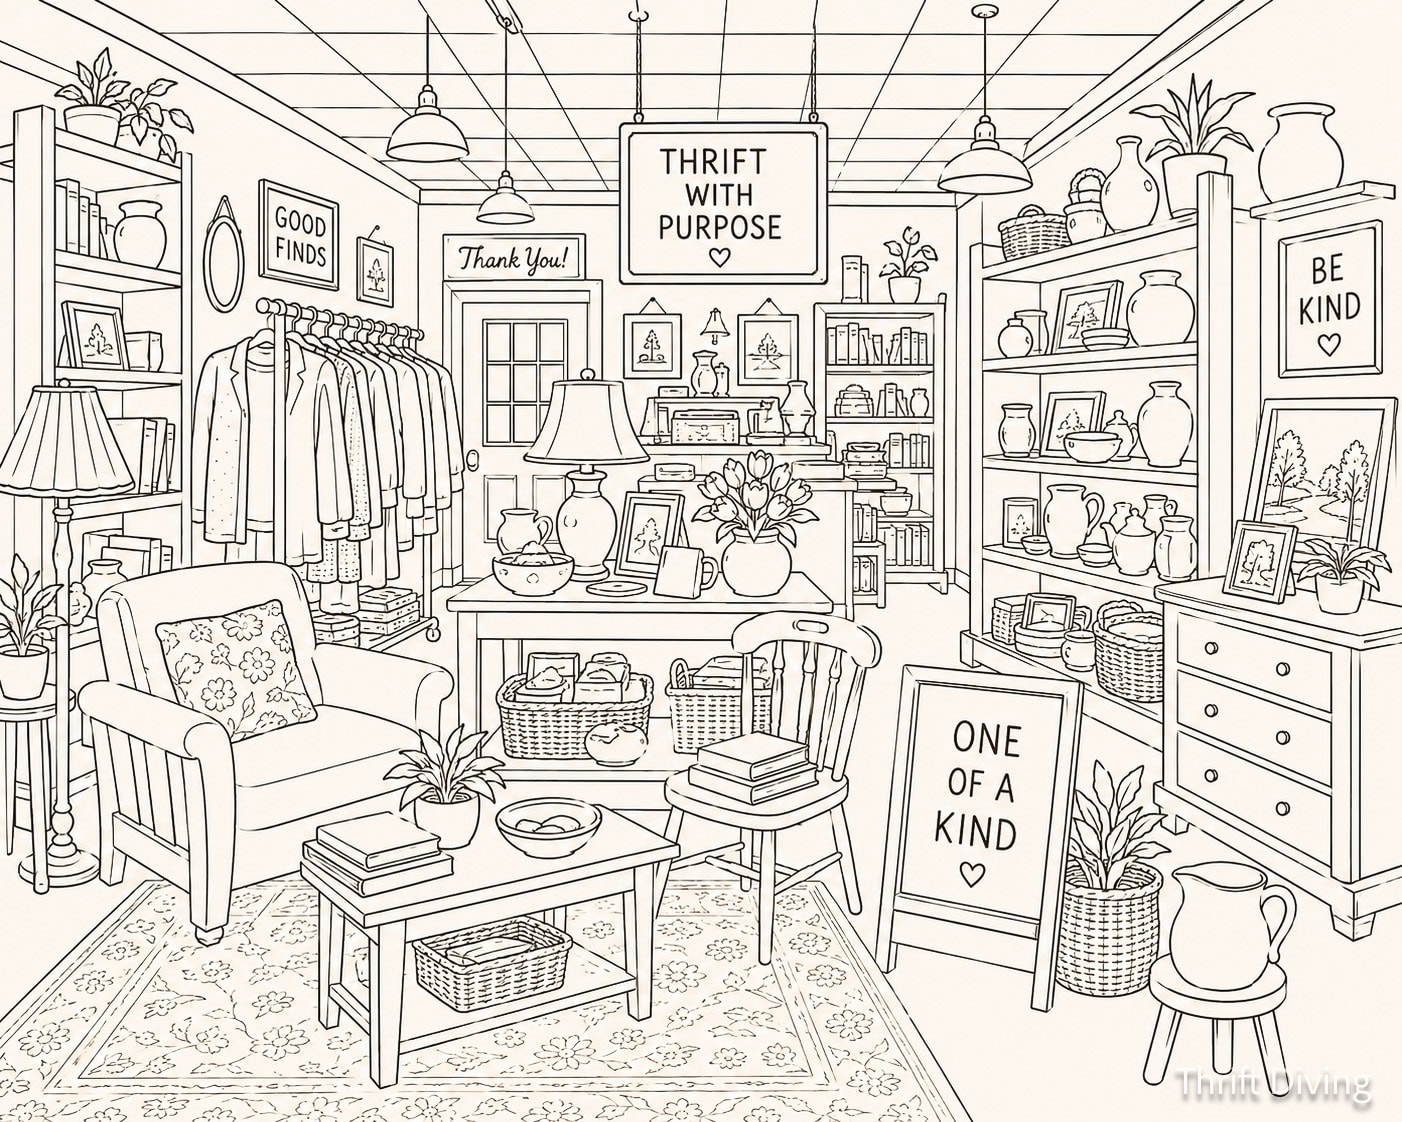
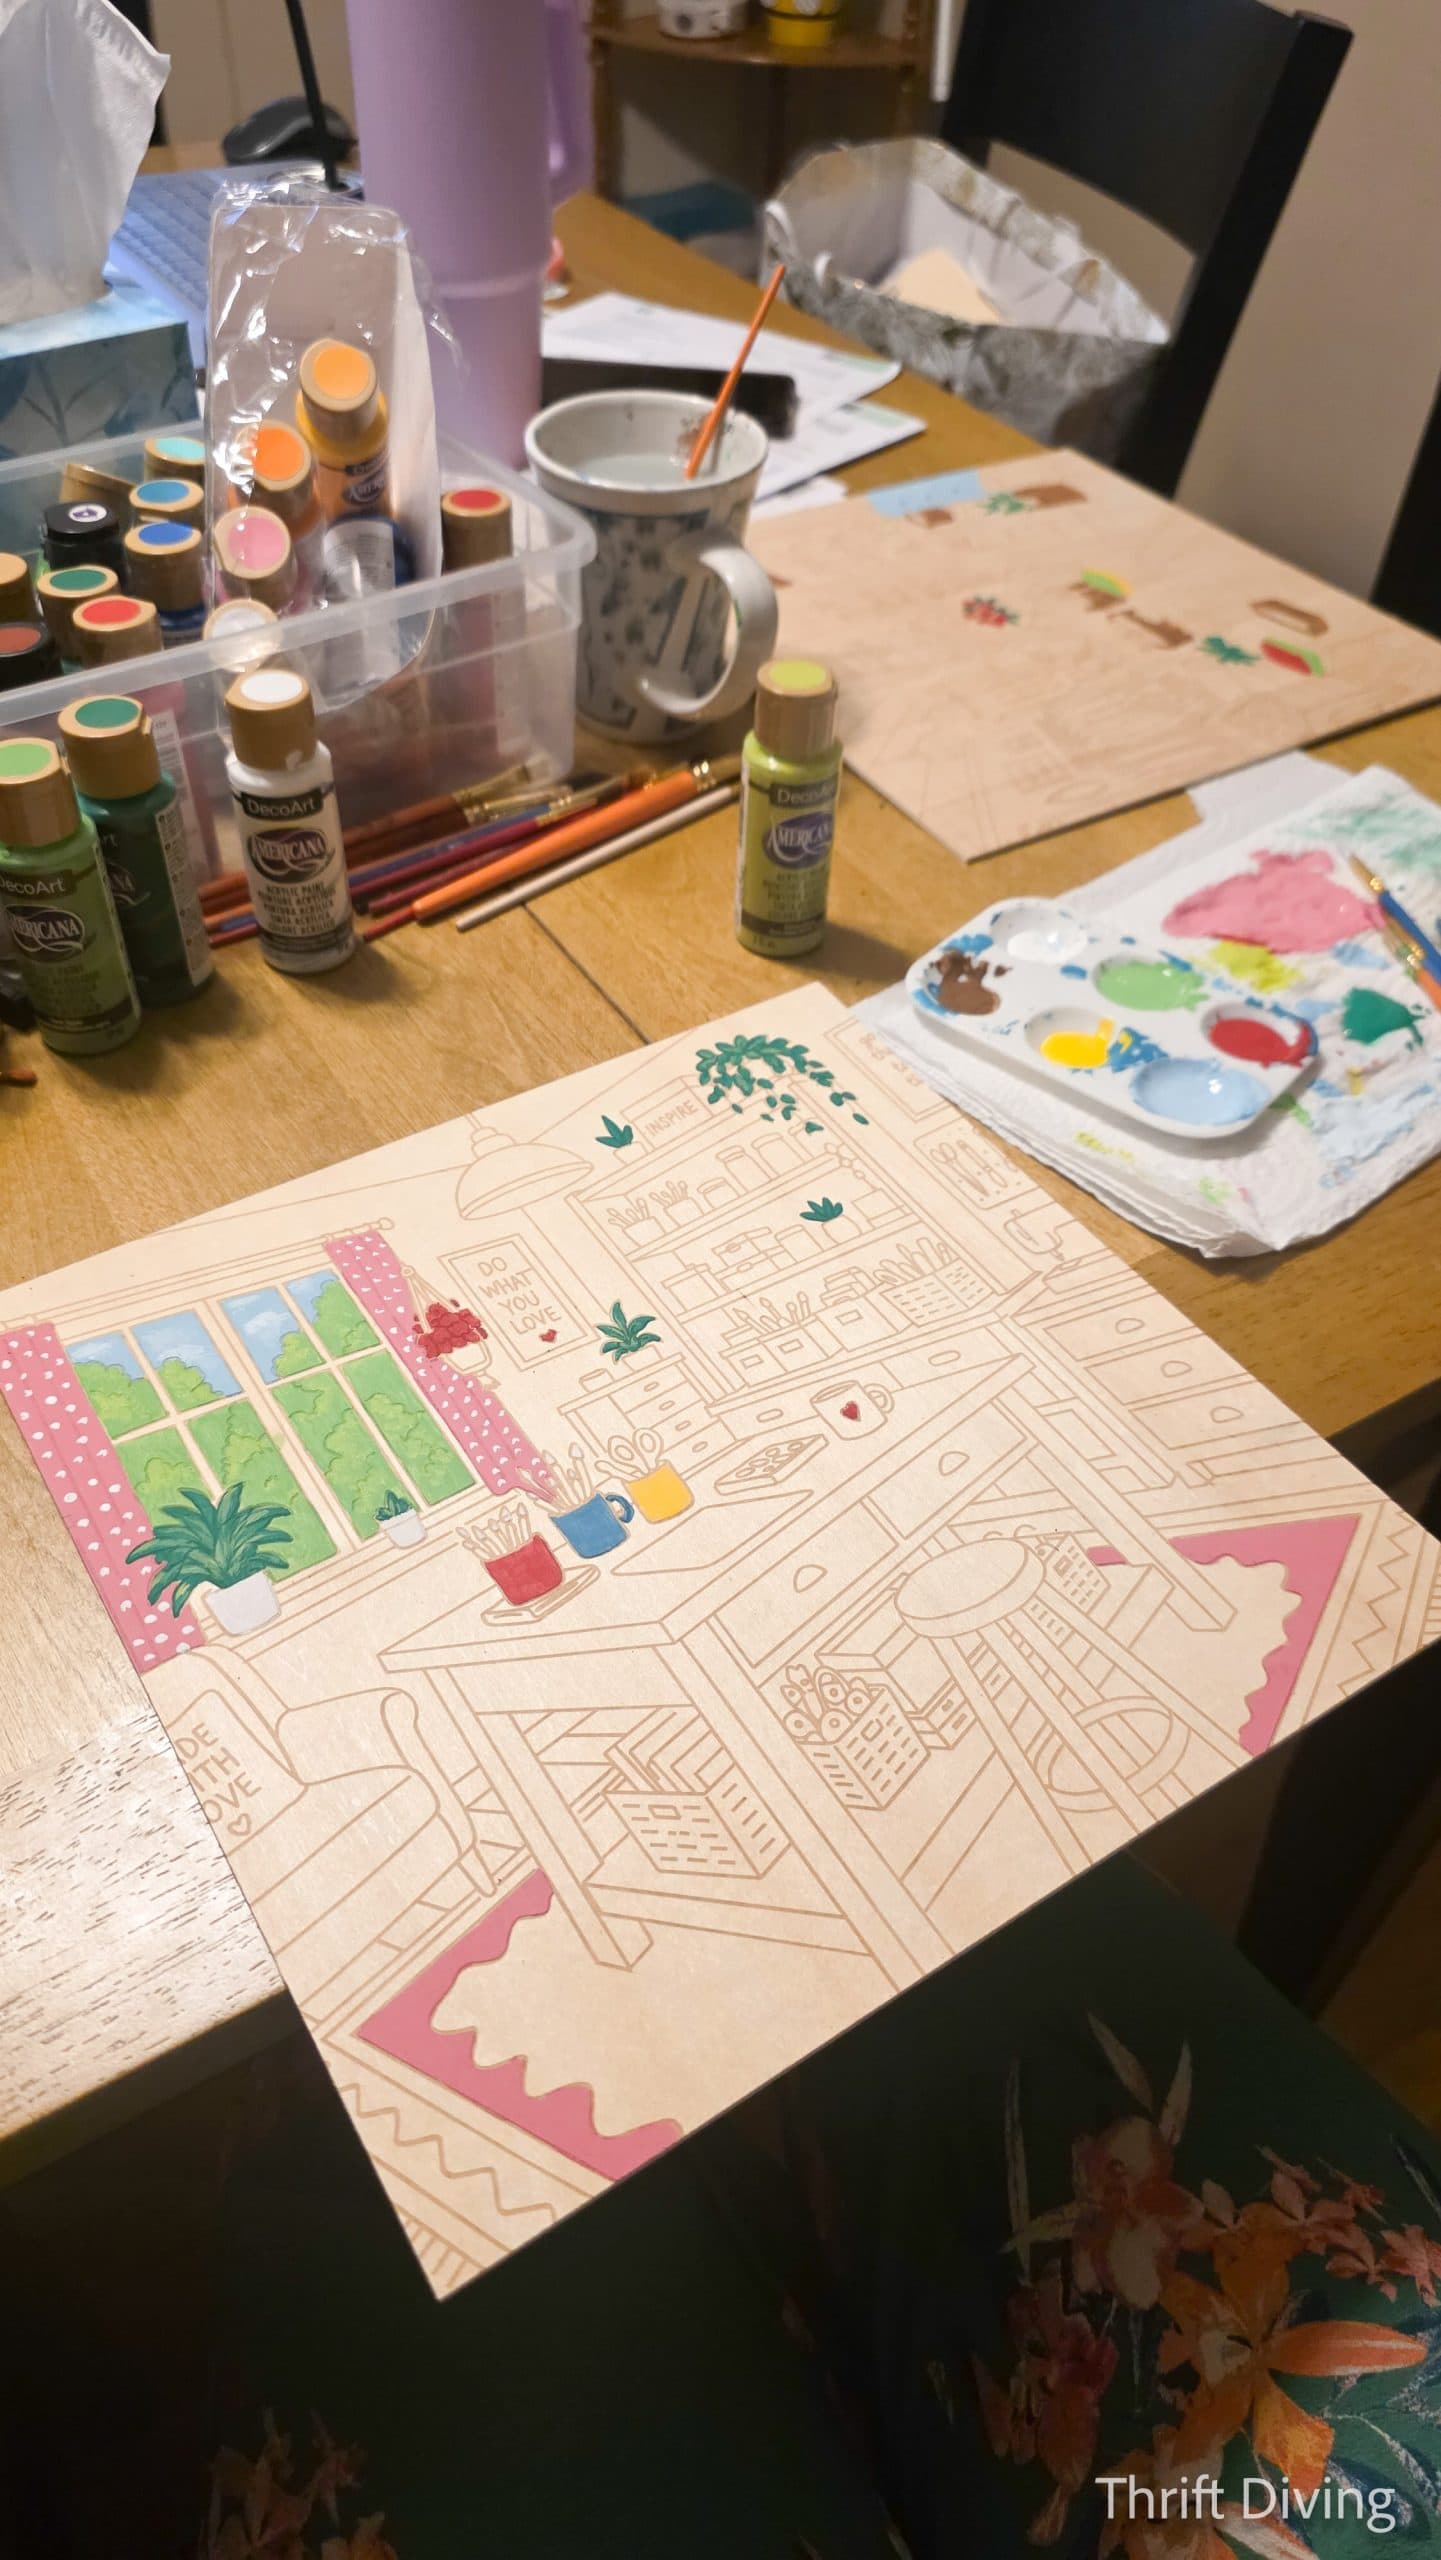
My mom loved the Cozy Thrift Shop image and she started painting that one. 🙂
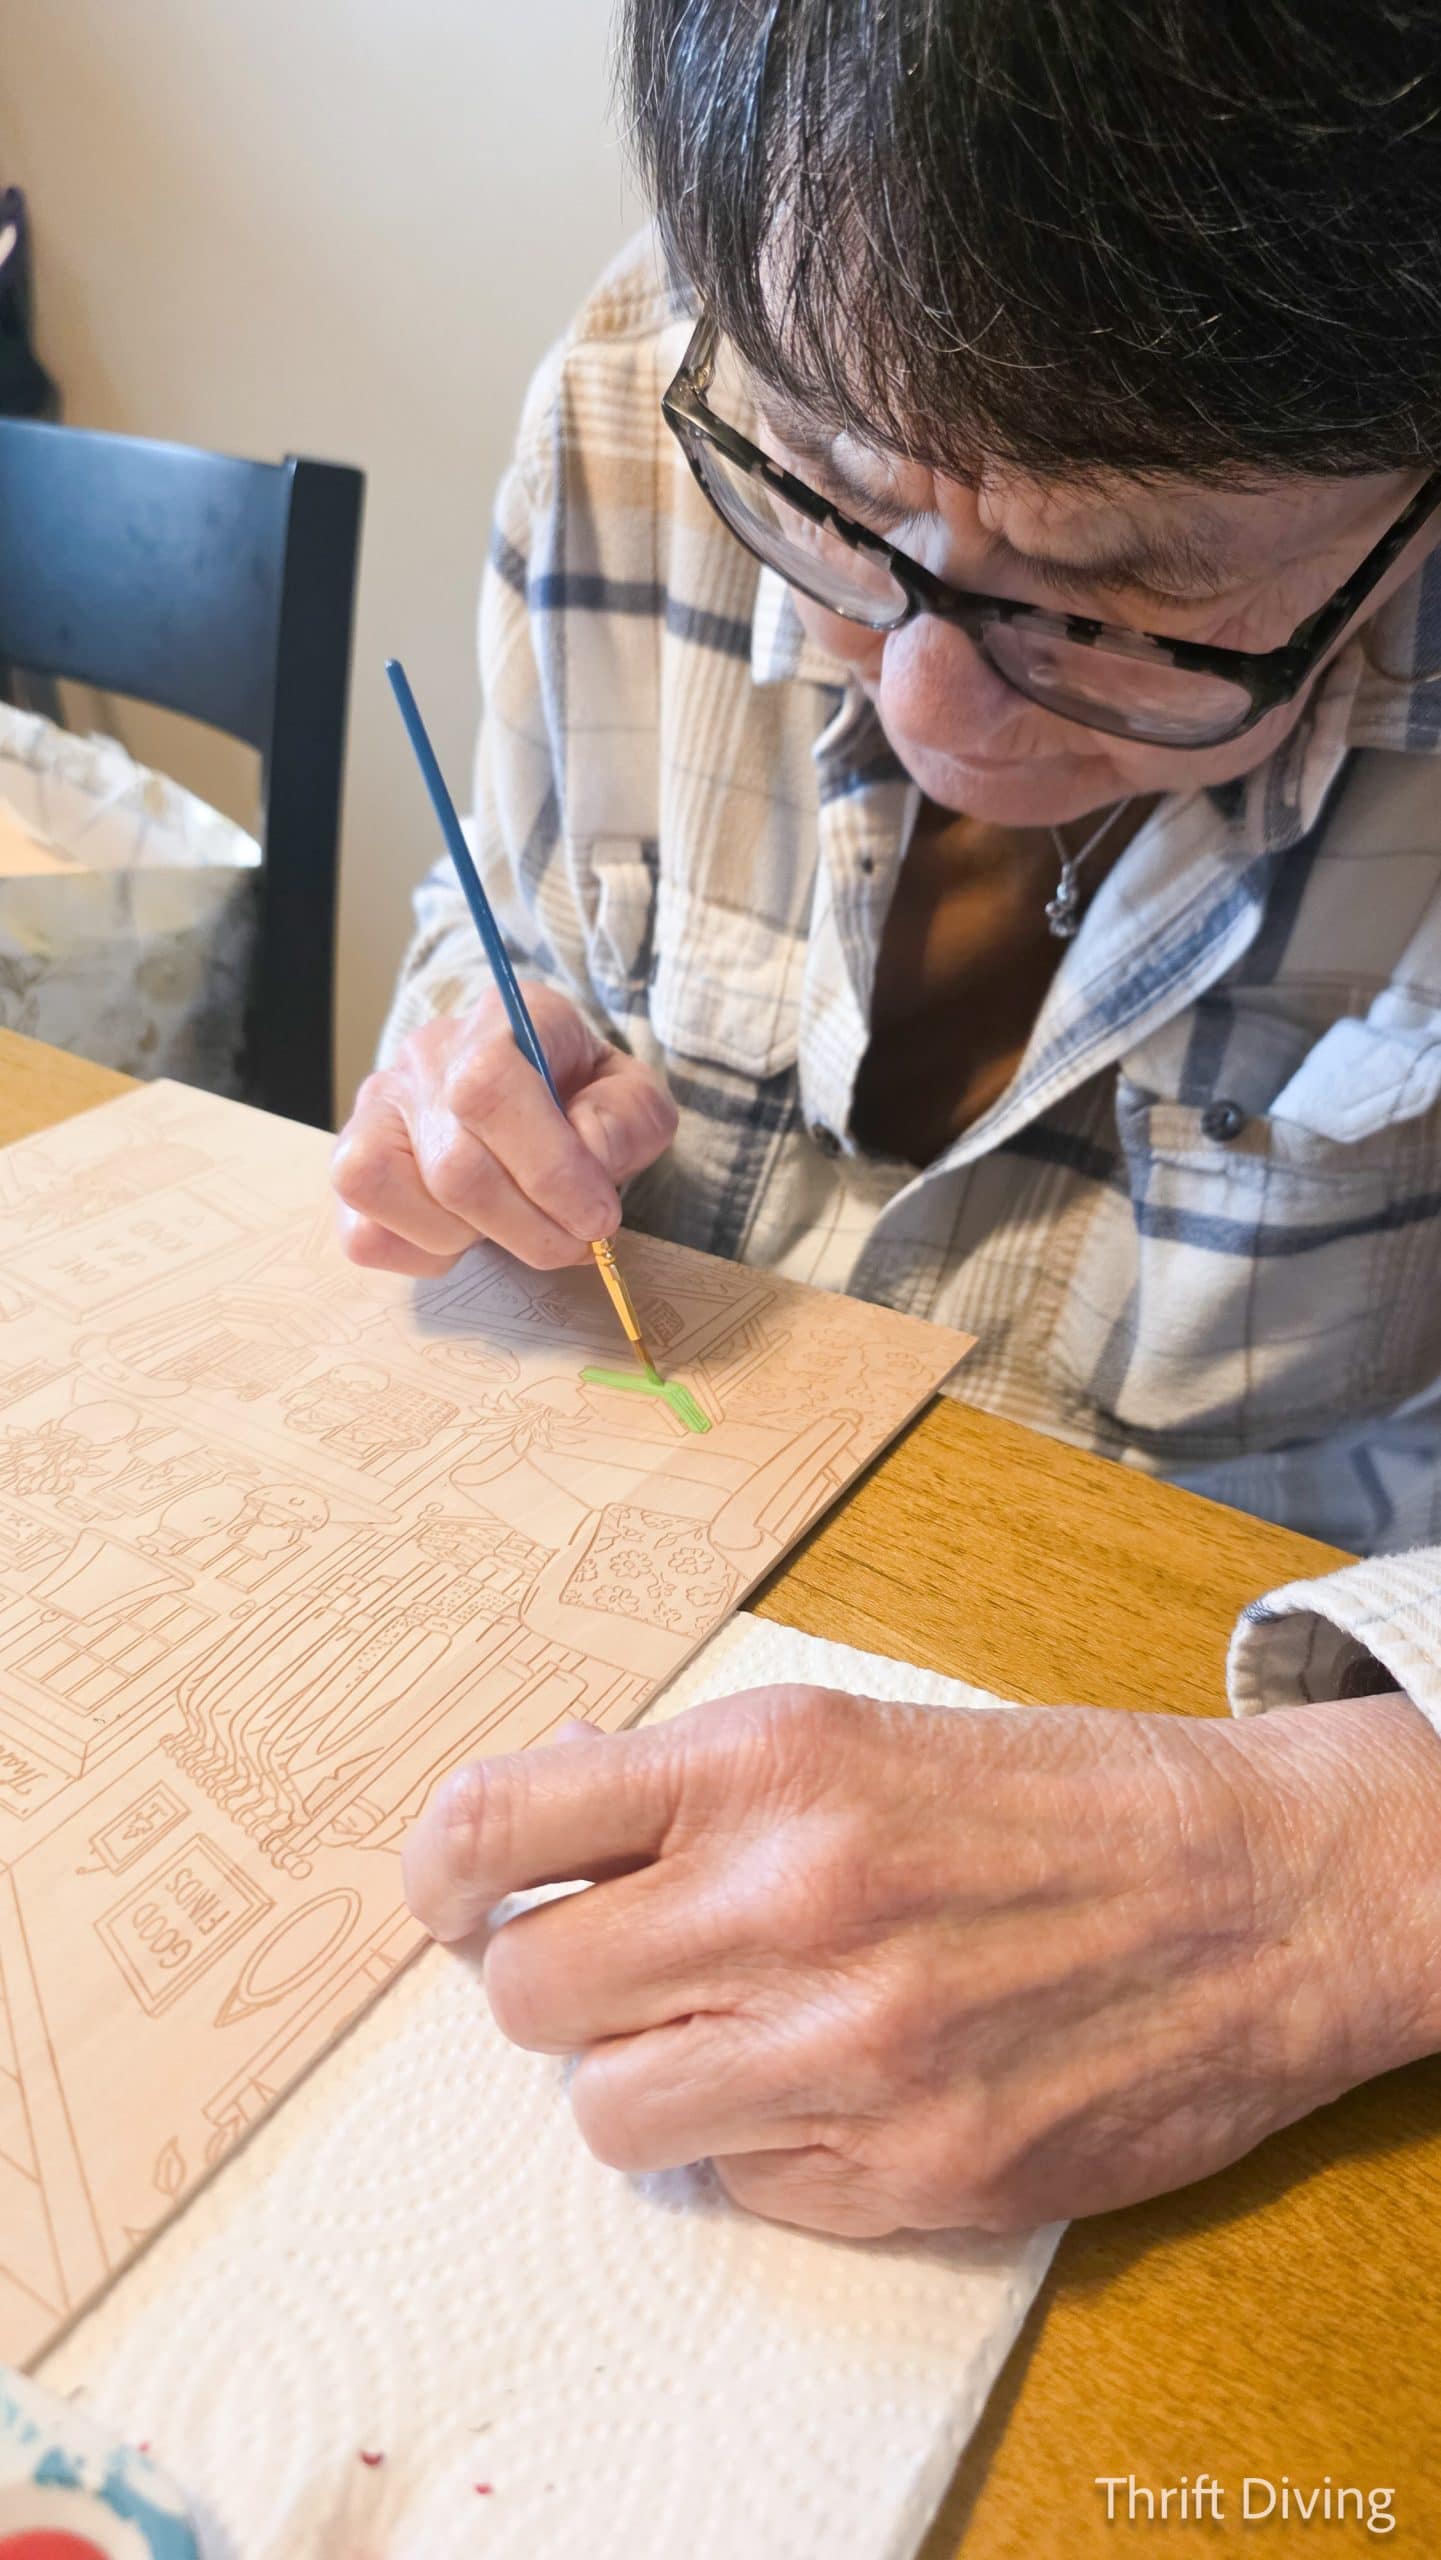
Because there is so much detail, we didn’t get done before it was time for me to go home. I packed up the paints and our wooden paint kids, storing them at her house. When I come back, we will finish them!
STEP 4: How to Request Edits to Images
If some of your images do need edits, I recommend:
- Sending screenshots with as much detail as possible. Use arrows and notations for providing details and attention.
- Show ZDigitizing (or your designer) what worked and what didn’t work; send images so they can visualize how the design engraved or cut.
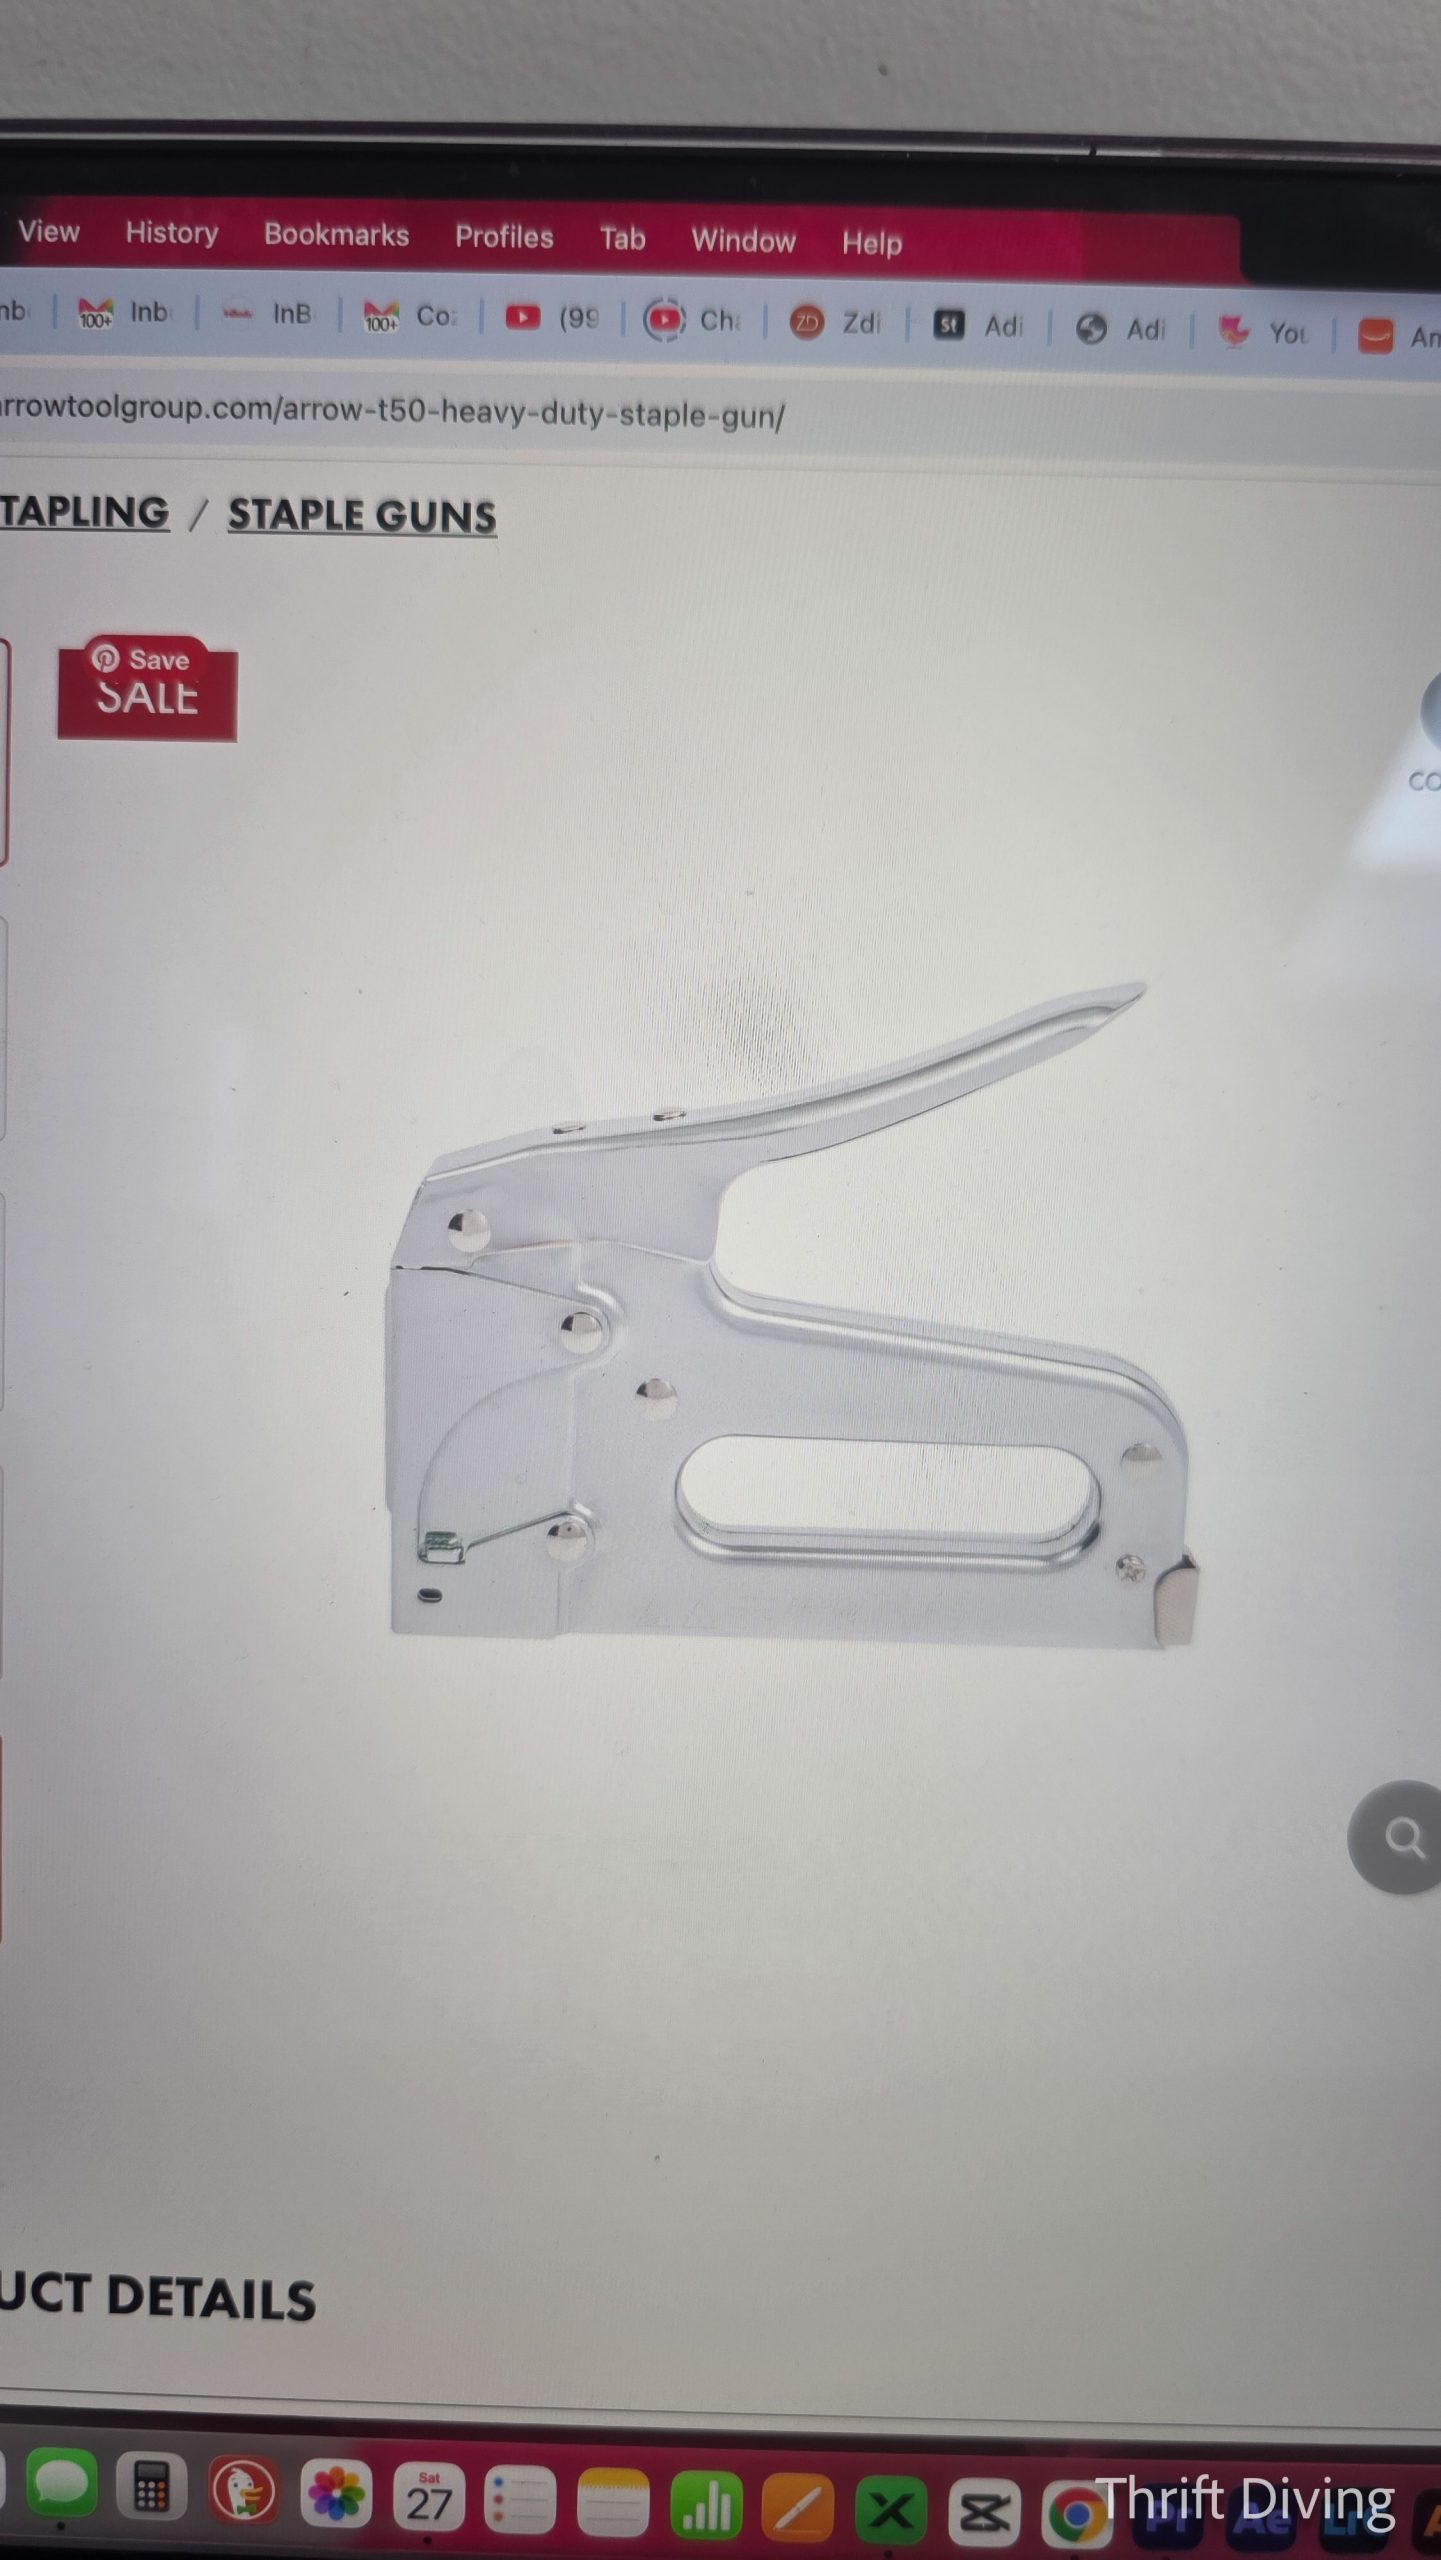
One of the images I wanted digitized was a silhouette for the Arrow T50 stapler. Arrow is one of my brand partners. Their T50 stapler is their flagship stapler. I wanted to make some stapler earrings to surprise my colleagues! 🙂 So I sent ZDigitizing a screenshot of the stapler for them to create a silhouette. I also asked ChatGPT to create a mock-up of the stapler.
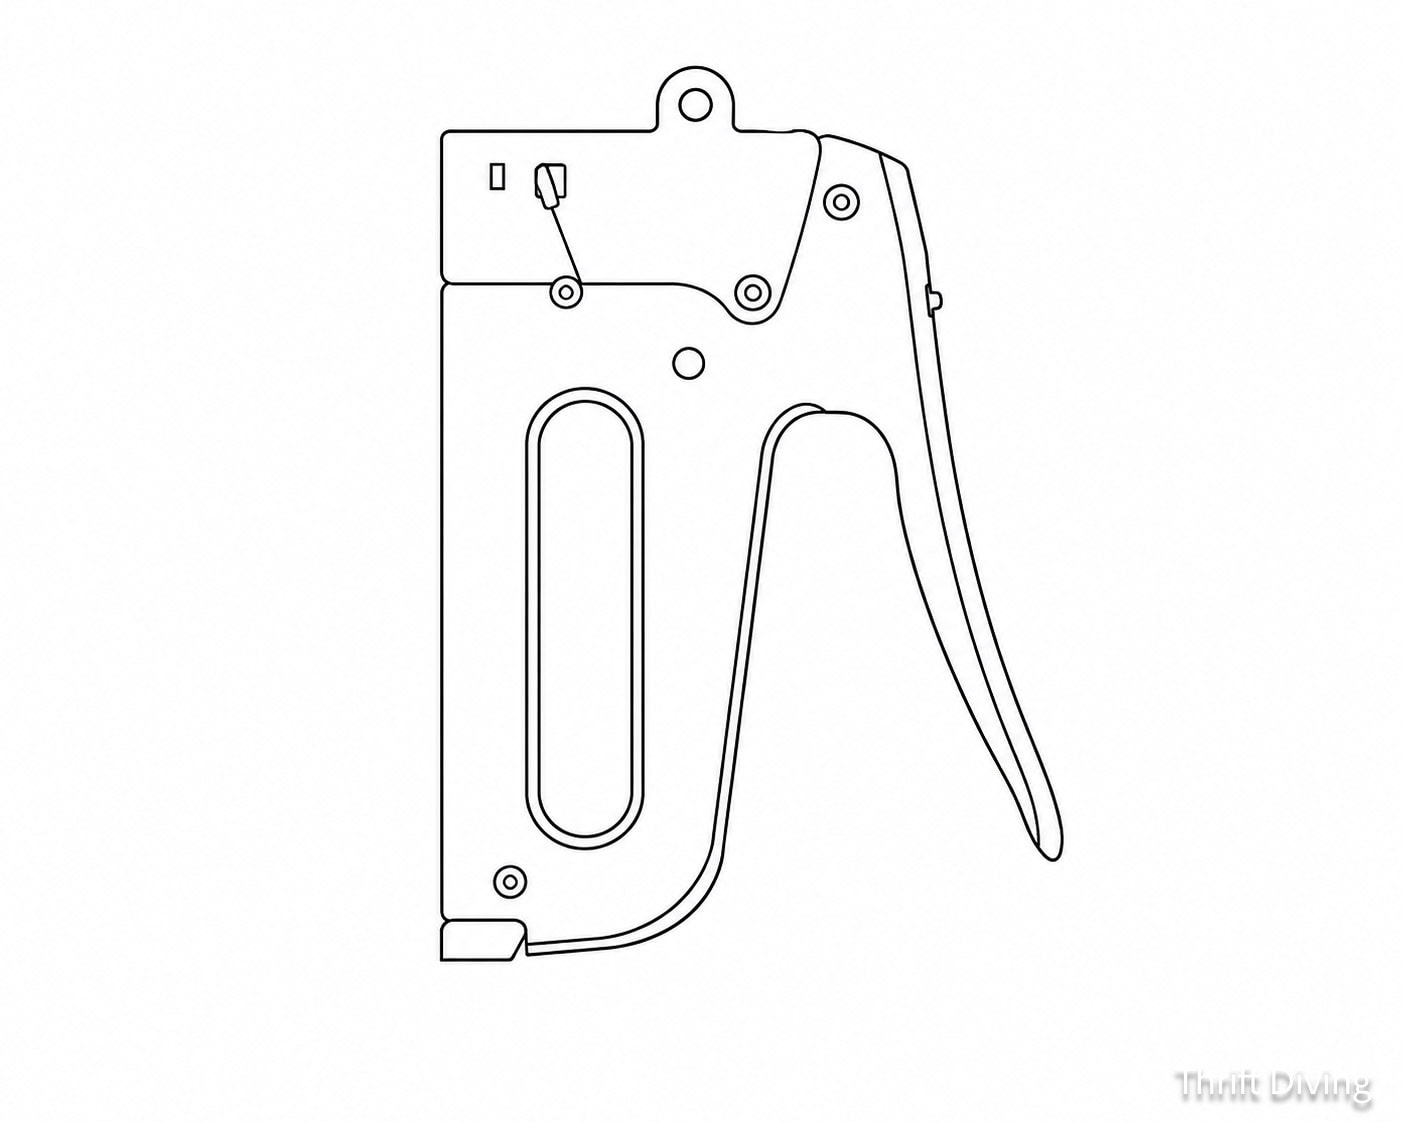
However, when they sent the file back and I sent it to my laser engraver and cutter, this is what it produced, which would not work for earrings. There were too many pieces (it should have been a silhouette, not pieces). And the earring hole was way too fragile.
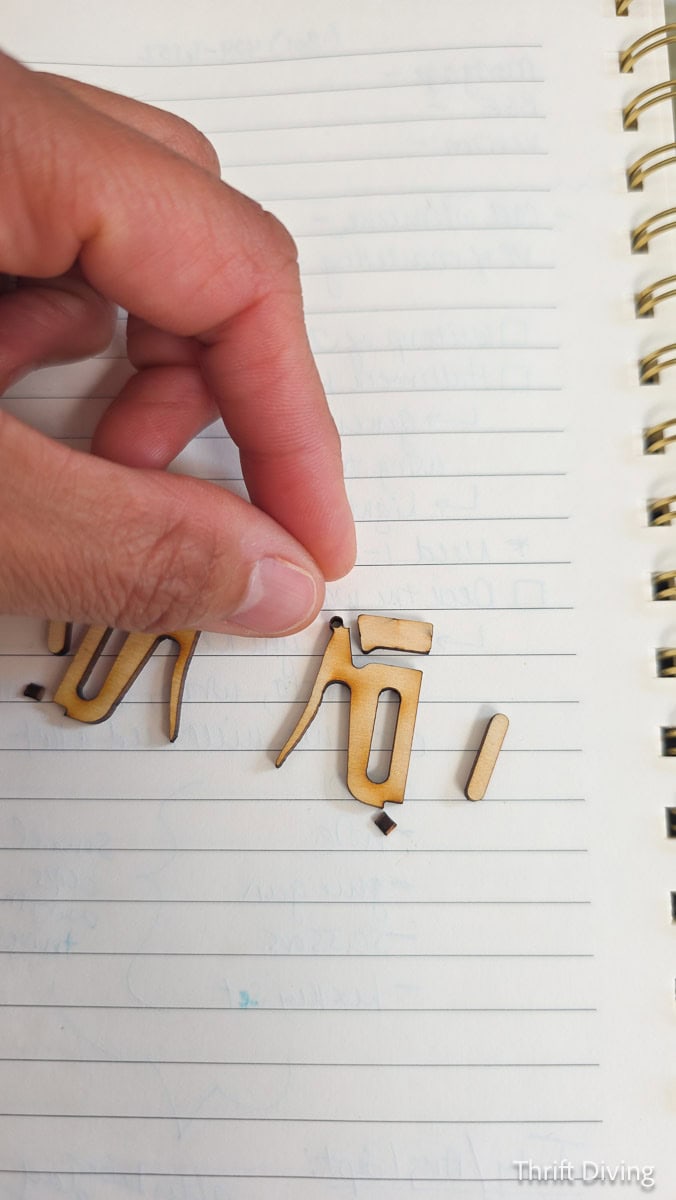
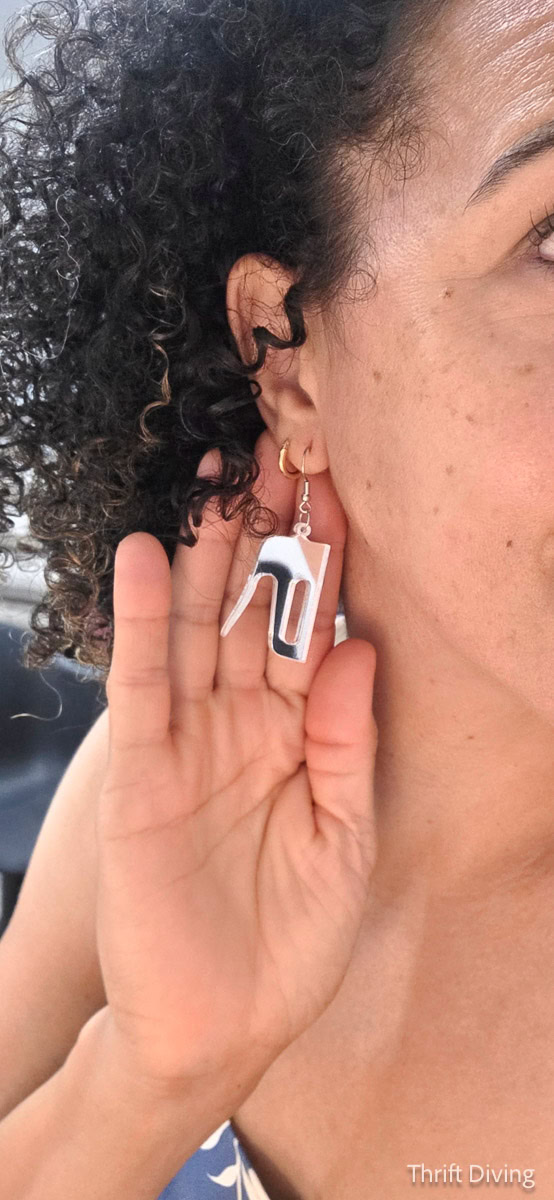
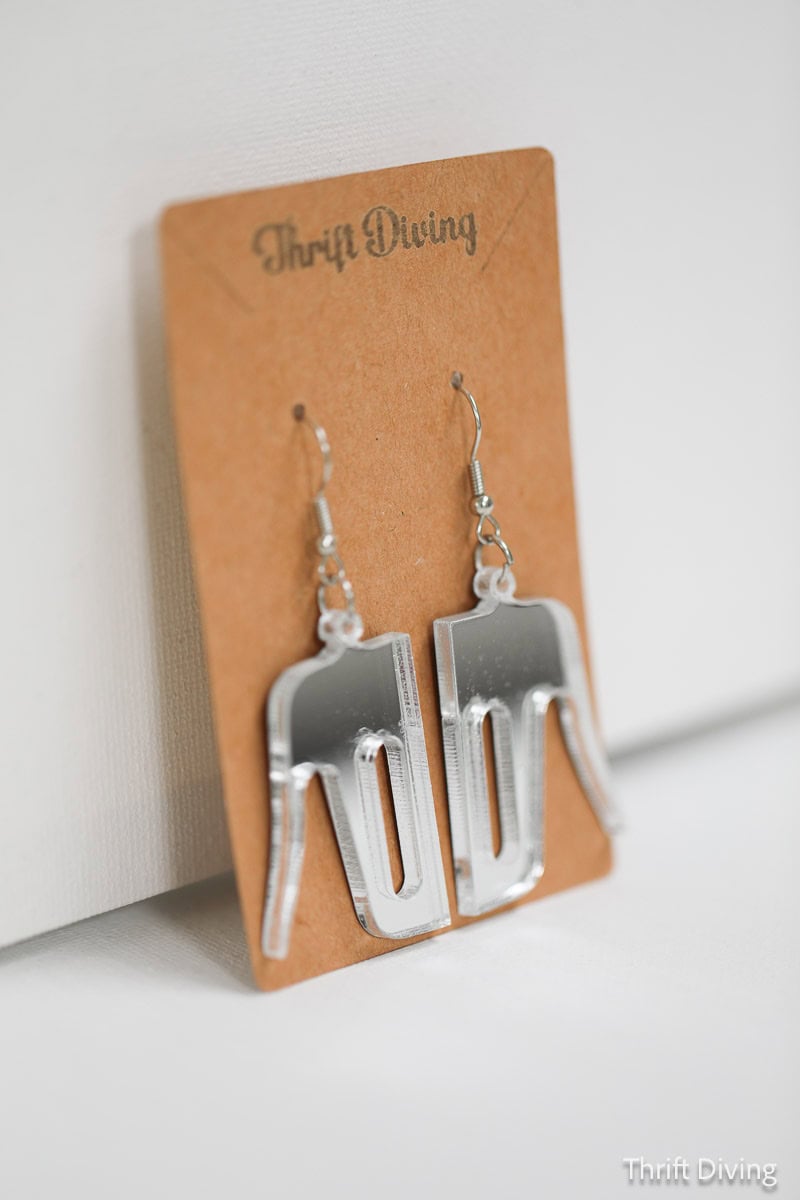
After a few edits, ZDigitizing sent me a cleaned up file with my edit requests, and I cut them out with mirror acrylic that looked like the exact replica of the chrome T50 staplers! 🙂 I mailed this surprise pair to my colleague. I can’t wait to get her reaction when they arrive in the mail!
STEP 5: Save Your Files!
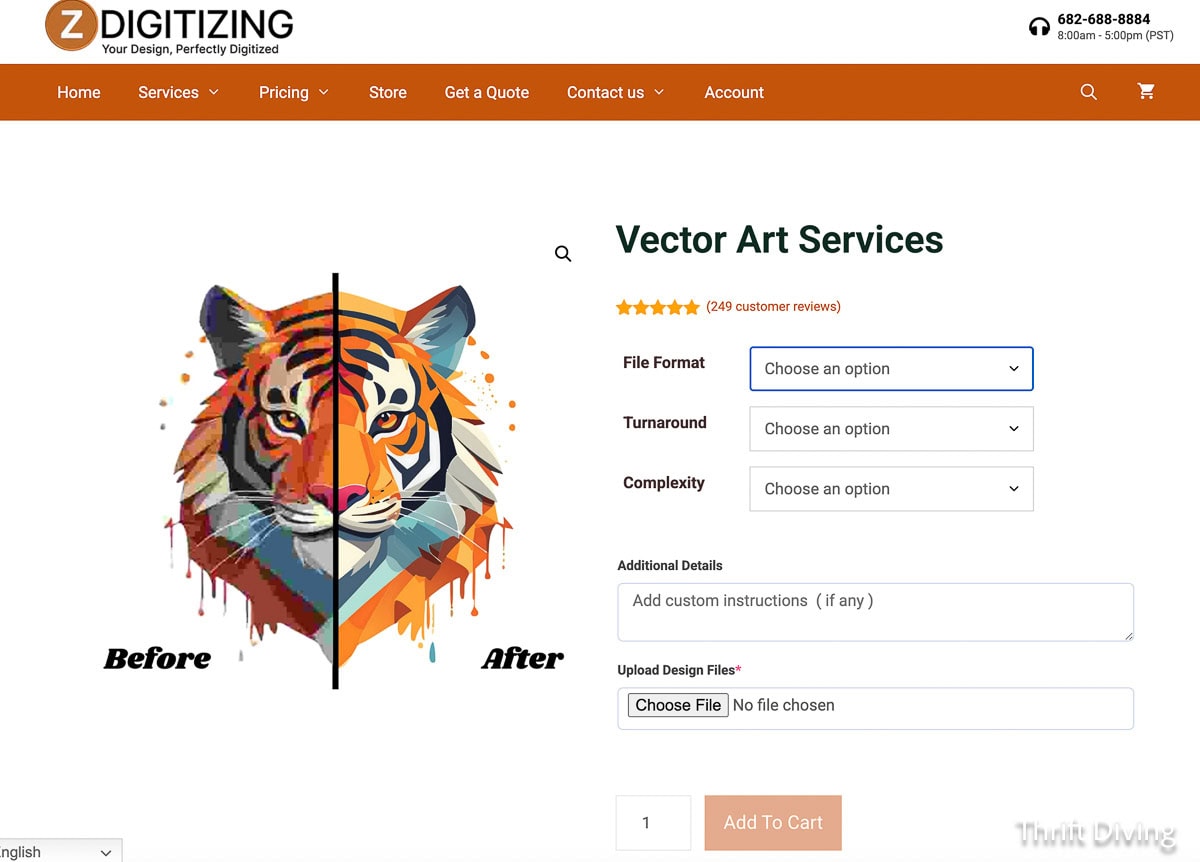
ZDigitizing sends multiple file types back for each image–.svg, .ai, and .eps, along with a .png preview image. They can also create PDF files). These files are yours to keep and you can sell them, make products with them to sell, or use them as you wish, as long as the image is your own intellectual property.
Back-up your files to an external hard drive, and to the cloud, so that once you’ve got a clean copy, you can use it again and again for years to come.
STEP 6: Sell Your Laser Designs!
I’ve been in the creative space since 2012, but I’ve never had a dedicated shop to sell creations. I’m currently putting together a Shopify with my laser engraving and cutting designs and cannot wait to sell them!
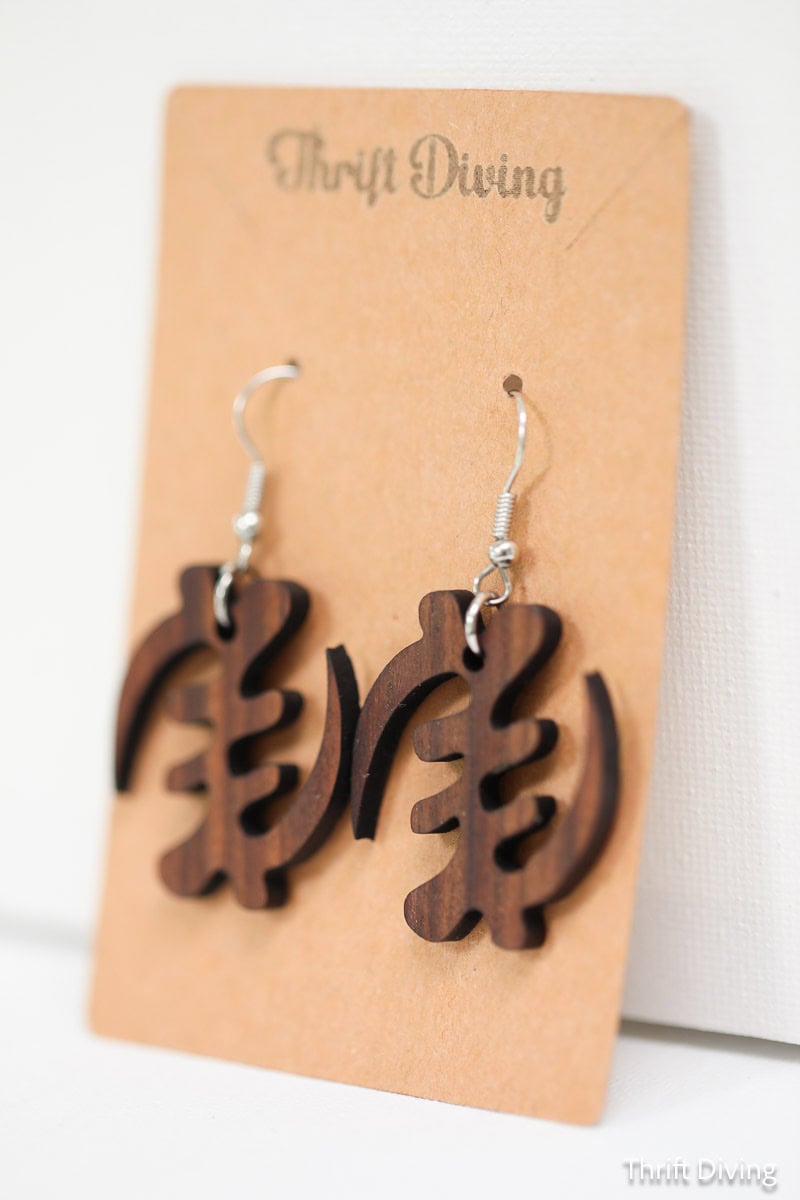
I want to sell things that you may not find in other shops–jewelry made from upcycled materials, acrylic, and exotic wood; as well as wooden crafts and more.
What kind of laser cut and engraved designs do you want to sell? Leave me a comment below and let me know!
Be sure to check out ZDigitizing.com and enter code “thrift50” to save 50% off your first order as a new customer. Give them a try and let me know what you think! Happy lasering!
Love this post? Click here to SAVE it on Pinterest!

Download the 5 freebies!

Thrift Diving inspires women to decorate, improve, and maintain their home themselves...using paint, power tools, and thrift stores! Use these 5 printables, checklists, and ebooks to get started!

A strong rewrite should improve more than word choice. It should clarify the main point, preserve the writer’s intended meaning, and give the draft a smoother progression from one idea to the next. An AI text rewriter can be most useful when it supports that editorial judgment instead of flattening every piece into the same voice. The final pass still benefits from checking whether each sentence earns its place.