Giant Jenga “Truth or Dare” for ALL AGES!
Giant Jenga isn’t a “new” thing. Just search it on Google or Pinterest and you’ll find tons of tutorials! Even the makers of Jenga have invented so many options for fun variations of this classic game. And although “Truth or Dare” giant Jenga has already been invented (it was new to me, though!), most of the versions I have recently found have questions and dares printed directly on the bricks.
While that can work, I like this version of giant Jenga “Truth or Dare” because the Jenga pieces have envelopes that can hold different cards for each game, for different ages groups, for different events! It’s super versatile and a lot of fun!
Let’s jump into how to make this giant Jenga “Truth or Dare” game!
Click here to save this post on Pinterest!

Materials for Giant Jenga
(I participate in the Amazon Services LLC Associates Program and other affiliate advertising programs designed to provide a means for me to earn fees by linking to Amazon.com and affiliated sites).
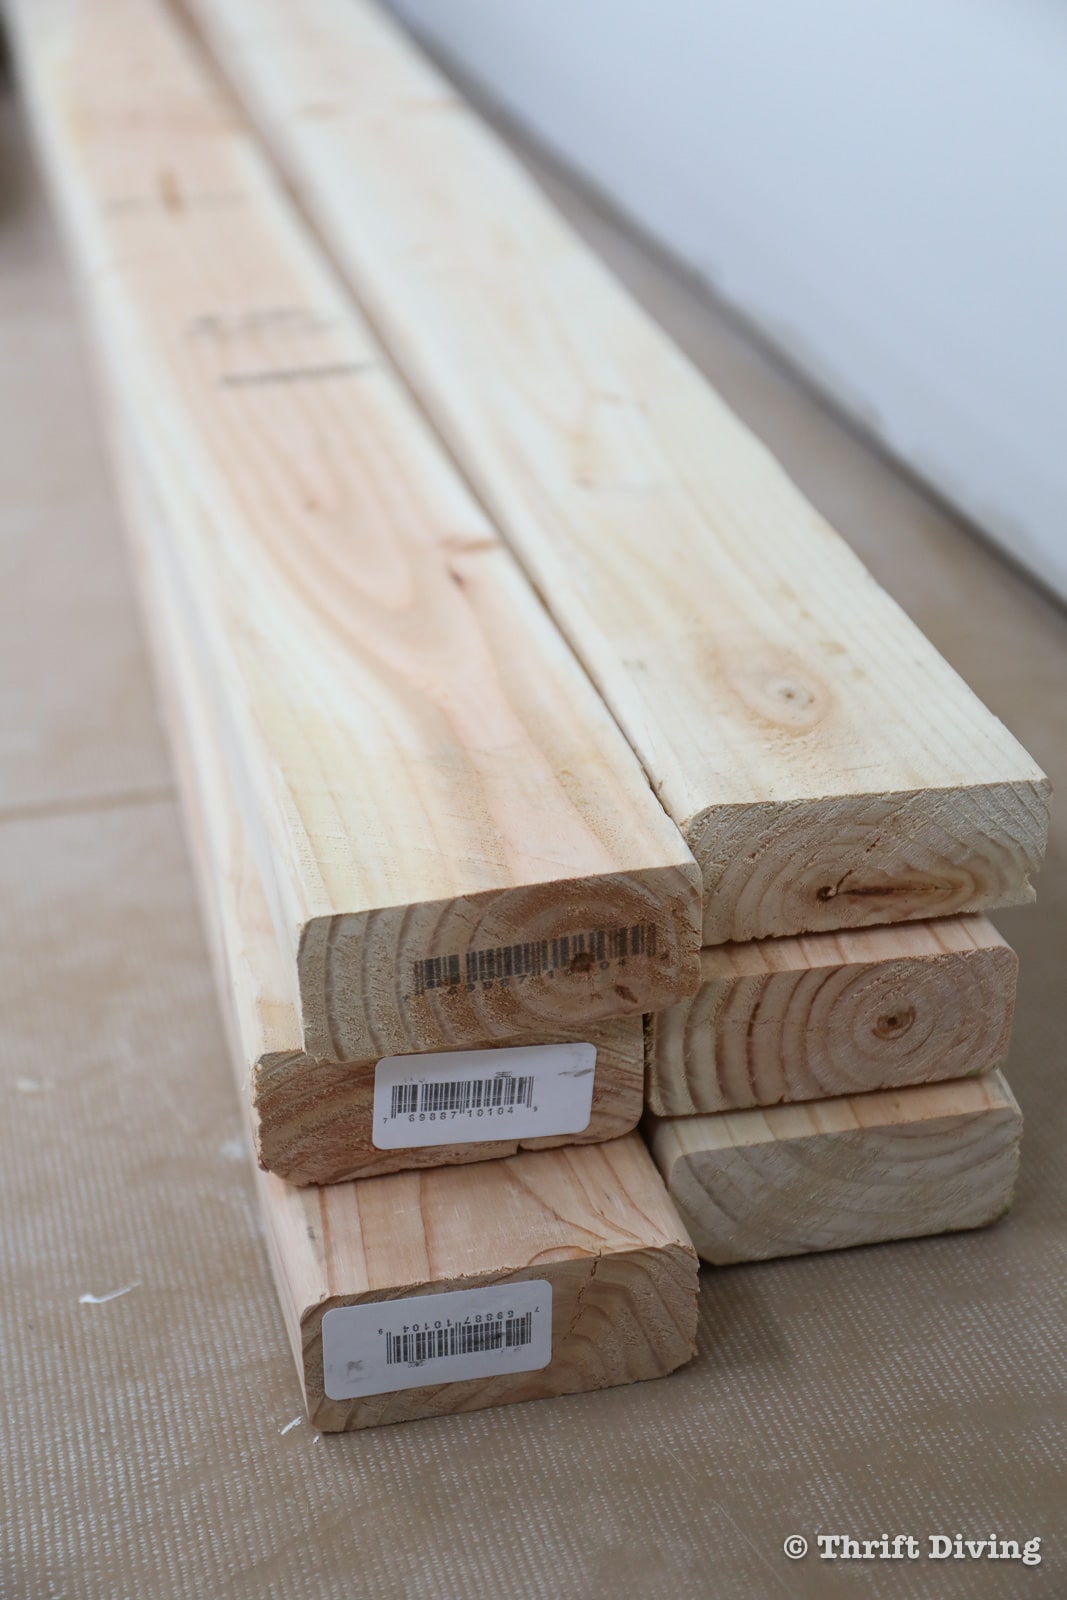
- Six – eight 2′ x 4′ boards
- Scotch Extreme Vinyl
- Cricut machine or other vinyl cutting machine
- Miter saw, circular saw, jigsaw (whichever tool you own)
- Orbital sander or belt sander (or sand by hand)
- 150-grit sandpaper
- 220-grit sandpaper
- Clear topcoat to protect wood pieces
- Paint brush
- Tape measure
- Speed square
- Clamps
- Pencil
- Dust mask
- Homemade notecards for Truth or Dare questions
- Laminating machine (optional)
Watch This Project in Action!
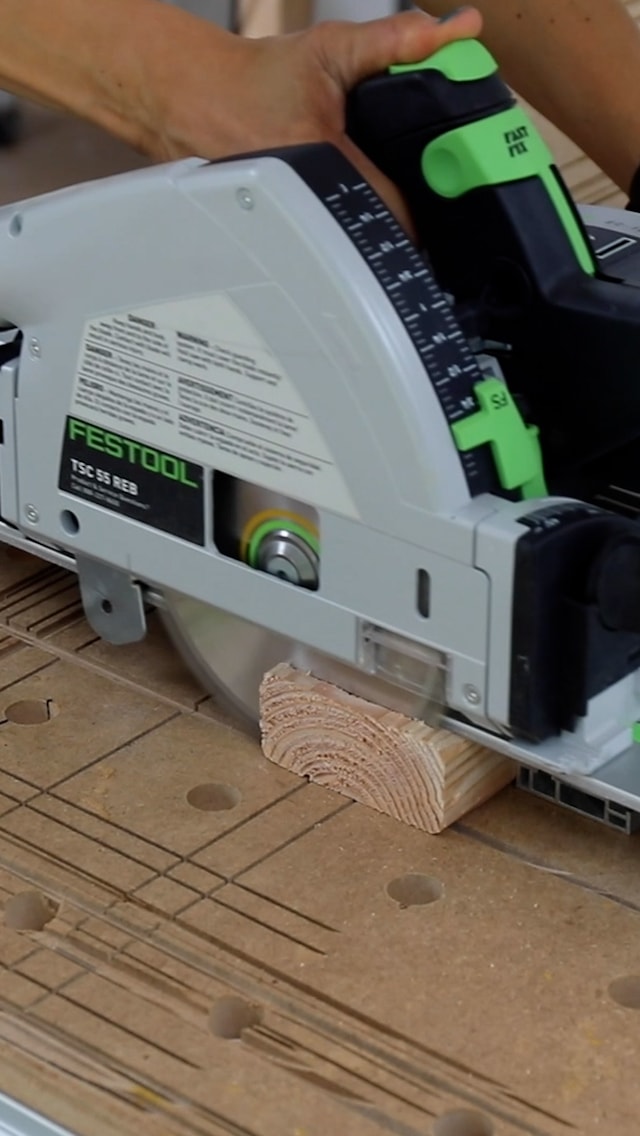
STEP 1: Cut 54 Pieces of 2′ x 4′ Wood
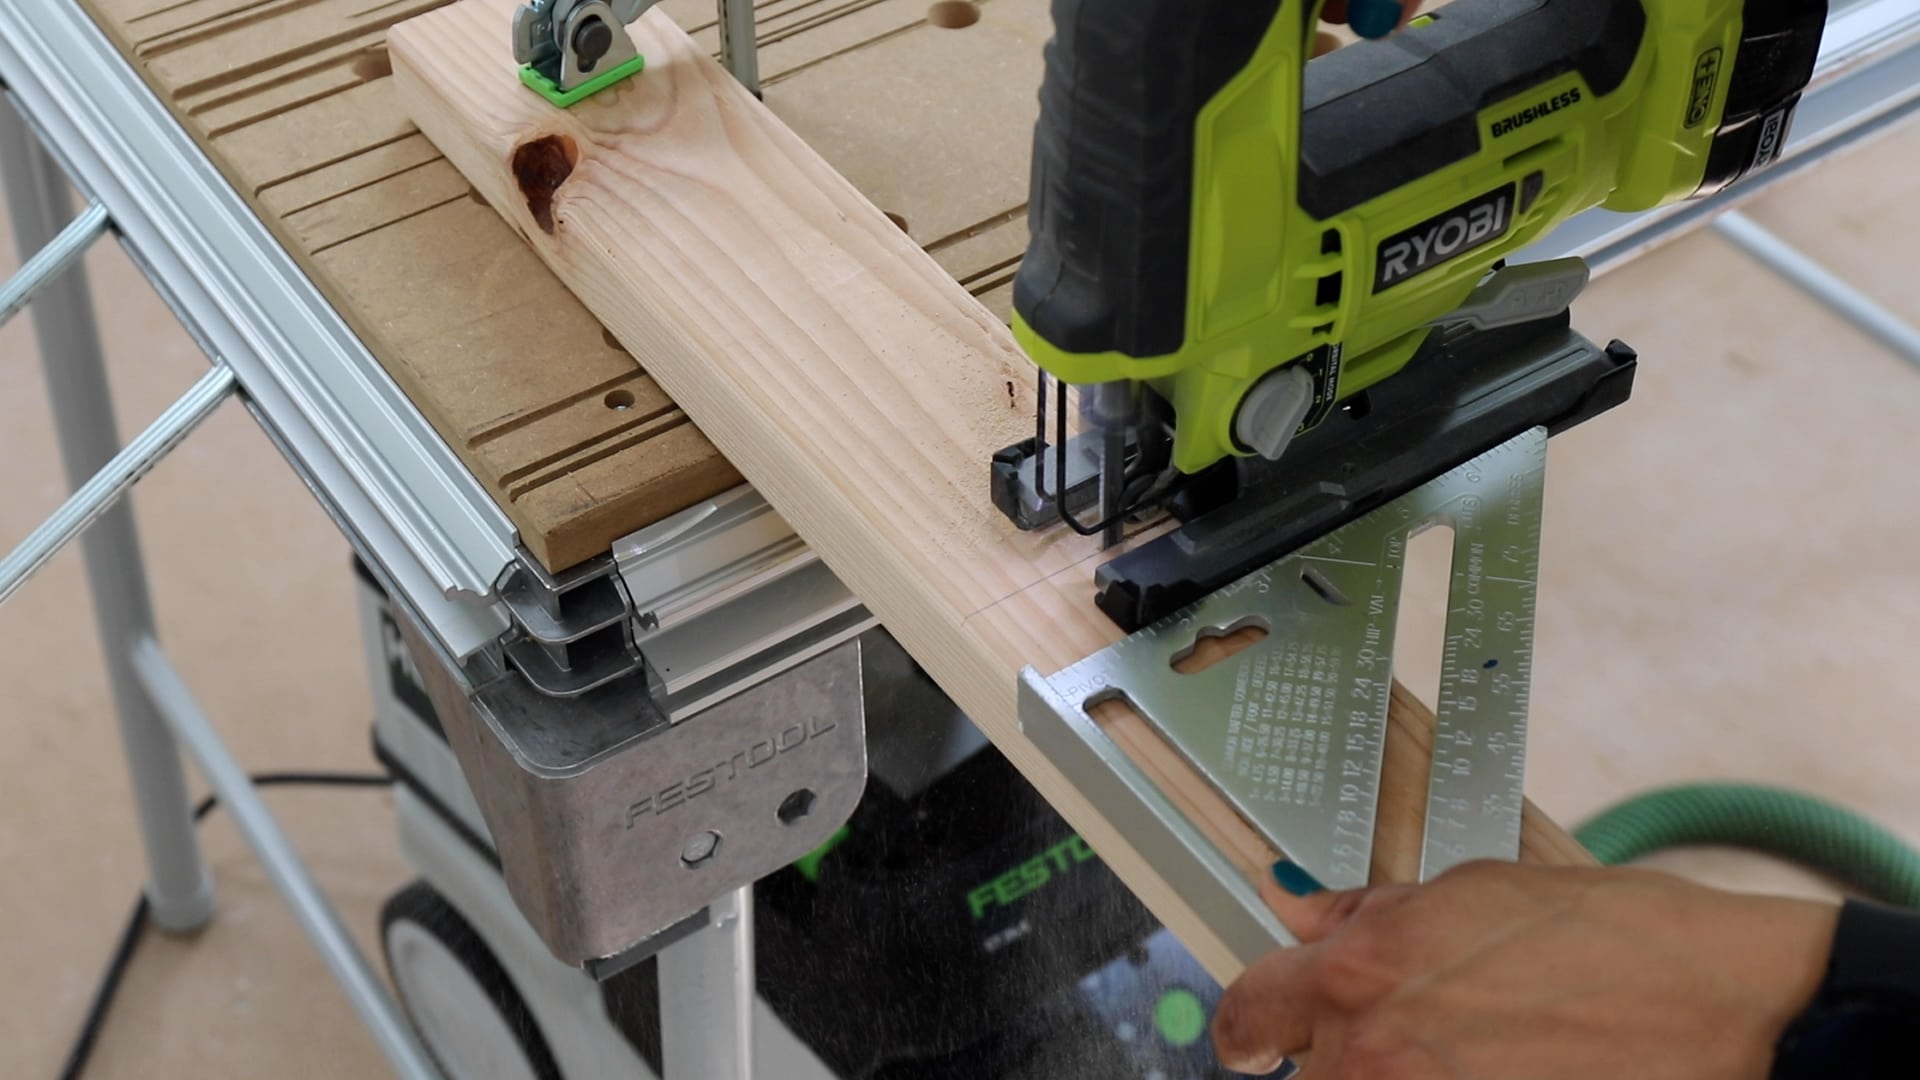
Using a miter saw, cut each piece of wood 10.5″ long. You can use a stop on your miter saw so that you can easily make repeatable cuts, which is faster. You can also use a circular saw or a jigsaw to cut the wood. If you’re not sure how to use a jigsaw, you can watch this tutorial on How to Use a Jigsaw for Newbies.
Before cutting each board, however, cut off the end, which is really rough. You’ll want a nice, clean edge to the board before measuring and cutting the 10.5″.
Use a speed square to draw a straight line to cut. Use the speed square to create a steady edge when cutting. Clamp down the 2x4s before cutting.
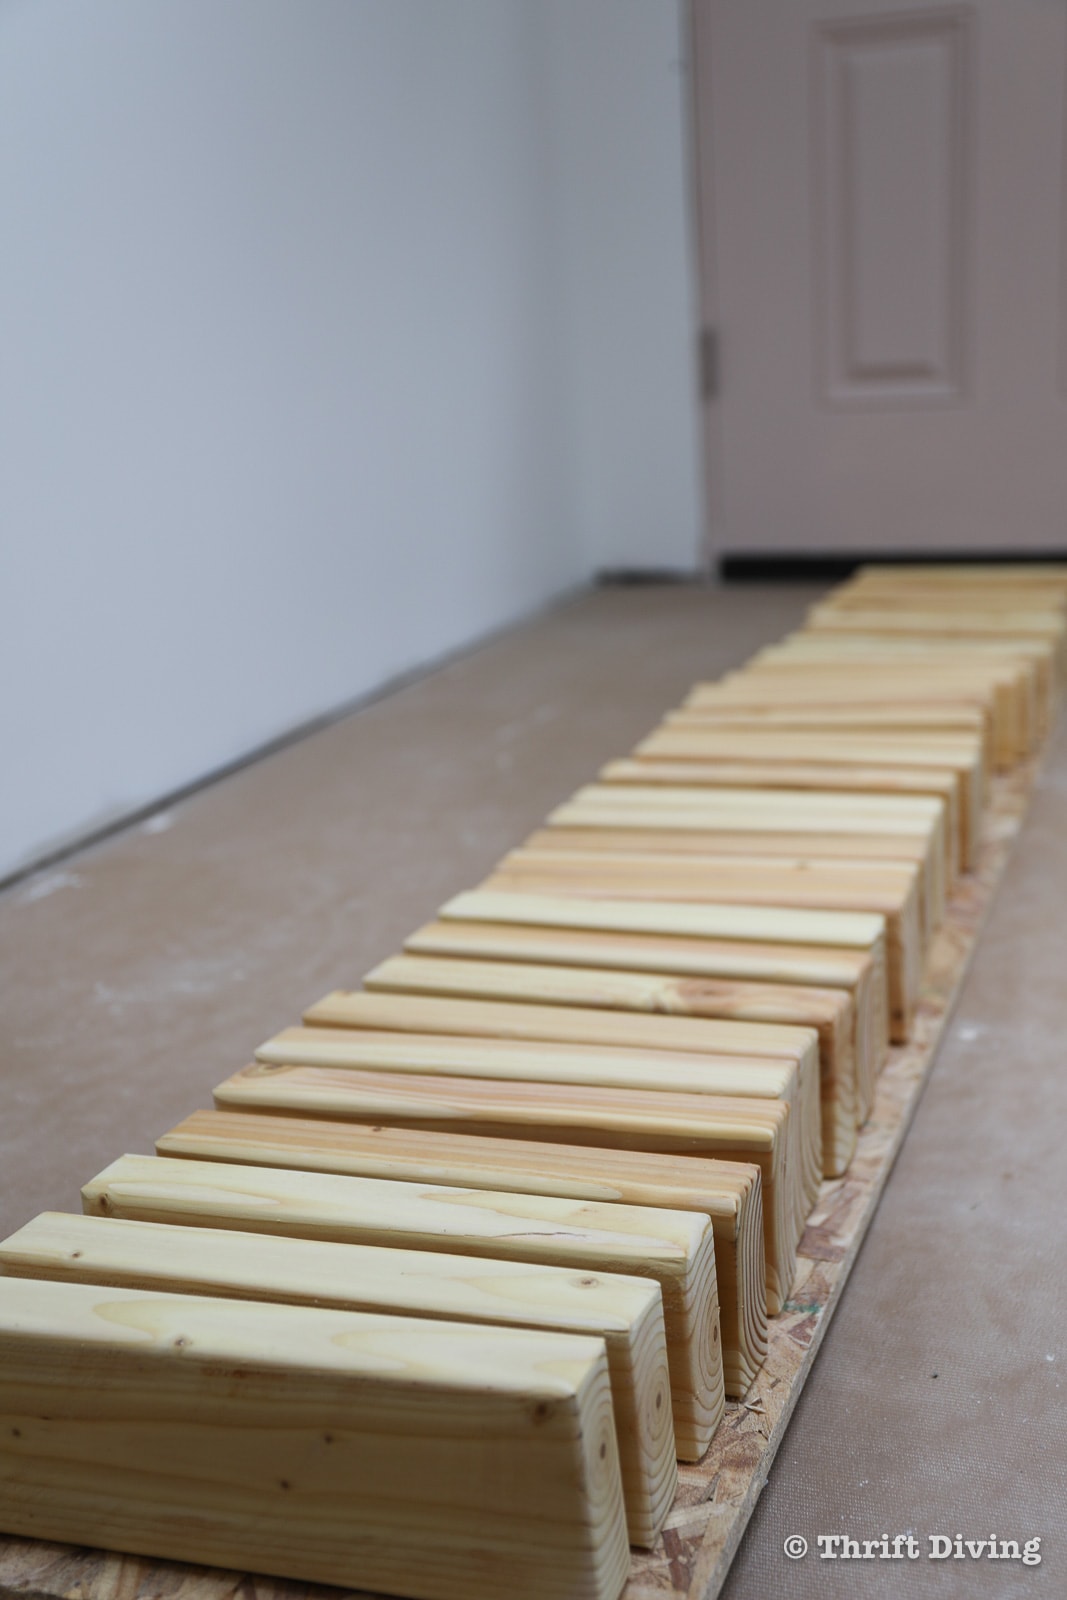
You’ll have 54 pieces cut by the time you’re done. It’s a lot of pieces!

STEP 2: Sand Each Piece Smooth
These pieces of 2′ x 4′ are going to be super rough. They’re 2′ x 4’s after all; not made for crafting, but rather, rough carpentry. So you’ll need a good orbital sander to quickly smooth out all the splinters and round off the edges.

I’ll admit that sanding by hand or using an orbital sander will take a long time. If you have a belt sander, it goes much faster! Each side was sanded, and I also gently maneuvered the pieces while sanding to smooth out and round the ends of the board. Wear a dust mask. This part is messy!

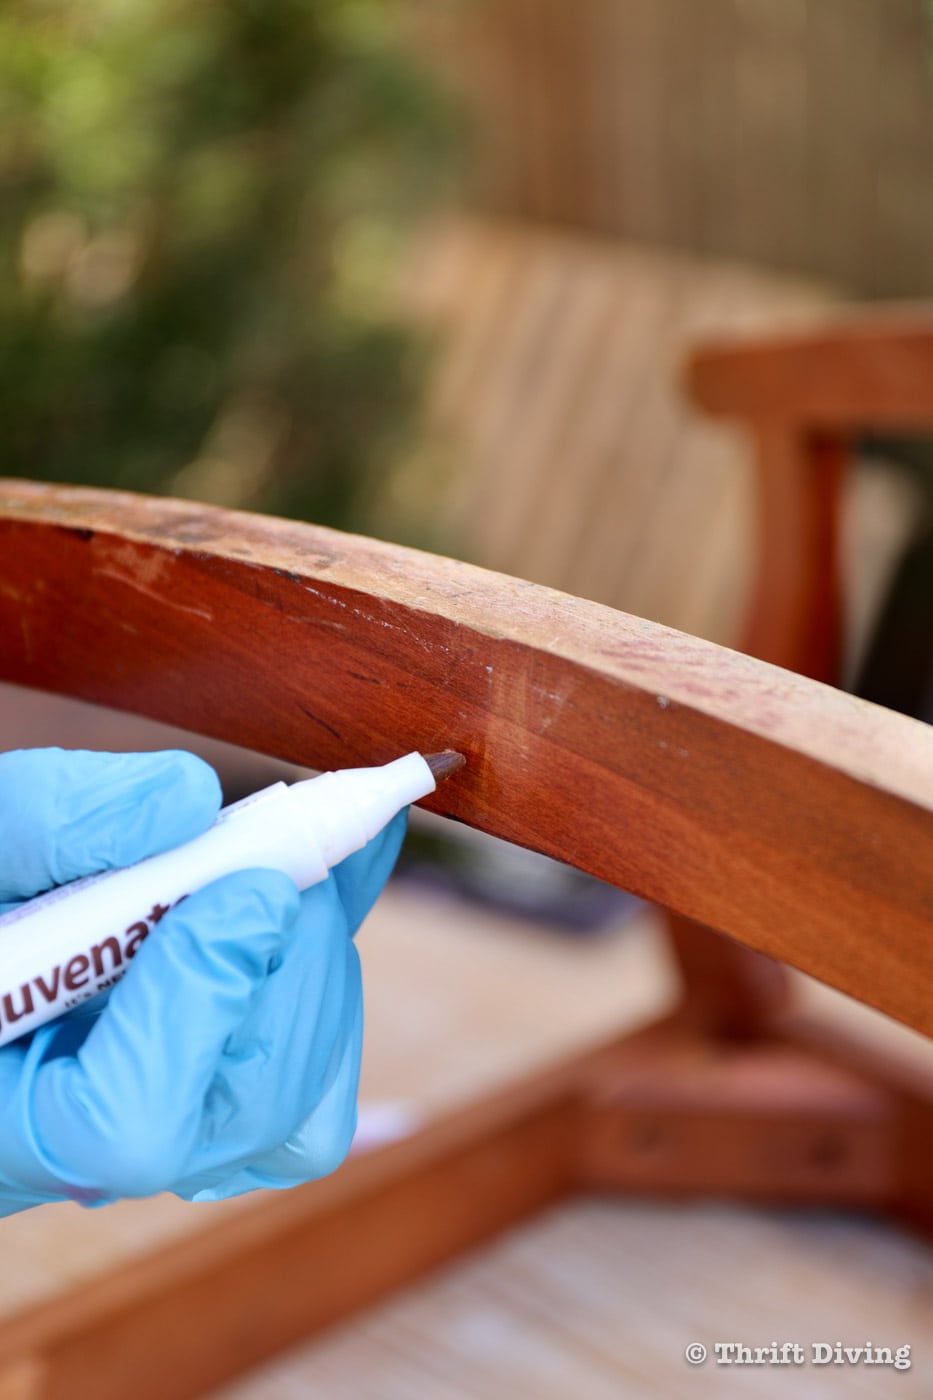
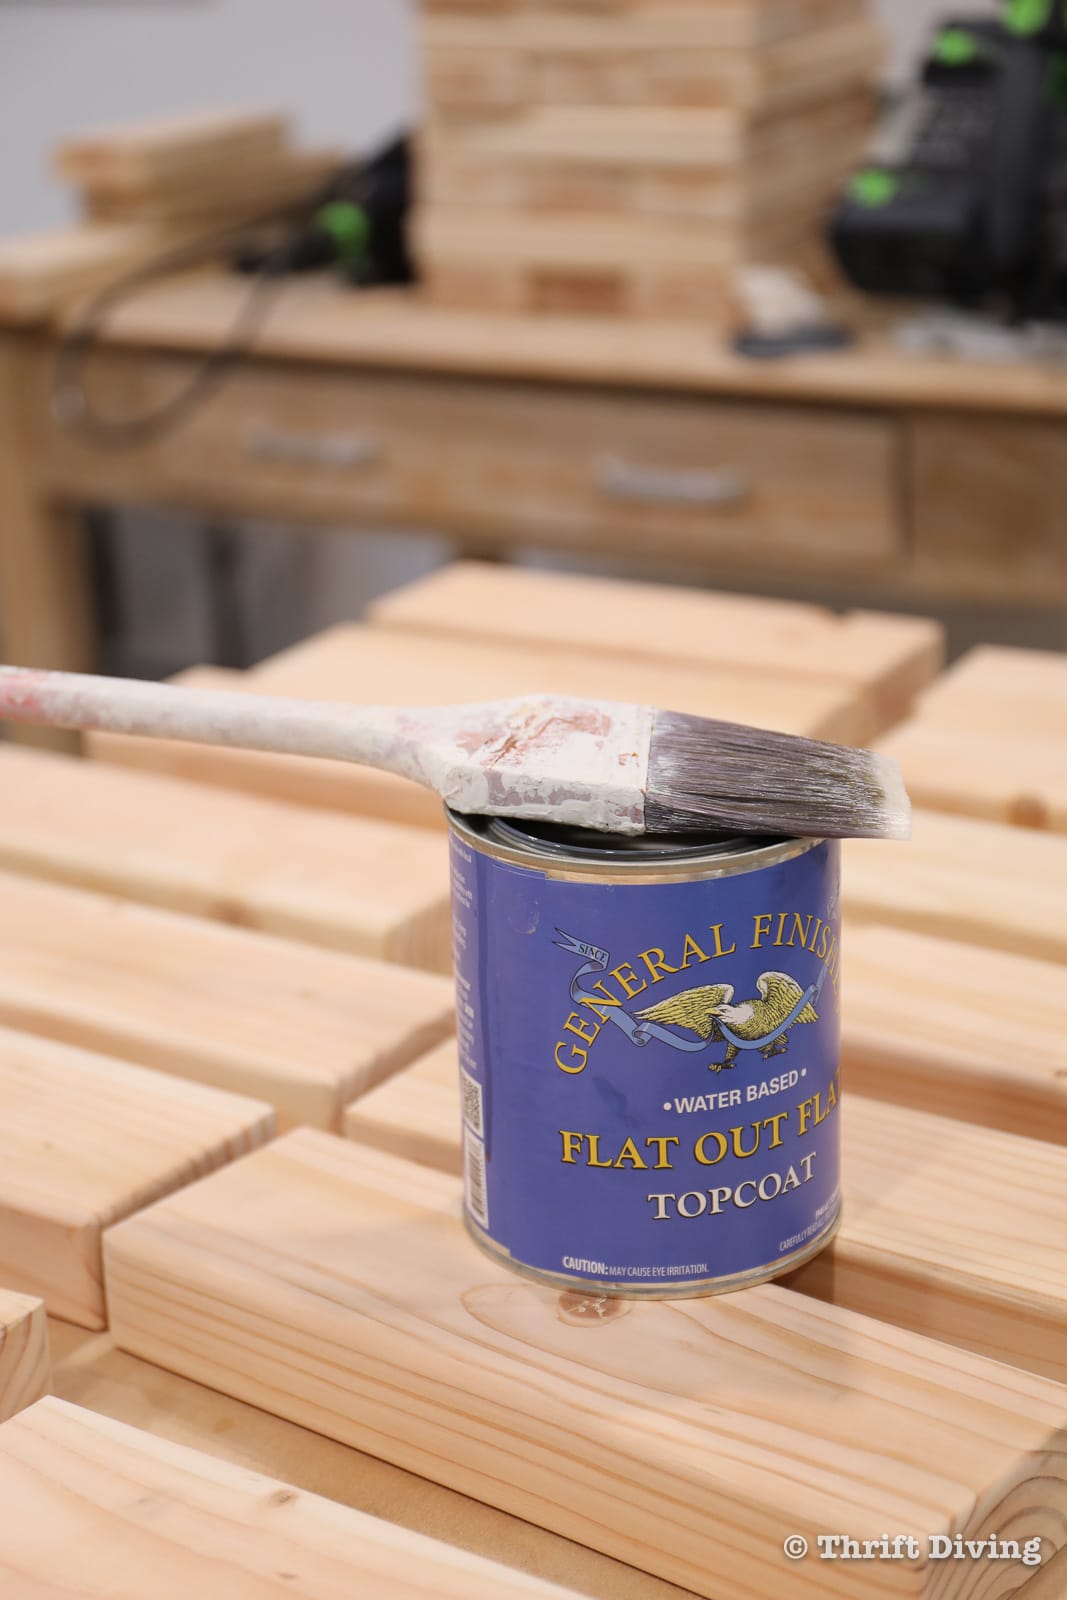
STEP 3: Apply a Coat of Top Coat
Since you’ll likely be using this giant Jenga game outdoors, you’ll want to protect it from the elements. Apply a top coat to the pieces to protect the wood. You can stain it if you want to get really fancy with it, but it’s not needed. One coat should be enough, but if you want the pieces to be really smooth, once the giant Jenga pieces dry, sand it smooth with 220 fine grit sandpaper and do a second coat. For my pieces, I did one coat of General Finishes Flat Out topcoat and once dried, sanded off the roughness of the topcoat and wiped the dust away. One coat was enough.
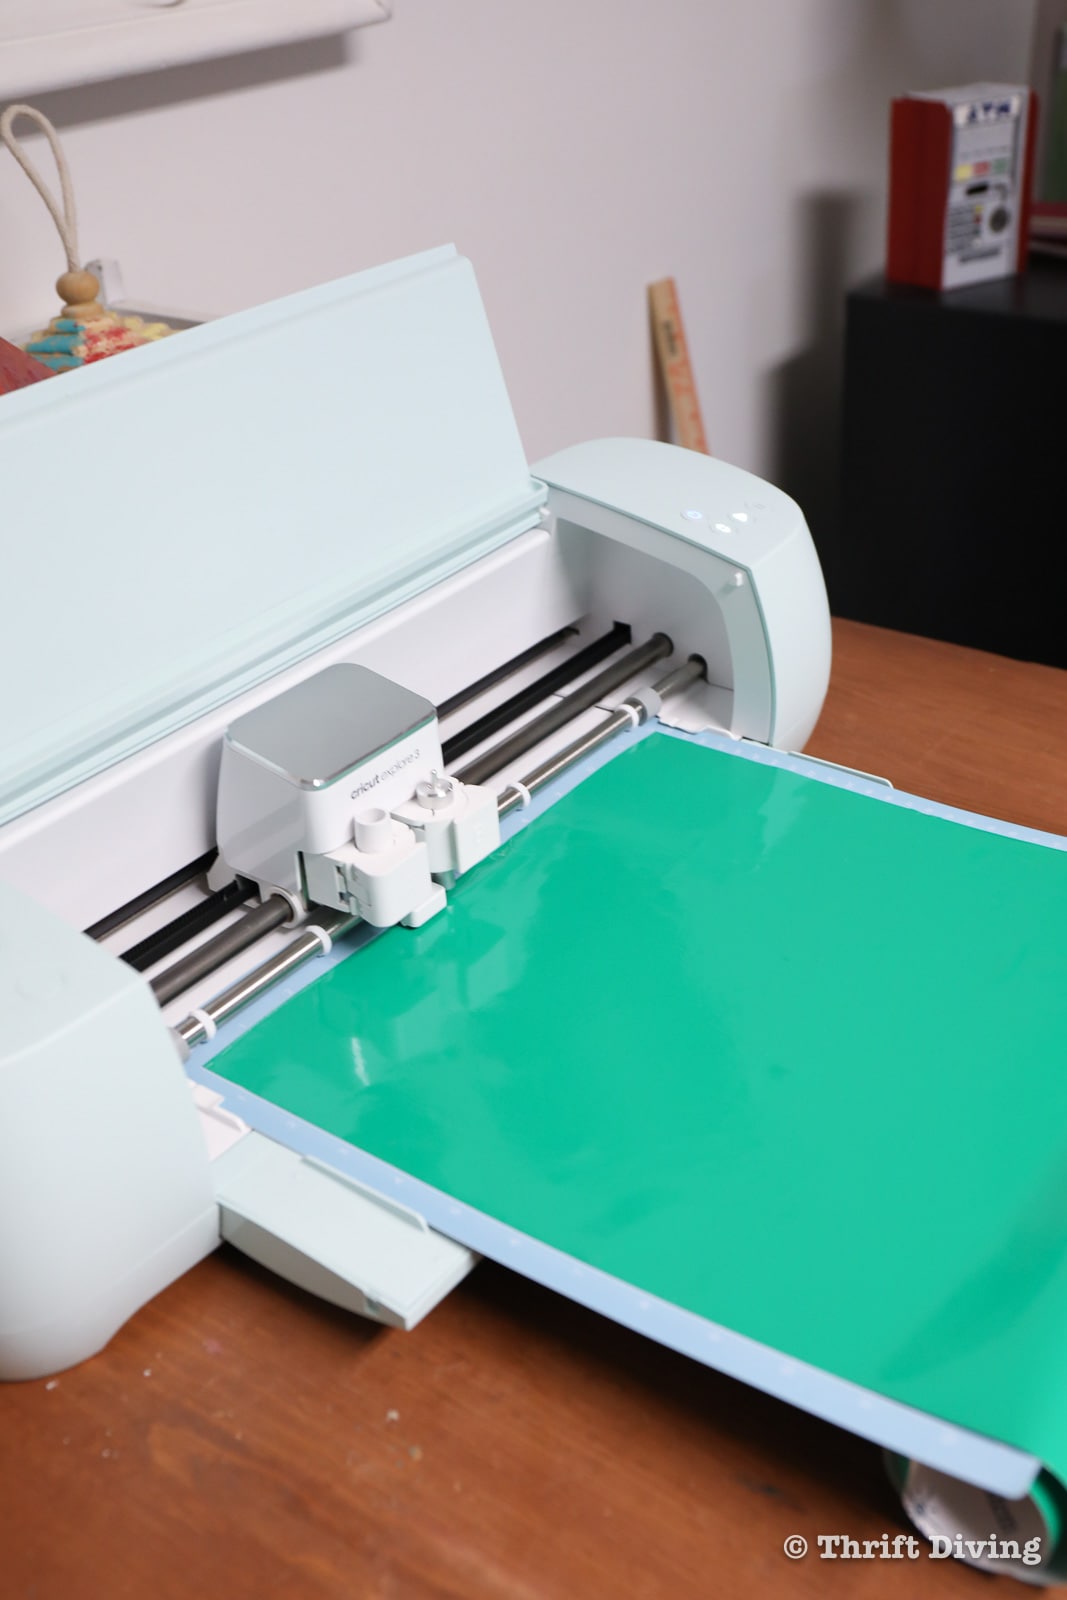
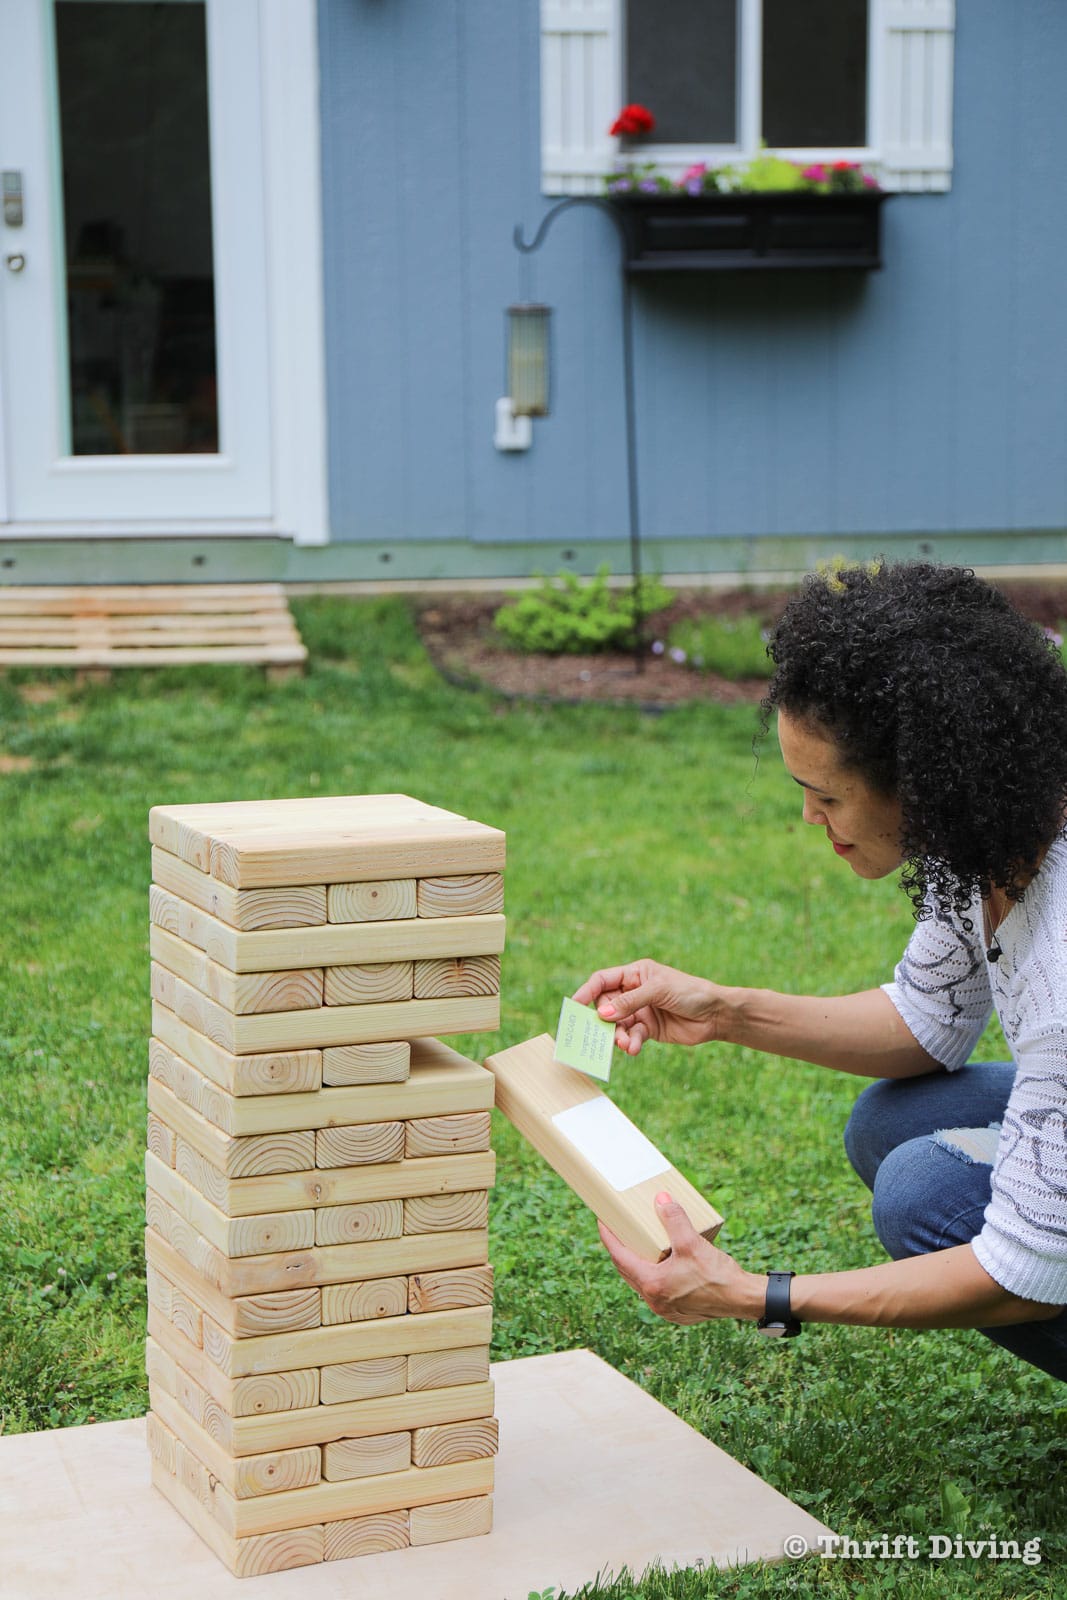
STEP 4: Cut Out Vinyl Pockets
Some of the giant Jenga pieces will have fun “Truth or Dare” playing cards tucked into them! For this, I’m using Scotch Extreme Vinyl, which holds under some of the toughest outdoor conditions. It’s easy to position into place and glides across the surface until firmly pressed into place. Many times, vinyl can trap air but this vinyl has channels that alleviates trapped air for smooth applications. When you’re ready for a change, it removes easily and without residue.
To create the pockets, you’ll need to cut 3 pieces of Scotch Extreme Vinyl:
- Backing: 3″ x 4:”
- Top piece: 3″ x 3″
- Inside piece: 2.5″ x 2.75″
The goal is to create a little pocket on the giant Jenga block to insert the playing cards. It needs to stick, but it also needs to not be sticky on the inside of the pocket so the playing cards can easily be inserted and removed in the pockets.
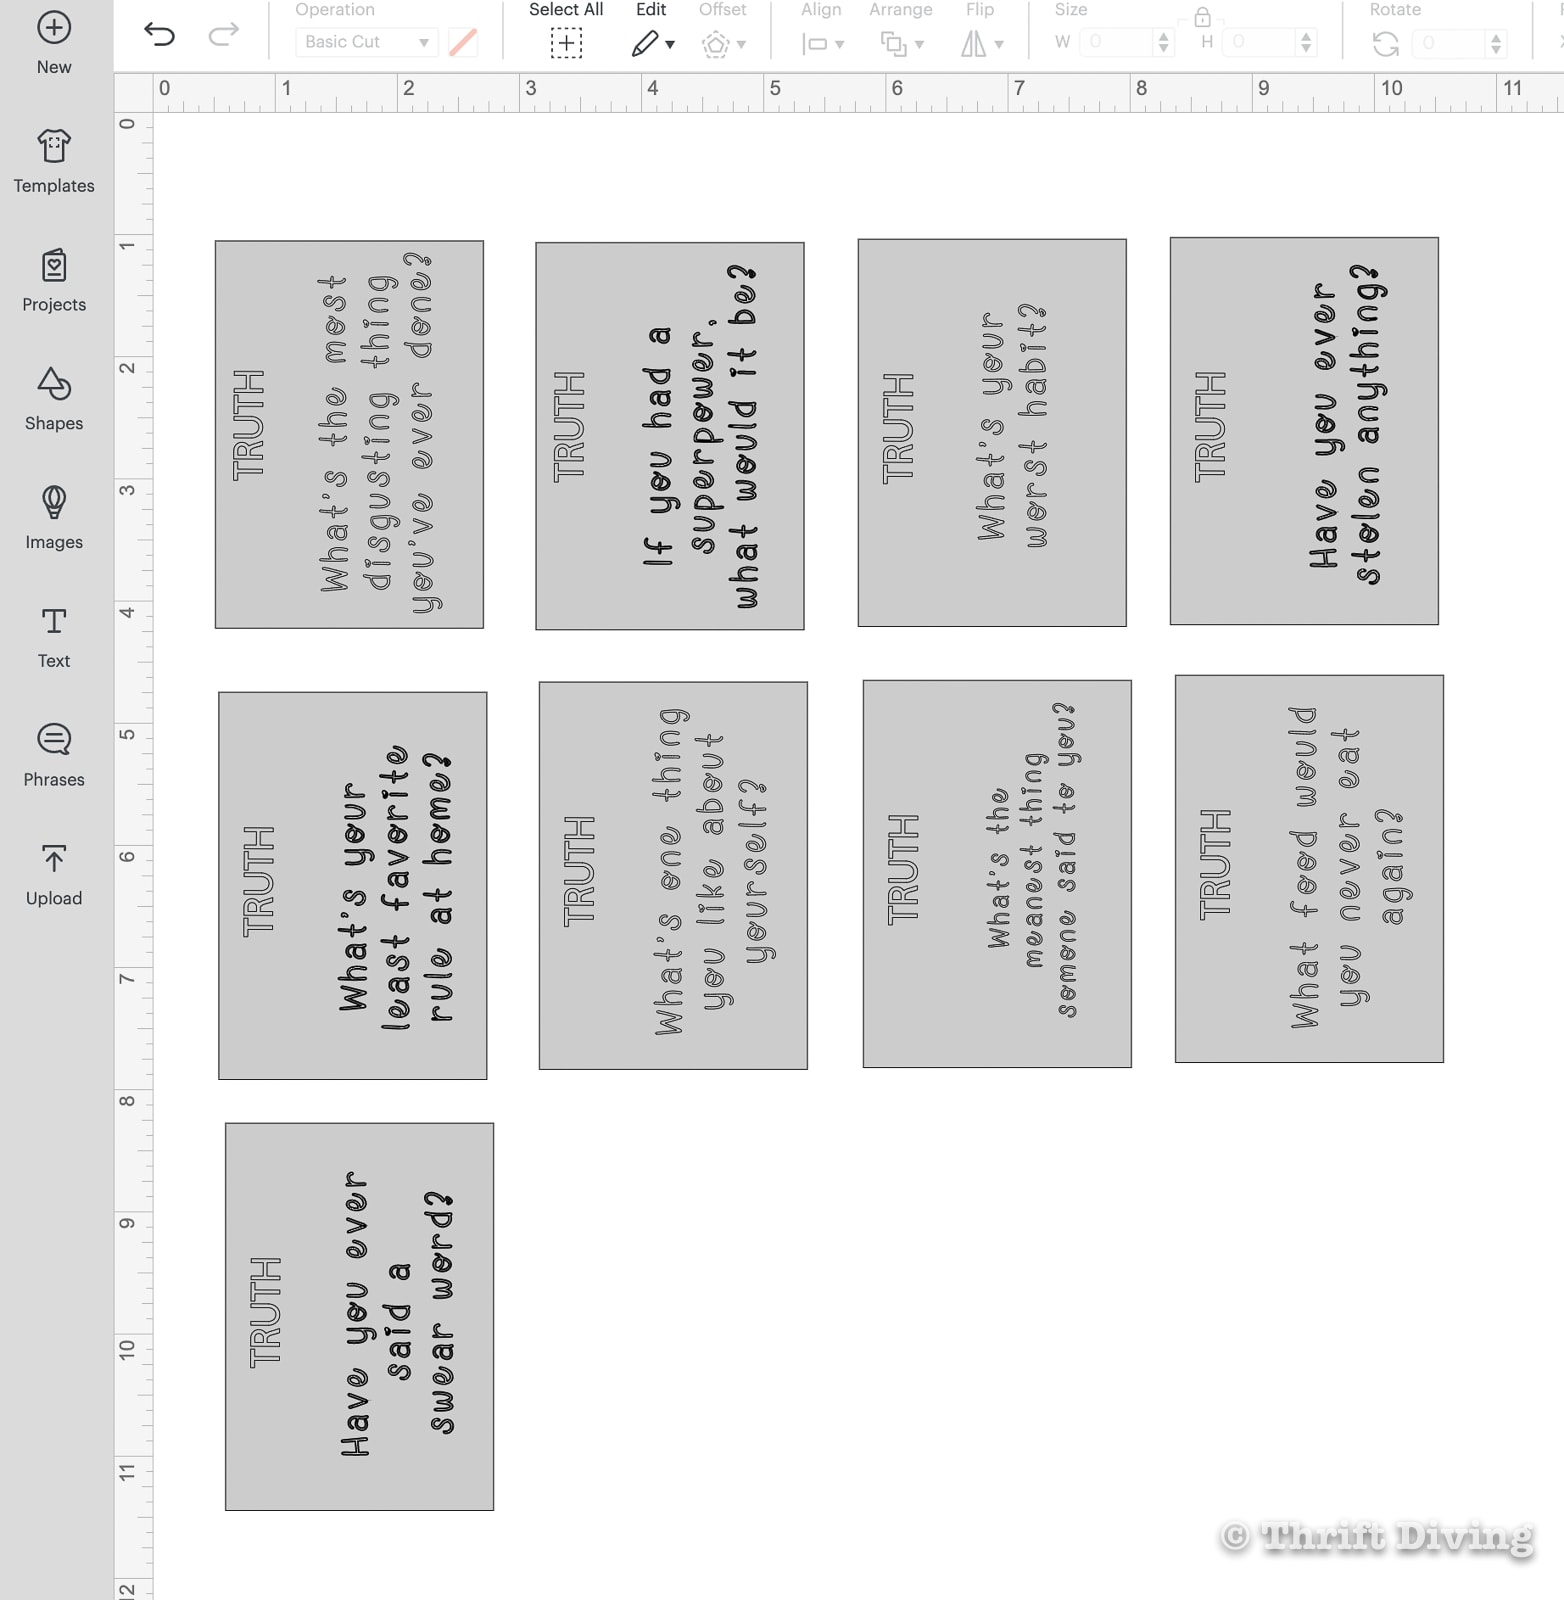
I used Cricut Design Space to create the pieces.

First, I applied the backing piece to the Jenga pieces.
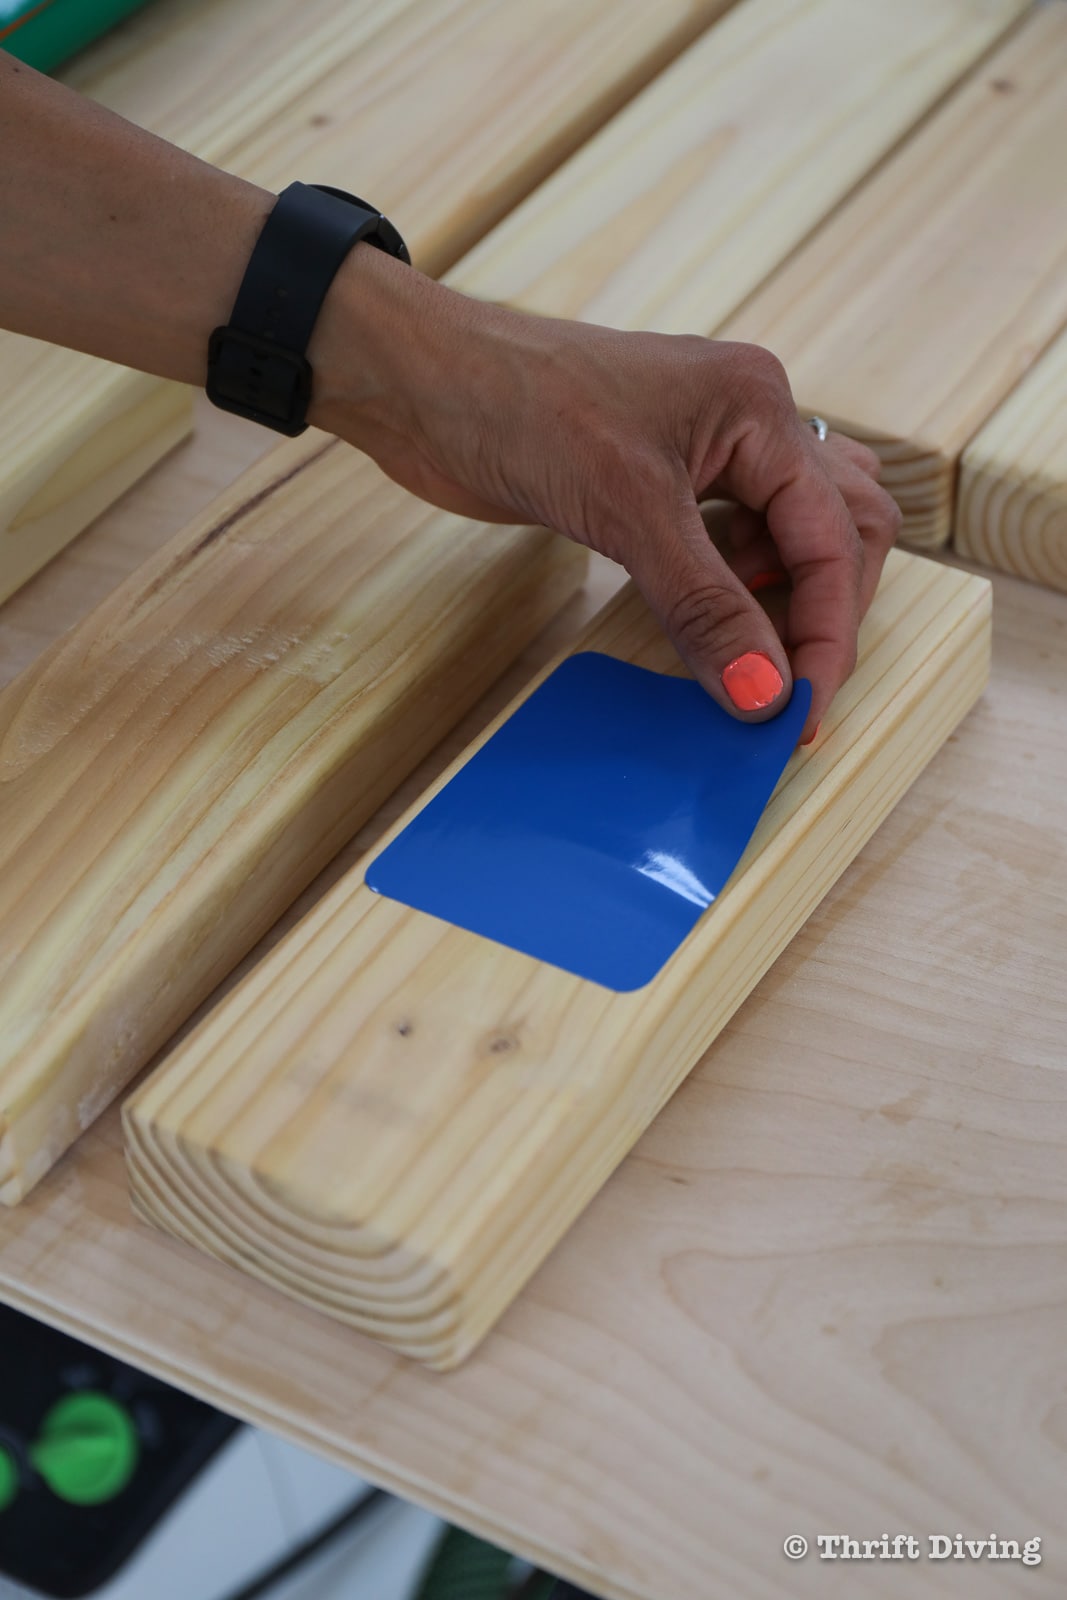
Next, I peeled off the top layer and turned it over, sticky side up. It will stick to your fingers a little bit, but try to unstick it from your fingers and lay it sticky side up.
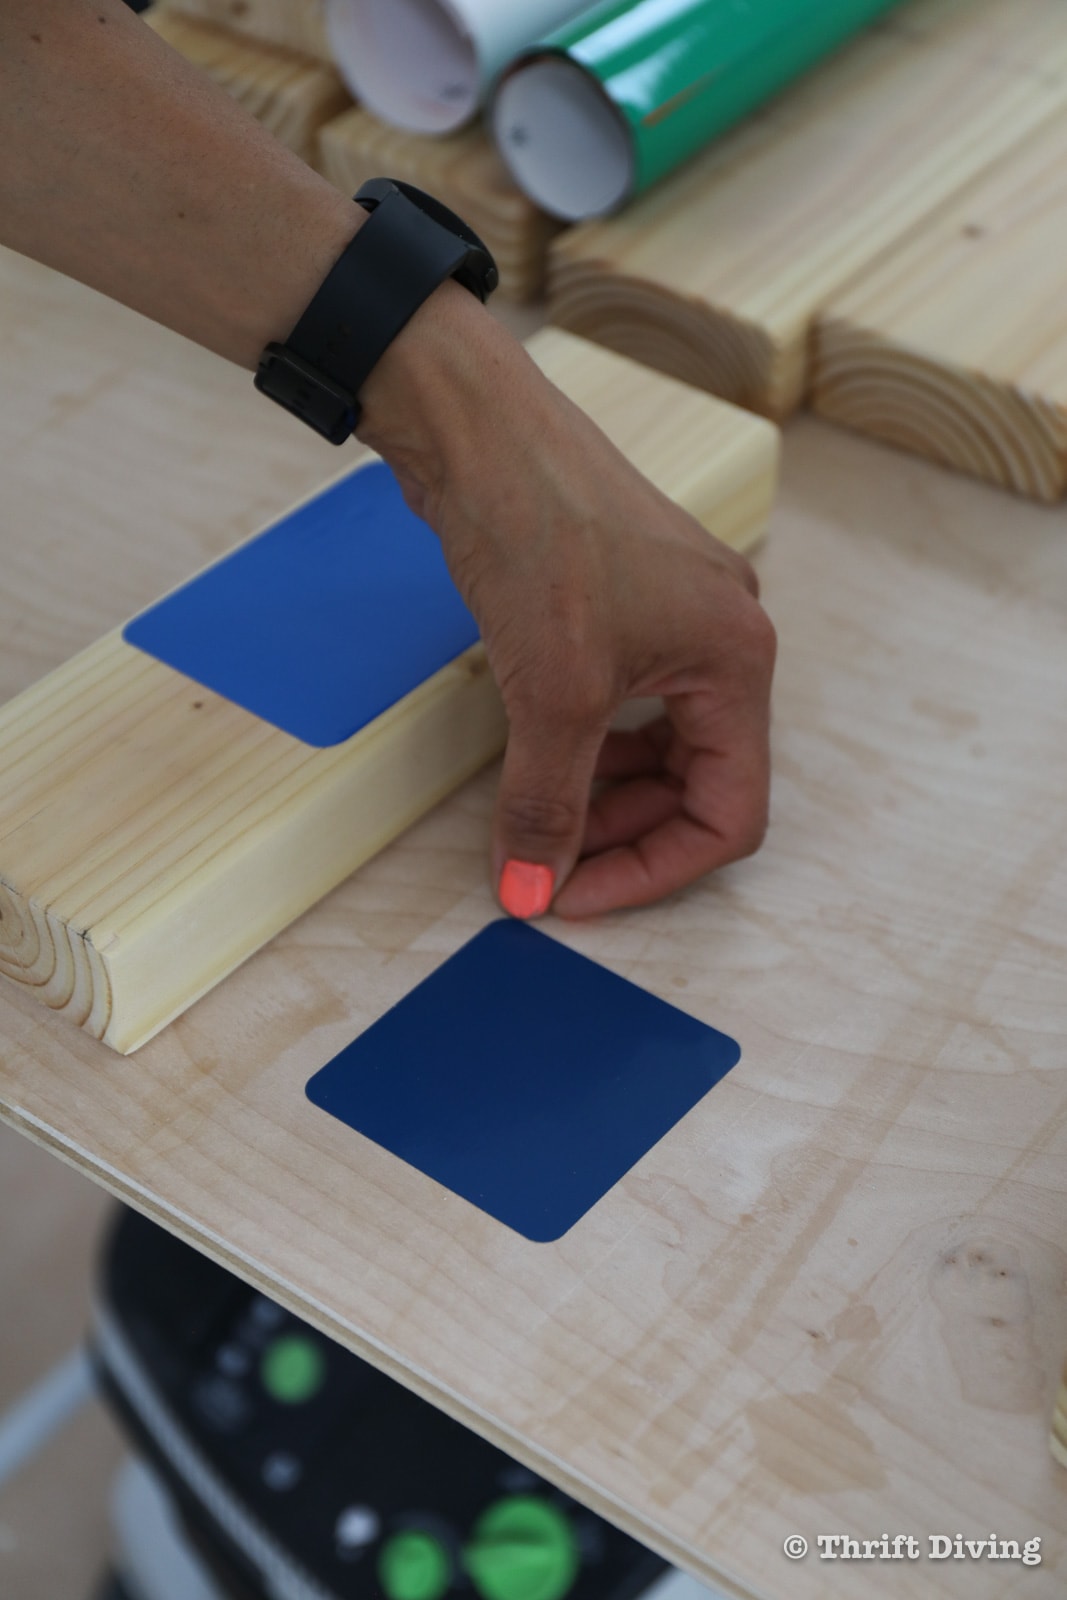
Then, peel off the inside piece which is a square and line up the top edges, leaving a 1/4″ sticky border all the way around the other 3 sides.

The center of the square will be glossy, but the three sticky sides will be exposed.

Flip over the square and line up the bottom edges, pressing the sticky boarders onto the backing.

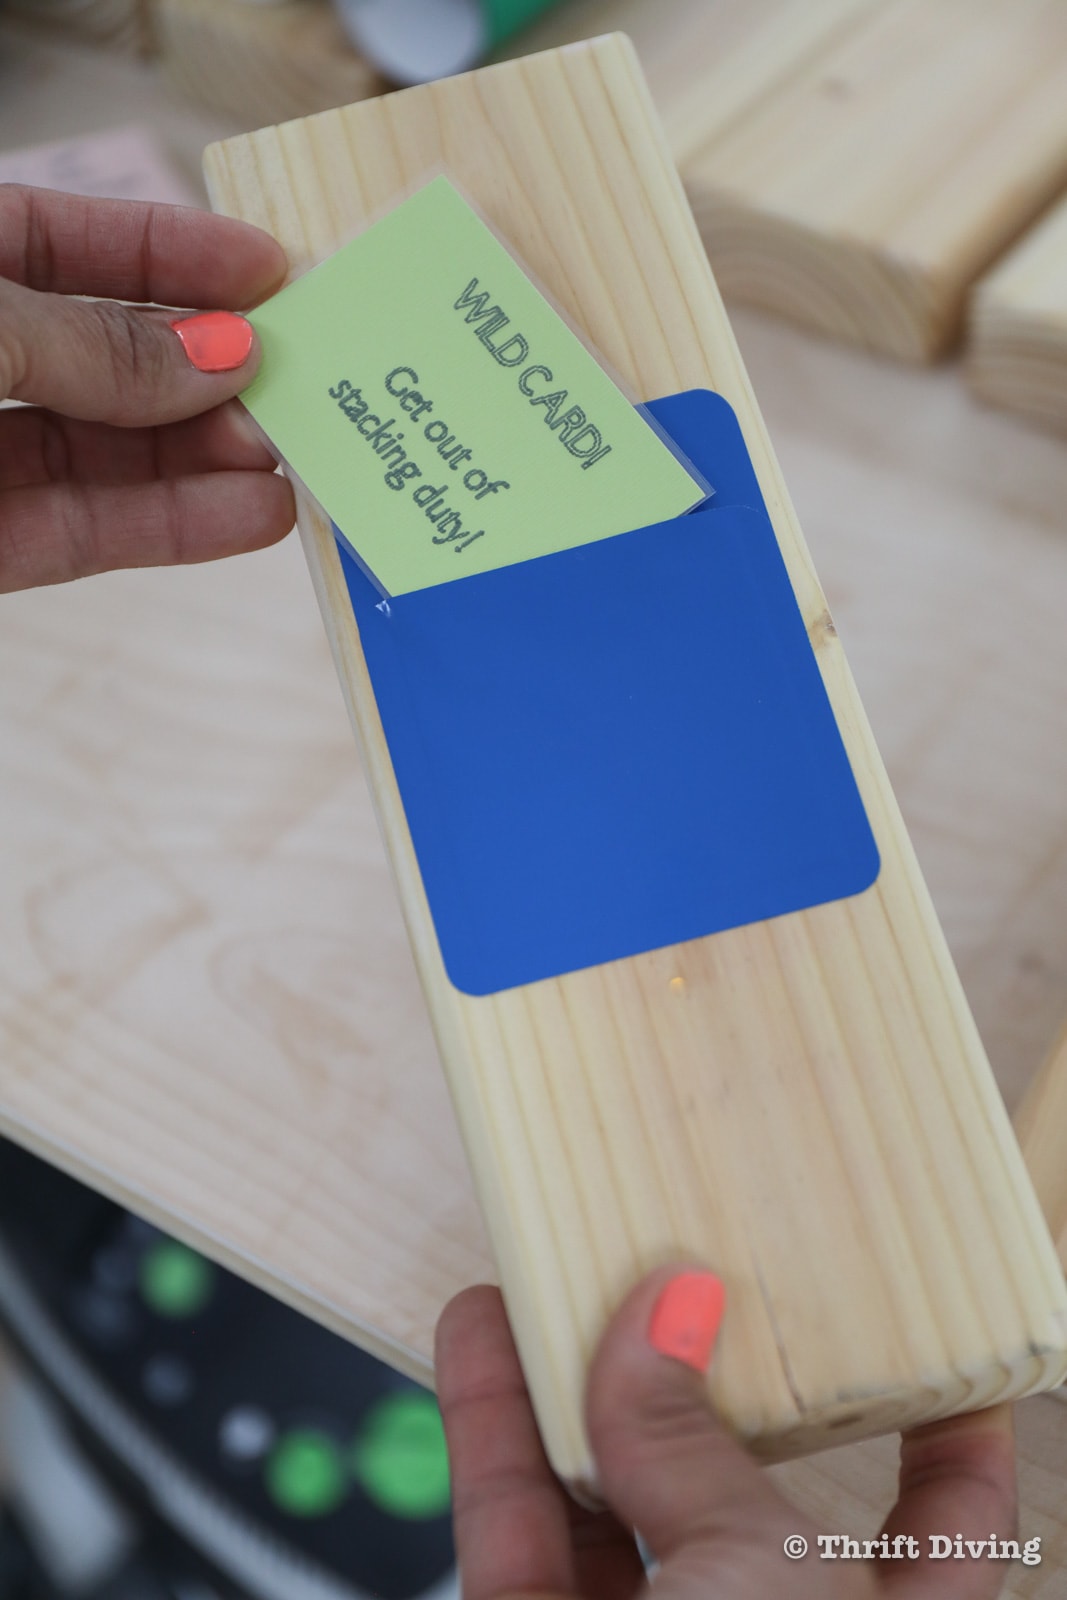
You now have a cool envelop in which to place your “Truth or Dare” cards and “wild” cards! Just be sure that the size of your cards are small enough to allow you to easily pull each card in and out the vinyl pocket.
STEP 5: Make Homemade Truth or Dare Cards
Your “Truth or Dare” cards can be as simple as notecards or slips of paper. Or you can get fancy with it and use a laminator to make permanent cards. However you choose to proceed is up to you and what materials you have on hand. 🙂 You can even use your Cricut machine and pens to create nice ones on cardstock.

STEP 6: Insert Cards into Vinyl Pockets into Giant Jenga Blocks
Since it will mostly be fun with the kids here at my house, I’m sure a stack of playing cards aimed towards kid-friendly “Truth or Dare.” But here’s a fun idea! Create several packs of playing cards for the different groups of people in your life: kids-version, adult-version, teen-version, and more! Switch out the cards depending on who’s enjoying the giant Jenga game!


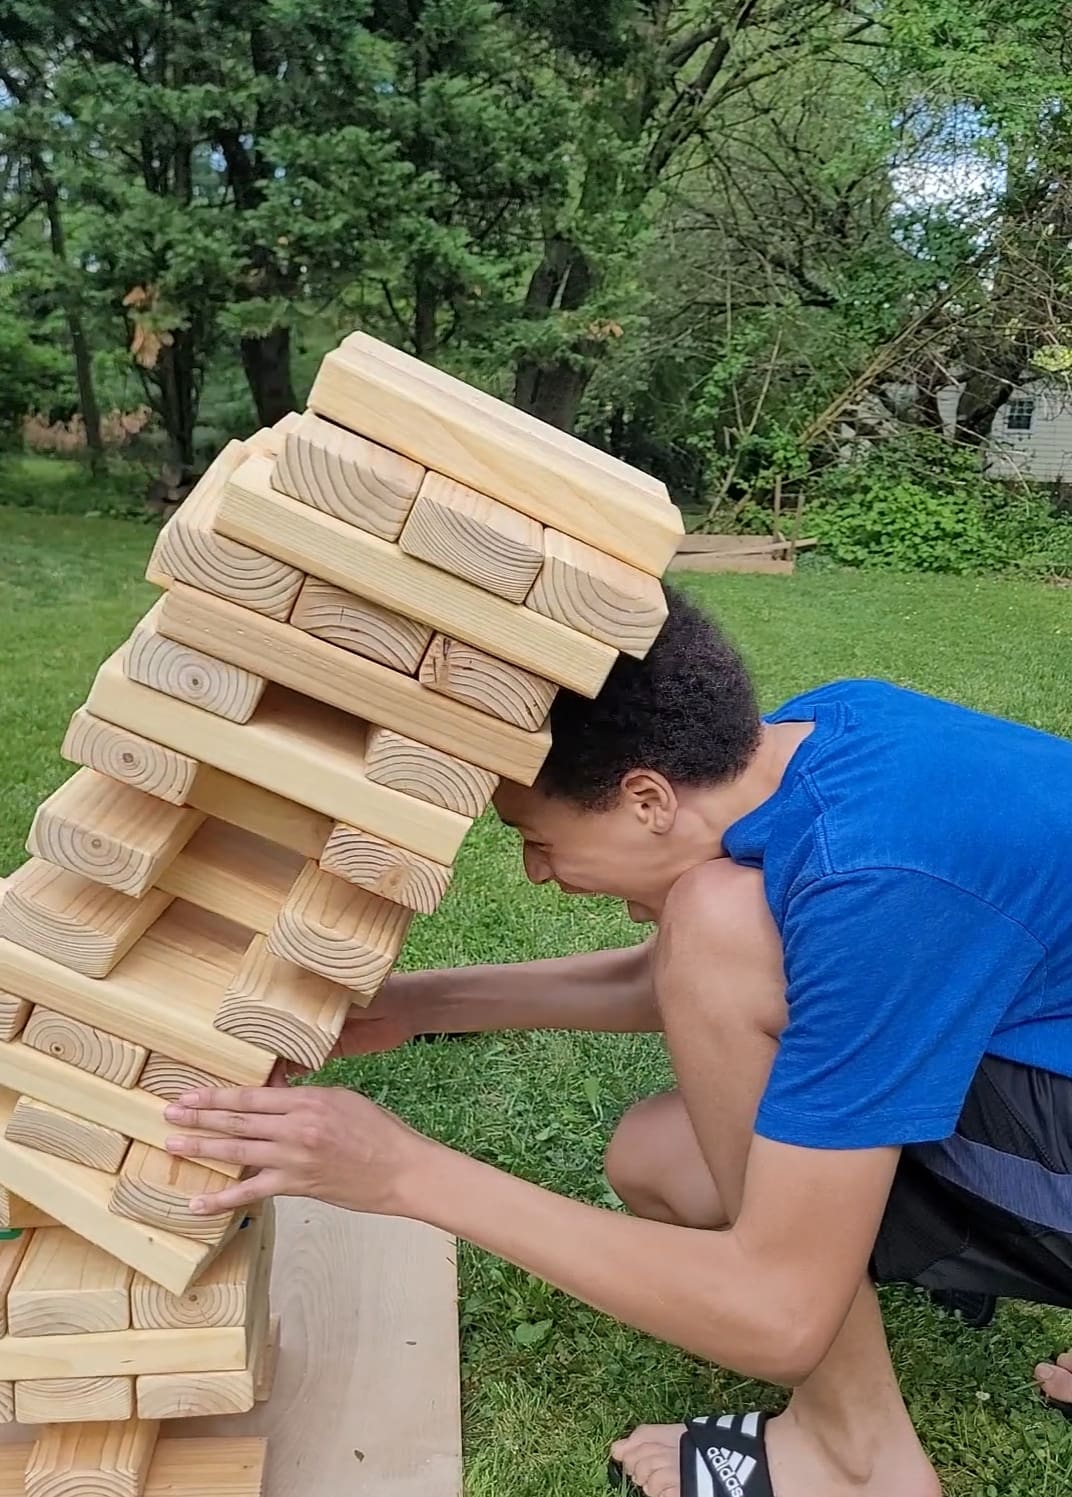
How to Play Truth or Dare Giant Jenga!
Jenga was sooo fun to play as a kid! In fact, it’s been years! As a parent, I haven’t had the opportunity yet until I made this game to introduce my kids to this amazing game. Now, though, with the introduction of the “Truth or Dare” element, my kids not only get to enjoy playing Giant Jenga, but they also get to have fun playing “Truth or Dare”!
How Many “Truth or Dare” Cards?
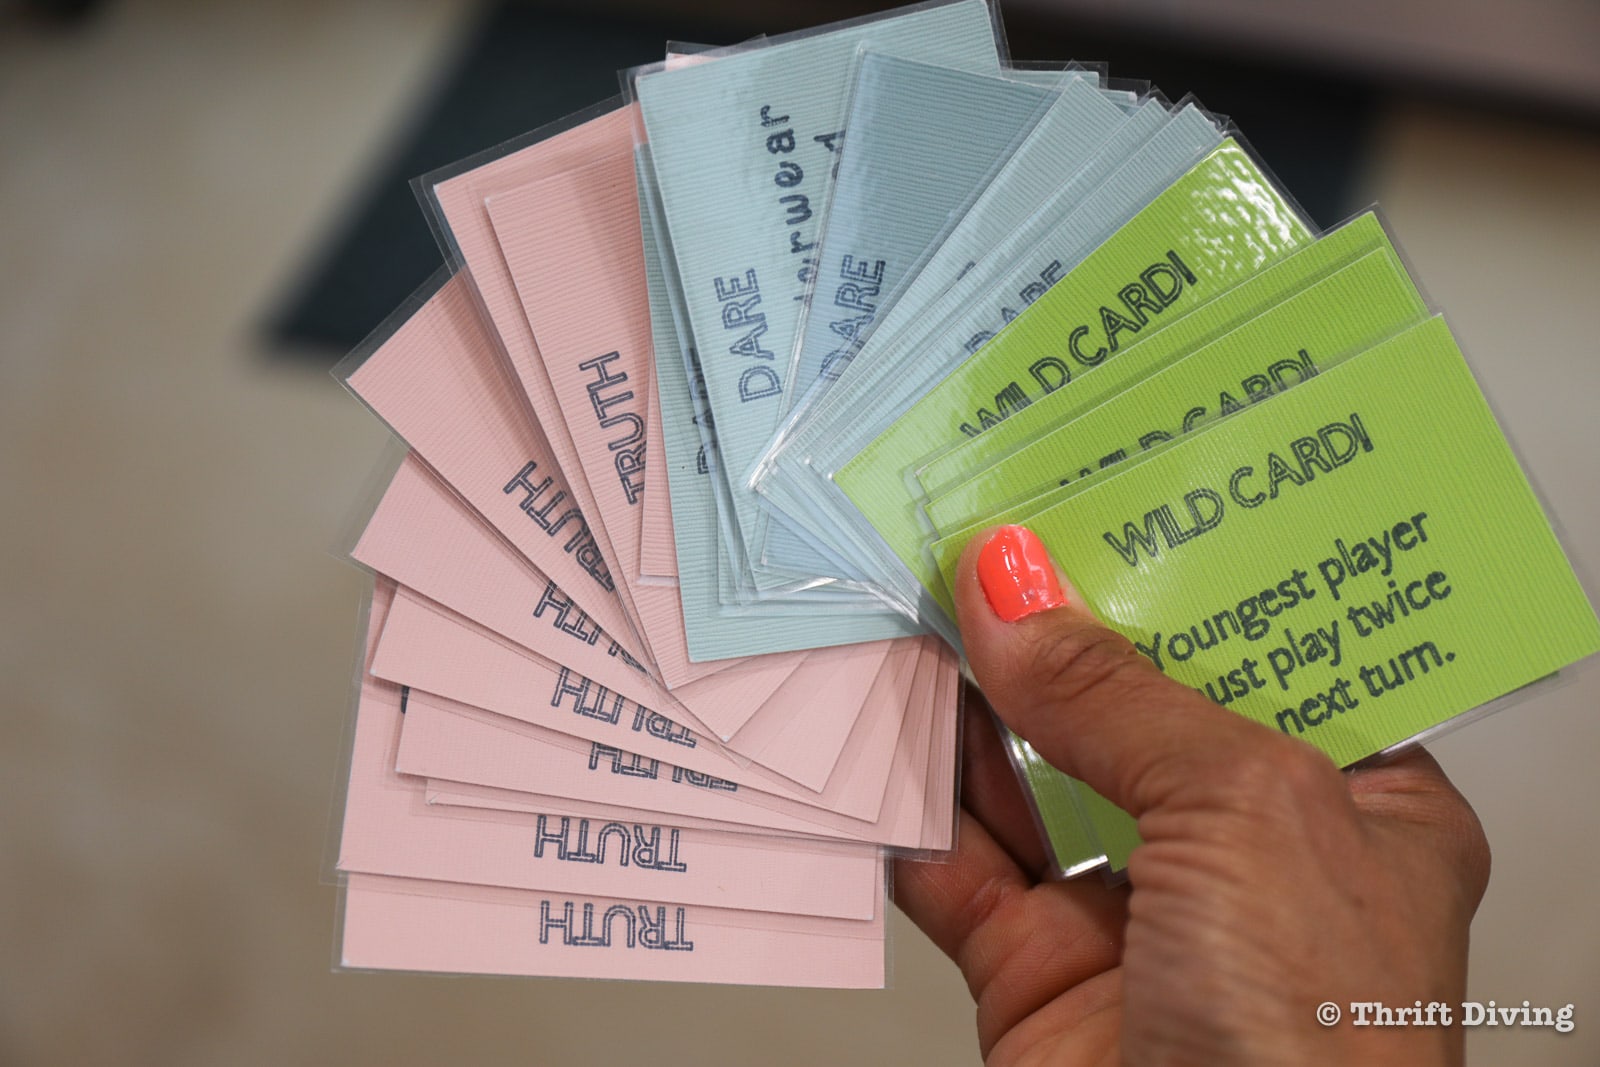
Each set of cards for Giant Jenga will have 25 cards. Ten of them will be “truth” questions, 10 of them will be “dares,” and 5 of them will be “WILD” cards.
What Should the “Wild” Cards Be?
- Wins a pot of money or candy or “jackpot.”
- PASS card, where one player gets to skip a “truth” or “dare”. This card can be held for the entire game.
- SKIP card, where one player can choose to skip an upcoming turn if they choose.
- GET OUT OF STACKING card, where the player will not have to be the one to stack the pieces for the following game.
- MUST GO TWICE card, where the player must make two plays in a row.
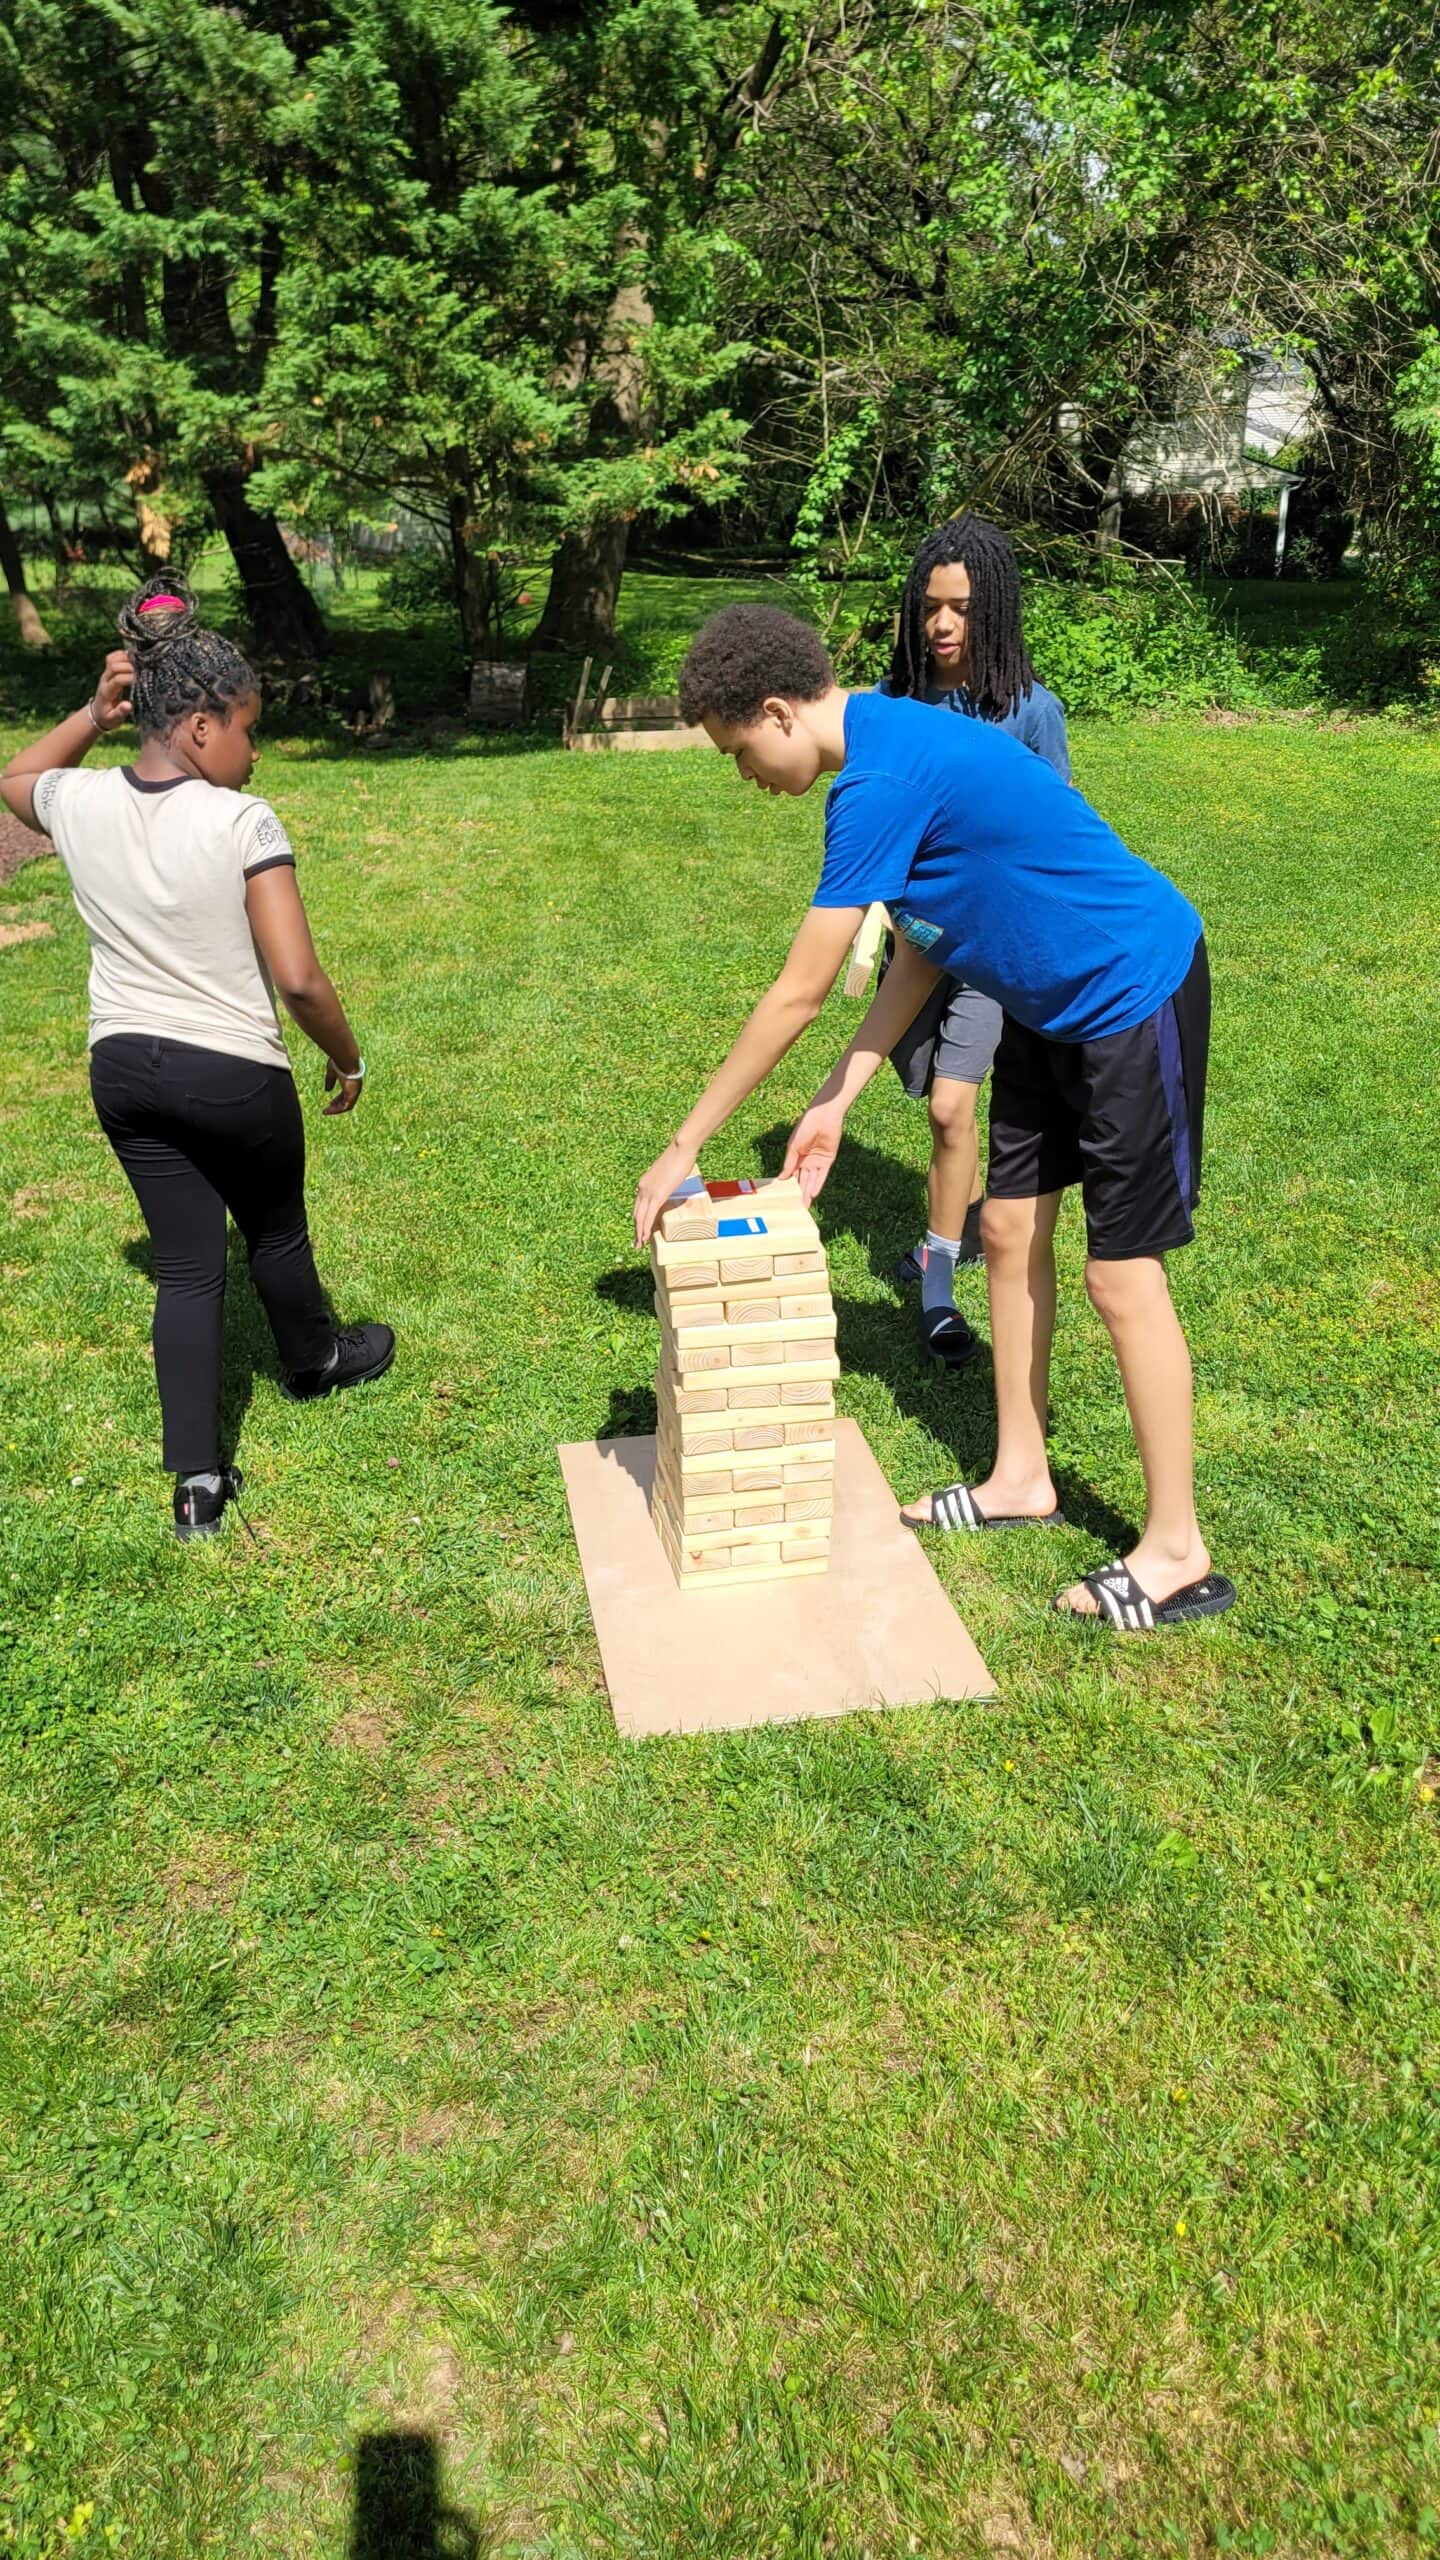
STEP1: Turn the cards over so that they can’t be seen, shuffle the cards, and then randomly insert one card into each of the 25 blocks.
STEP 2: Stack the blocks in a row of 3, then rotate the position of the next row perpendicular and place the next row of 3. There will be 18 rows stacked.
STEP 3: Each player removes one Giant Jenga block, with the goal of keeping it standing, then places the block on the top of the stack. If they select a “Truth or Dare” card, they must answer the question or do the “dare.” If they choose not to, then they must take two turns in a row. Once they answer the question or do the “dare,” then they can insert the card back into the vinyl envelop before stacking the block on top. (NOTE: If they pick that block again, they don’t have to repeat the truth or dare).
STEP 4: The player to knock over the stack is eliminated. The rest of the players keep playing until there is one person left, who can win a special prize!


You’ll definitely enjoy making this Giant Jenga “Truth or Dare” game for your friends and family! Let me know how it turns out for you! 🙂 And while you’re here, check out a few more fun family-friendly games!
Love this project? Click here to save it on Pinterest!
![]()
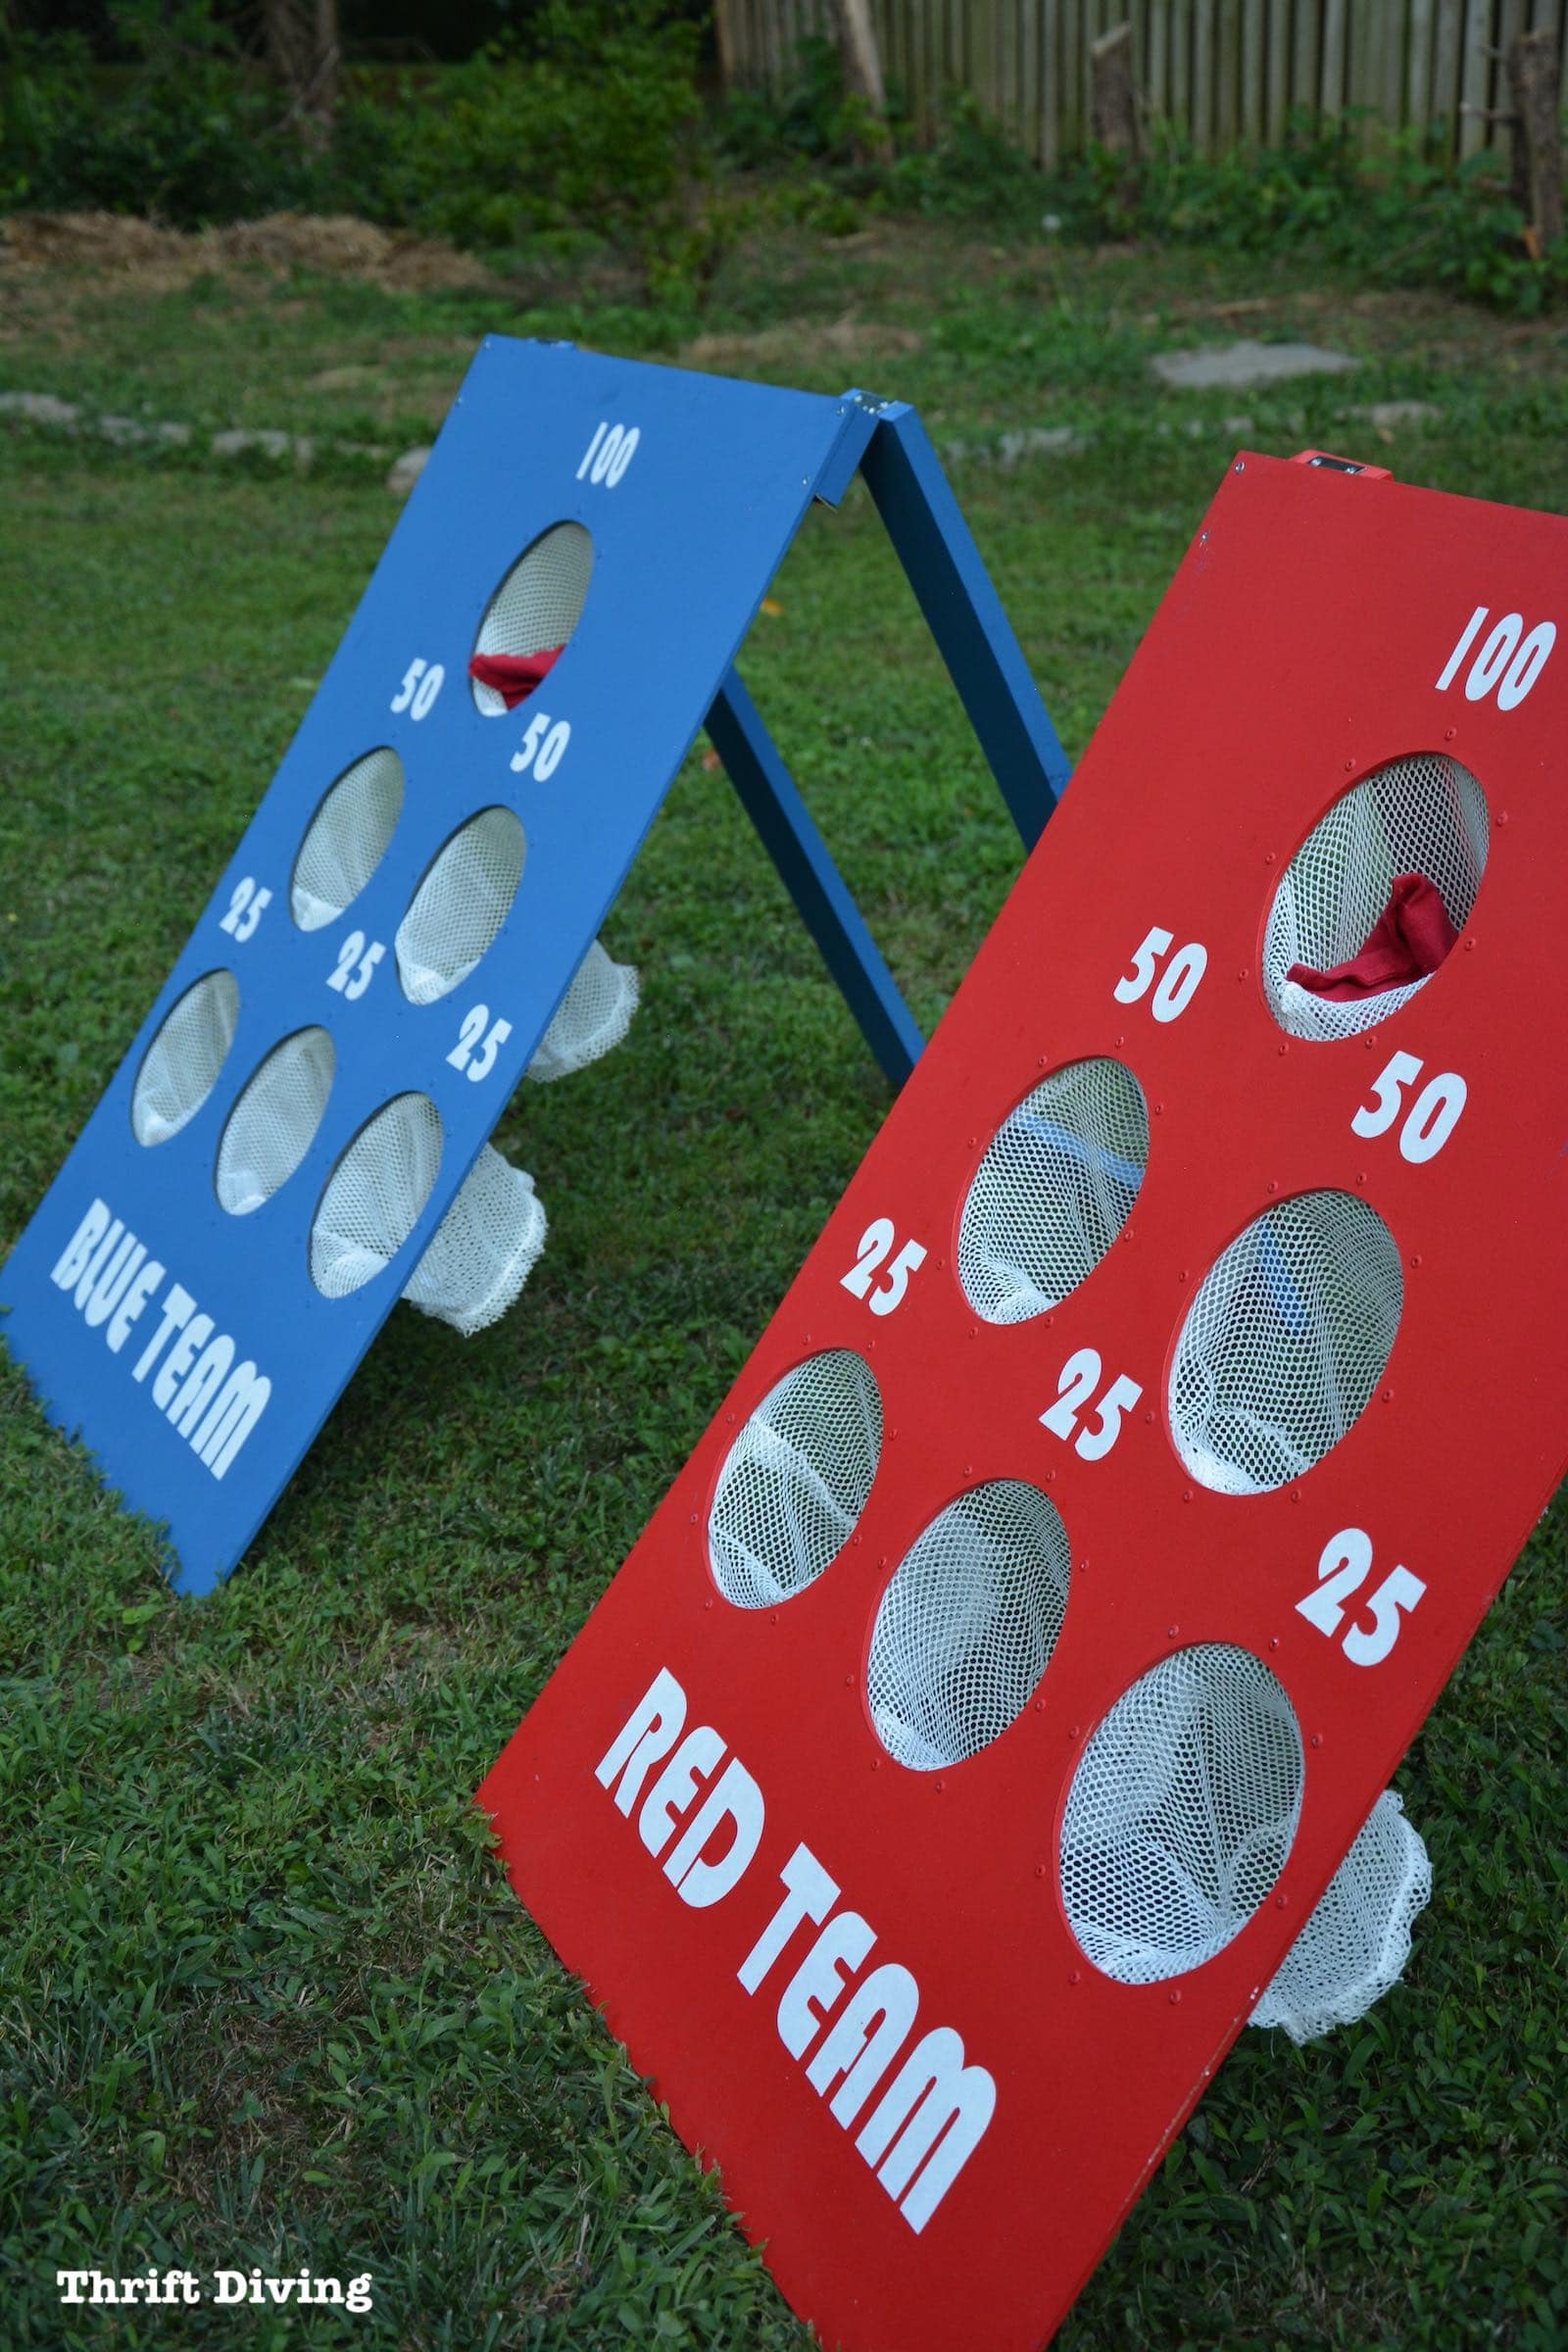
How to Make a Backyard Beanbag Toss Game!
Click here to read this tutorial and to watch the video on how to make a backyard beanbag toss game!
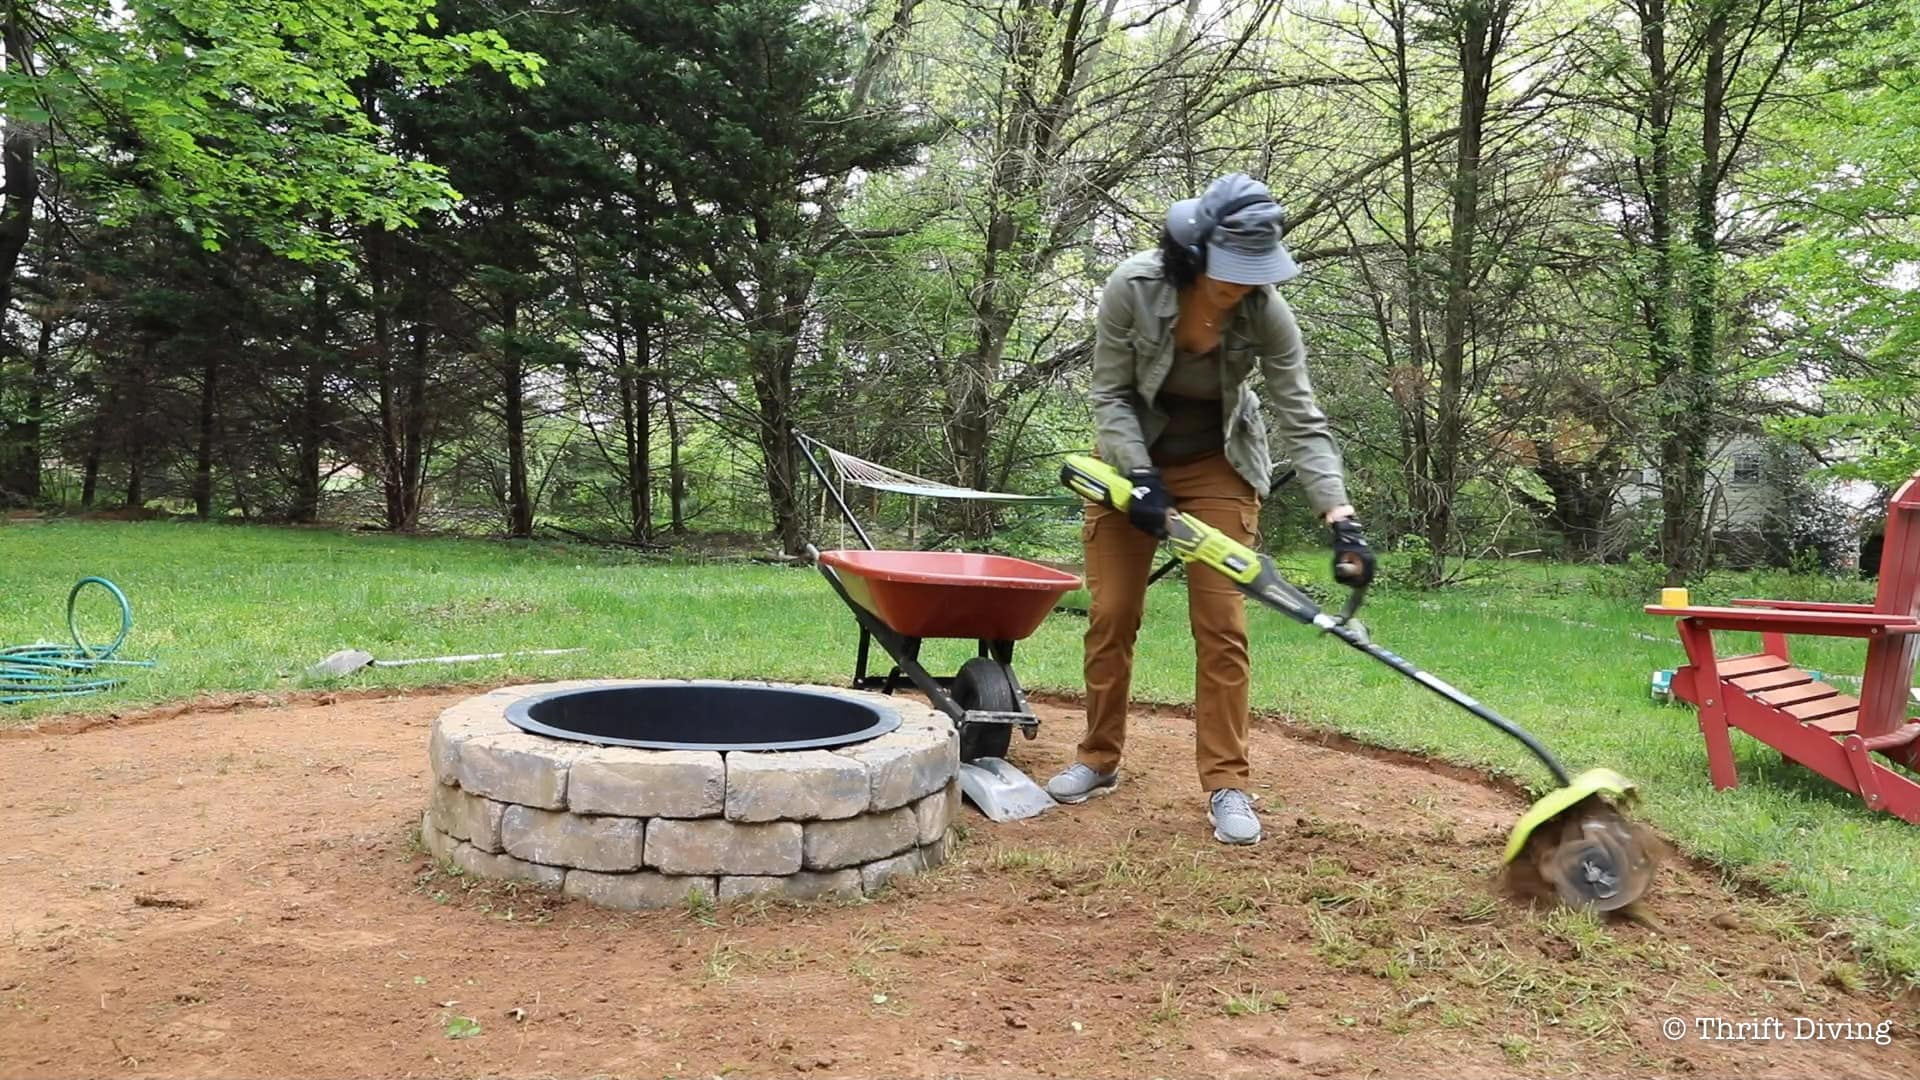
How to Make a DIY Fire Pit with an Seating Area
While you’re having fun outdoors with the family, why not build a DIY fire pit to keep the fun going?

Download the 5 freebies!

Thrift Diving inspires women to decorate, improve, and maintain their home themselves...using paint, power tools, and thrift stores! Use these 5 printables, checklists, and ebooks to get started!