BEFORE & AFTER: Shabby French Bedside Tables
I absolutely love ugly furniture, much to my husband’s chagrin.
Lately he’s been ragging on me to “get rid of the furniture” and send it all back to whatever secondhand hell hole I got it from. Oh–wait–I’m putting words in his mouth. He didn’t say that….LOL
He actually said to send it “back to the thrift store.” Same thing, right? 🙂
But I’ve been rescuing stray furniture for most of my adult life. It’s my creative passion. I could never give it up.
Anyhow, I’m going off on a tangent….
The REAL Meaning of “CPR”
Did you know that CPR really means “Crap! Paint Required!”?
Well, it does. 🙂
Take these ugly bedside tables, for example. I bet they’re ecstatic that I performed CPR on them.
I had found two of them at a yard sale for a mere $7.00 each a couple summers ago. It wasn’t until recently that I decided to refinish them by gluing fabric onto the wooden drawers. (Watch the video segment from my local news where I talk about creative uses for fabric around the home).
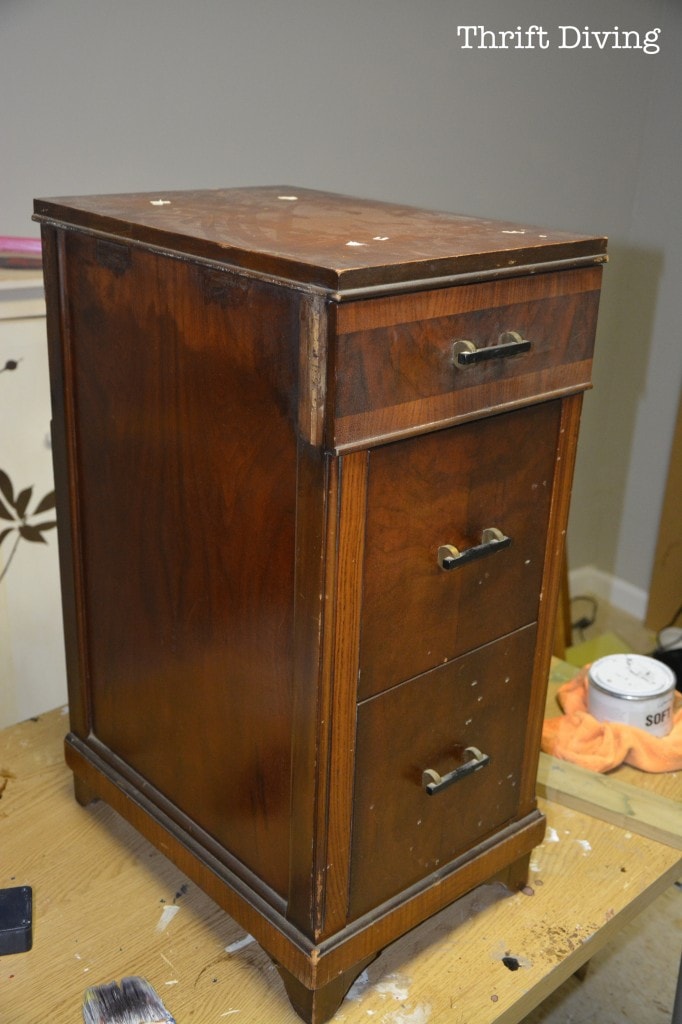
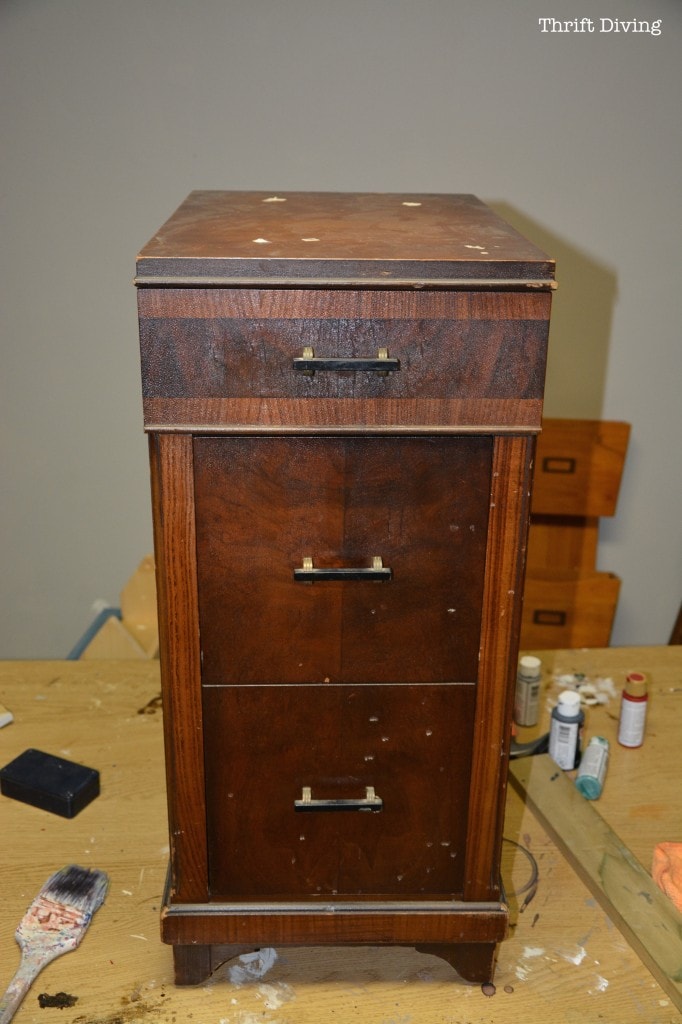
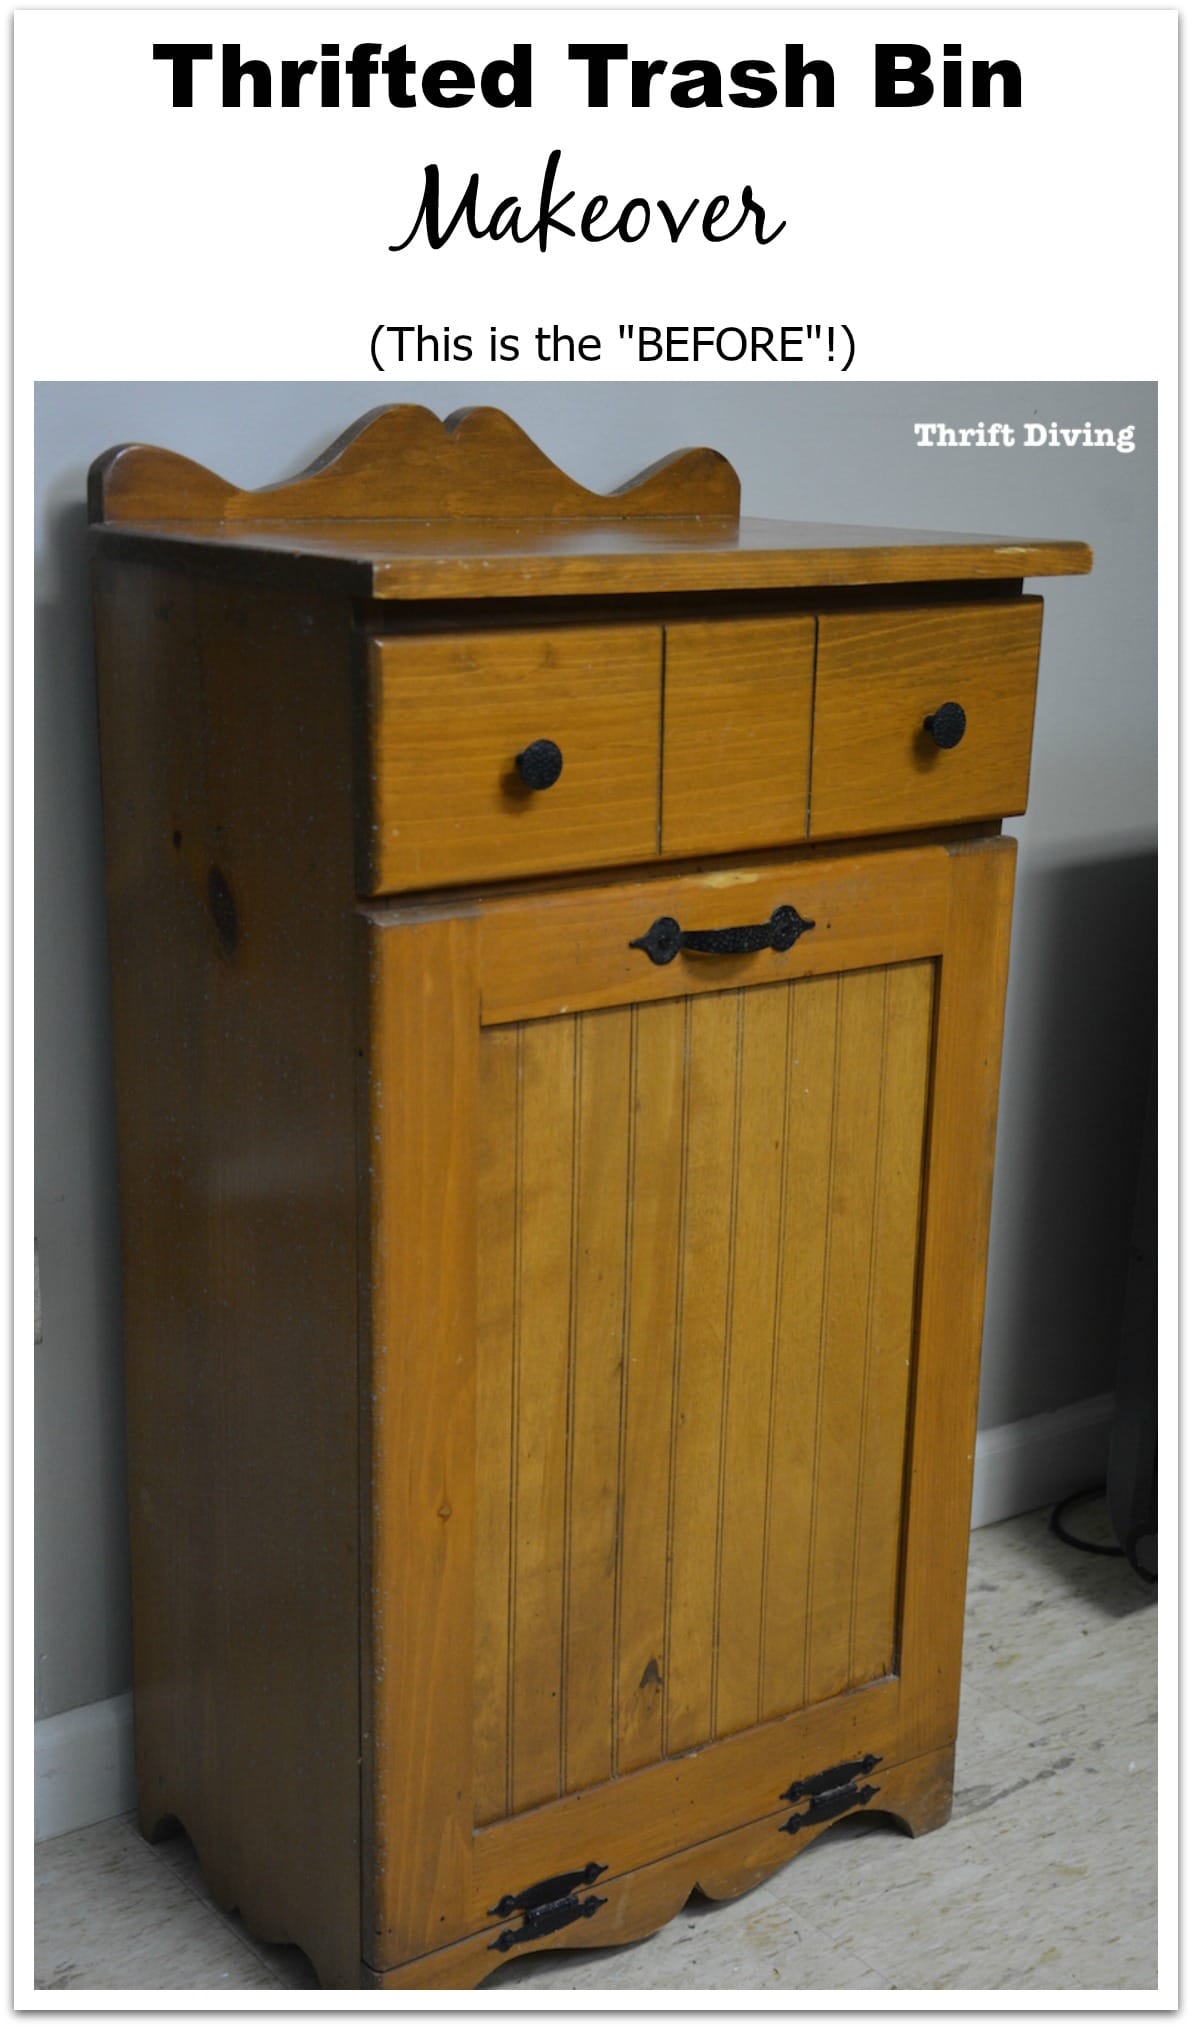
Here’s the crappy before:
BEFORE
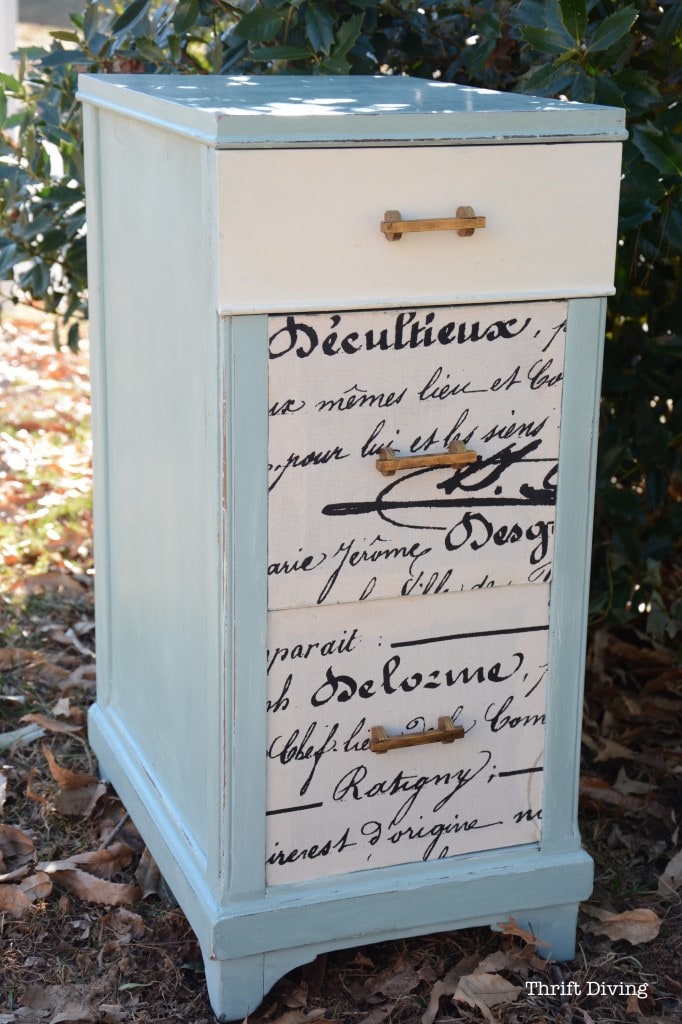
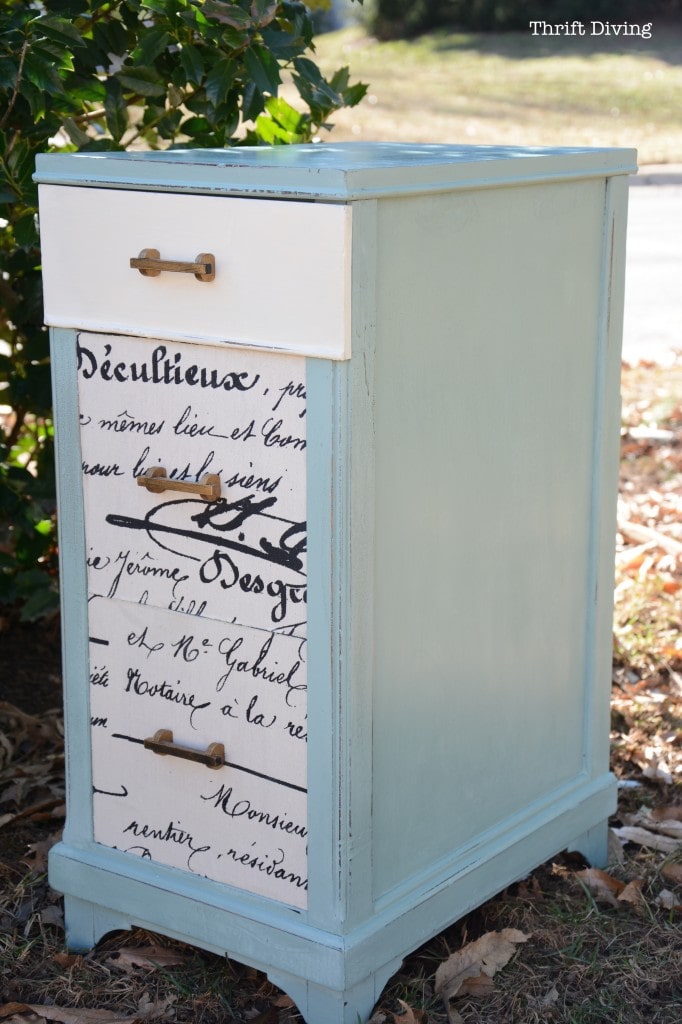
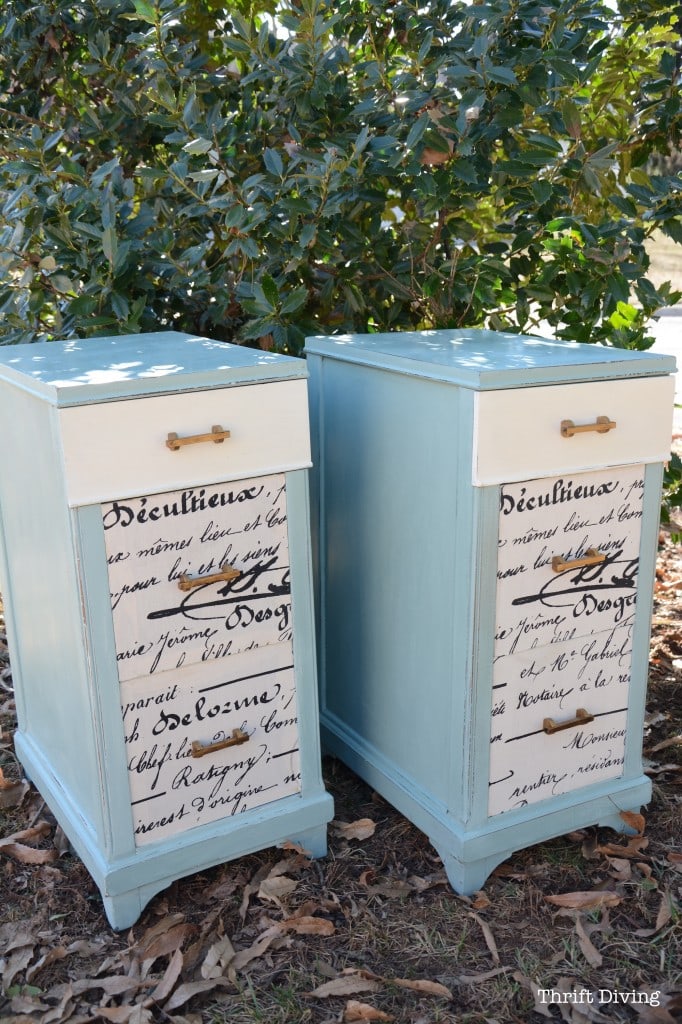
AFTER!
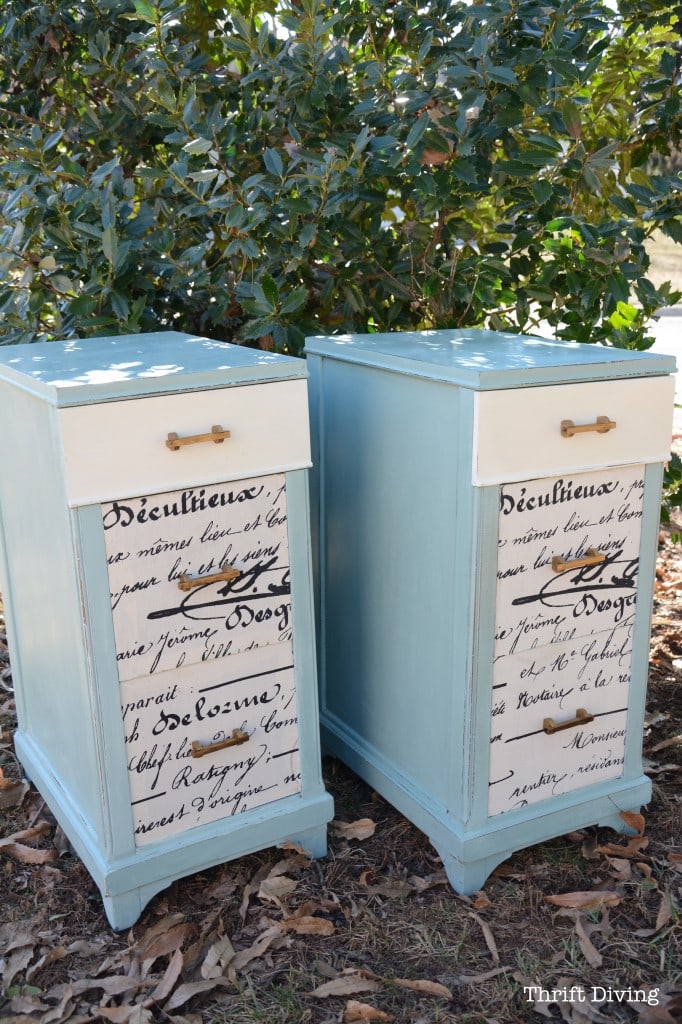
And now, these feel cool and edgy. They’re not girly, they’re not masculine. Maybe they’re just androgynous. LOL. Yep, my shabby French androgynous little bedside tables. LOL
I really love the way they turned out! They’re a little different than most of the stuff I usually do. So it’s fun to change it up sometimes, you know?
Go Grab This Stuff
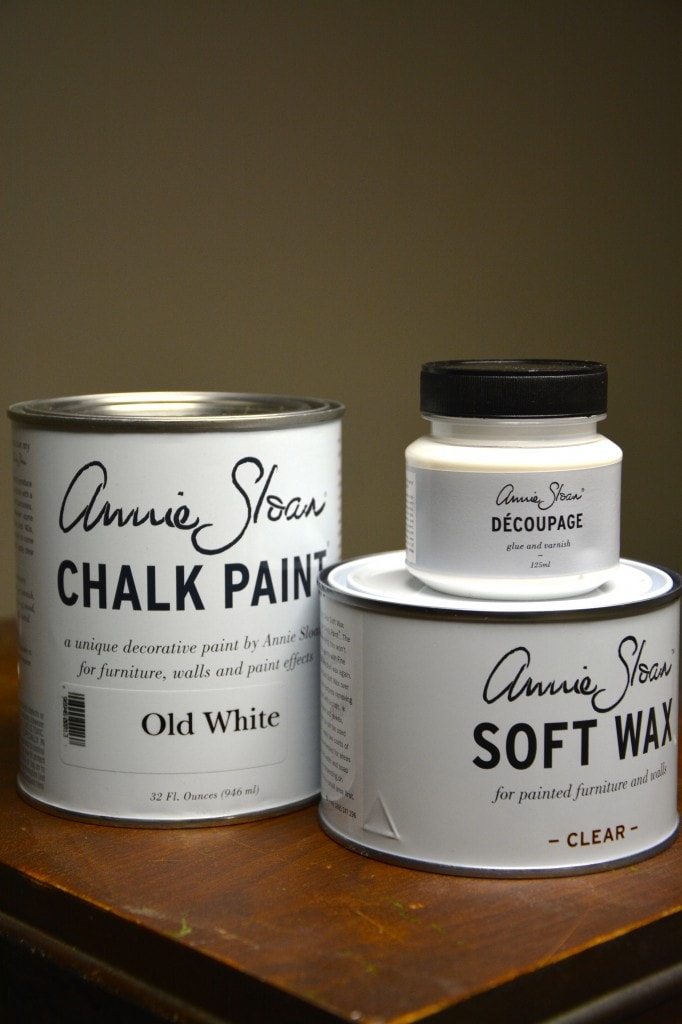
Here’s what I used to resuscitate these bedside tables:
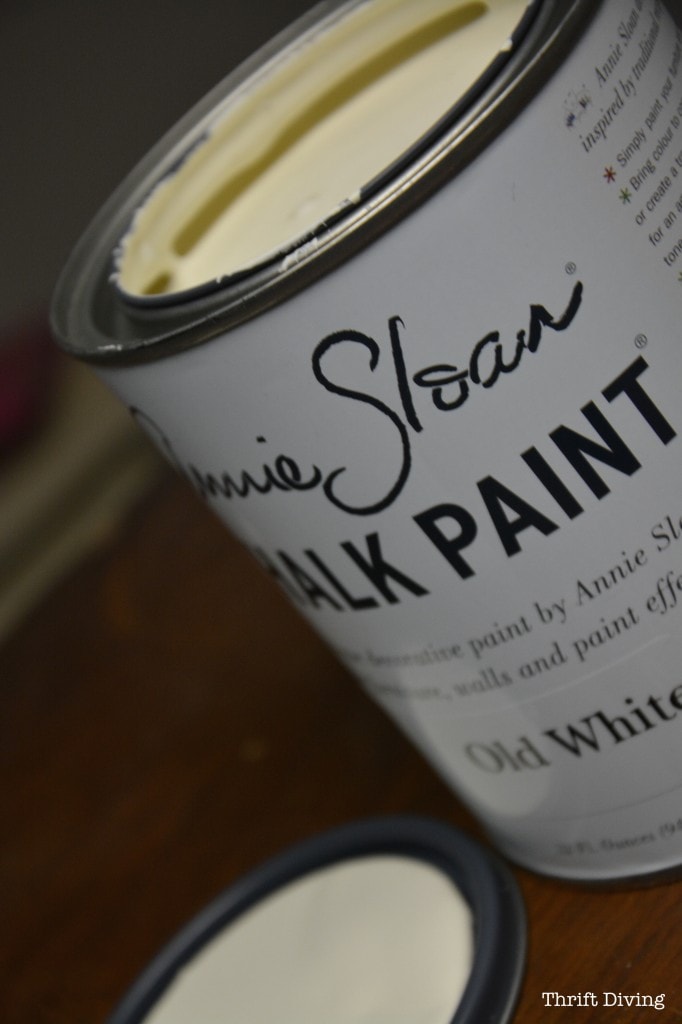
- Chalk Paint® decorative paint by Annie Sloan – Duck Egg and Old White
- Clear Wax
- Your favorite fabric (I picked up this Premier Prints from Hobby Lobby) – yards will depend on the size of your drawer fronts
- Mod Podge
 (or decoupage)
What I Did
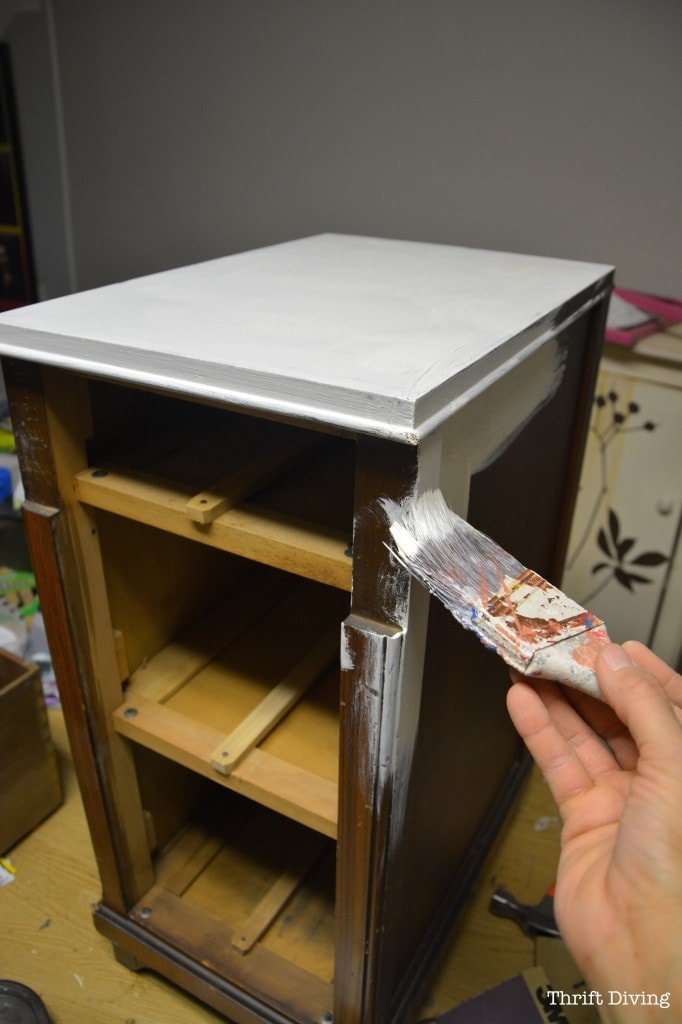
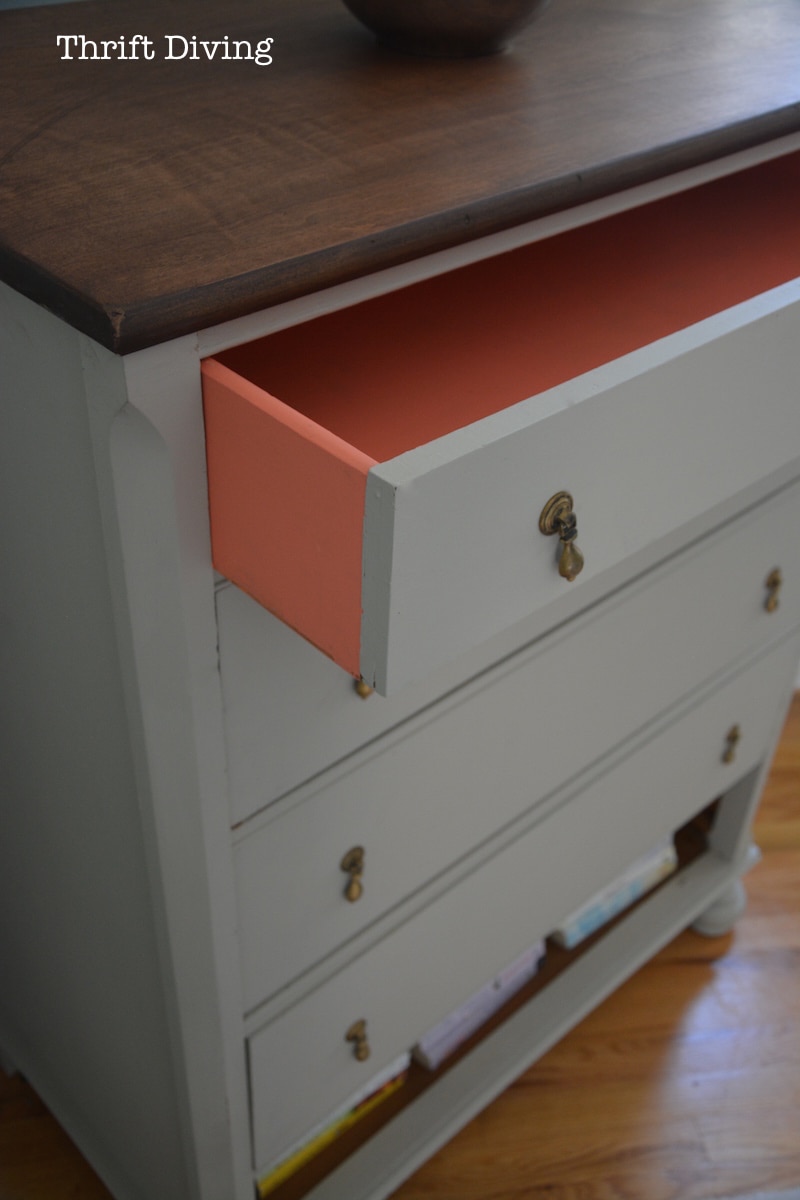
I sanded out the top a little bit because they were sticky. You normally don’t have to do with this paint, however. But you do want a smooth surface to begin.
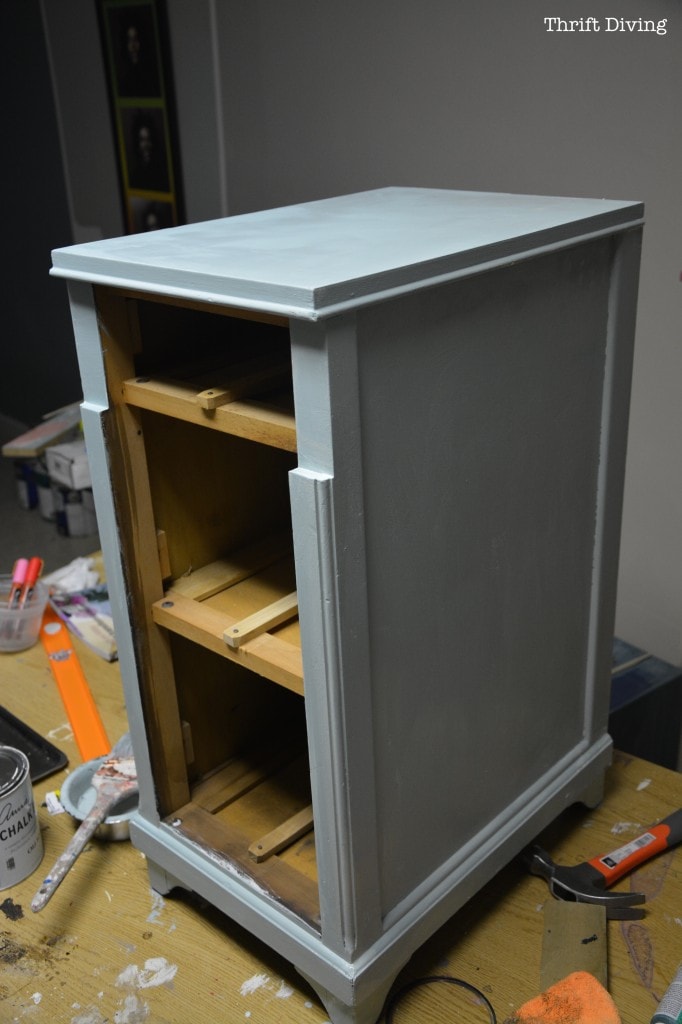
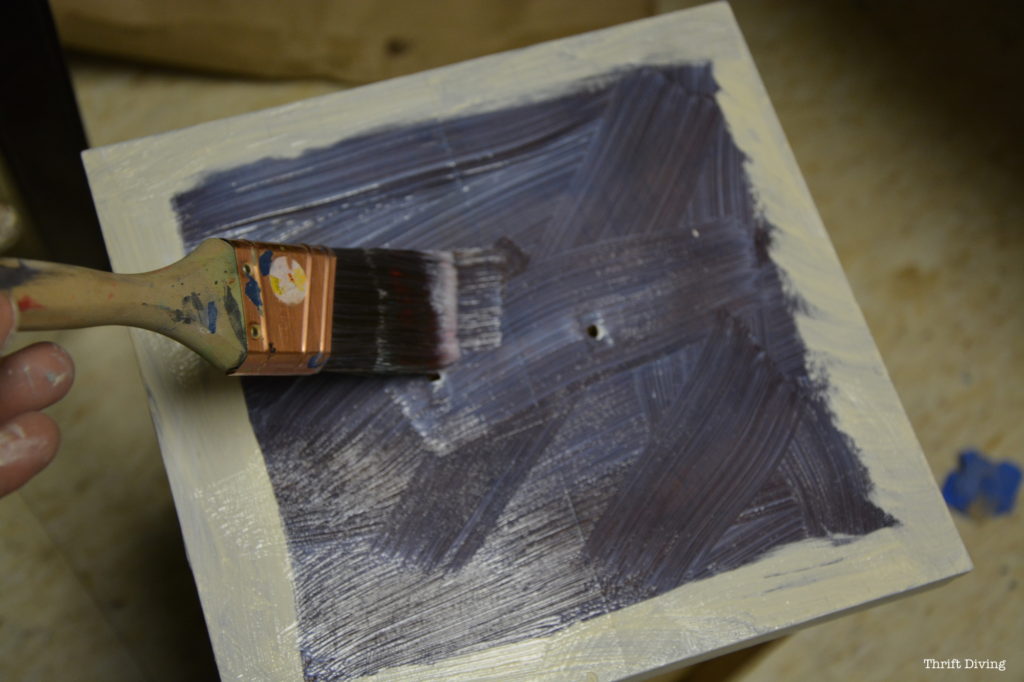
I used Duck Egg, which is such a soft, pretty color, but I tried using a coat of Old White underneath, so that when I distressed, the white would show through. It wasn’t as noticeable as I would have liked, though. Meh– oh well!
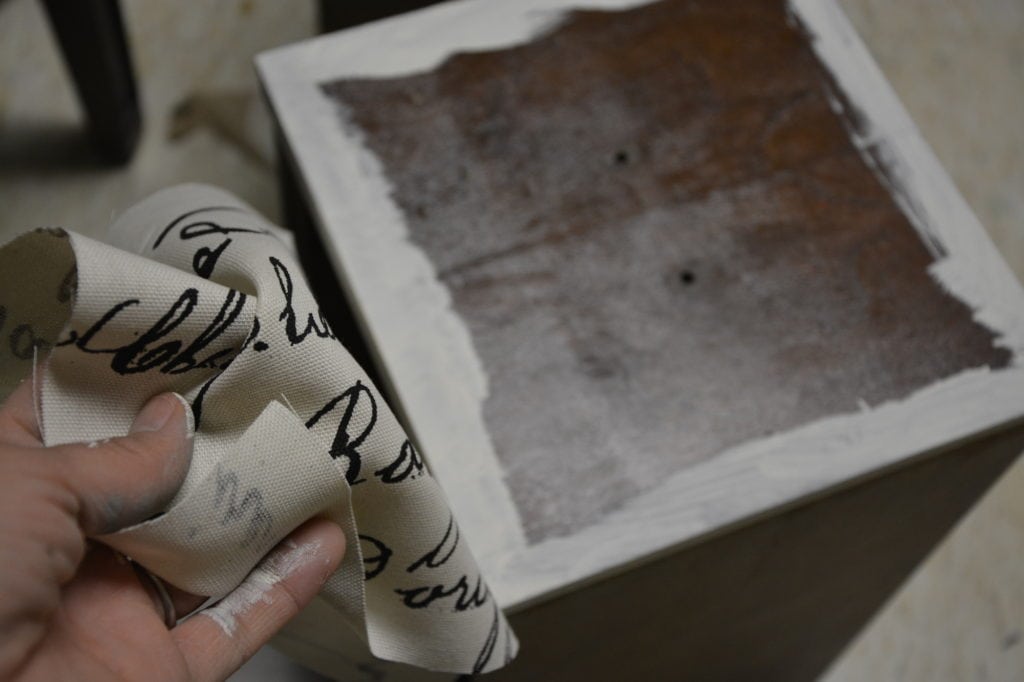
Next, I took some of the fabric and cut a rough estimate to fit over the drawer.
WATCH NOW: Glue Fabric to Wood Drawers
And because I love you awesome people that read my blog posts (and comment!), here’s the video on how to glue fabric to wood drawers. (SUBSCRIBE to my YouTube channel so you don’t miss my next video!):
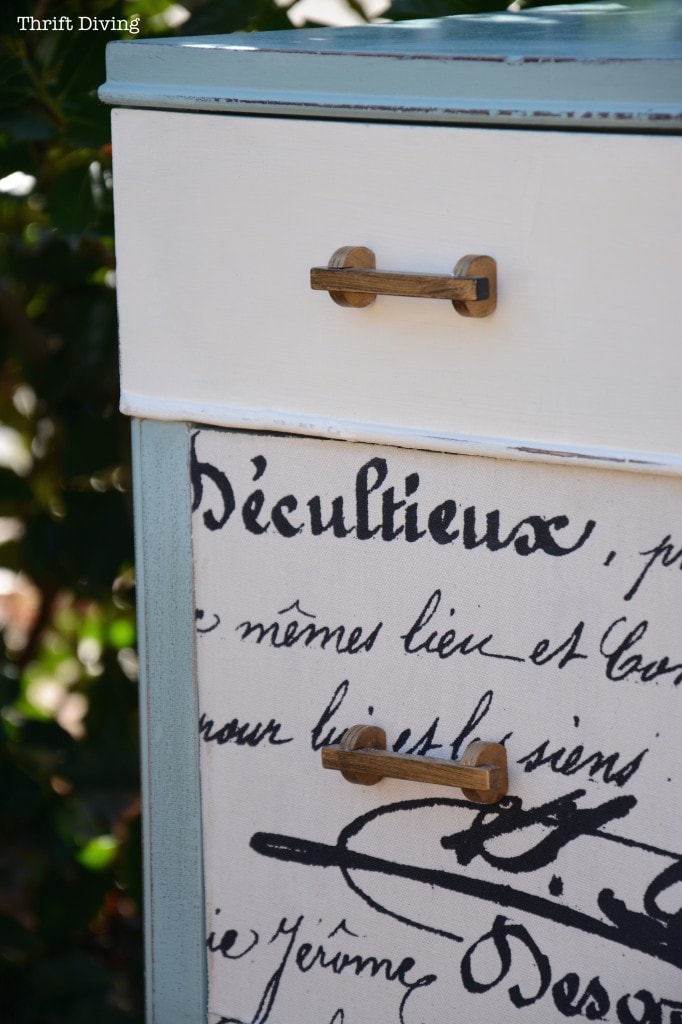
Next, I removed the handles, which were in crusty condition, and used a little Rub n’ Buff to make them look less crusty. LOL
Handles BEFORE
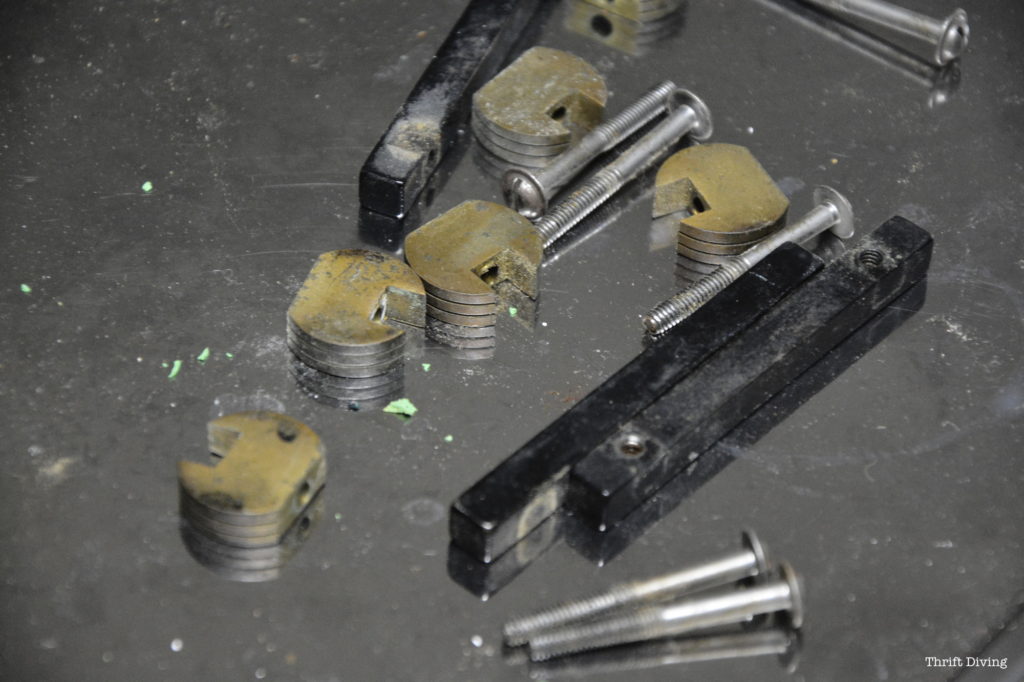
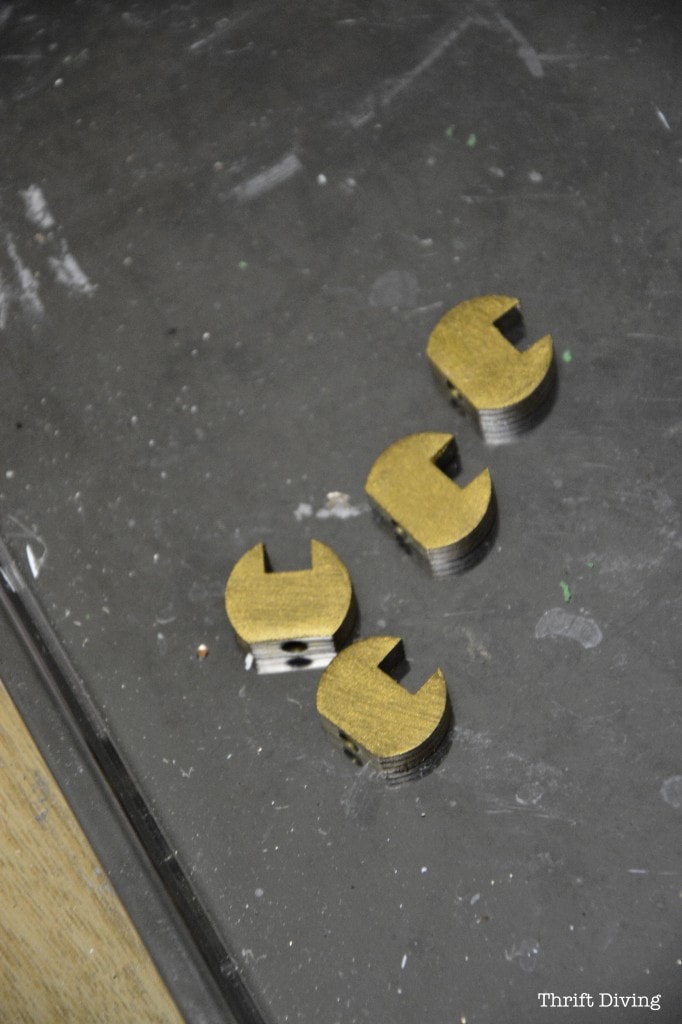
I used one of my favorite products, Rub ‘n Buff ![]() (gold metallic finish), to make them look a little prettier :). Dramatic difference, right?!
(gold metallic finish), to make them look a little prettier :). Dramatic difference, right?!
Handles AFTER
Then, I tried the Annie Sloan Decoupage for the fabric. I didn’t care for it much. My tried and trusty Mod Podge![]() glue dried quicker and more stiffly.
glue dried quicker and more stiffly.
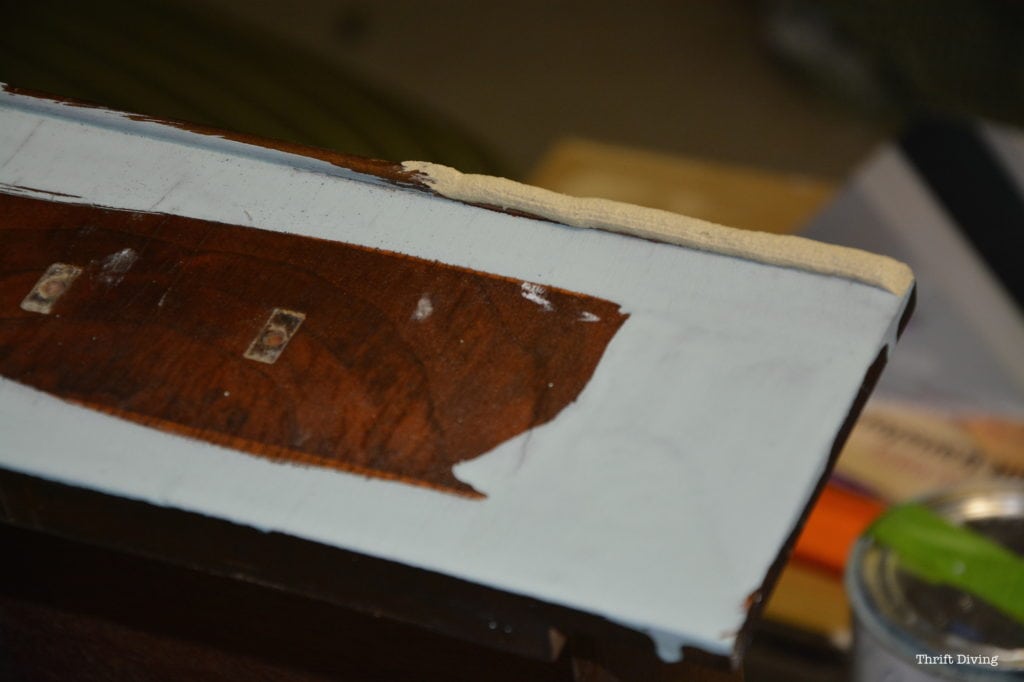
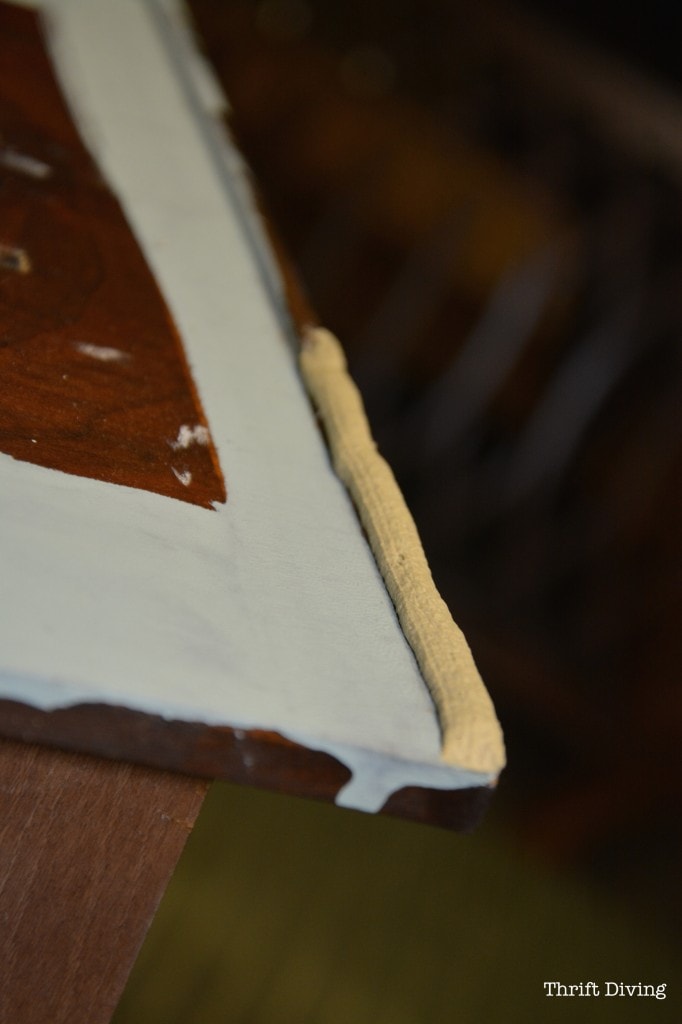
One of the drawer fronts had a broken edge, so I used wood filler to create a fake edge. Once dried and painted, you can’t even tell it’s fake ;).
Here’s another look at the BEFORE. Not very inspiring to have in your bedroom, huh?
Now, it looks a bit more shabby and cool. (FYI, they’re for sale if you live locally here in MD!).
So what do you think??!
Have you ever tried to glue fabric to wood? If not, what’s stopping you!? Go get some fabric and Mod Podge–NOW!

Link Party
Download the 5 freebies!

Thrift Diving inspires women to decorate, improve, and maintain their home themselves...using paint, power tools, and thrift stores! Use these 5 printables, checklists, and ebooks to get started!

You make it look so easy!! The nightstands turned out toot cute! I like the contrast with the white drawers and printed fabric with blue. Very snazzy. This technique with and fabric Modge Podge is really taking off. May have to give it a try. Your work is always lovely!
Great transformation! Nicely done
These are so pretty! I really appreciate all of your expertise in furniture makeovers. I am addicted to buying used furniture and I can’t keep all of it, but I love the idea of bring these pieces back to life. Thinking of flipping some pieces to sell (if I can part with them, lol!). Really wanting to try General Finishes milk paint on a cute little writing desk I just purchased. Would you recommend using their high performance top coat over the paint since it’s a desk to keep the writing surface in good shape?
Hi Serena,
I am glad to have received your email!
Hope you are doing fine!
Beautiful furniture makeover!
I did not pay attention to chalky paint until I saw this project….Interesting!!
Best regards,
Niurka
Fresh, cool and so inviting!
Great makeover. I love the fabric idea. I’ll be in search of some great fabric and piece(s) to makeover now. Thanks for the tutorial too.
Beautiful !!!
Lol, CPR 😀 I have to remember that. These turned out so pretty Serena, definitely a HUGE improvement. Thanks for the video BTW, I have some gorgeous fabric that’s just waiting for some Modgy love
Absolutely beautiful! What a wonderful idea! I’m going to try working with fabric. You make it look easy!
My “waterfall” kinda vanity is in such need of help. I didn’t want to get rid of it because Santa gave it to me and by Santa I mean my ex husband. Yes, my ex. We are still good friends. He thinks I’m mental for keeping it but it’s beautiful. The style that is. I think I need to try this with it. After I sand down and restore my dad’s 1920’s dresser that I inherited after he passed away last year. Can’t bring myself to paint that one.
Hey, Tracey! That’s awesome you’re still cool with your ex hubby! 🙂 As for the piece you sanded down and want to restore, why don’t you restain it? Since you’ve done all the hard work to sand it down, you could bring it back to its original beauty with stain. Then you won’t have to agonize over painting it. I wrote a post once about knowing when and when NOT to paint wood furniture. You might find it helpful! You can read it here: https://thriftdiving.com/when-should-you-not-paint-wood-furniture/
Hello Serena!
I love wood. You know that. Real wood with real grain showing. I recently started out spiffing up an old treasure for my son, it just needed a little TLC as it was at least 75 years old. Sanded lightly, wiped off, stained the proper match, then Antique Oil Finish, by Minwax. Easy peasy. And, I can still see the real wood underneath. It is good for another 75 years. Paint….Bah! Gimme wood, anytime.
Pat
ps I am sending photos too.
I love these I am going to have to try this. It won’t be as wonderful as your work Lots of Love , Mary Louise
Oh, nonsense! It will be fabulous! Let me know how it turns out!