
How to Build a Stone Walkway for a Patio Makeover
When we moved into our house in 2010, this side of the house had a stone walkway in place but it was overrun with weeds and it just didn’t lead anywhere, really. And over the years, we had spent so much time fixing up the inside of the house, who had time to focus on the outside?? But in time, as I have tackled room makeovers, like my formal living room makeover and my basement office, I now feel like the inside of my house is comfortable enough that I can do outdoor projects that are time-consuming, like creating a stone walkway.
I’m actually going to show you two stone walkways that I have done in my backyard, leading to my patio.
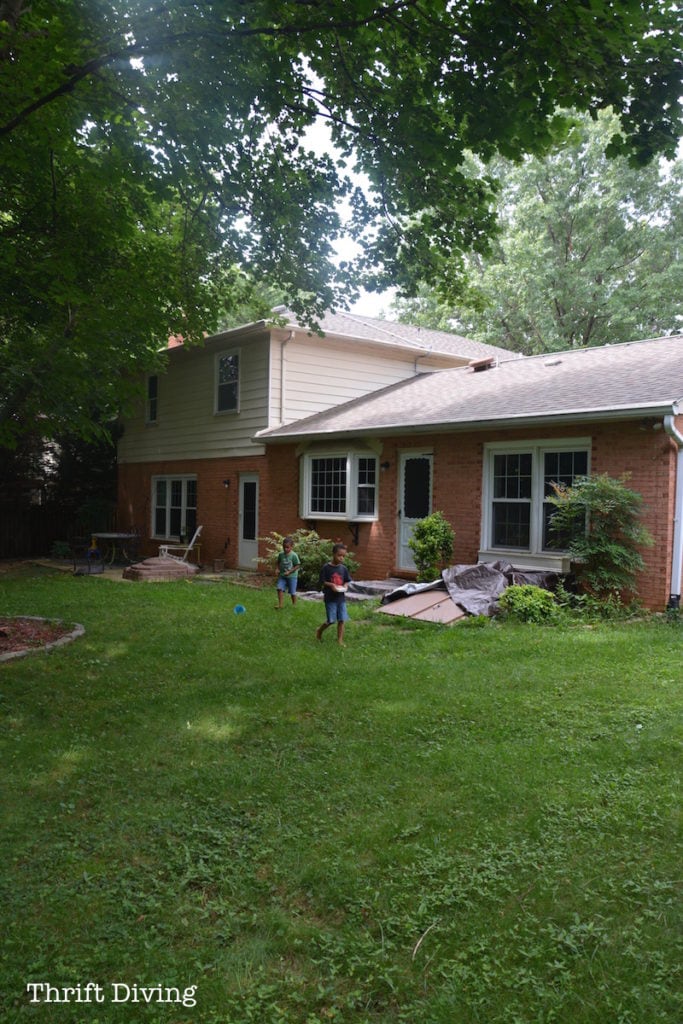
BEFORE – Stone Walkway
This side of our house is usually overgrown from below and above (the neighbor’s trees are ridiculous). This is how it looked before I put in the walkway.
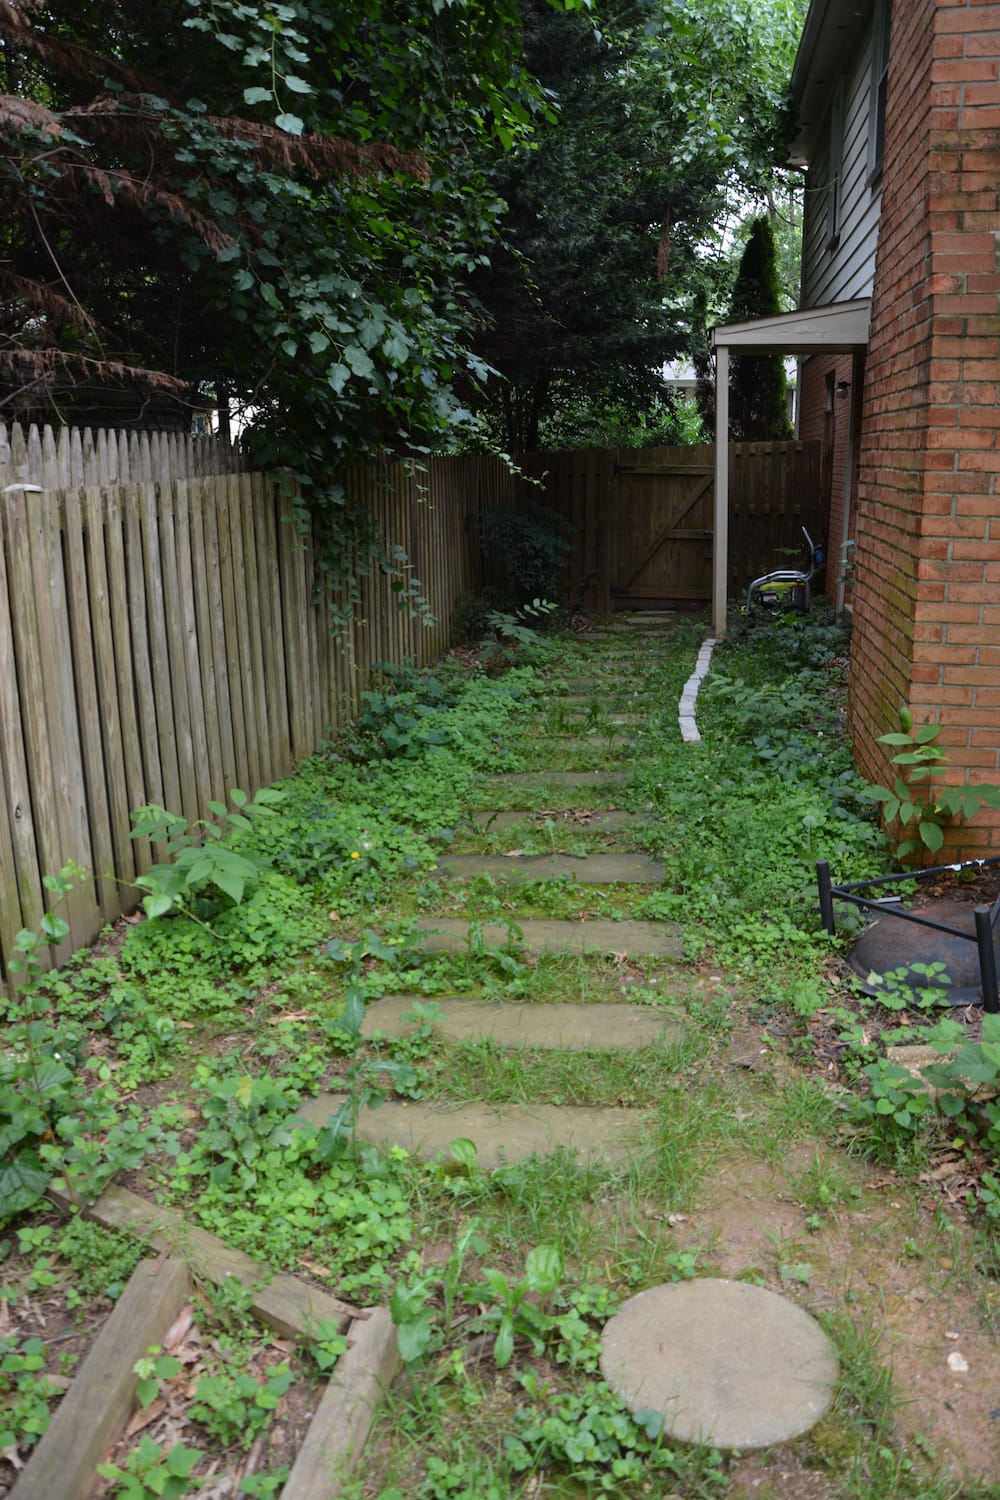
It opened into the backyard, but what we really needed was a stone walkway that leads to the patio. It just sort of petered out, leading nowhere.
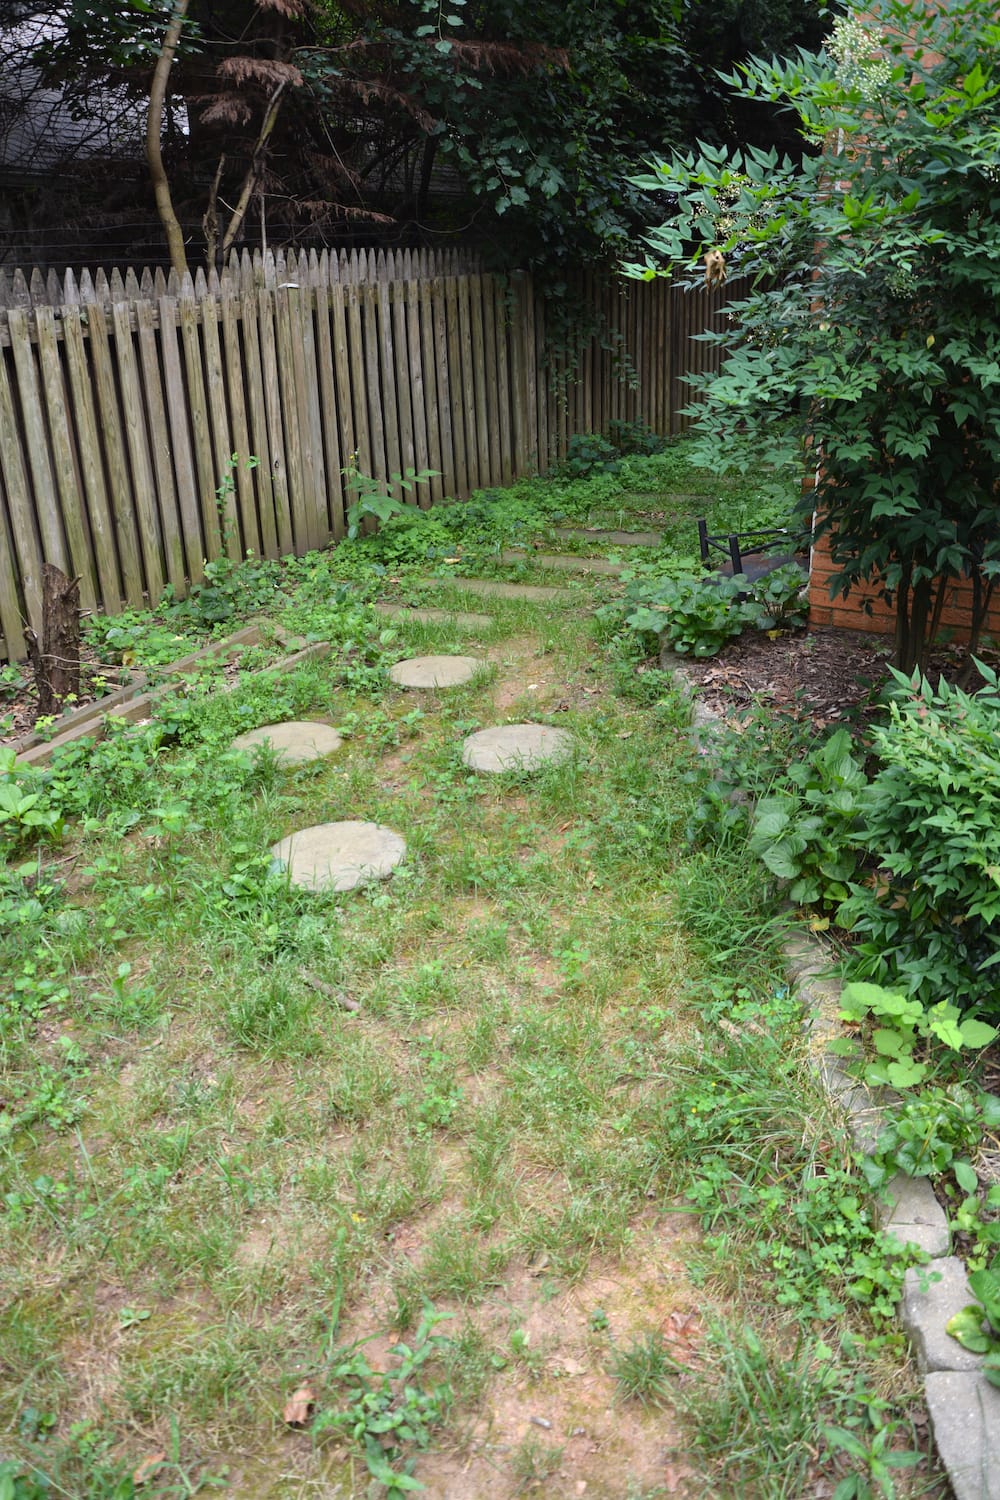
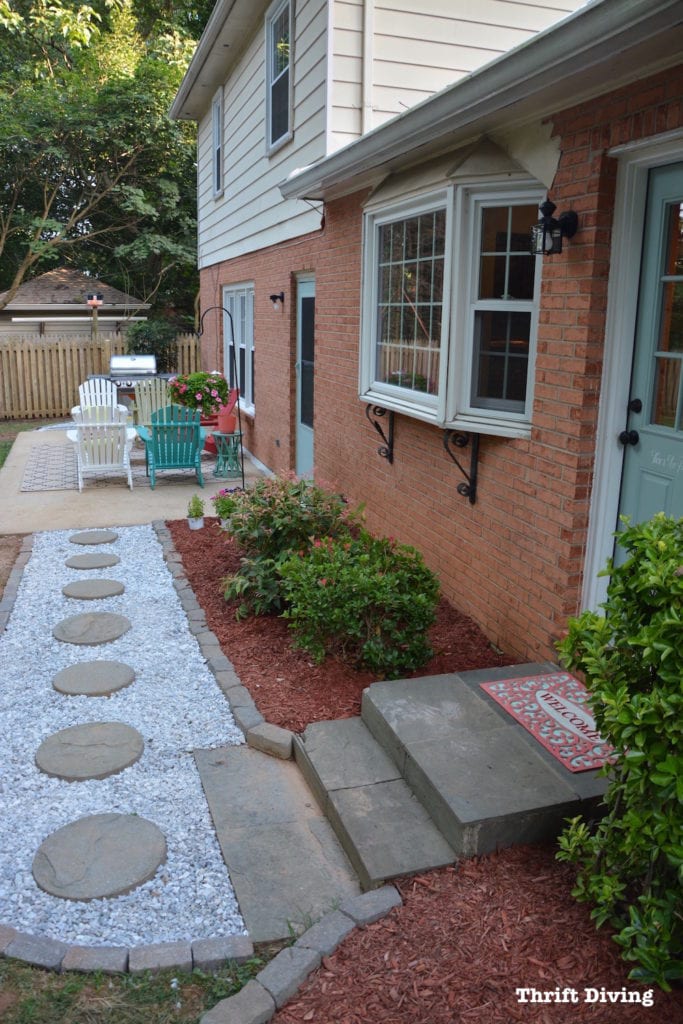
So here’s how I updated our stone walkway, which was a lot of heavy lifting, but well worth the effort! Because it looked beautiful when I was done! With the pavers creating a walkway and smaller rocks filling in the walkway, it looks defined and beautiful. I’ll admit that over the years since creating this walkway, not only has the mulch muddied it up, but shallow weeds will always take root, so it does take some maintaining. But it was still beautiful and a big improvement for this side of the house! You can also see how much more light the area received after hiring a landscaping company to cut back the trees encroaching on our side of the fence.
AFTER – Stone Walkway!
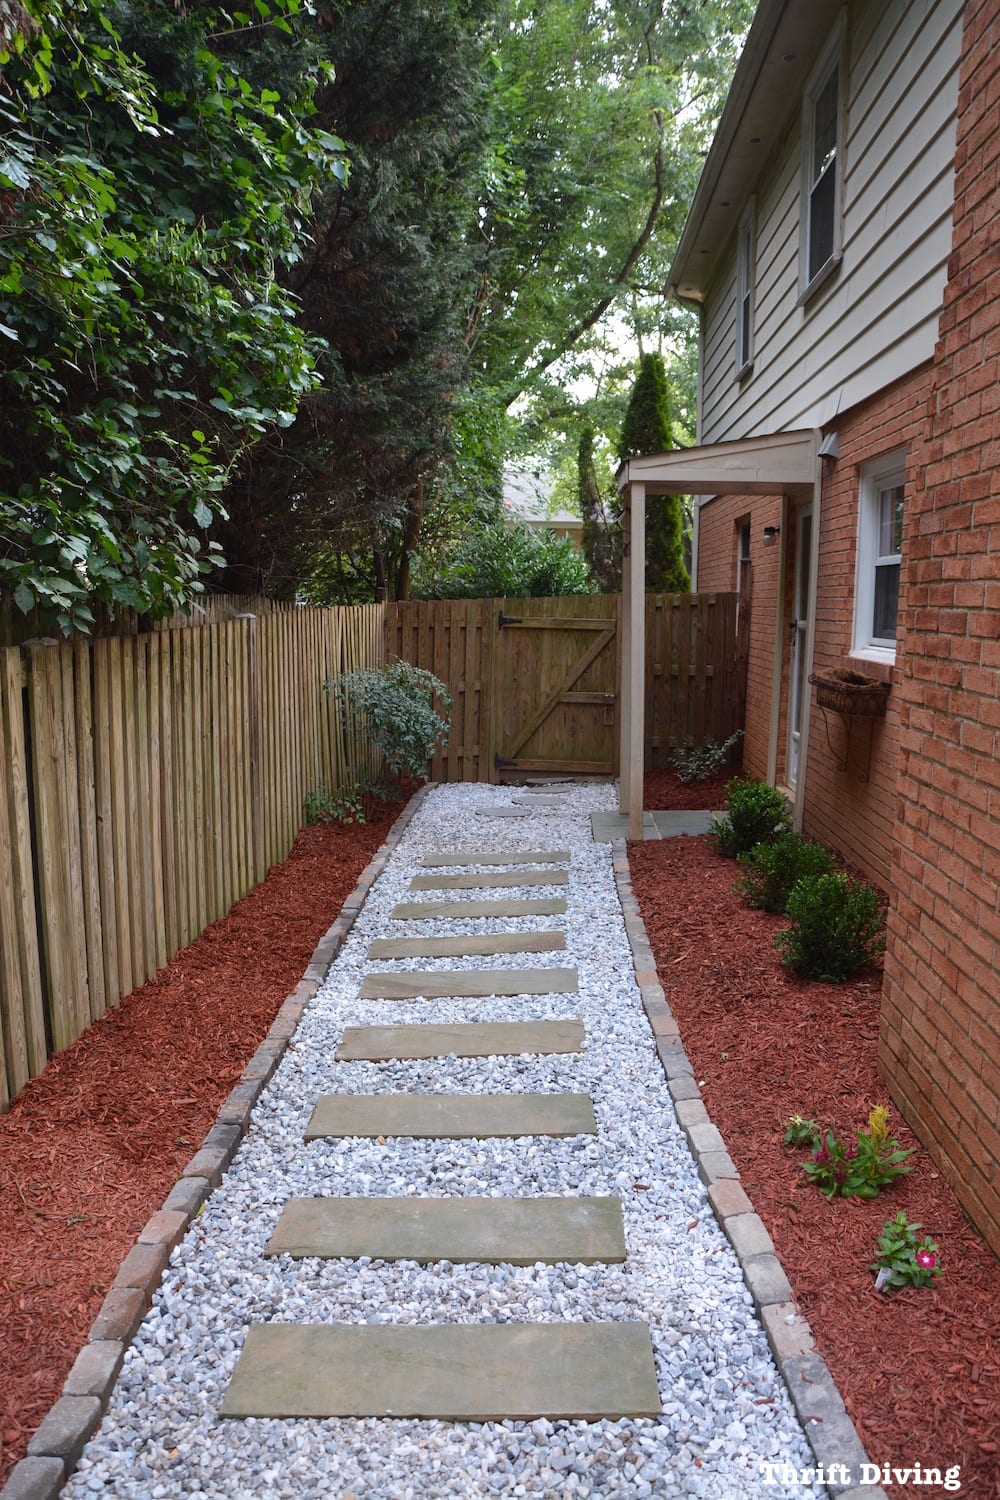
Someone pointed out that I planted the new boxwoods too close to the house. Next time, I will move them out so they’re not so close to the foundation.
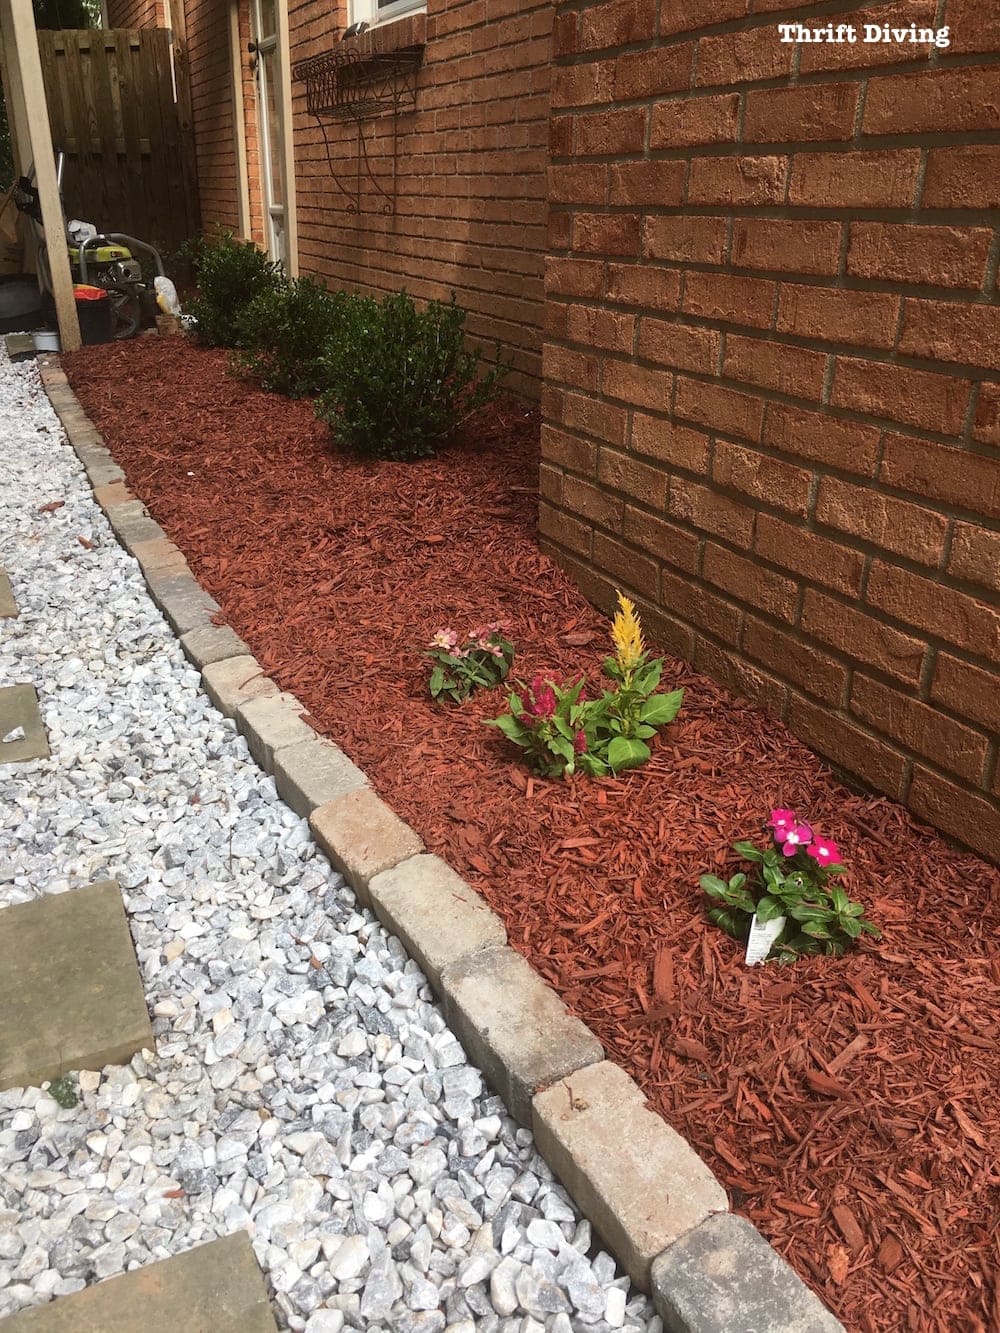
How to Build a DIY Stone Walkway
Here are the materials you’ll need to build a stone walkway.
(I participant in the Amazon Services LLC Associates Program and other affiliate advertising programs designed to provide a means for me to earn fees by linking to Amazon.com and affiliated sites).
Materials
- 12″ x 24″ stones (you can use any shape of stone you’d like).
- Edgers (border rocks)
- Decorative rocks to fill in your DIY stone walkway
- Paver sand
- Weed block
- Tamper for packing down your paver sand.
STEP 1: Choose Matching Stones
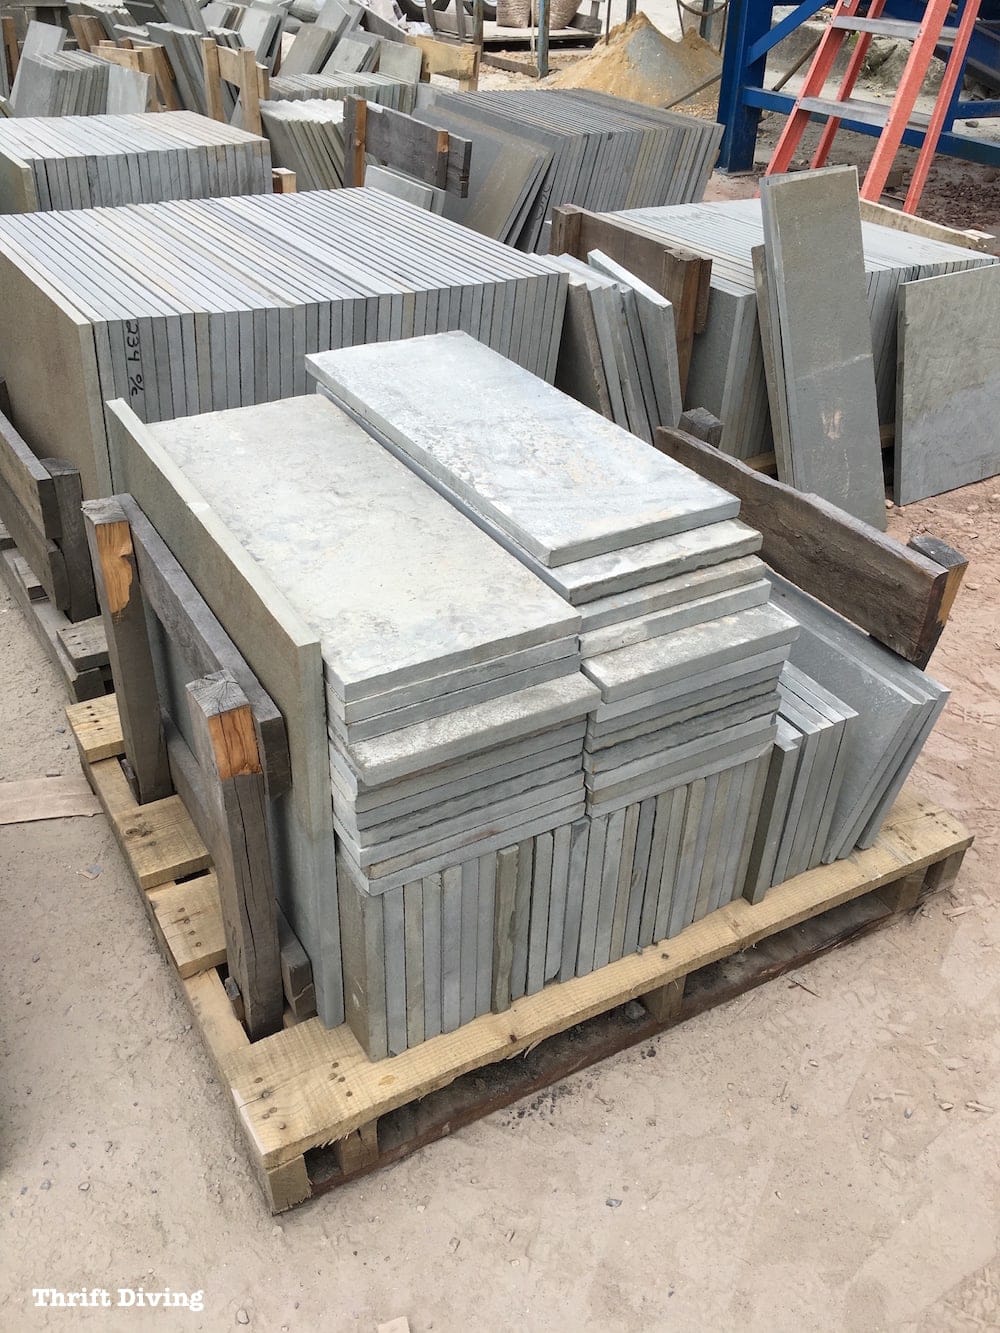
Stone walkways can use any number of stones. When we moved in, the previous homeowners already had these rectangular ones, so it made sense that when extending my walkway, I should use the same ones. Big box stores don’t carry specialty stones like this, so I had to find a local quarry to buy them. These stones, with taxes (6% here in Maryland) came to about $18 per stone. Total cost for 12 stones: $221. If you’re trying to keep costs down, stick with the stones at your local home improvement stores.
STEP 2: Plan Your New Stone Walkway
For this section of my yard, where the existing walkway was, there were tons of weeds. I had to remove them all first. I left the original stones in place because they were pretty solid in place. To remove the grass or weeds, you can use a shovel. But I’ll admit that I simply used my pressure washer and blasted the weeds away. Not recommended, but it’s what quickly worked for me. ;).
You can also use:
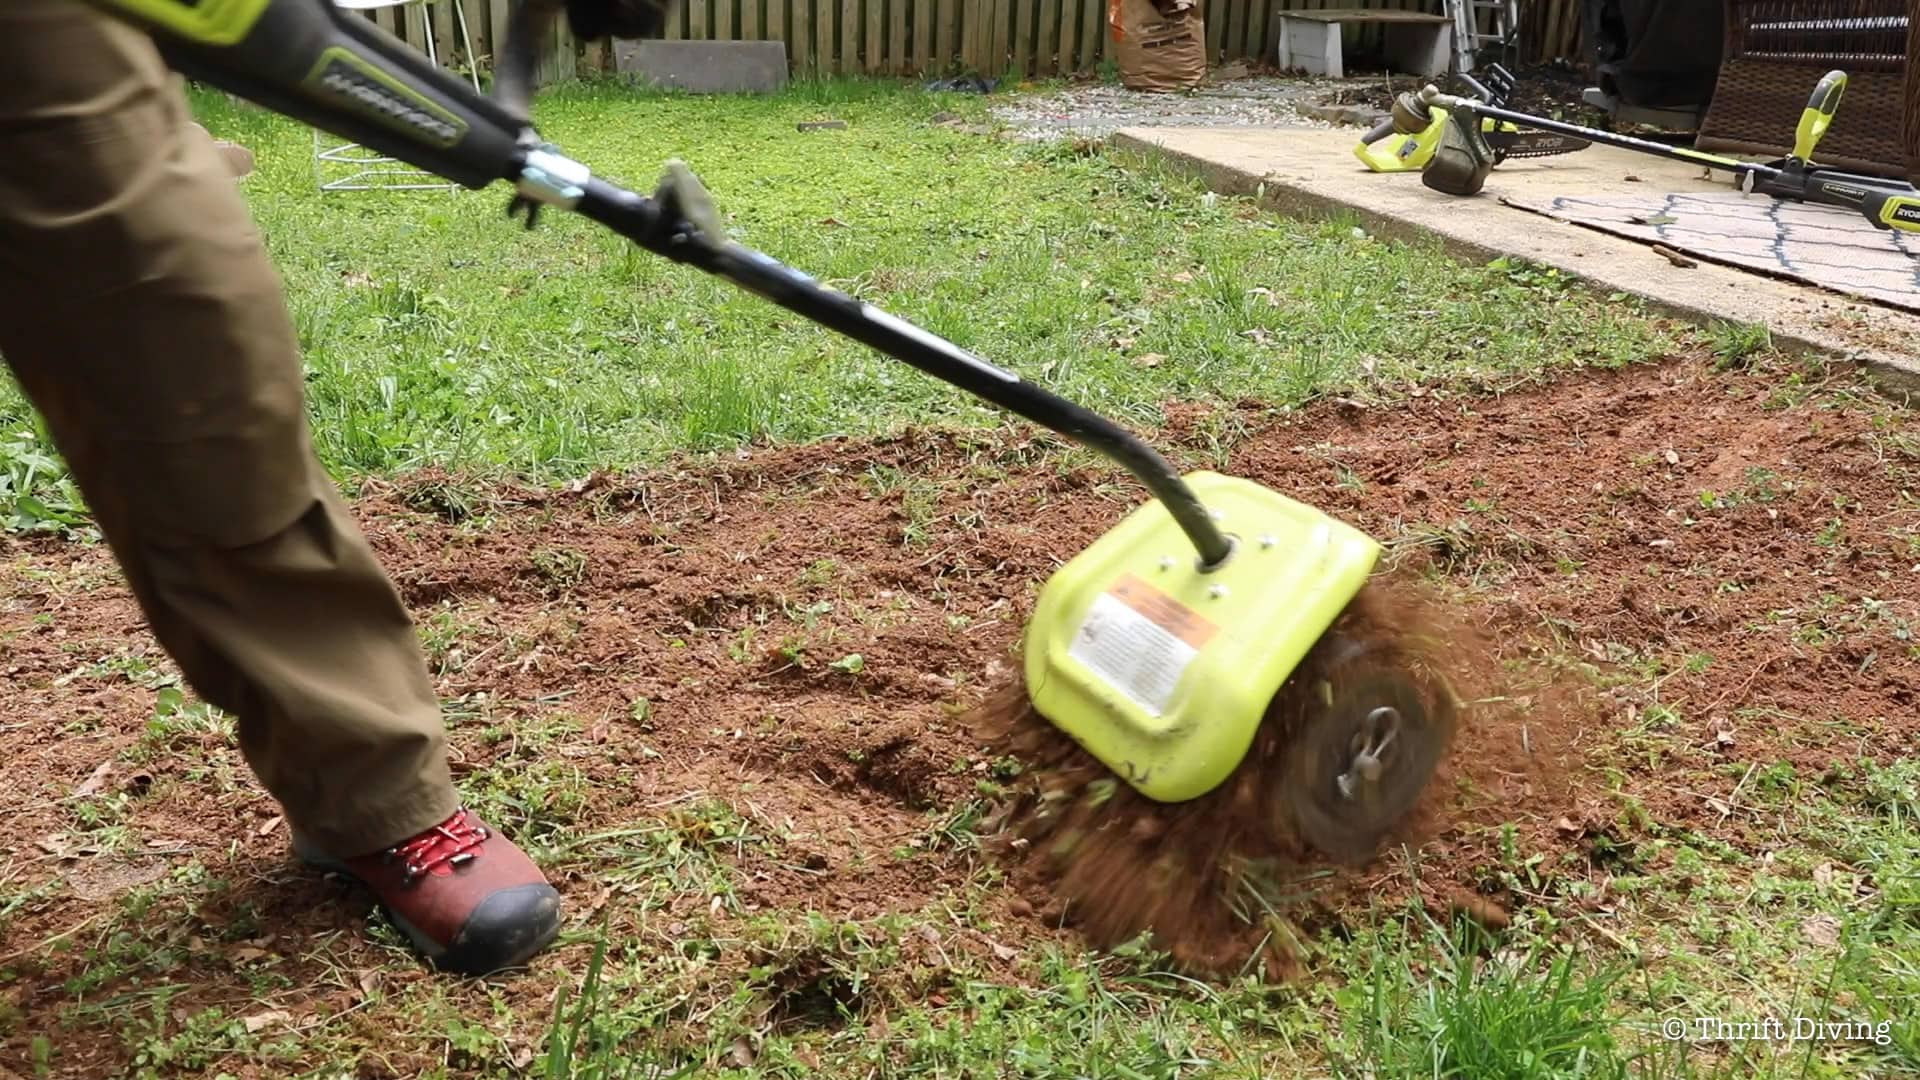
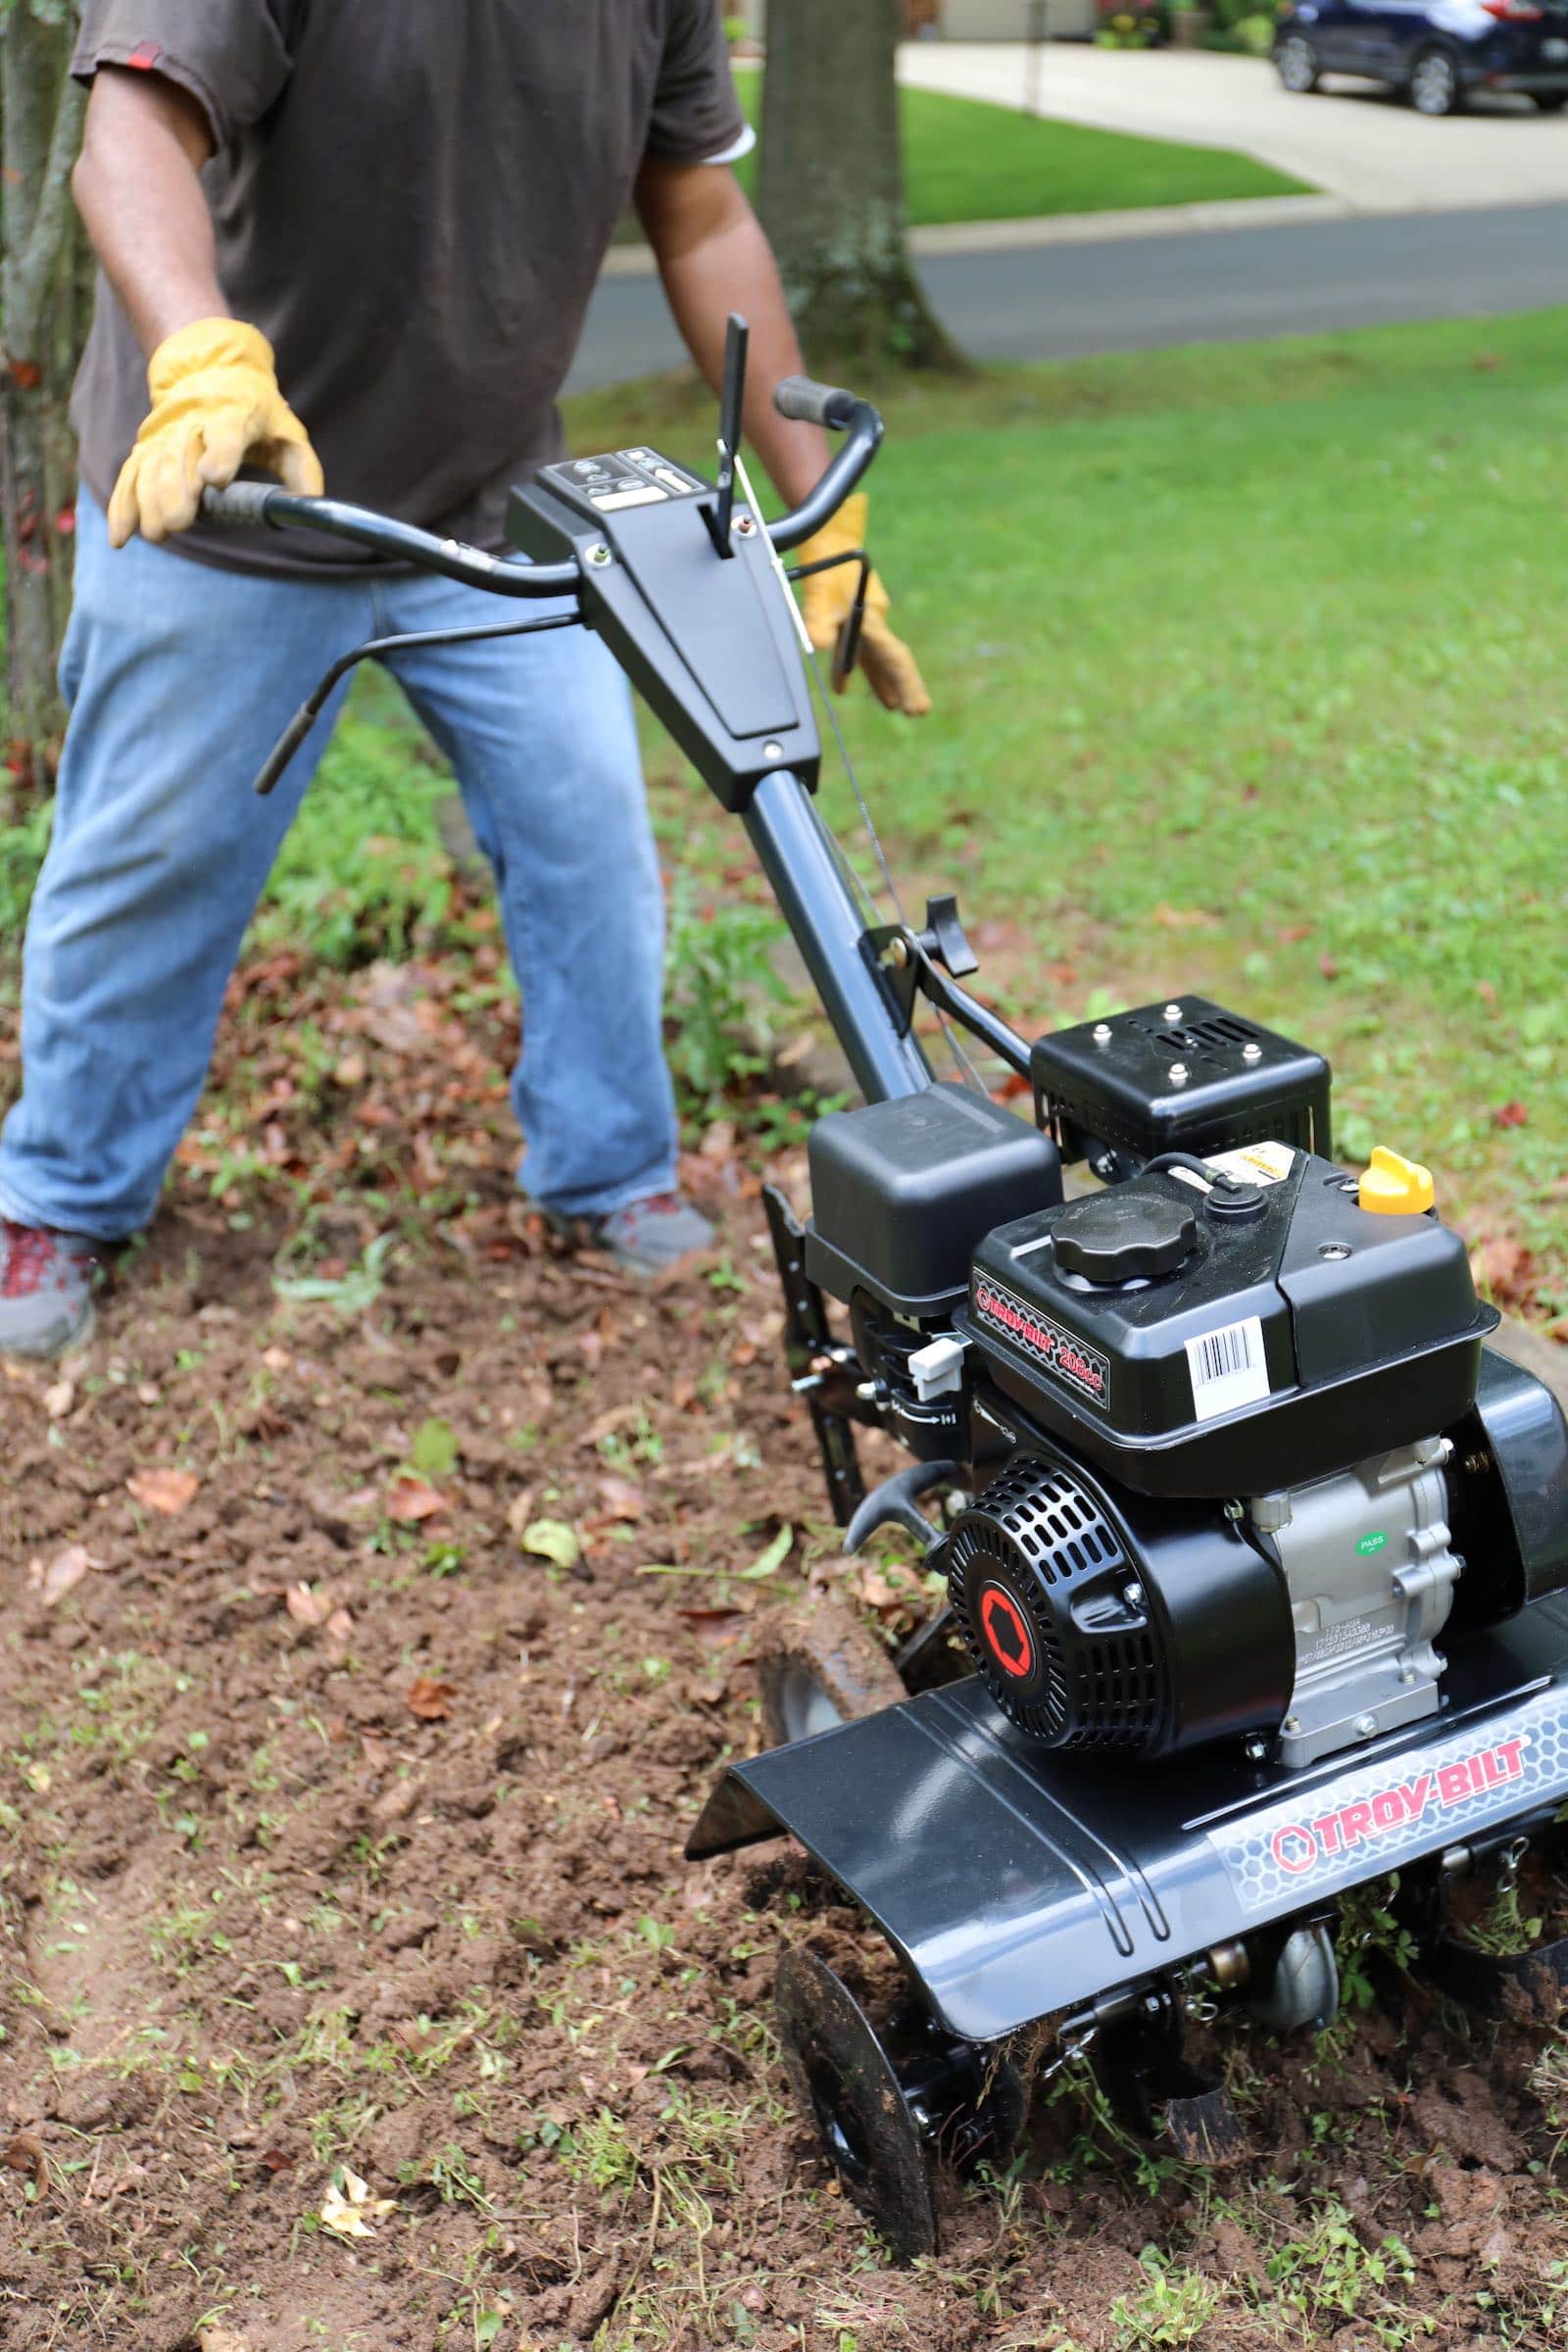
- A tiller like the one I used for my blueberry garden. or
- A smaller cultivator such as the one I used when I built my DIY fire pit with a stone walkway.
- Rent a sod remover from your local home improvement store.
Both a tiller or a small cultivator will work well for the everyday homeowner. But I’ll be honest. The larger tiller works better and faster! Just make sure you’ve got a transfer shovel and a wheelbarrow for removing the loosened soil (and that you have a place to dump it!)
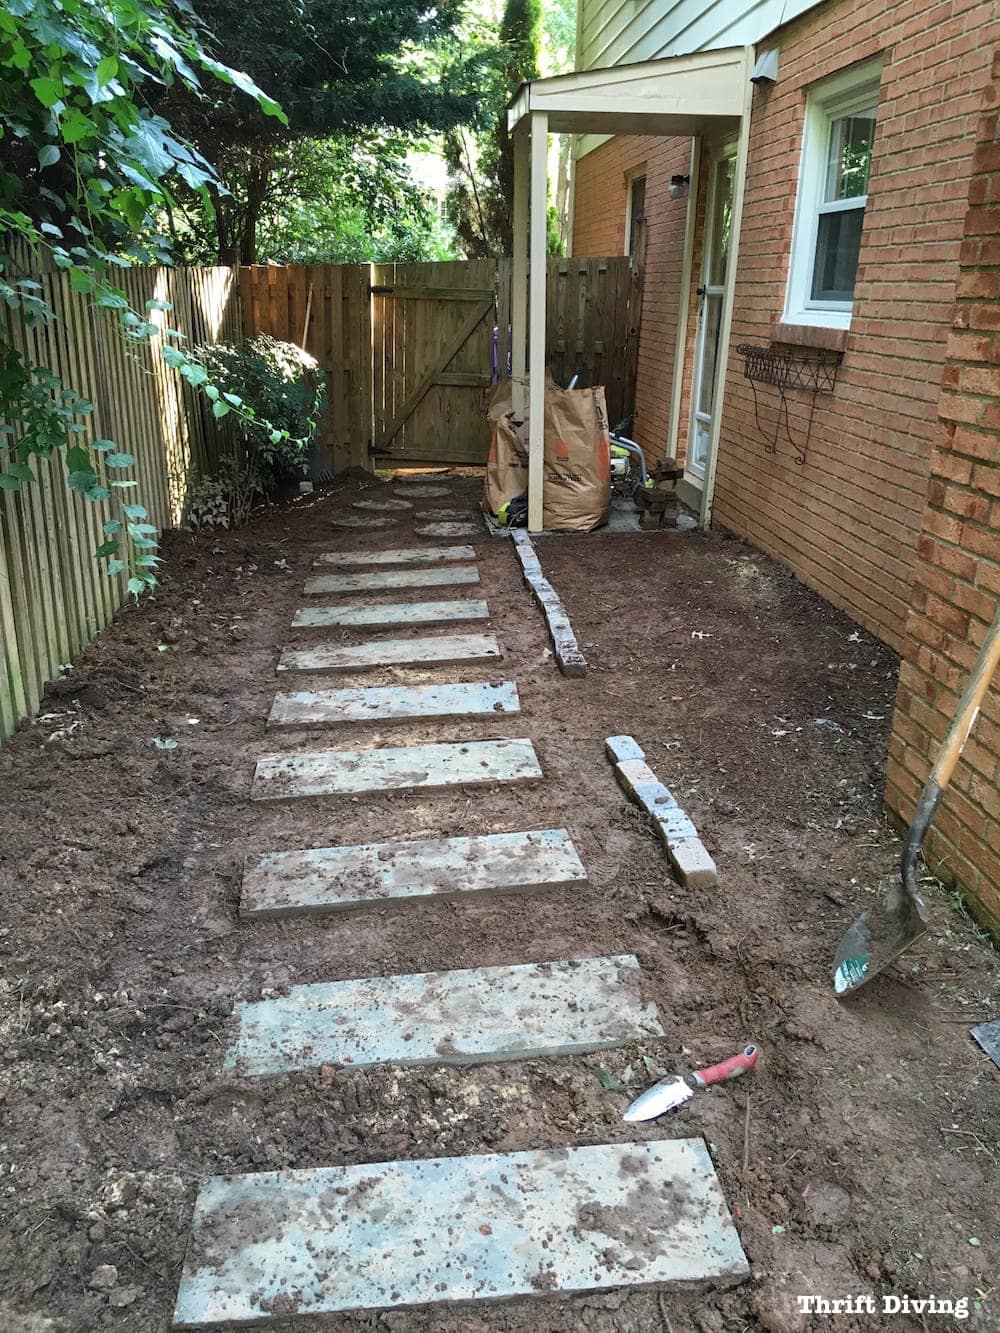
I worked on the stone walkway on the side of the house first, but I had to figure out how to extend the existing walkway. You don’t have to lay stones and edgers the way I did. You can easily use a garden hose to draft out the shape of your stone walkway. Since I already had the edgers nearby, I decided to use those. This was the general shape I was going for.

STEP 3: Lay the Weed Block, Then Paver Sand
You’ll notice in the picture below that I used weed block around the previous stones, but I didn’t use any under the new stones I added. The reason why is because the previous stones already had a good, solid foundation. Therefore, I just laid the weed block around them. The new DIY stone path needed to have a solid foundation, which is why I used the paver sand there. I didn’t think the weed block was necessary but don’t do like I did. Add the weed block and then the paver sand.
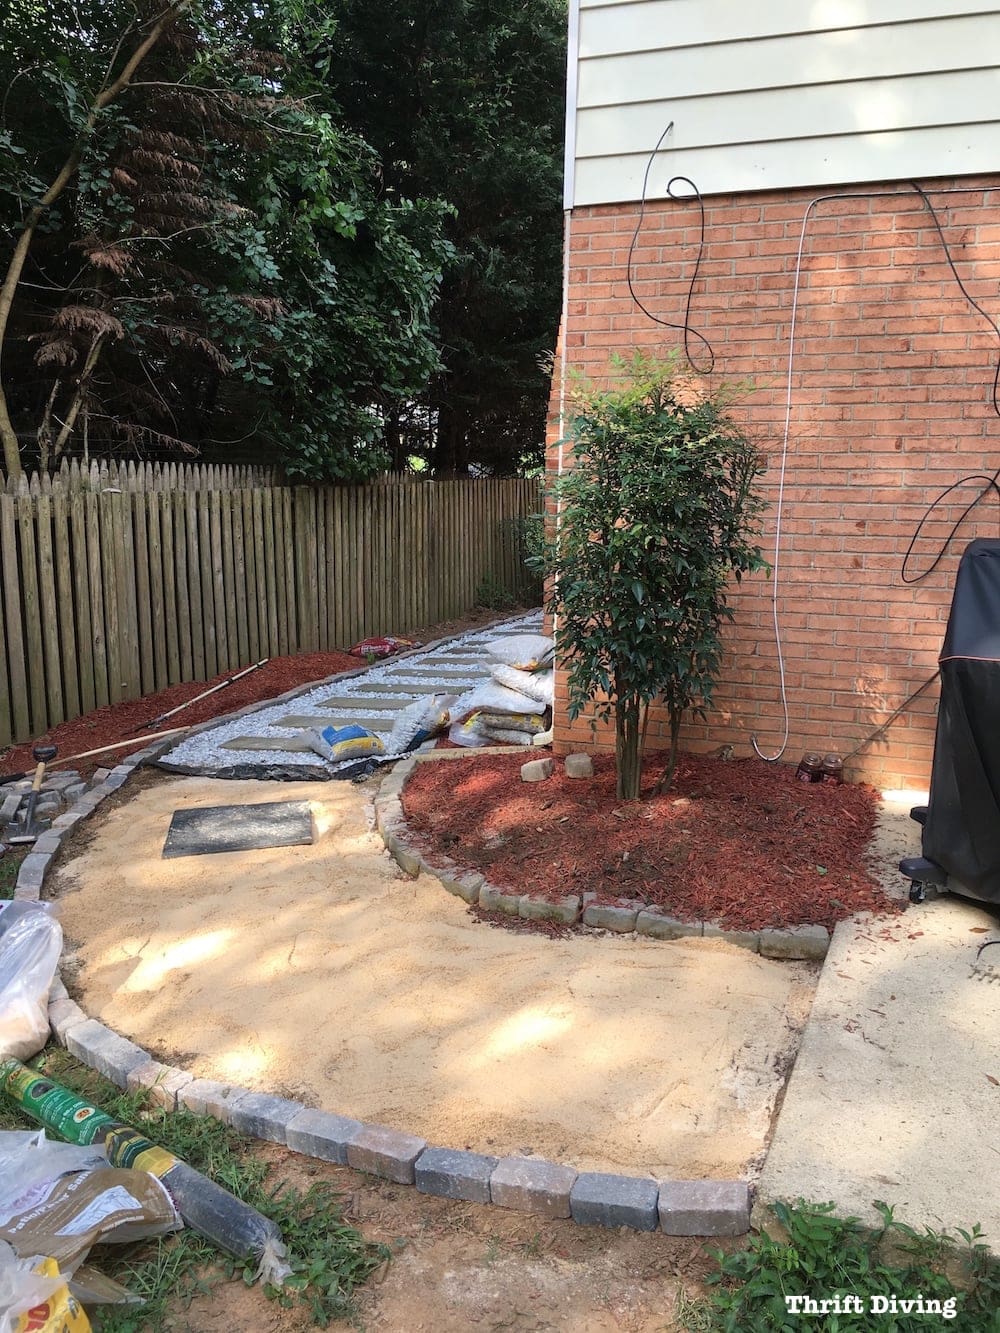
When placing the stones on the paver sand, you’ll want to shimmy them in against the paver sand and test each one of them to make sure they’ve got solid footing. If you notice any rocking back and forth, add more paver sand underneath and keep testing until, when you step on it, it’s completely solid and not rocking. And of course, you’ll want them to be straight and evenly spaced.
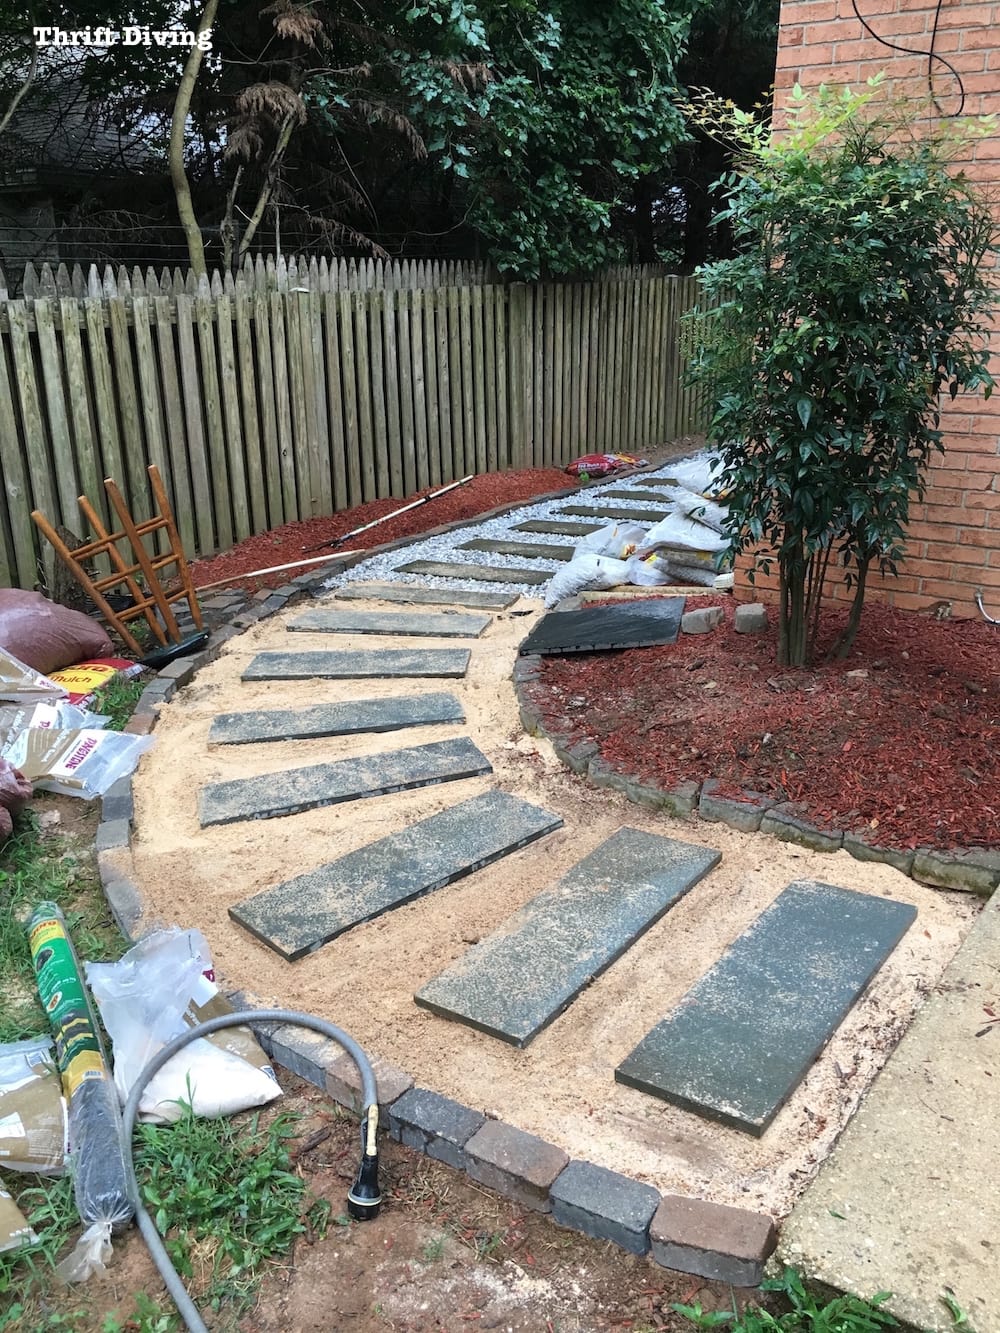
STEP 4: Cover in Decorative Rocks
Next, fill in your walkways with decorative rocks. For this stone walkway, I used white rocks, but pea gravel also works well, like how I build my DIY fire pit with a seating area.
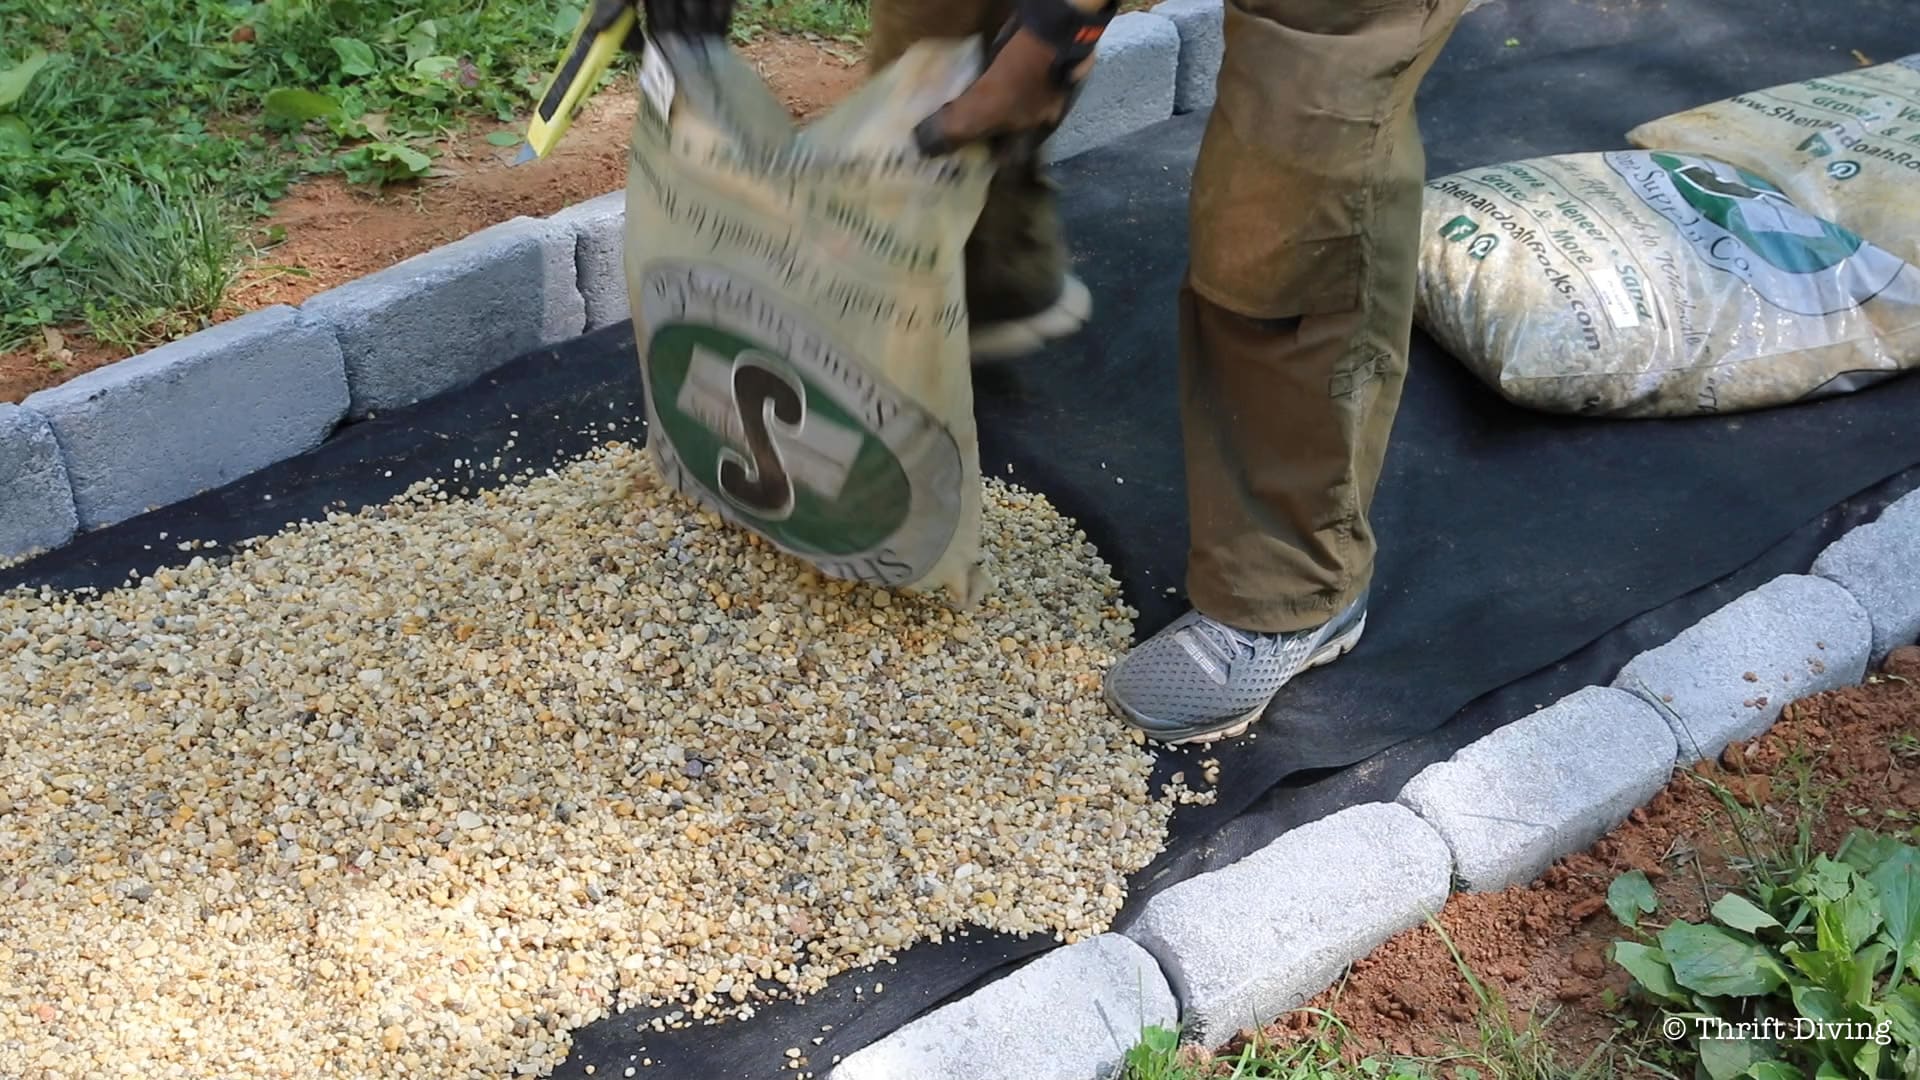
I’ll admit that this was the hardest part because the bags were so heavy. Also, it makes sense to go to your local nursery and have decorative rocks delivered. Buying them by the bag is more expensive. If I had realized I would need 20+ bags, I would have just had a truck delivered. To have stones delivered, you’ll need a tarp, a wheelbarrow, and a place where the delivery truck can easily dump them.
STEP 6: Stone Walkway Weeds: Burn Them Away!
Don’t get it twisted–even though you’ve got weed black as a barrier to weeds, that only covers the weeds under the stones. It has nothing to do with the little floating weed seeds that end up sprouting on your DIY stone walkway! It’s a lot of work to maintain a stone walkway, but if you keep up with weekly or bi-weekly weed-killing or weed-pulling maintenance, your walkway can look nice for years to come.
Environmentally, please don’t go and buy some RoundUp. That stuff is super toxic. To handle the weeds that will come, you can:
- Pull them at the root (by hand) weekly.
- Spray them with vinegar. They’ll shrivel up and die. To apply it, use a garden sprayer.
- Burn them. My readers suggested this handheld weed torch, which saves your back!
I’ve got more plants and flowers coming, and I need to replace this side door and tidy up the painting on the porch area, but with the walkway completed, and new boxwoods, and a few seasonal flowers, it looks so pretty now! And clean!!
AFTER
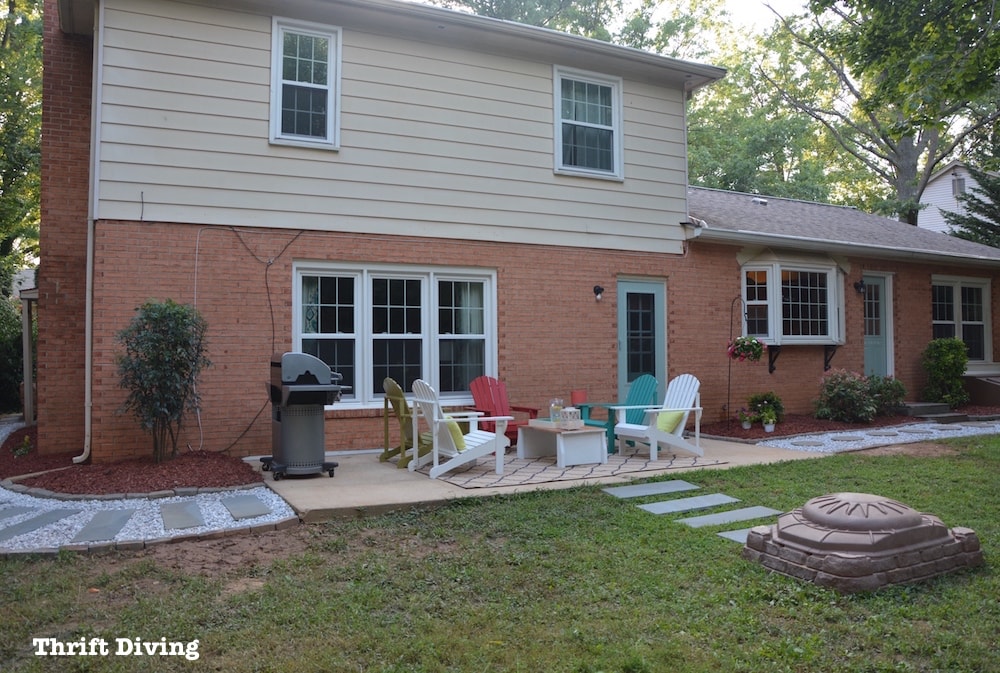
Now you can see how I wrapped the DIY stone walkway around to meet at the patio!
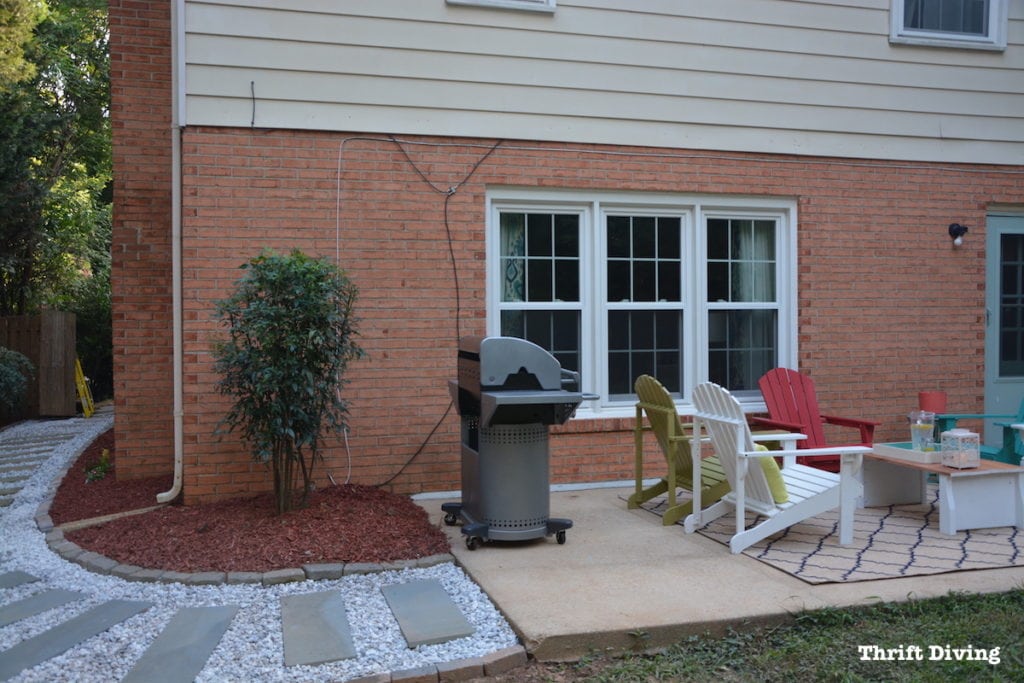
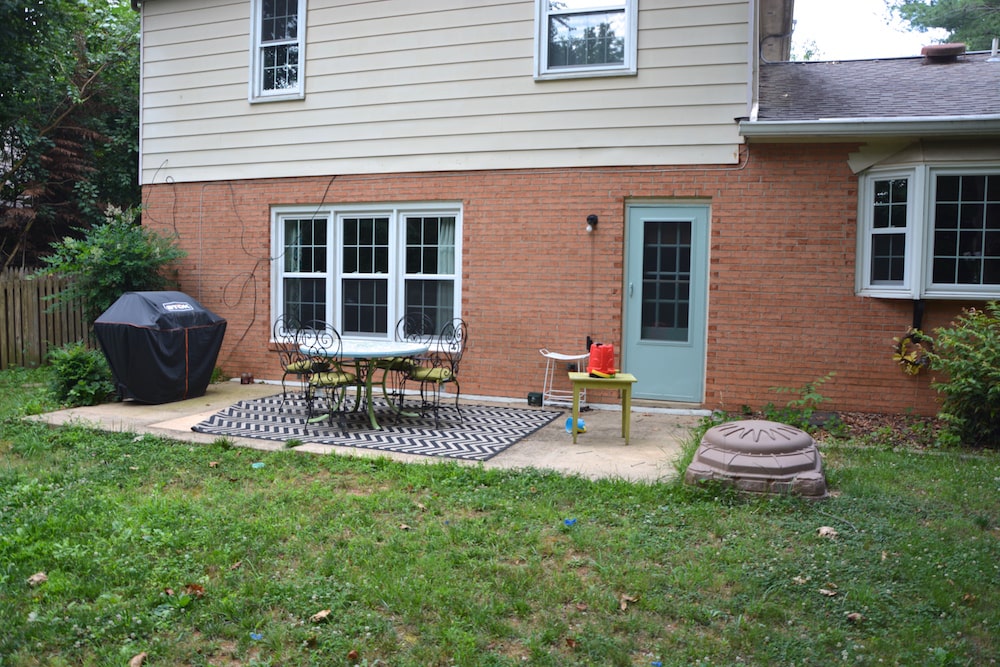
When my family and I walked out of the kitchen door, we hated stepping on the grass to get to the patio. Not that we used the patio, but if we needed to go outside for any reason, it usually was a tip-toe-across-the-pavers type of creeping along. LOL.
BEFORE
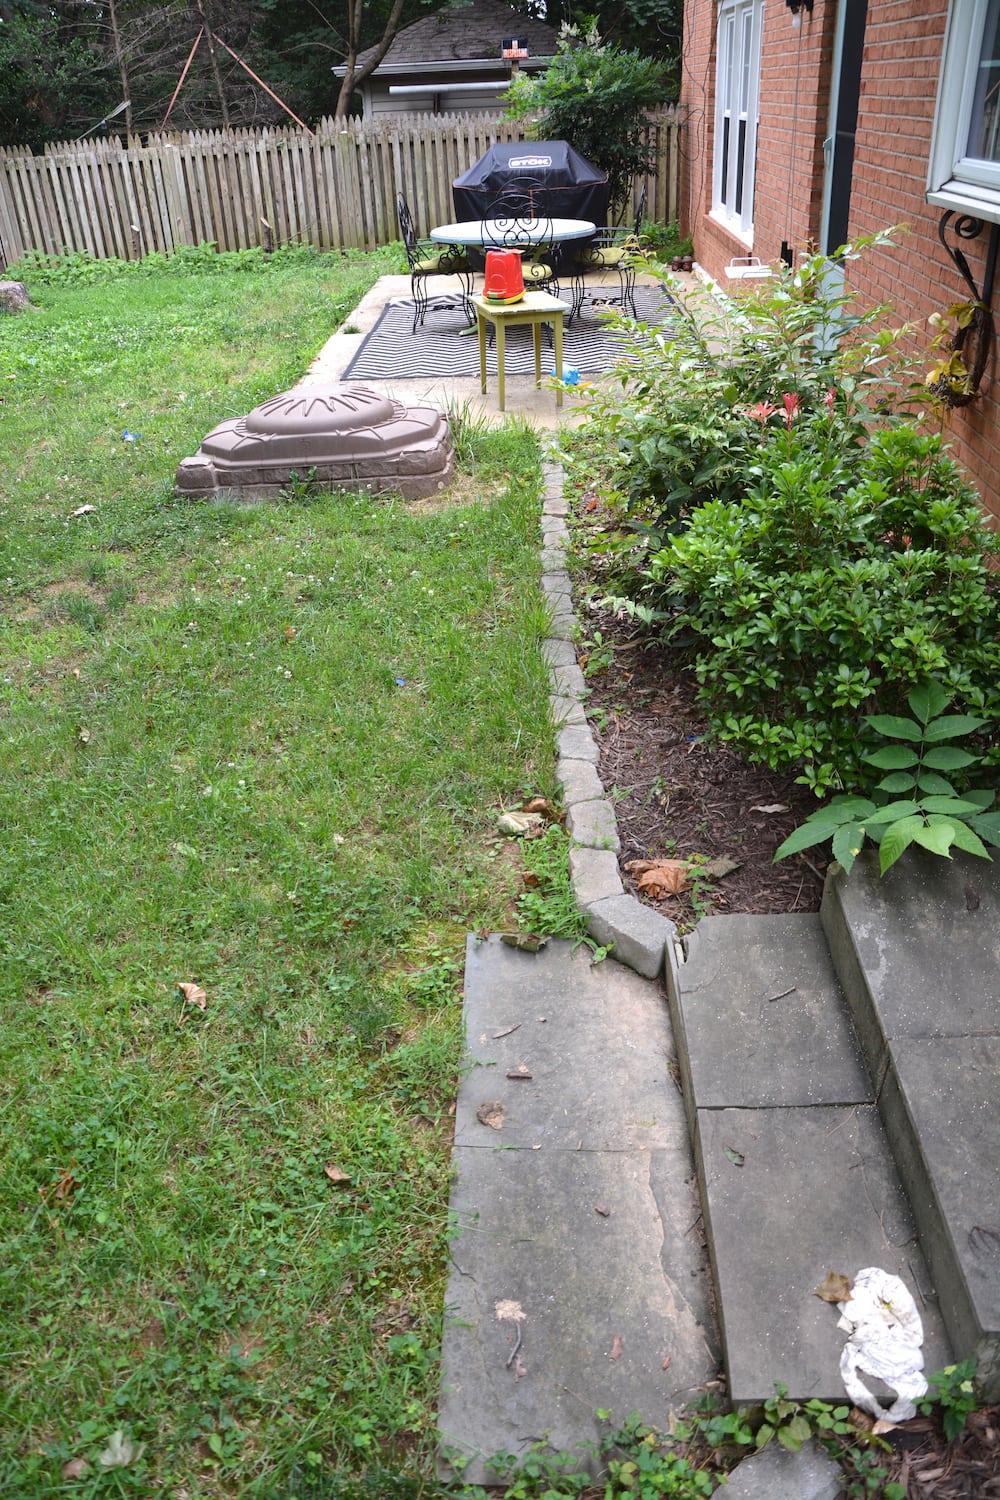
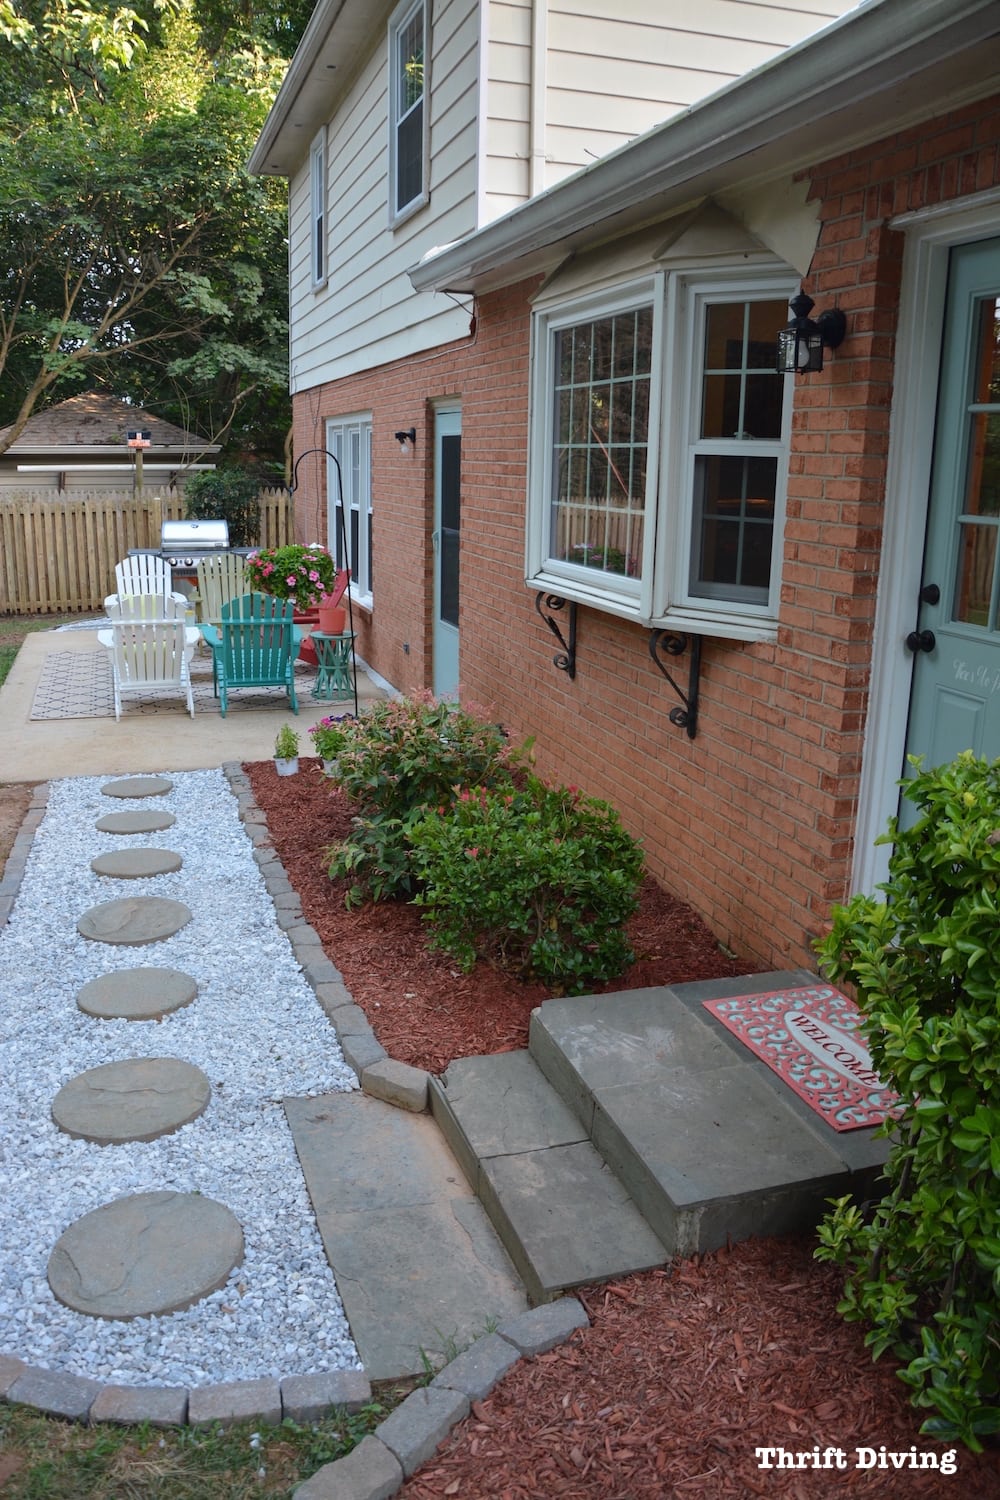
AFTER
Now, with a new stone walkway I created leading from the kitchen door to the patio, there’s a cute little path to lead the way! These stones were already there from the previous tenants, in some other obscure part of the yard. I just borrowed these and placed them here. They fit perfectly!
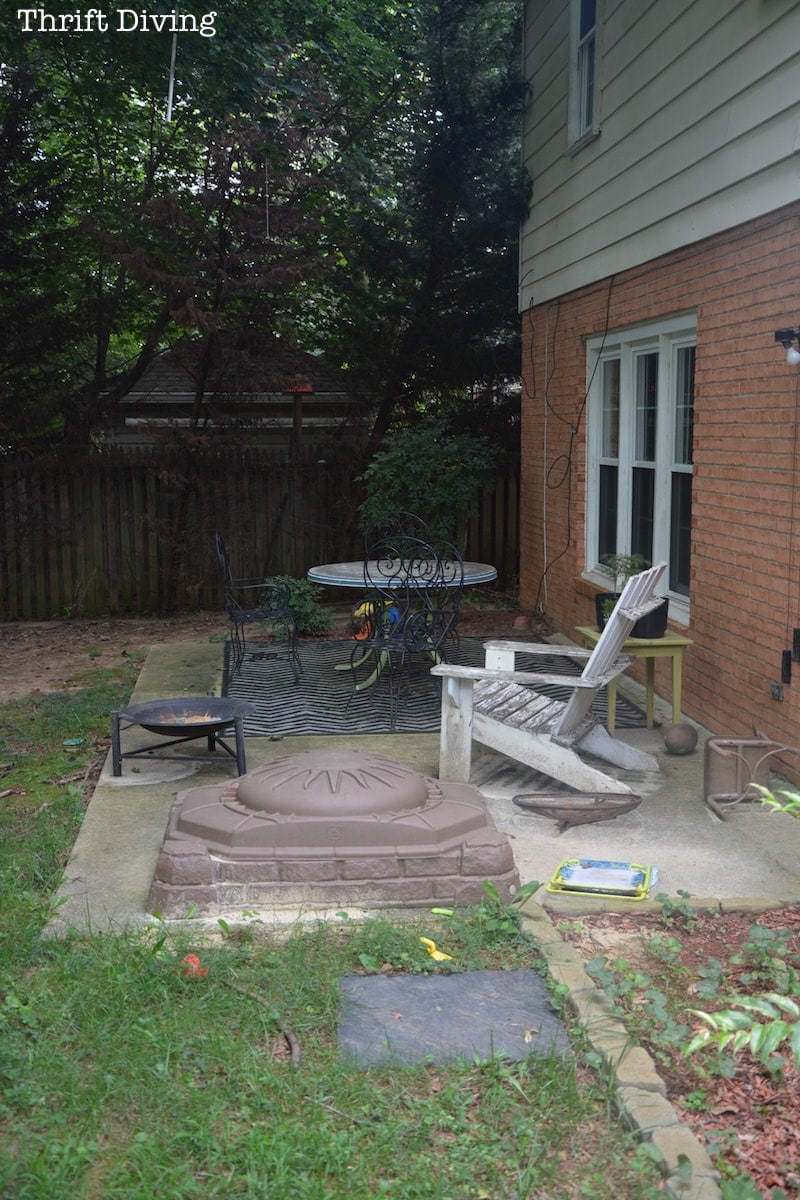
Our backyard has been forever evolving since we moved in. There was a large tree that blocked much of the sunlight, so this corner of the backyard was really dark and dirty, covered in grime.
BEFORE
IN PROGRESS
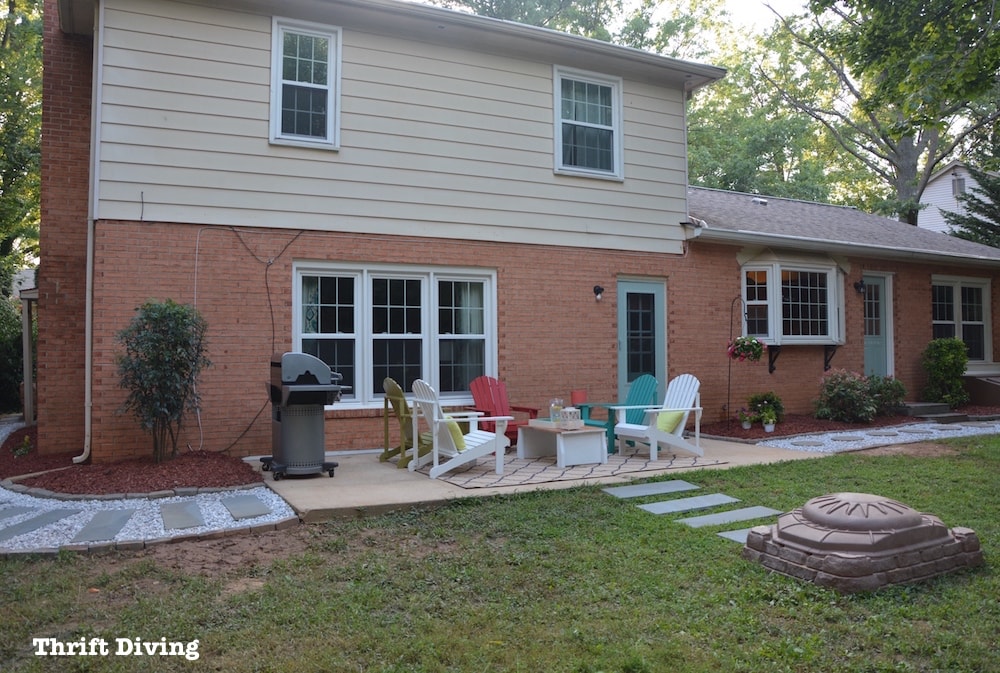
With the tree gone, it was more open, but definitely still needed “something.”
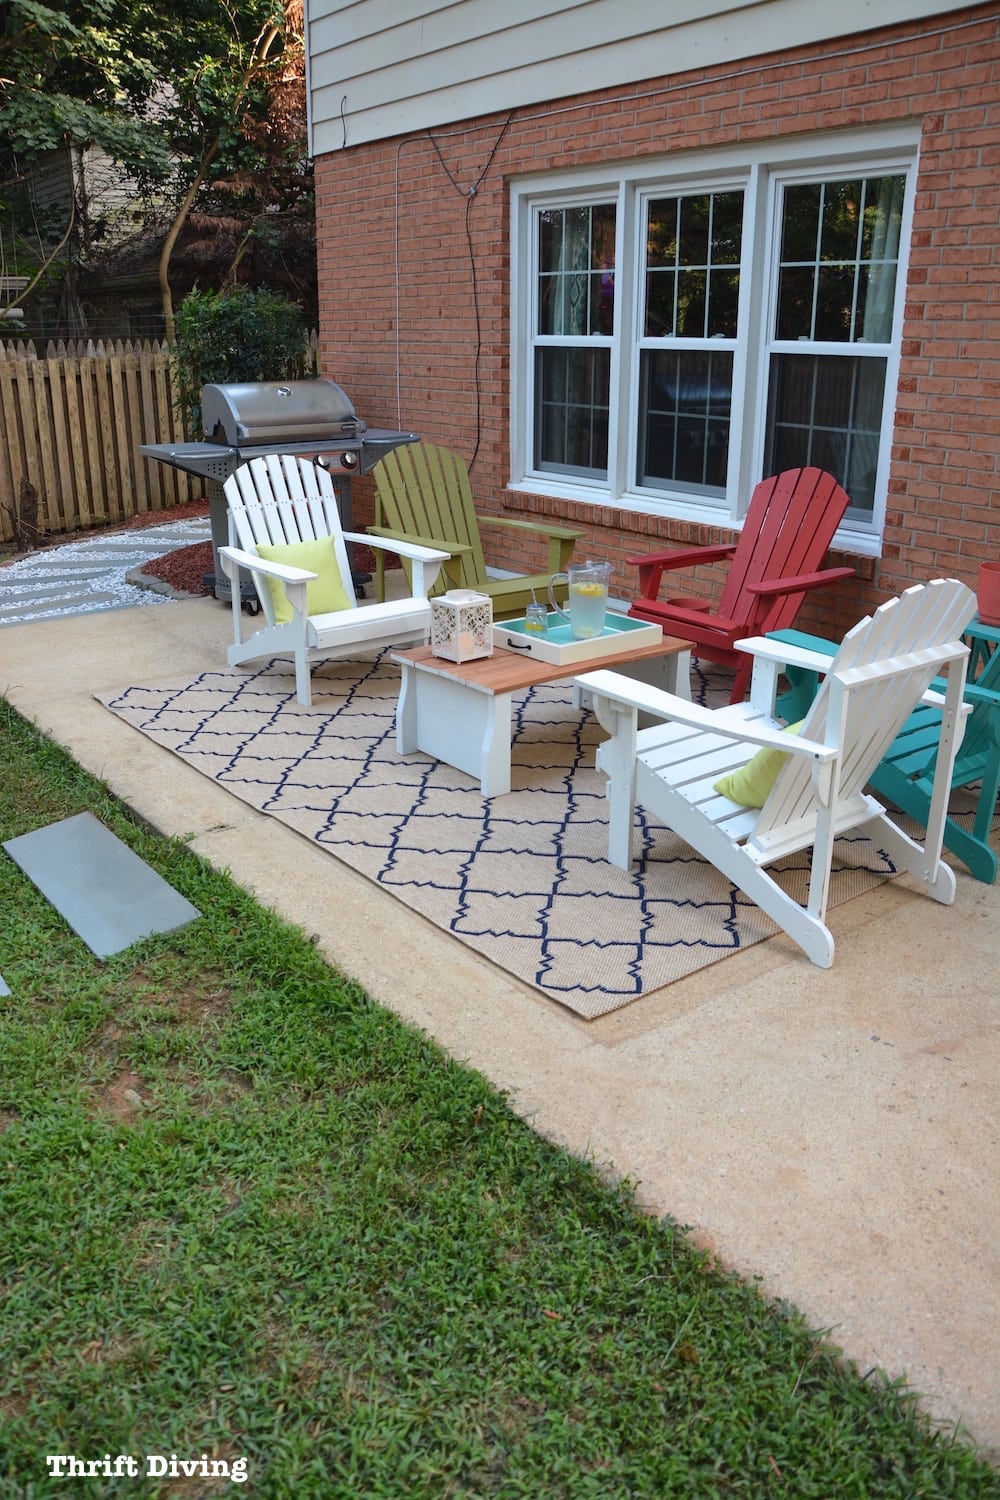
AFTER (2017)
With colorful Adirondack chairs, this space was ready for family, guests, and hanging out. It was definitely a more cheerful place to hang out!
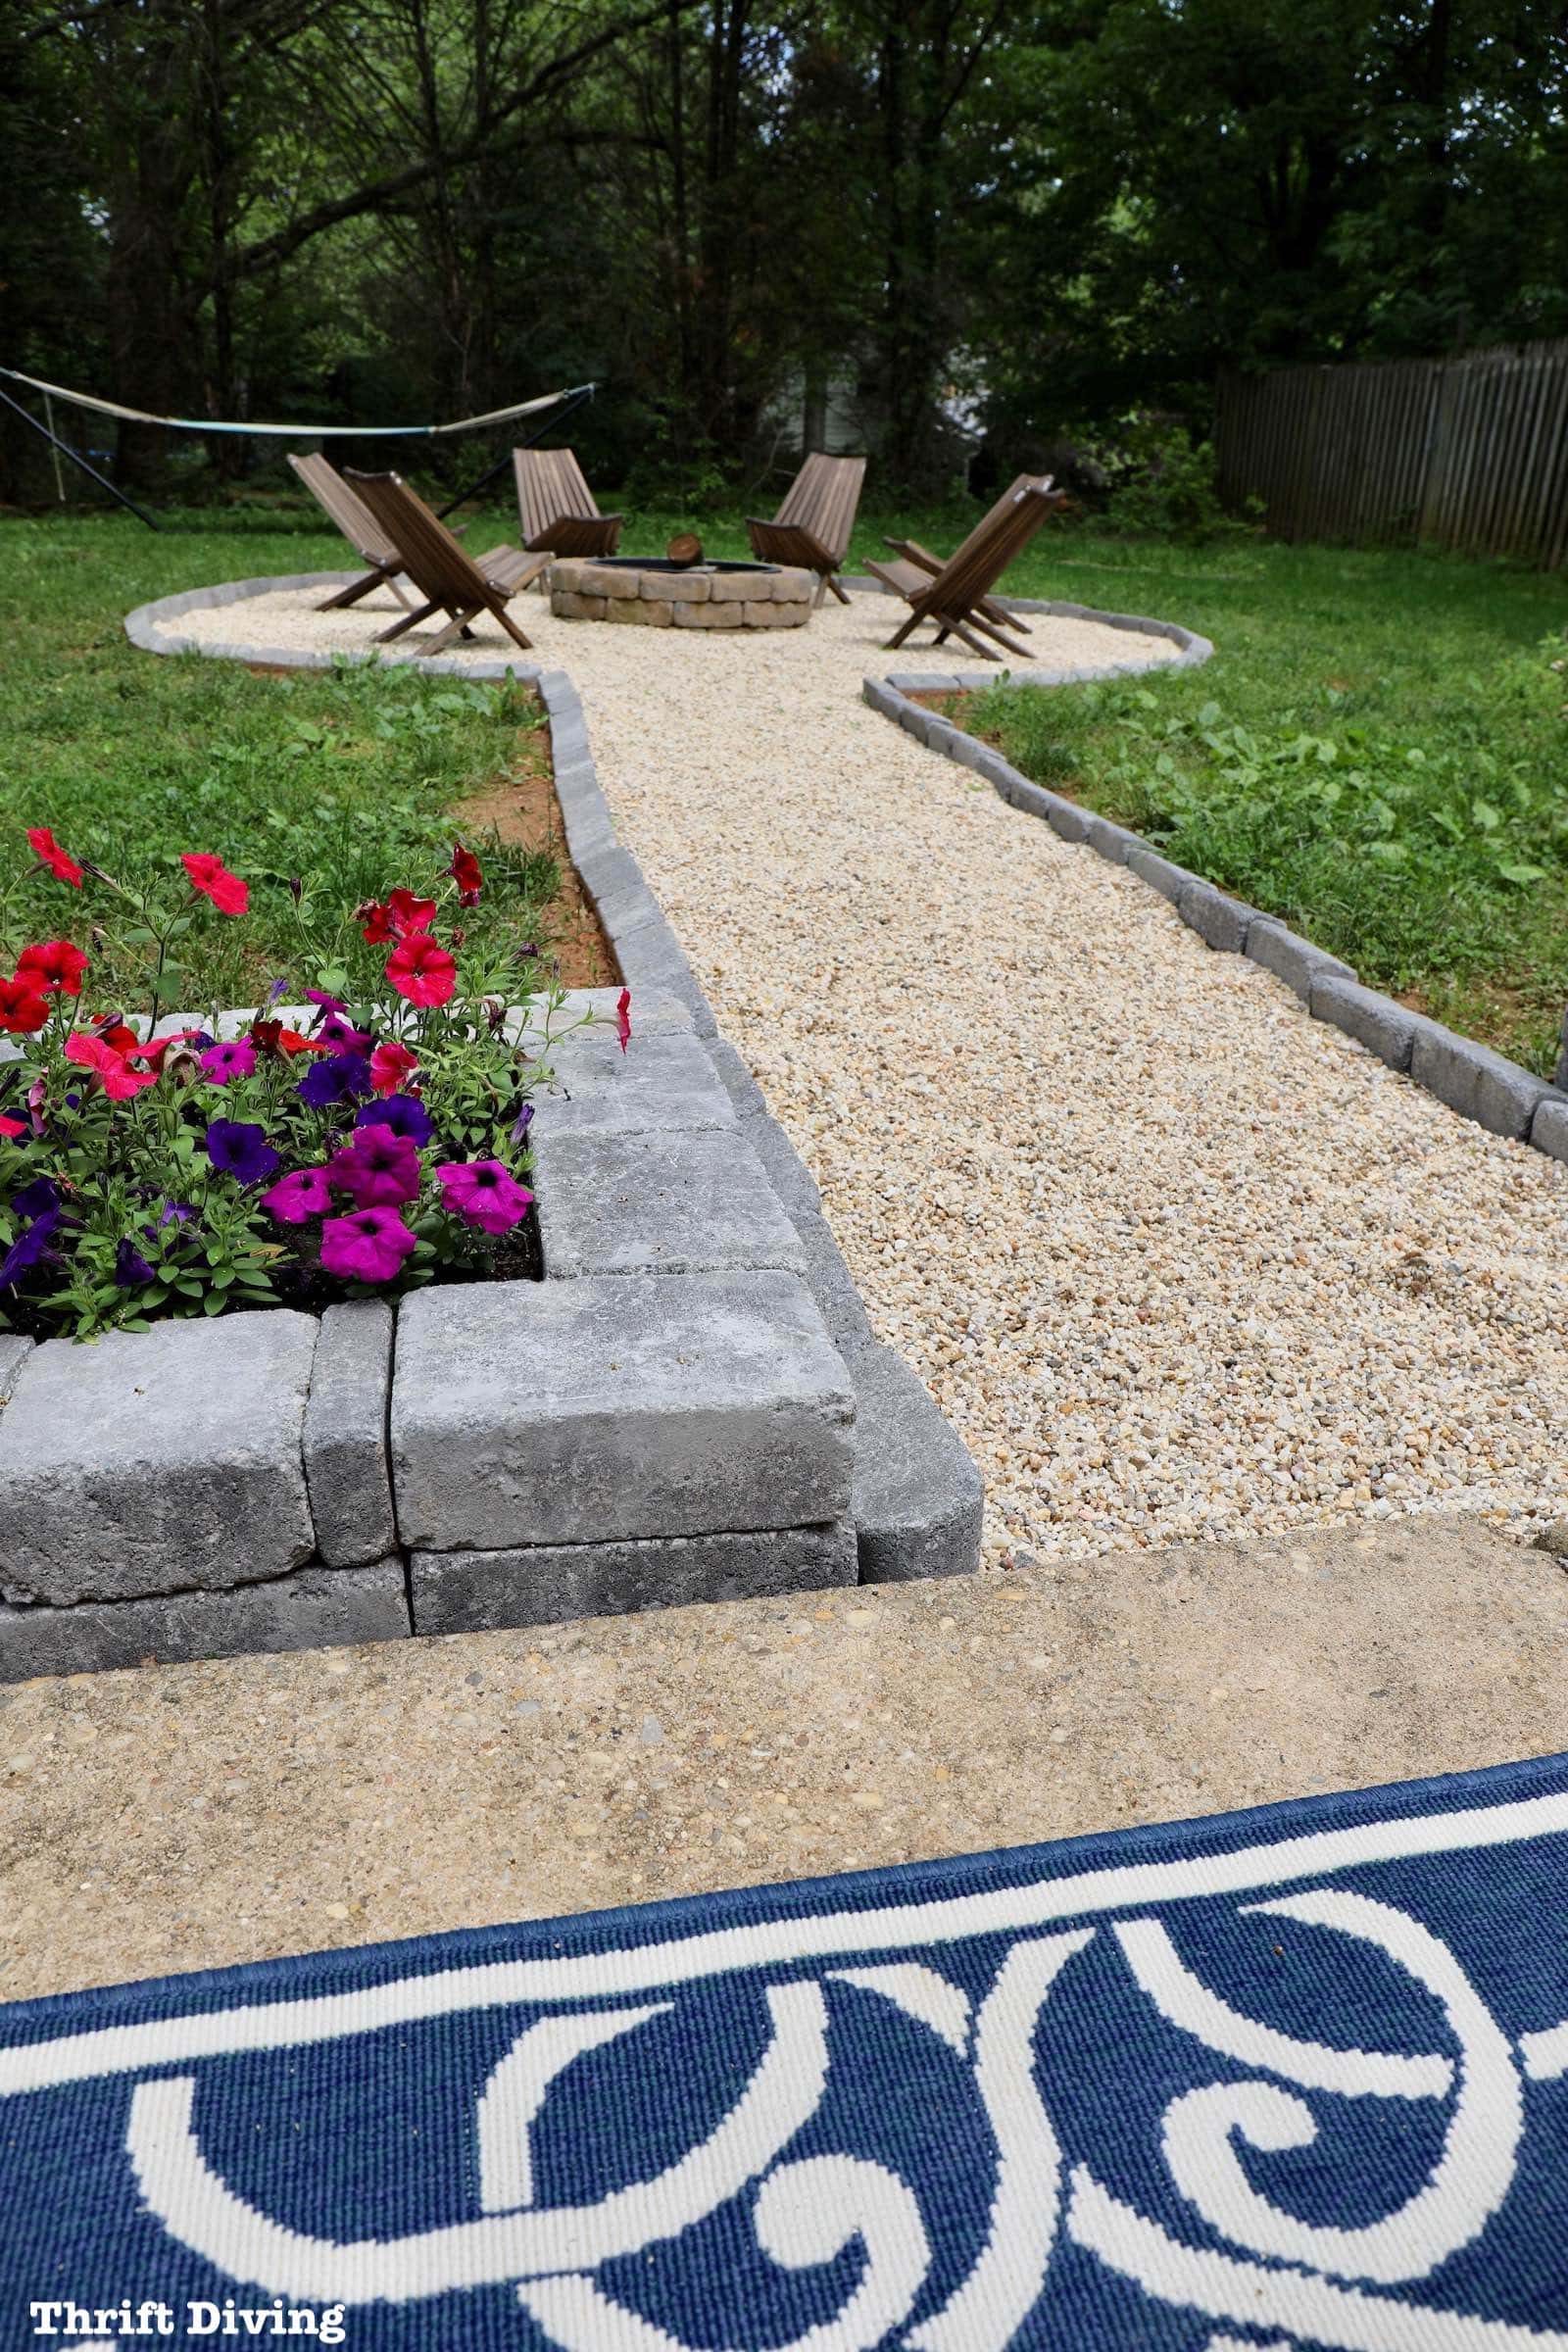
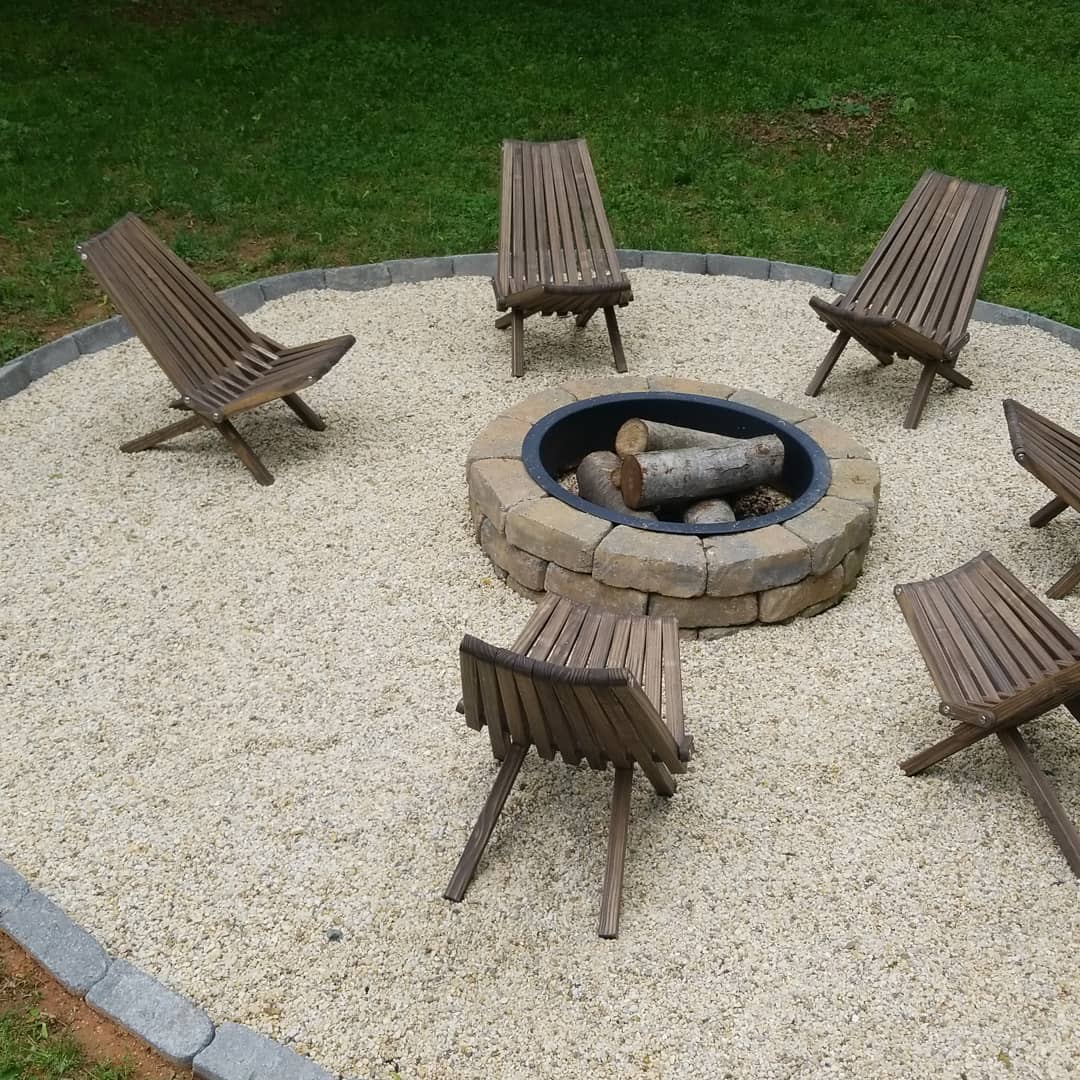
But over the years, though, I knew this yard still needed work. I also wanted to have a place to entertain when friends and family came over, so I built this DIY fire pit with a stone walkway leading from the patio to the firepit.
BEFORE
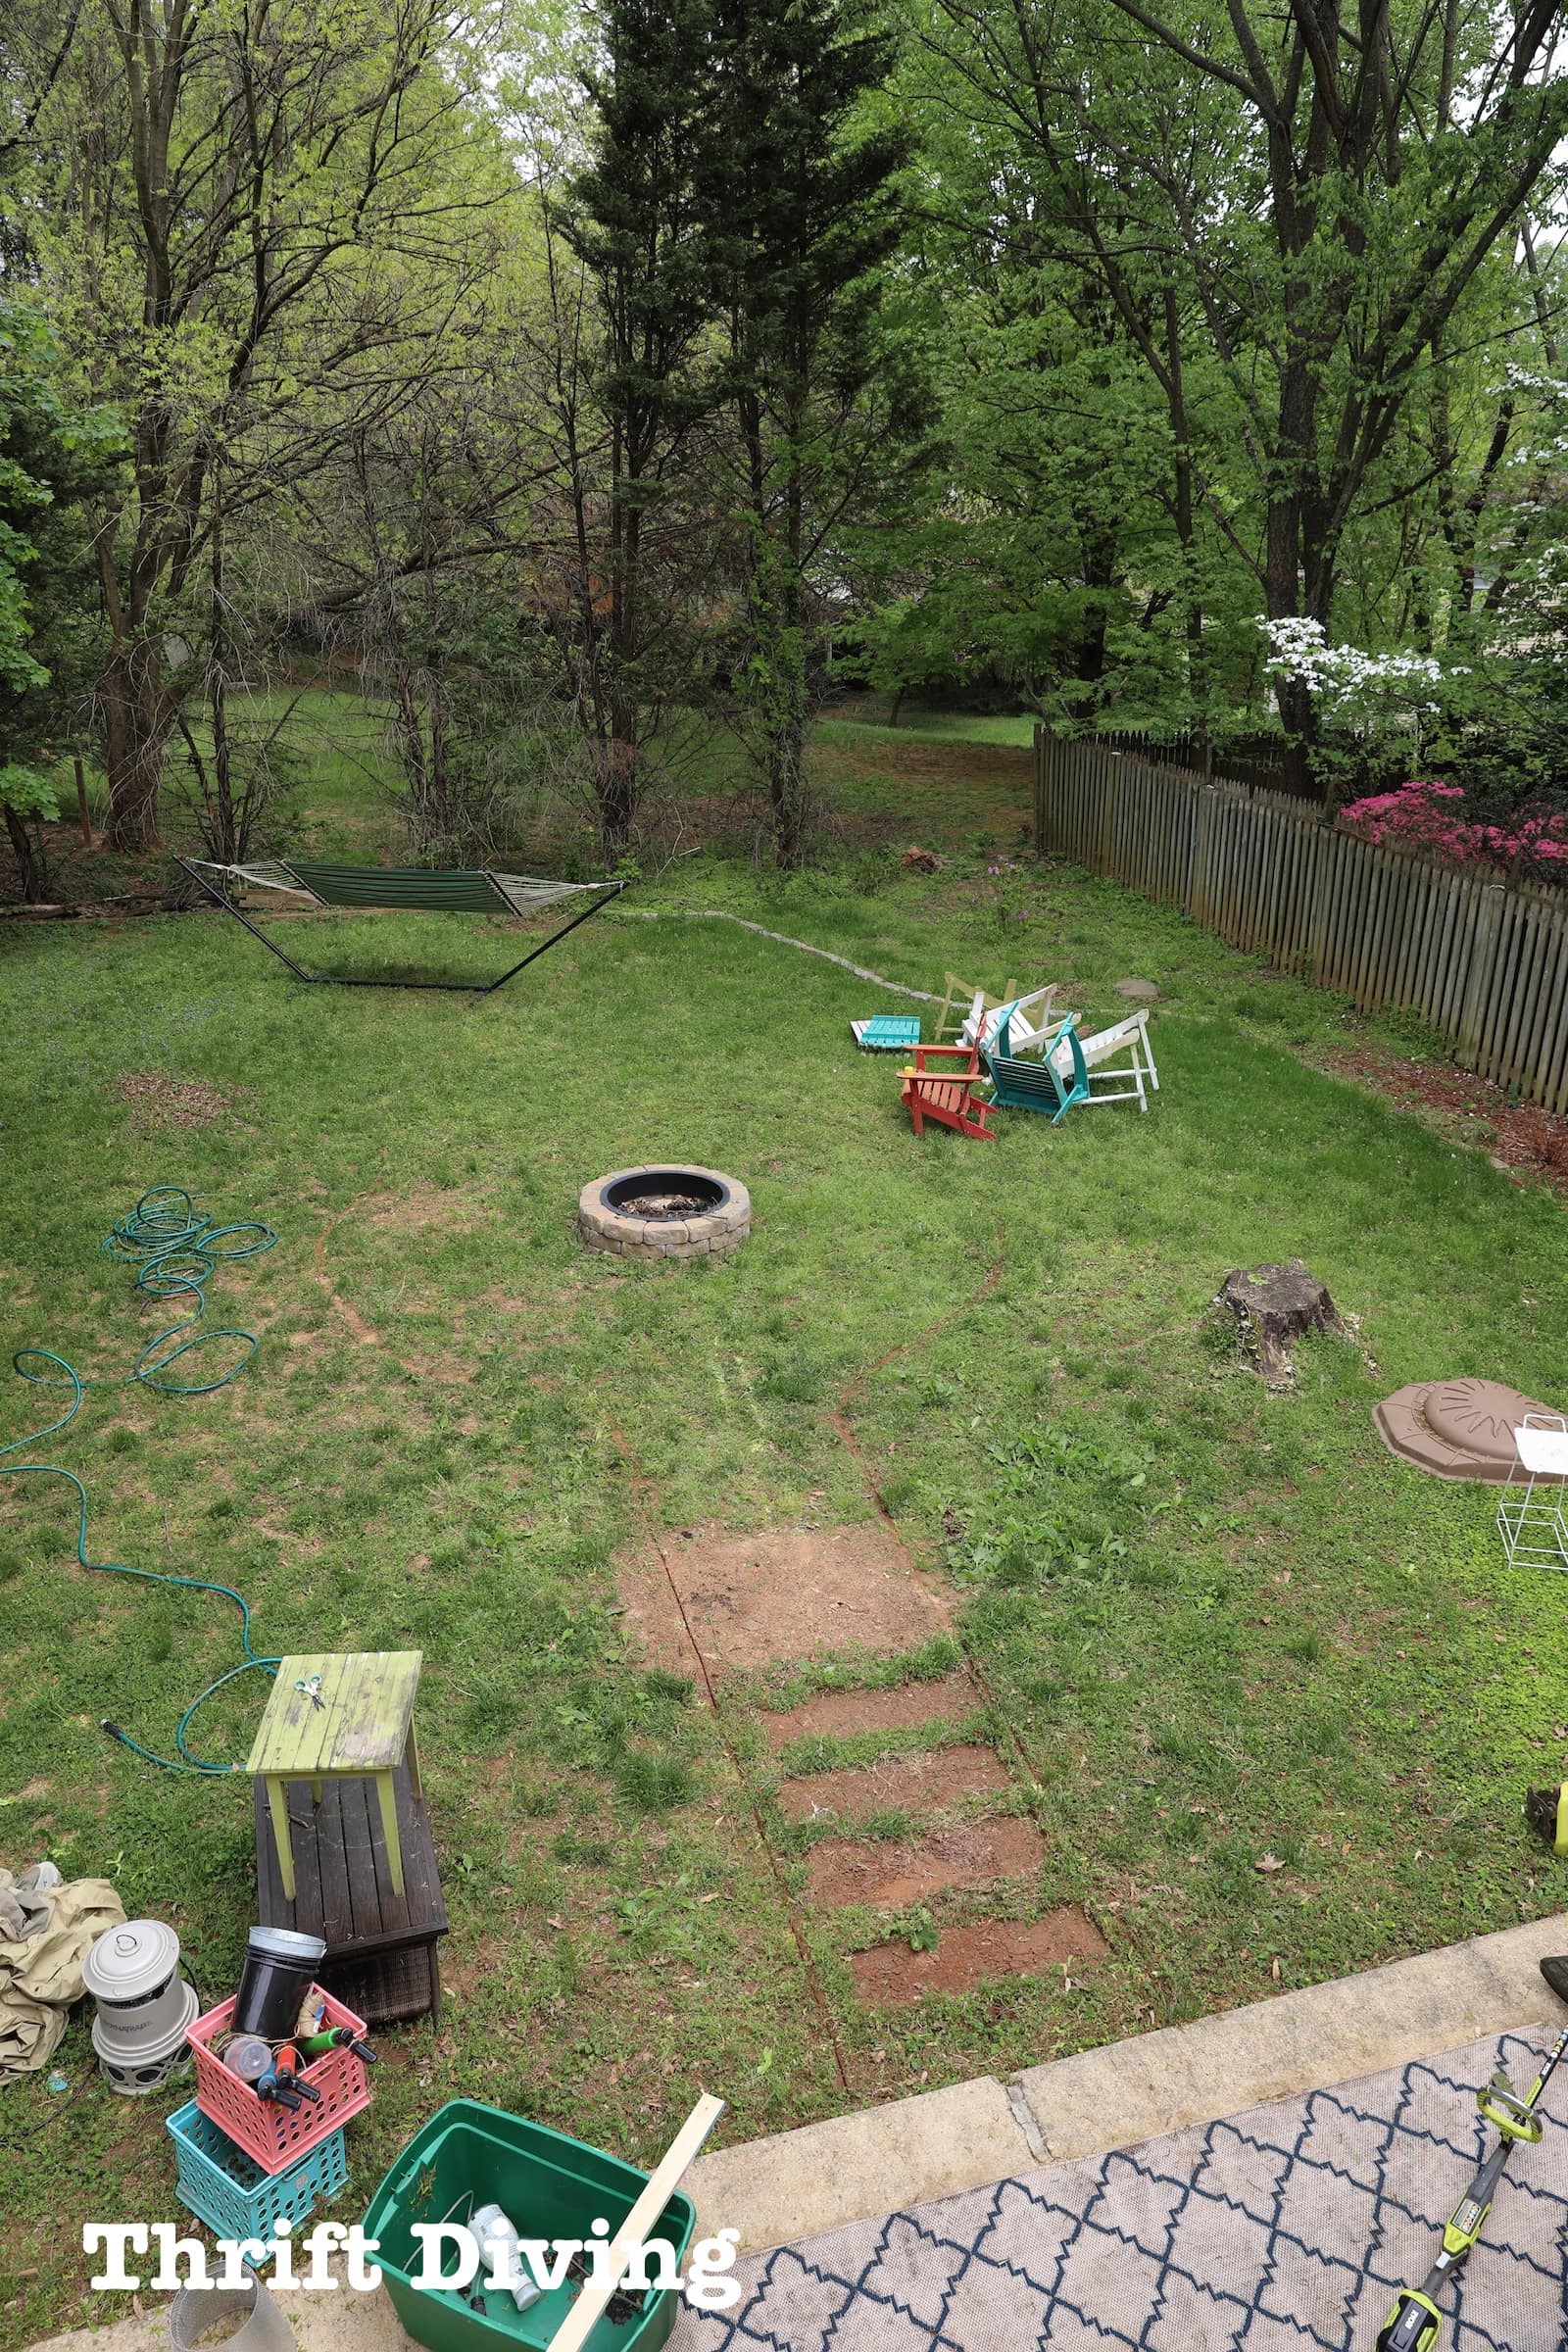
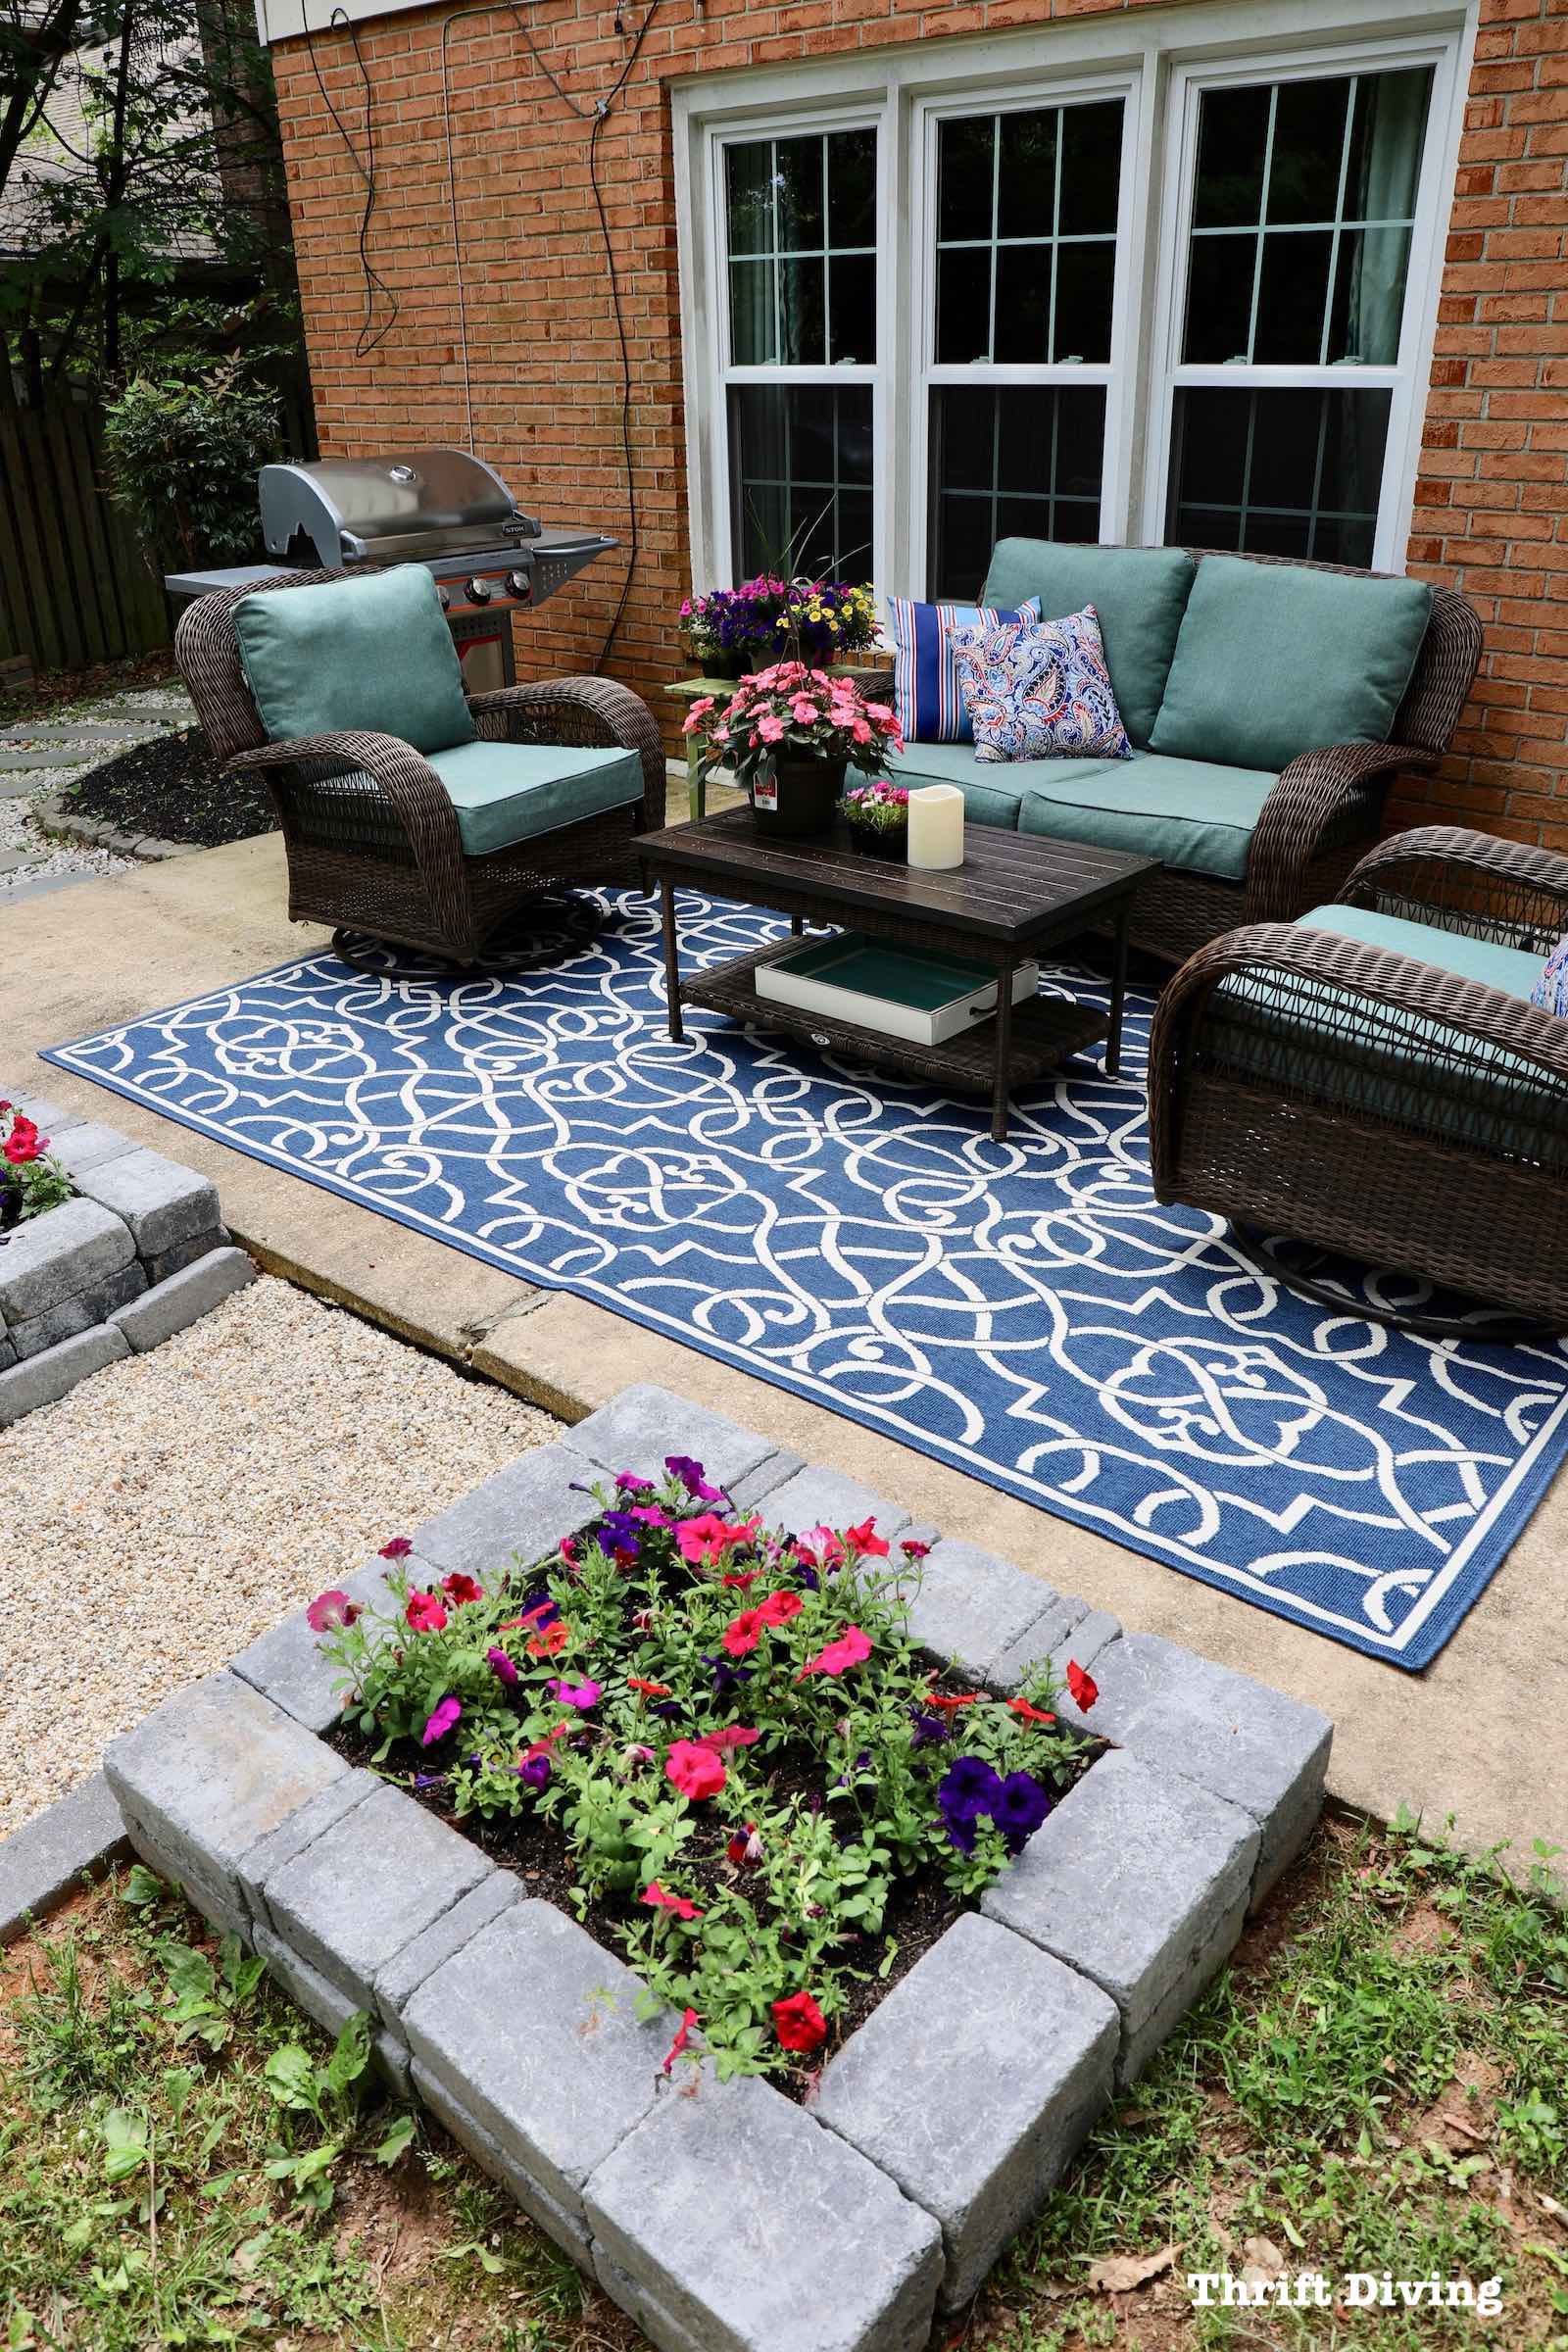
AFTER
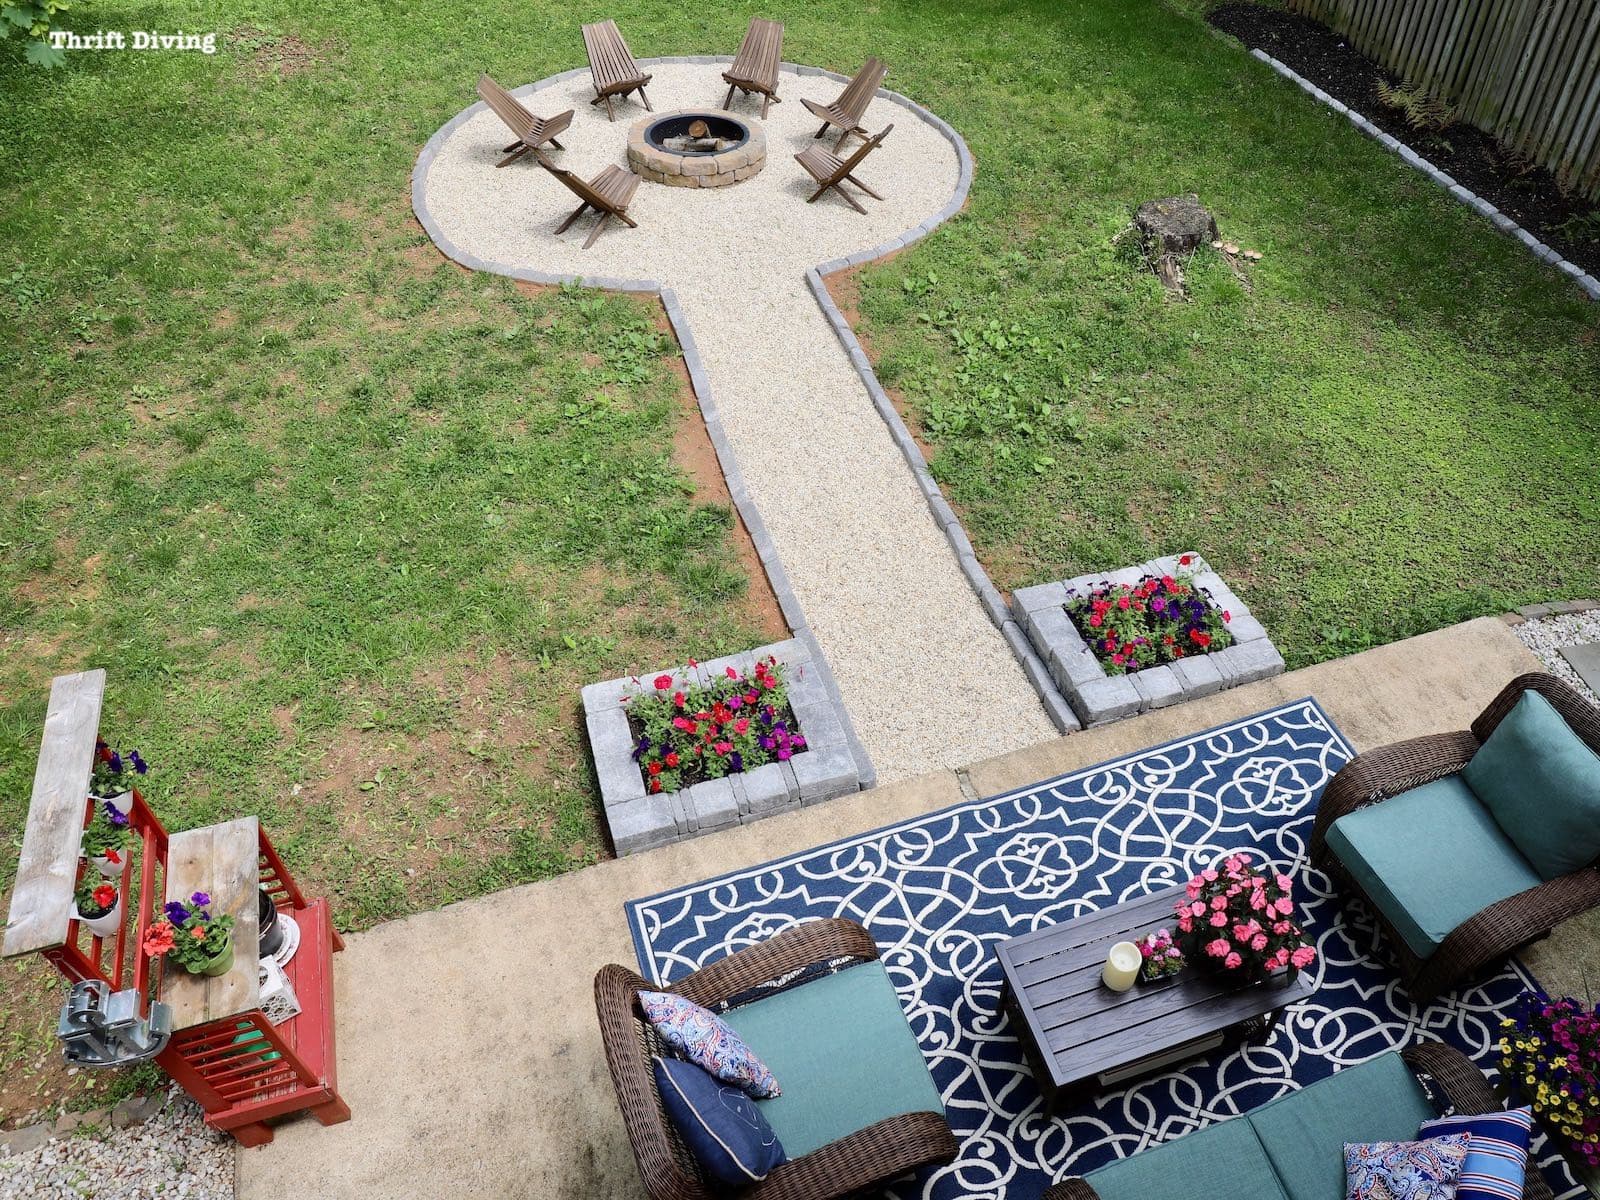
The DIY fire pit offers an additional place for my family to hang out!
And as I read through this blog post and see what our home looked like when we moved in, it’s so hard to believe it used to be this dark, unfriendly, and unwelcoming. Not to mention dirty. But with the stone walkways, the DIY fire pit, and the removal of the dark trees, my backyard has really transformed. I’ll admit that it’s a pain to maintain and it sometimes has me yearning for more simple condo living (like our 2-bedroom we sold before moving here). But there are those other times when I am happily pulling weeds, mulling over what we’ve been able to create.
BEFORE
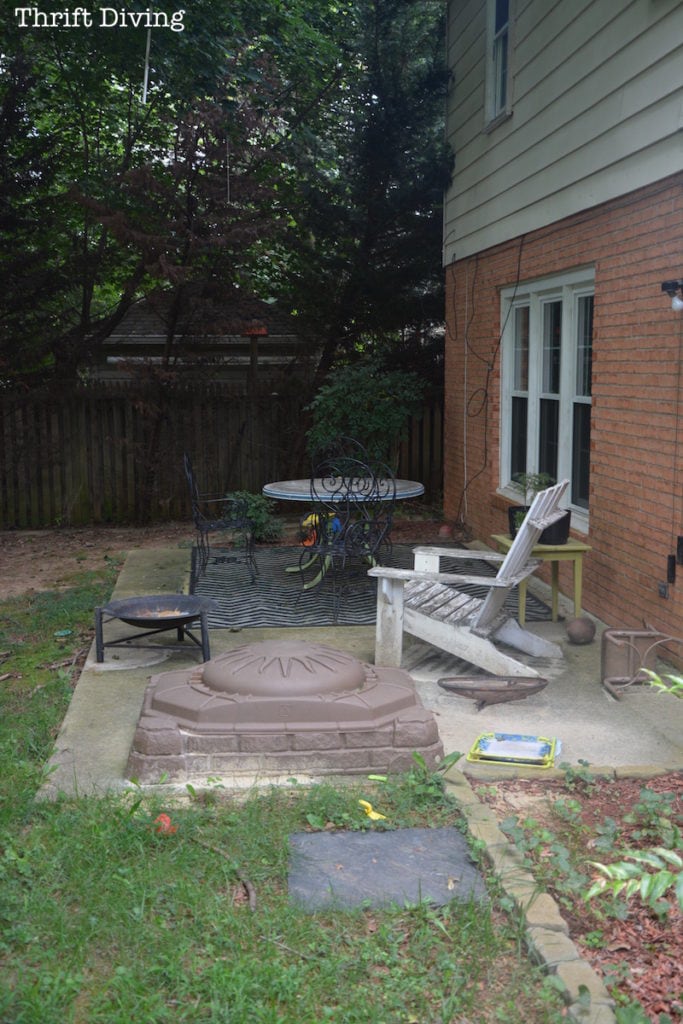
BEFORE
AFTER (2017)
THIS is the kind of home I have always wanted! Something that feels pretty when I walk into the space, that makes me smile, inside and out. See how I replaced, painted, and stenciled the door, too.
Now (2019)
I can only imagine what’s going to come next in this yard. Perhaps a she-shed? 😉
But for now, I love how fresh the patio looks, and that DIY stone walkway to the left and to the right of the patio really set the stage for a great hangout spot for my family!
If you enjoyed this tutorial, click here to save it on Pinterest!


Download the 5 freebies!

Thrift Diving inspires women to decorate, improve, and maintain their home themselves...using paint, power tools, and thrift stores! Use these 5 printables, checklists, and ebooks to get started!

Really great transformation. You should be very proud. All you need now are some big pots of flowers! Congrats on completing such a huge project!
Thanks, Lyn!! Yes, that’s exactly what I need! I want maybe two! I still need to get some pretty little flowers for the planters and window planter. Now that all the big stuff is done, I can fill in with the flowers. I’m also trying to figure out some perennials that might do well in the shady part of my yard! Any idea?
OHHH MYYYYY!!! It is more beautiful than what I was expecting. I’ve been following your Patio Makeover Challenge and let me tell you, THIS IS WONDERFUL. Congratulations!!!
Hey, Madeleine!! 🙂 Thank you! It’s been a great experience!!! I’m so excited to keep going and growing a garden of vegetables and fruits and maybe even building a firepit! I would LOVE that!!!
Absolutely stunning! Well worth all the hard work you’ve put in! You’ve learned so much and shared that with all of us, too! Your back yard is now so welcoming and . . . light! It may have seemed expensive for DIY, but oh so worth it for the difference and especially for the use you will get out of it now. Think, cost divided by days of use and it won’t look so very expensive, plus resale value and curb appeal if you ever decide to sell. Please grab a cool drink, cuddle with those sweet boys, and just sit and admire all your hard work! You ROCK!
Hey, Teckla! You are right–when you look at it that way. The cost per use over the years we’ll be here will be worth it! And compared to what this would have cost to have someone come and do it–I saved thousands. And I learned that I really love working outdoors. It’s so amazing, even in 90 degree heat! It never felt that hot to me, because I was in my “zone” I guess! 🙂 I’m so glad you like it! I can’t wait to share more of the details on how I did it! I’ll be posting that tomorrow! 🙂
It really turned out well! I’d be happy to show off yer place anytime! I hope the whole family will appreciate all the work you put in to this! Hooray, Serena!!
Thank you, Linda! I hope they appreciate it, too! My kids seem to like it and I’ve noticed that by me being outside more, they’ve come outside to do things they’ve never done before, like make mud-pies (which is why there is no grass beside my walkway. LOL. They totally cleared it out with water and mud!). I let them do it because, after all, isn’t that why I’m doing all this? 🙂 So, despite the big brown spot, they at least are having fun! Hoping for glasses of wine while I’m out there! Oh, and I still need to figure out how I’m adding outdoor lighting. I’ve got some string lights that need to go up. Just gotta figure out how to do it. 🙂
Beautiful job – just like on TV!!!
Awww…thank you, Kelli! 🙂 That means a lot! I still have so many things I want to do. I’m trying to figure out when and what to plant along the fence. I’d love to do a garden, but I know that now isn’t the time to plant, so I must research that. But yes, girl, it’s all coming together! 🙂
Wonderful job again!! It is inviting and beautiful!!! Love what you did with the old baby bed!!
Thanks, Lou Ann! Yes, that’s the right word–inviting! That’s how the space feels now when I walk into it! It’s not one of those spaces anymore where I want to run back inside quickly! 🙂 YAY!
You have done an AMAZING JOB and put in allot of “elbow grease” to make it yours.
I seen this idea someplace and thought I would pass it on, perhaps you can get something from it for your “wall art” .
Some one had a very large frame and went to “wally world” or “dollar store” and found a shower curtain with flowers on the bottom, tulips I think, turned the frame side ways and cut out what she needed (4.00) and “framed her picture” hanging it up, WATERPROOF…………………….. thought this was a brilliant idea. Just a thought.
You did a great job Serena, so comforting, clean and inviting!
Bobbie
Oh wow, Bobbie, I LOVE that idea!! How creative! And I could see how you could just get some cedar (so it’s weather-resistant) and just staple the shower curtain to the back of the DIY cedar frame, and then hang it! Okay, I’m doing that!! Thank you!!
I believe they just used an old frame and I remember it was painted white, just was an awesome idea, for art on the porch / deck / patio!
Bobbie
Ahhh…okay, I’m definitely stealing/borrowing this idea, Bobbie! Thanks so much!
Congrats! Fabulous job. Very inviting. I love the Adirondack chairs. So much more comfortable than wrought iron. I hope you get those cute boys out there and enjoy it now!
Thank you, Lisa! Yes, those wrought iron chairs never really worked well! Plus, they’re so narrow, you can’t have a big butt or else you pull the chair up with you. HA! 🙂 That trip to the beach really made me see how much I want to start enjoying the outdoors more, and with a pretty patio, we can now do that! Hoping to use the grill, too, while the weather is still good! Thanks so much, Lisa!
YES!! Love the transformation. What a nice place to relax with your family. It’s been too hot to tackle my yard, but September will see my 30 day challenge. Thanks for the inspiration.
I know, Michele! I’ve been working in 90 – 100 degree temps for many of those days, an it wasn’t easy some days. But the weird thing is that I really liked it. There was something awesome about getting so sweaty that your shirt is soaked, with mud caked on my shoes and turning my nails brown, with grit all on my face, and then washing it all away at the end of the day. It was amazing! I have a new love of the outdoors, and I’m doubtful that any hot weather or other elements will be able to keep me off of that patio! 🙂 So glad you like it! As for September, you can do it! I wish I could join you in another challenge for September but I have a bunch of travel (like 3 trips) planned, so I can’t do anything!
I cannot believe the wonderful transformation! Wow! It’s so fresh and welcoming and really complements the beauty of your house! Well done! Now grab some lemonade and enjoy it!
Thanks, Pat! It’s so funny how I had always hated my house, but the more projects I do, the more I begin to love it. I have to say that this project has really sparked an even deeper love of my house. It was one of those parts of my house that was so forgotten that it unnerved me. To even think of doing something like this, it was always too big and overwhelming to even try. But it wasn’t until this challenge that I saw how possible it really was. And I know I’ll never let my yard go again. NEVER! 🙂 Those weeds better watch out now! 🙂 Thank you, Pat!