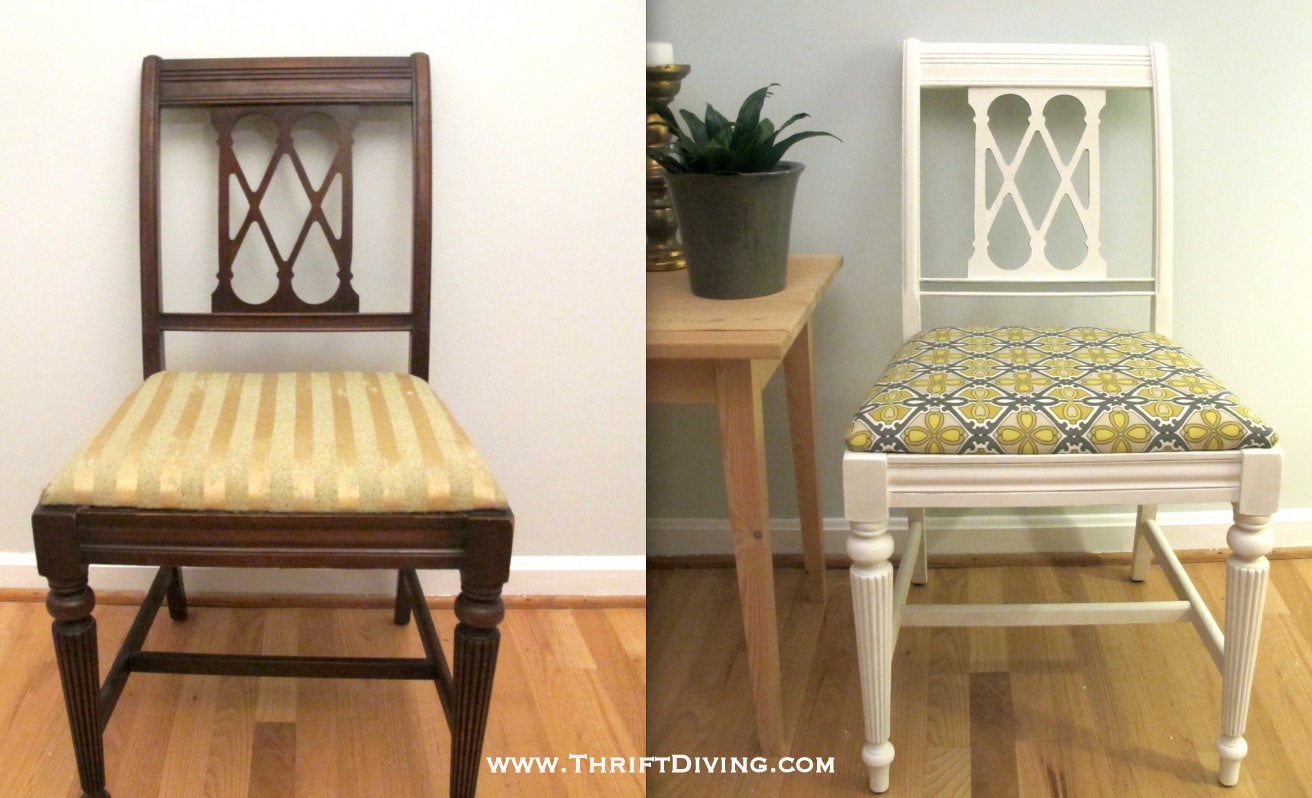
BEFORE and AFTER: The Makeover of a Vintage Vanity
This pretty vintage vanity has been sitting in my garage for over a year. Surprise, surprise. Most things I make over have an excruciating wait time in my garage (a.k.a. “triage”) before figure out what I’m going to do with it, where it’s going to go, and how in the world I’m going to find time to work on it.
But thanks to the Snow Gods that dumped 2 feet of snow on us last week, I’ve had off work for 5 straight days. (READ: ample time to create!). And this baby was ‘a callin’!
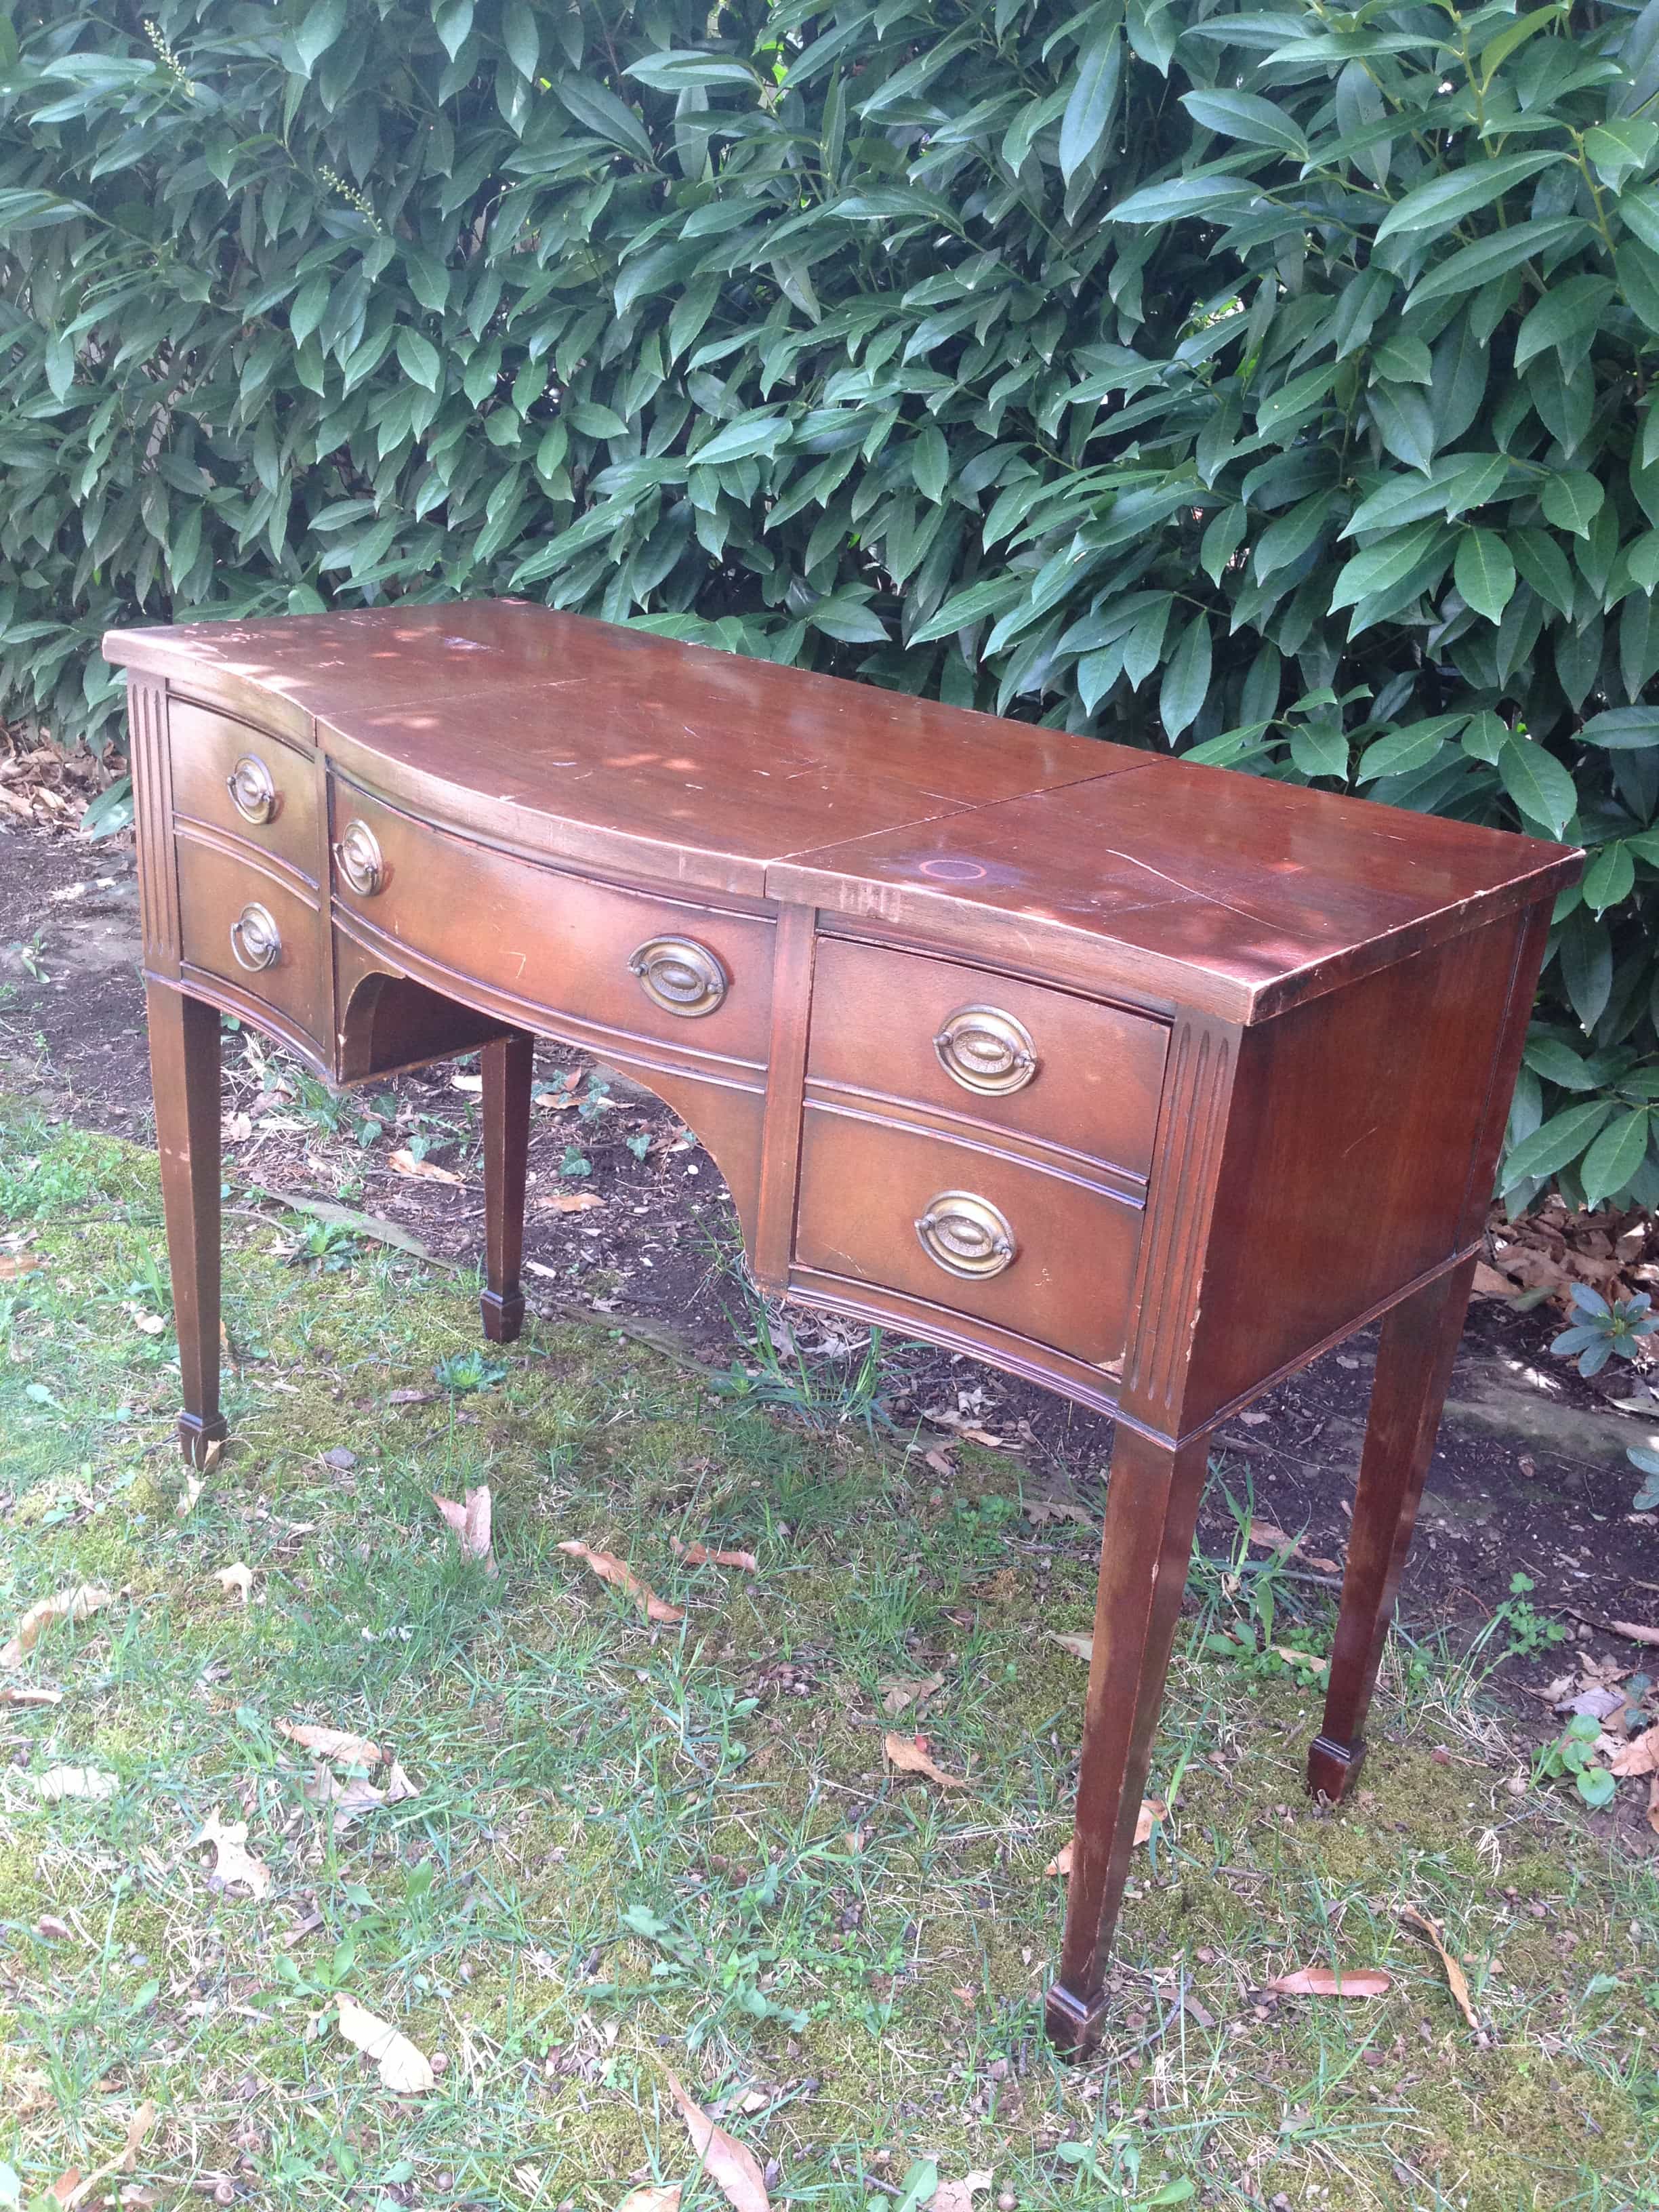
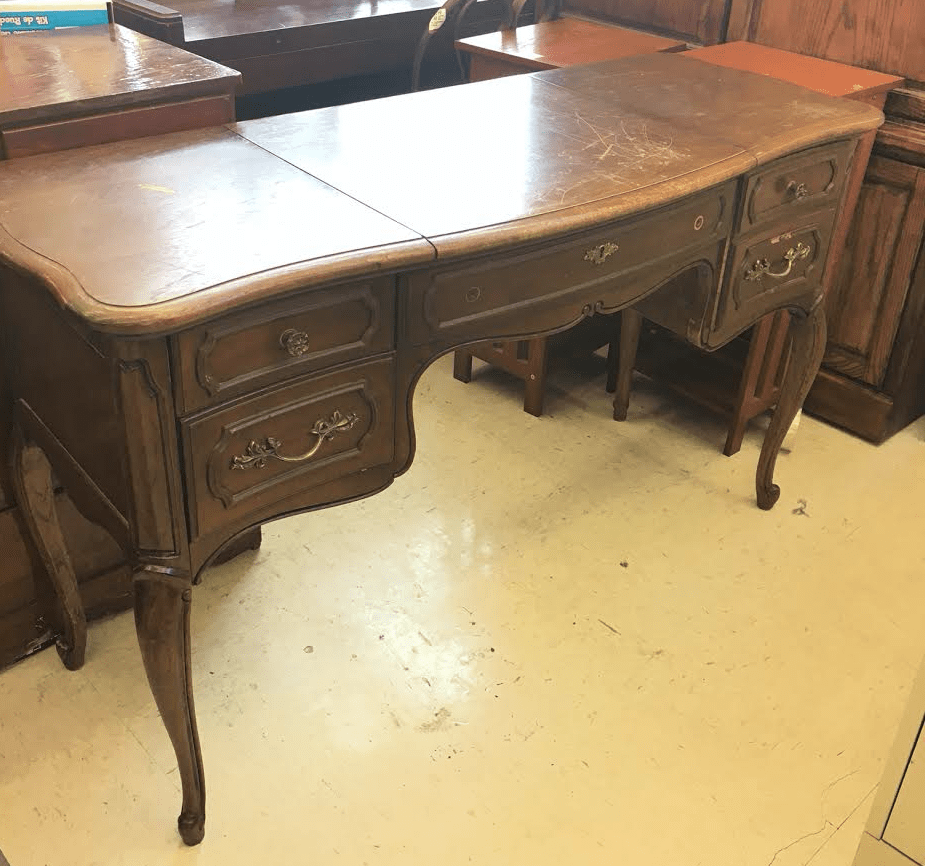
BEFORE
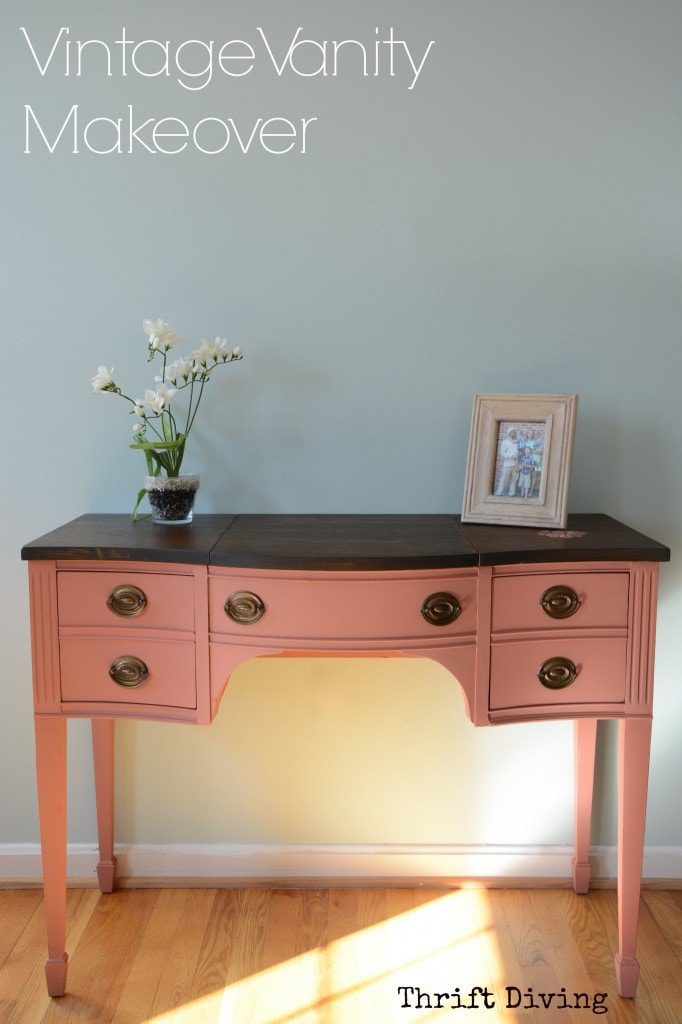
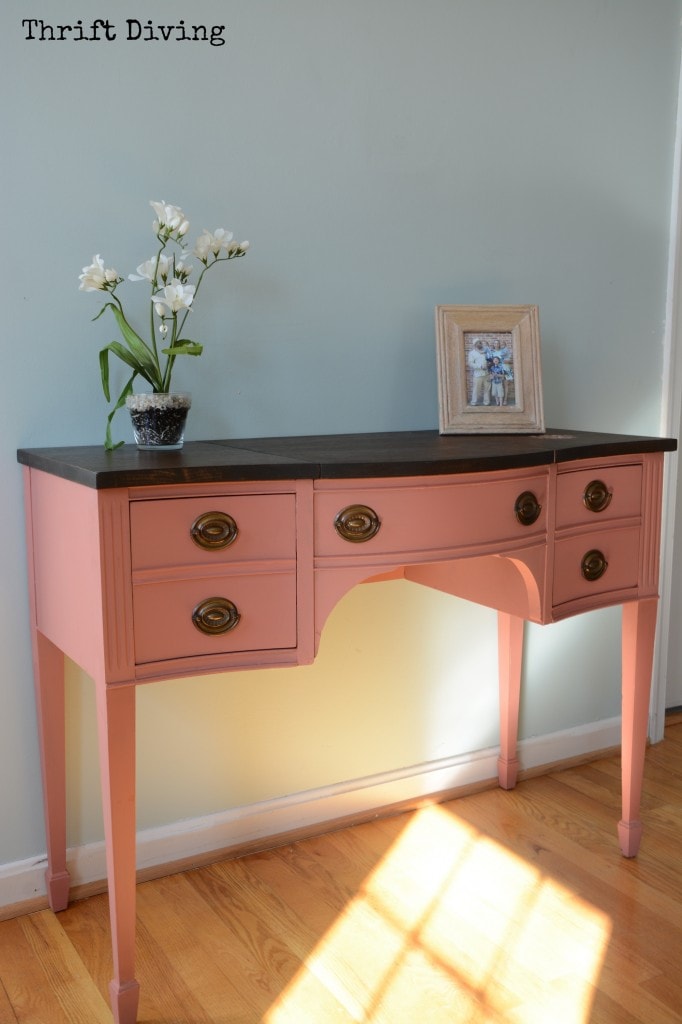
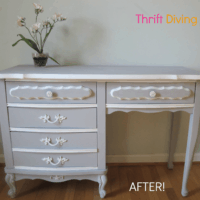
AFTER!
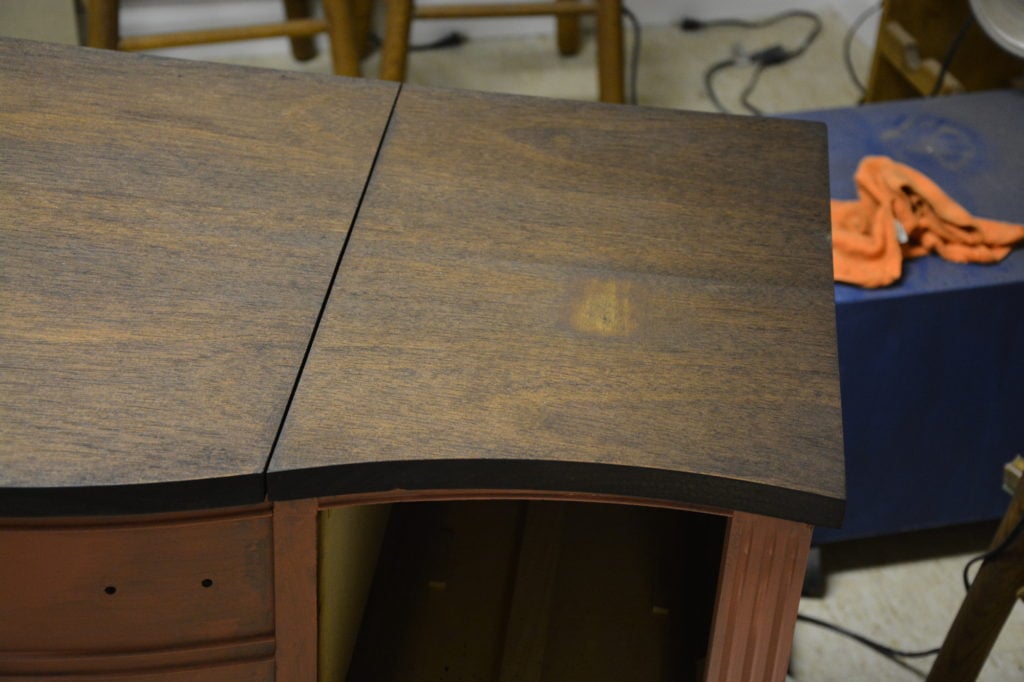
The vanity was really in good condition from the standpoint that it wasn’t falling apart or anything. It was missing a mirror inside, but–meh–who cares. And it didn’t need tons of surgery on it. But the top needed refinishing. It had some water rings and some chipping.
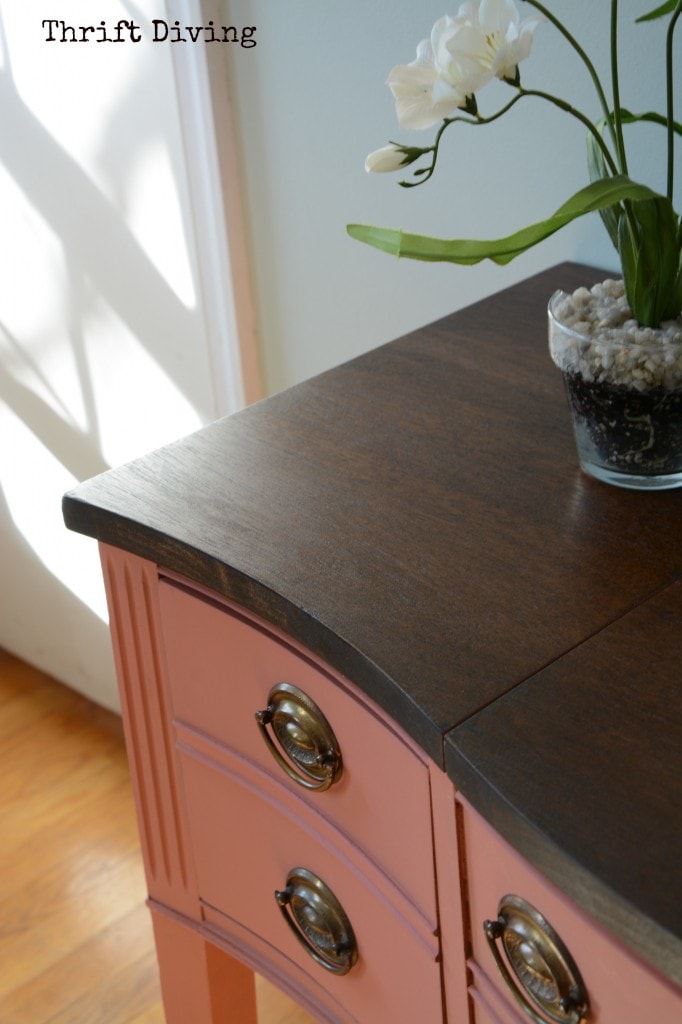
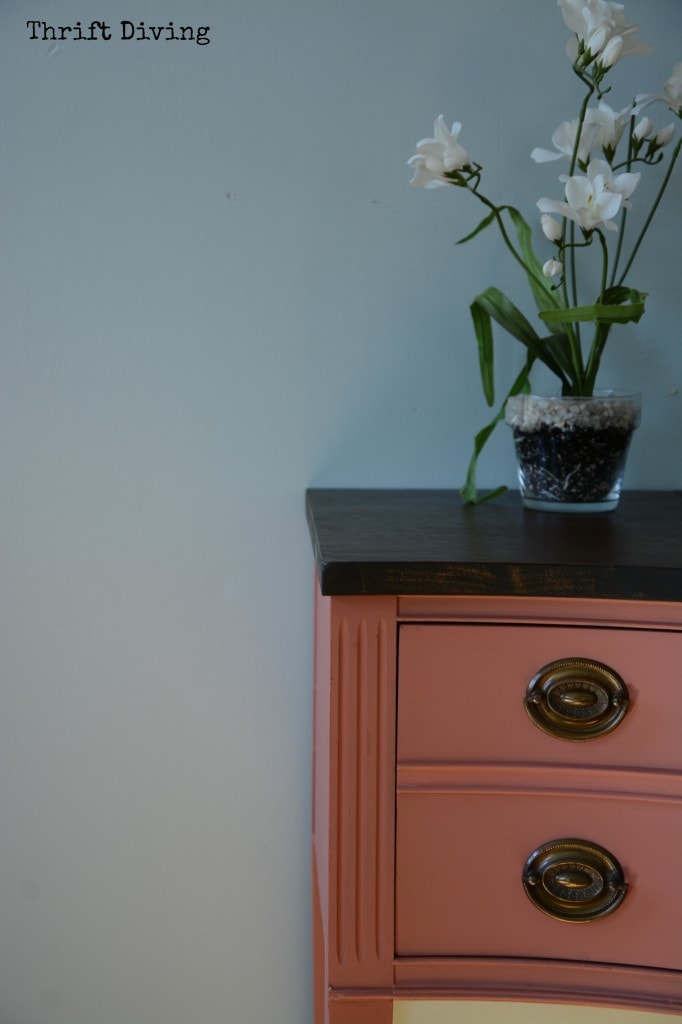
I’m totally in love with stained tops and painted bodies. So I knew I wanted that look! Heck–I think I may be refinishing all my pieces this way from now one! It’s such a great combo. And it really preserves the beauty of the wood, since some people think you should never paint wood. This is a great compromise, though, don’t you think? 😉
I used Annie Sloan Chalk Paint, Scandinavian Pink. LOVE that color! And my Sherwin William Rainwashed walls really goes well with this color!
How the Magic Happened on This Vintage Vanity
I’ve come to love stripping furniture! It’s very rewarding. Unearthing that pretty wood underneath, and then breathing life back into it with stain–ahhhhhh………But if you’ve never done it before, just know this: it’s messier and takes more time than just painting over a piece of furniture.
(Did I mention it’s messier….??)
However, the results are worth the extra effort. If you need more instruction, check out my blog post and video I did on How to Strip Furniture and Stain It.
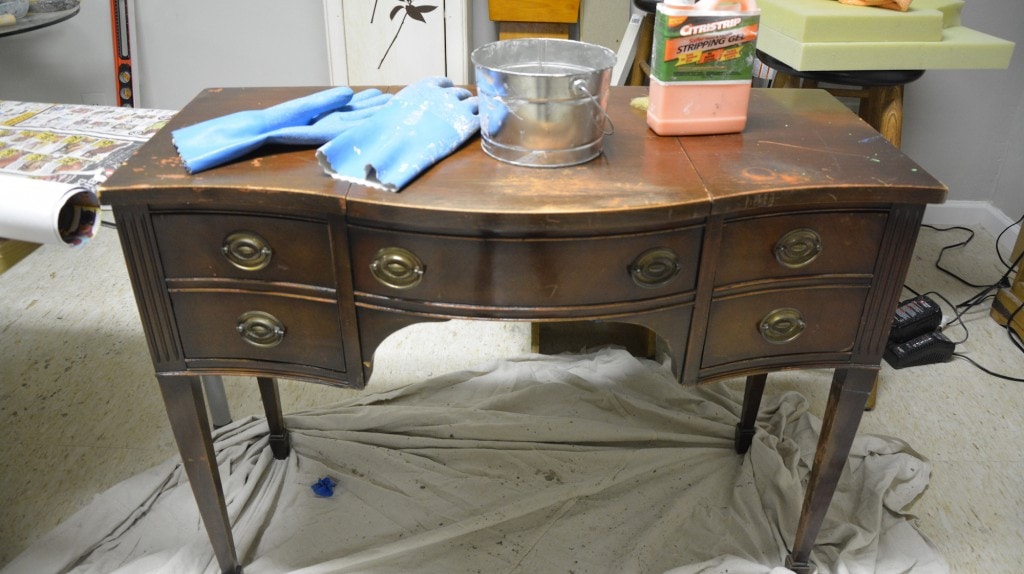
In this pic, you can see how the Citri-Strip paint and varnish stripping gel![]() I used is eating away the previous stain, exposing the natural wood underneath.
I used is eating away the previous stain, exposing the natural wood underneath.
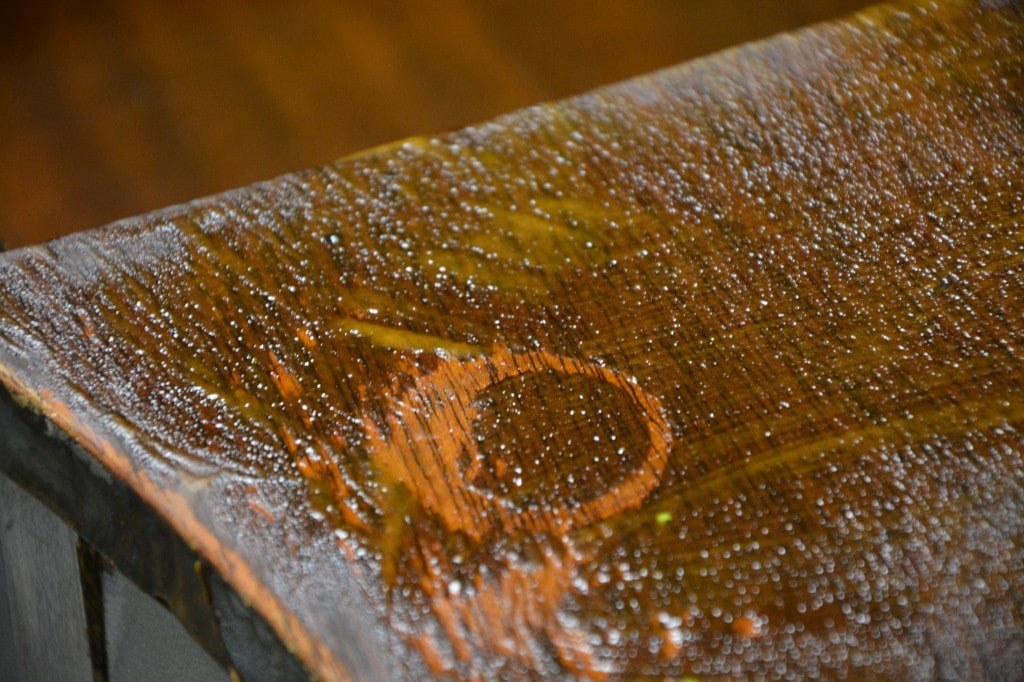
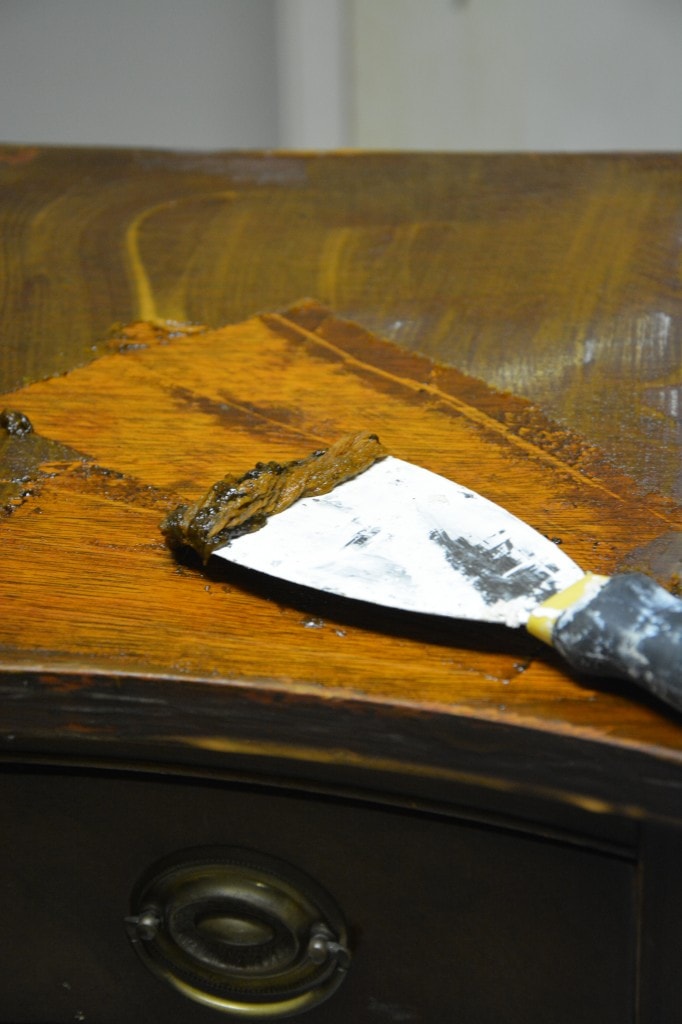
When it was ready to be scraped, I scraped all that “gunky” stuff with a putty knife. EEEWWWW!! (Be careful–use a plastic putty knife so you don’t gouge the wood. I used metal because it was all I had, but I was super careful).
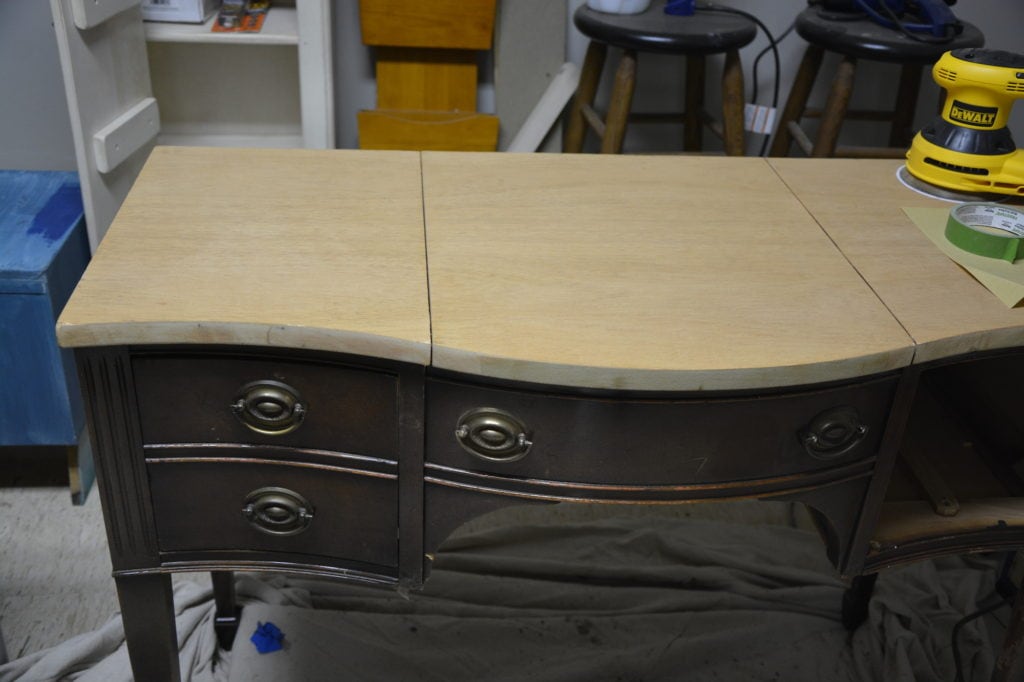
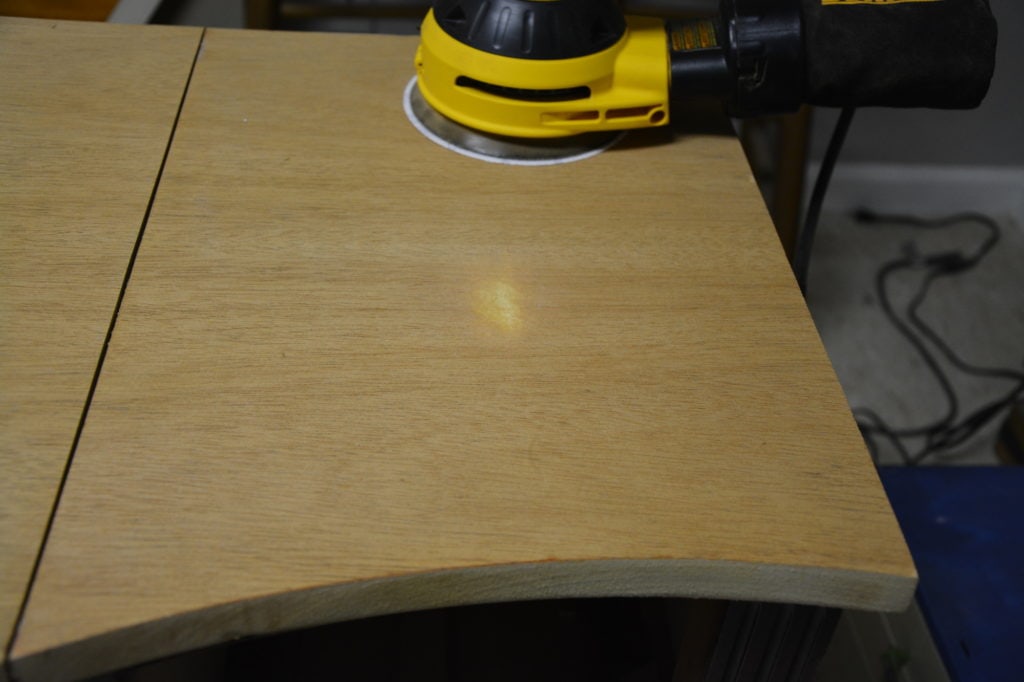
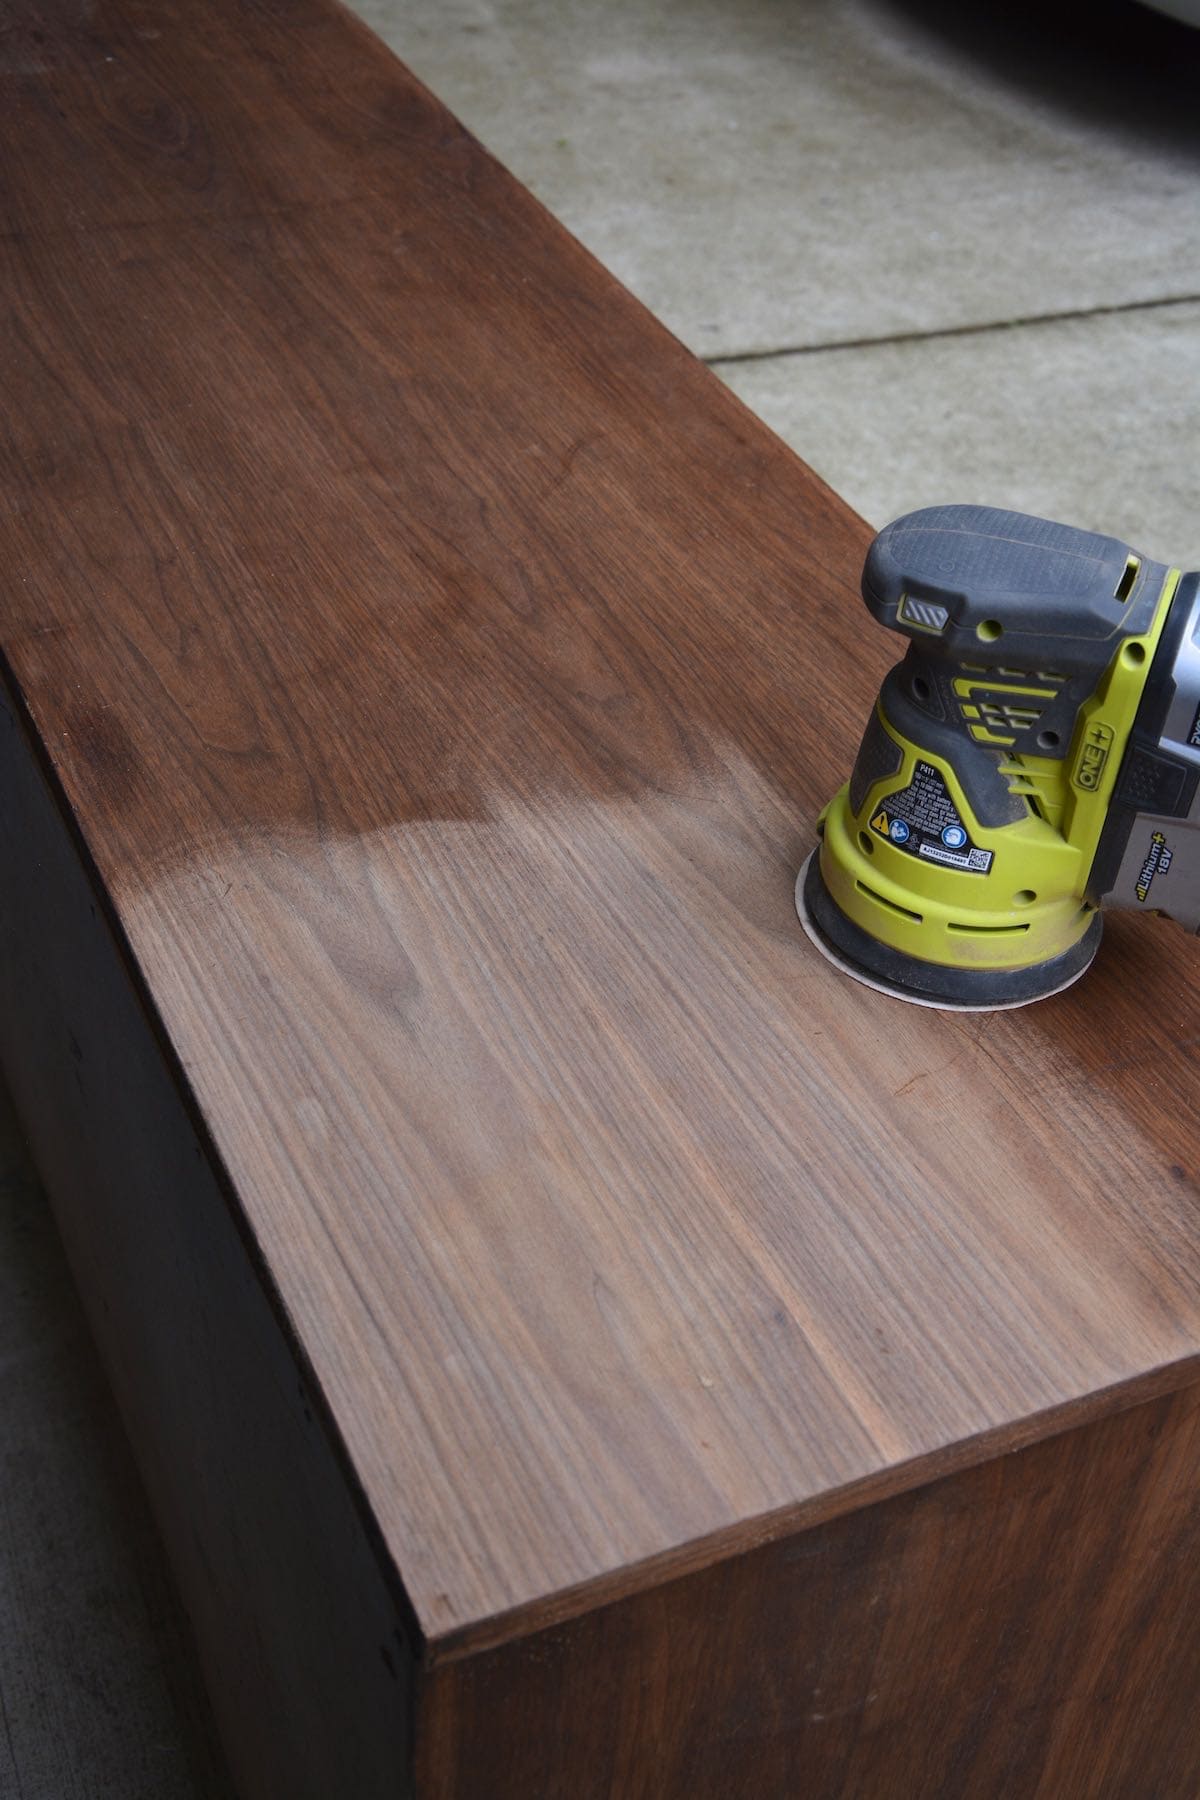
Once I scraped all the gunk off, I gave it a good sanding. Even when stripping, you’ve got to sand it out to get to this pretty wood. Otherwise, it will still be tinted with the old stain.
I Made a Mistake!!
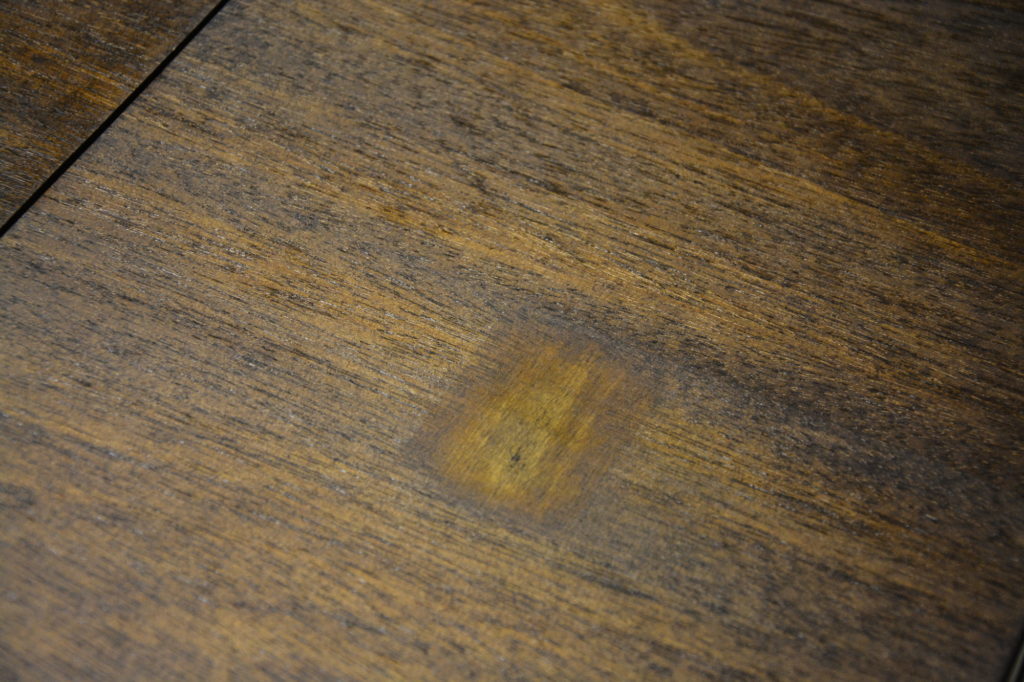
Crap. I got carried away while sanding and gouged down to the MEAT! The bare meat!!
Oh!!! How in the world was I going to fix that?! I was afraid I’d have to scrap the whole “stain” idea and just paint over it.
Once I applied the stain (I used Minwax Espresso), I was hoping it would just blend in.
WRONG!!
It stuck out like a sore thumb!
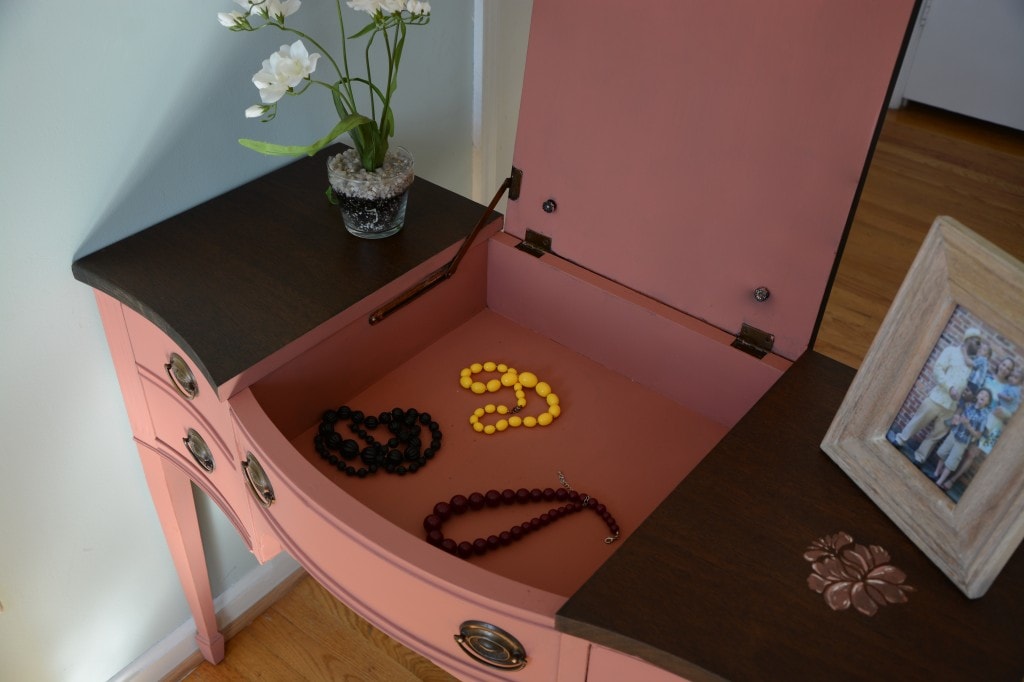
So I Did What Any Creative DIY’er Would Do….
Yep. I broke out the stencils and painted a flower over the top of my mistake, then topped it off with some white highlights to give it some “depth.” Now it looks intentional!!!
Protecting the Top
I’ve never used this product before but wanted to try it out for protecting the top. I honestly HATE waxing furniture, so if there is something I can easily brush on and walk away from–I’m game.
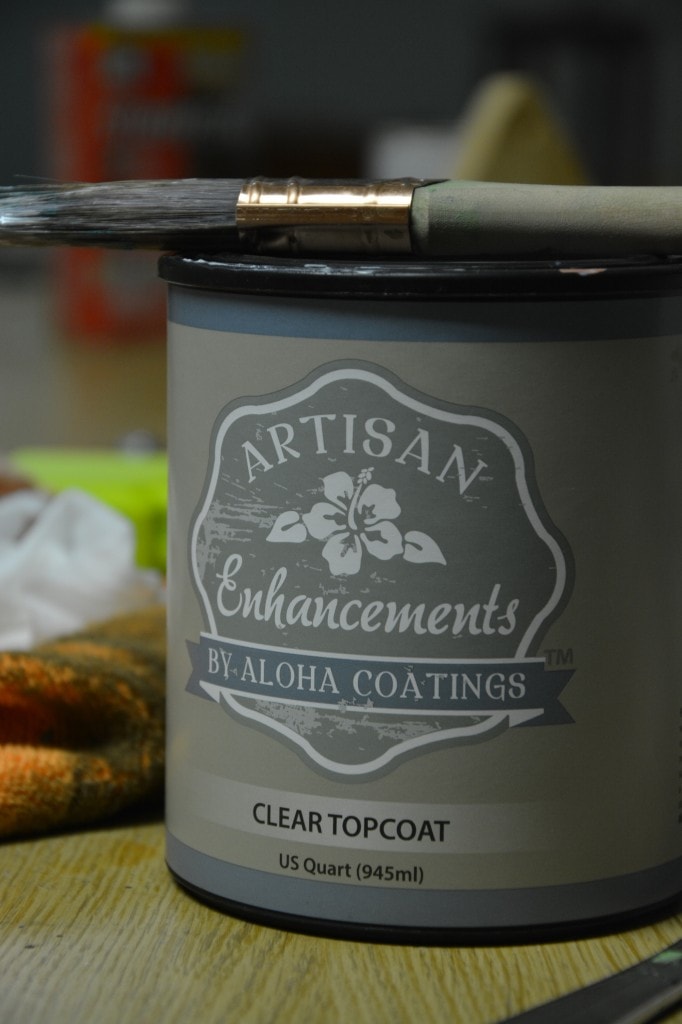
I was nervous as heck when I painted it on with a paint brush and saw that it was–GASP!–white…and milky! Ummmm……is this going to work??
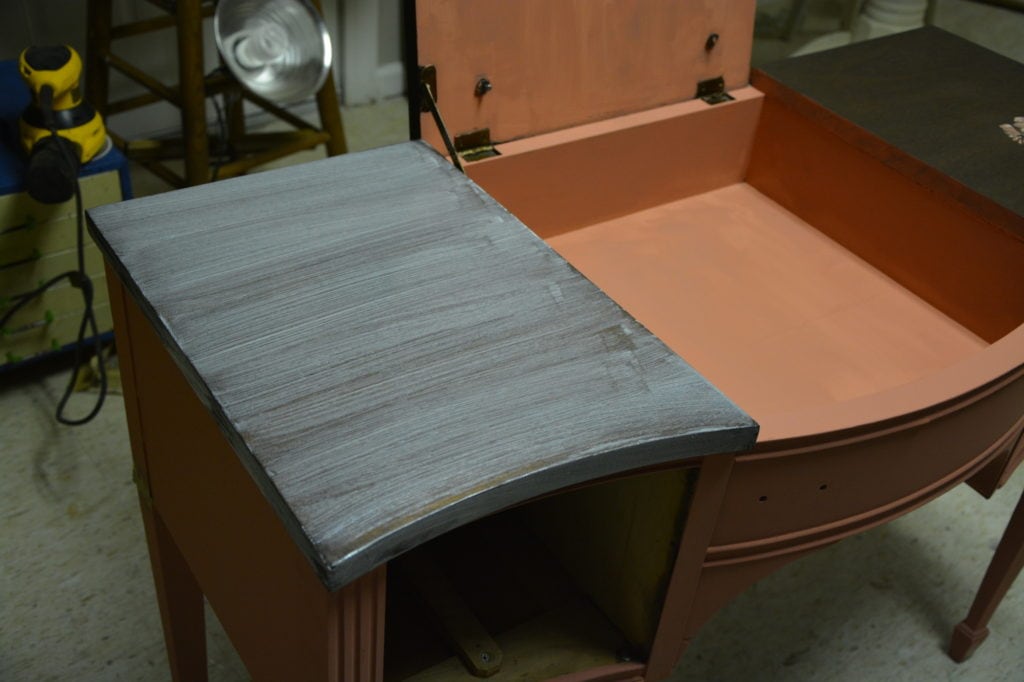
But it did! It dried beautifully! I wanted something with a bit more shine to it, but after seeing these “AFTER” pics, I think I love the matte look better. What do you prefer–matte or glossy finished on top of stained wood?
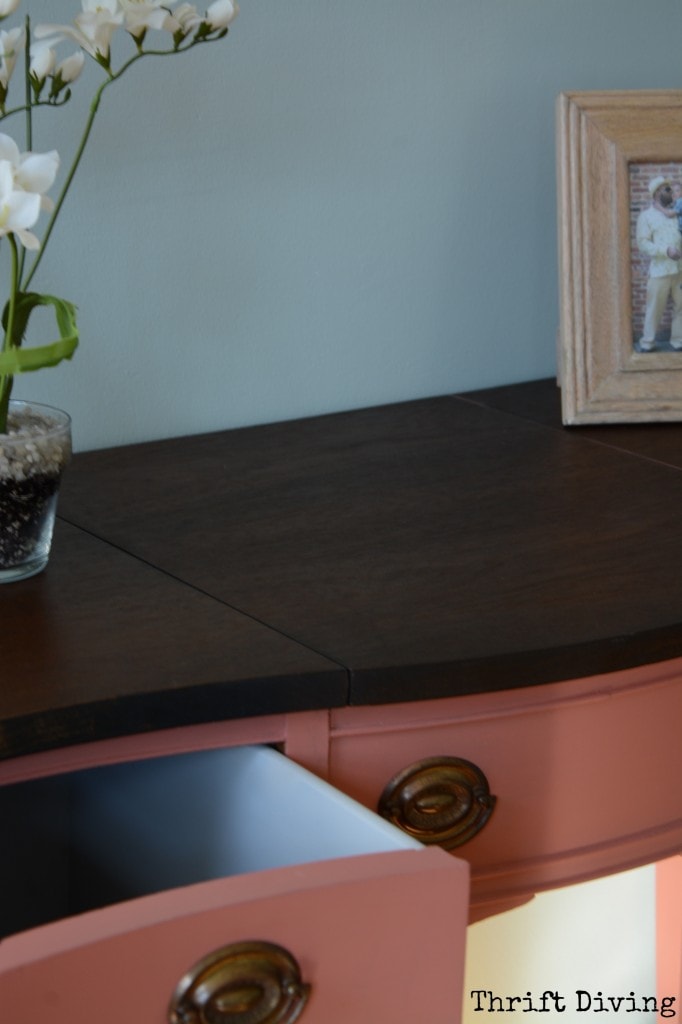
Don’t Forget the Inside!
I’m one of those DIY’ers that can’t stand to see a piece of painted furniture with the drawers all ugly and the back looking like it belongs in a crack house. LOL. You don’t have to go crazy and paint every inch of the inside and back (or bottom) but at least make an effort to make the other parts look great, too. I know it adds extra time, but I think it’s worth it.
I painted the inside of this vintage vanity in Annie Sloan Chalk Paint, Paris Grey. I just love this color combo! (If you remember, I painted this thrifted bucket gift basket for my mom in the same color combos).
Reuse and Recycle!
For this project, I left the hardware alone. I loved the brassy color, and I liked that it looks a little worn. I didn’t want it to be too pristine and “perfect.” By using the existing hardware, in its original condition, I saved myself time (and money!).
So what do you think of my vintage vanity?! 🙂 Have you ever stripped and stained furniture?
Want More??
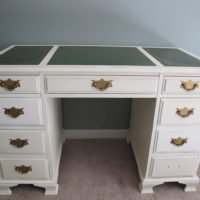
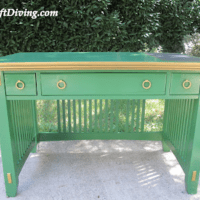
I’ve got a thing for desks and vanities and stuff. Here are some other desks/vanities I have refinished. Enjoy!


Download the 5 freebies!

Thrift Diving inspires women to decorate, improve, and maintain their home themselves...using paint, power tools, and thrift stores! Use these 5 printables, checklists, and ebooks to get started!


Love your project in the Scandavian pink! Did you dilute it at all or use it at full strength?
Thanks, Katherine! I used the Scandinavian pink at full strength. Many people don’t like to use it that way, but I thought it was beautiful. It looked good with the dark stain, too. 🙂
Stunning. Yes, I have stripped furniture before. I was not as knowledgeable as you are. The biggest faux pas I remember is shaking up a can of polyurethane. Never never do that. It creates bubbles which will appear on your project and live there for the rest of its life.
Hey, Syl! Yes, I had done that, too! That’s a good tip for people to know: never shake cans of finish. I’ll have to be sure to include that tip for people, because many people don’t know. Would be kind of cool to do a video and demonstrate what can happen if you shake your finishes. 🙂
Amazing job Serena. I’m gonna pin this one for myself because I know I am going to mess up big time on something or other and I’ll need your expertise to help me out.
The best of both worlds Serena, a raw beautifully stained top combined with that really pretty pink. It makes an awesome statement. Don’t you just hate it when you’ve done all that stripping and you get a little heavy handed with the sander, grrrrrr but you made such a nice plan to fix it and I think the stencil adds just the right touch. The vanity looks amazing
nice job and terrific save on the oops spot
Hey! I just bought a little dresser and want to do tge same thing! Stained top and painted bottom. 2 questions for you.
1. Do i need to strip and sande to the wood before i stain?
2. What is the difference between regular paint and Ann Slone paint that everyone talks about?
Don’t ever feel guilty for painting wood! It is your wood and you can do with it as you wish! Now you have inspired me to a) use that color and b) paint part of a piece and refinish part of it!
I love this make-over Serena… beautiful work! The stain and color you combined works perfectly. And you always get the best pieces from your Thrift Stores! 🙂
Hi
I really love this! I have never used this color of Annie Sloan paint before, probably because I have boys. Now that I have a sweet Granddaughter I might be inclined to use this color more. Your very talented and have a great eye for good bones on furniture. I am a fellow painter and thrifter and always love a good challenge to take something old and dated and turn it into a treasure. Thanks for the inspiration! Sandi@theVintage