How to Buy a House in 12 Weeks – Download the FREE Home Buying Workbook!
This “How to Buy a House in 12 Weeks” guide is brought to you, in part, by Homes.com.
For more home buying help, check out 10 Questions You MUST Ask Before Buying a House, along with helpful tips on how to hire a contractor.
Here at Thrift Diving, we talk a lot about how to decorate, improve, and maintain your home on a budget, but we don’t talk much about how to buy a house, do we? (Have you seen my Project Gallery??)
I realized some time ago it’s been an area of my blog that has been sorely lacking. Some time ago I wrote a popular post called 10 Questions You MUST Ask Before Buying a House, which sparks you to consider all the unexpected surprises that hubby and I encountered when we moved into this outdated 1973 home back in 2010. I didn’t want people to make the same mistakes we did because we hadn’t thought through the home buying experience prior to jumping in with 2 feet.

So I’ve teamed up with Homes.com, one of the biggest resources for people interested in buying a house to walk you through week by week, how to buy your own home in about 12 weeks! This home buying guide will help you to consider all the important things you need to know and keep track of your own home buying journey!
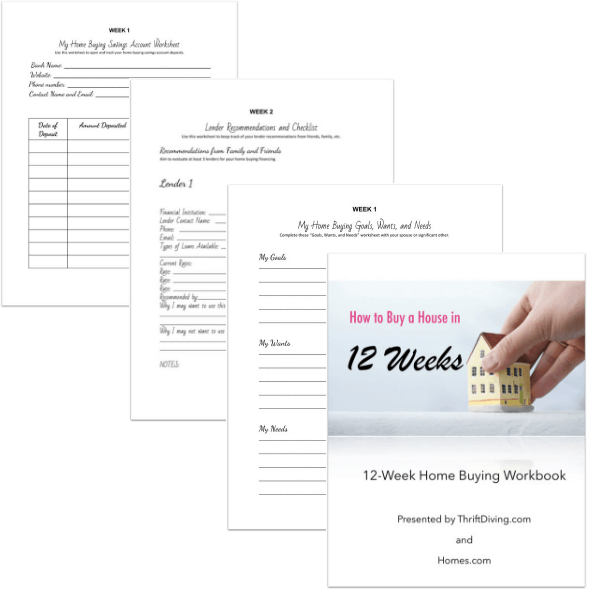
Download the Free Home Buying Workbook
Be sure to enter your name and email below to download the free “How to Buy a House in 12 Weeks” home buying workbook so that you can track the important things you need to know in your home buying journey! As I find more resources to include, I’ll continuously update this workbook. 🙂
Week 1
Week 1 is one of the most exciting weeks on this home buying journey because it’s the week when you finally make the decision to move forward with buying a home. You are READY!
The first step is to make sure that your spouse or partner is on the same page. Talk with them, tell them your goals, wants, and needs listen to their goals, wants, and needs. Once you’re on the same page, it’s time to set some goals…..For example, by when would you like to buy a house? How much “home” would do you hope to buy? What are the “must have” features in this new home? ……Use the WEEK 1 printable in the Homebuying Packet that I’m giving to you down below in the description and fill in those answers……There are also some financial steps that must be done this week.
You’ve got to check your FICO score. This step can be a little nerve-wracking if you have no idea what your score is. The minimum your score needs to be will depend on the type of loan you’ll be getting, for example, an FHA loan may have a different minimum score compared to a conventional loan. So you’ll need to look into that, depending on the type of loan you have. But a good rule of thumb is to improve your FICO score because that will determine the percentage rate you get: the better the score, the lower your percentage rate. And that…can save you money.
Check this blog post from Homes.com for tips on pulling your credit score and what you can do if you’re credit score is too low.
You’ll also want to get free copies of your credit report from the three credit reporting agencies: TransUnion, Equifax, and Experian. Check them for any errors or anything questionable. You can download all three copies of your credit report by going to AnnualCreditReport.com. There is no cost. 🙂
And lastly, open a “home buying” savings account for your down payment. Plan to just sock away as much cash as you can for your down payment and other home expenses.
That’s a lot to cover in just one week, but you can do it! Now let’s move on to Week #2!

Week 2
Now that you and your spouse or partner are on the same page, you’ve opened up a “home buying” savings account, it’s time to assemble your team. Your team is the people who will help you buy a home. Don’t overlook the importance of a dedicated real estate agent, an efficient lender, a skilled home inspector, and the rest of the team you’ll need.
If you’re like most people, you’ll need a loan to buy a house. Start with your own bank or credit union and check the rates and fees. But your agent can help with recommending a reliable lender. You’ll also have a home appraiser and a title company, but your lender and agent can usually provide those.
Once you find your team, you’ll want to get Pre-Approved this week! This is really important because you need to know exactly how much you can actually borrow based on your income, assets, and debts. You don’t want to find a dream house only to find that it’s out of your price range. Check out the home buying packet in the description for an entire list of documents you’ll need to put together, but some of those include pay stubs, bank statements, proof of employment, and more.
This is the exciting part because it’s getting real! You’re getting closer to being a homeowner!

Week 3
It’s almost time to start looking at properties! But first, in WEEK 3, it’s time to get real. This is probably the most important week of your 12-week homebuying journey because you have to get real with yourself. I am very passionate about this part of the journey because it’s where you How much home can you really afford? Just because the bank says you can borrow up to $300,000, can you really afford that much? This week you need to get real about how much your home will really cost. You also need to look back on the past month and see how much money you’ve spent on food, eating out, entertainment, etc. Use the spreadsheet in the home buying packet to tally up your expenses. You might be surprised.
Week 4 – 9
During WEEK 4-9, you’ll be out there visiting properties with your agent, and this is a really exciting time! It may take you less than 6 weeks, or it may take you longer. Don’t rush this process because this is the home that you may spend the next 5-7 years, or more, of your life and you want to make the right decision. Your agent will be really helpful in steering you in the right direction. Just make sure you check in with them often and let me know if your wants and needs have changed so they can update their search criteria for you.
You also want to make sure you know what questions you should be asking about each property you visit. For example, what’s the age and position of the trees near the house? Do the trees block the sunlight coming into the home? Are any of the trees dying and need to be cut down? What’s the quality and condition of the windows? Will they need to be replaced? When we moved into this house, we didn’t realize how drafty the windows were and that the cracks were allowing stink bugs to get into the house in fall. We ended up replacing 22 windows for a whopping $14,000. So, asking the right questions about your potential new home will help you to know if there are additional expenses or factors that you may not have considered!
And, it may only be WEEK 4, but it’s never too early to start packing up your things, getting prepared to move! Start collecting some boxes from friends and family–”Hey, you got any boxes??” and go through your belongings and donate the things that may clutter up your new house. The less stuff you have, the less stuff you’ll have to move.

You might need a moving company, or you might be able to move with the help of those friends and family. If you need to pre-pack up things and store them off-site until you’re ready to move, just search for local moving and storage companies.
Remember: You can also make some extra cash by selling some your stuff and using the money to buy different furniture for your new place, especially if you’re looking to upgrade or update some of your furniture.
Week 10
As I already mentioned, your homebuying journey may take more or less time than the next person, so don’t feel you’ve got to make an offer on a home within 10 weeks. This video just serves as a guide on what to expect and consider during each step of the process. However, at this point, let’s say that you finally found that home that meets your budget, it looks good, you’re excited about it…then the next step is to make an offer!

The offer will include things such as price you’re offering to buy the home, the address, a target date for closing, the time limit on the offer, and more. Your agent will submit your offer with your earnest money deposit, which is a deposit that tells the seller, “Hey, I’m serious about this property!” and that you really want it. The earnest money goes towards the down payment o the closing cost if your offer is accepted…..Now, you’re just waiting to hear if your offer was accepted, rejected, or if the seller wants to counter your offer. Depending on the property and the number of offers submitted, it may take a little time to hear back. I’ll admit, the waiting is agonizing, especially when you really want that house! But just bear in mind that if the house is meant for you, things will work out. If your offer is rejected, you can always make another offer, especially if your first offer was a bit low. Not all offers work out in the favor of the buyer. If that’s the case, move on because there are usually other awesome homes on the market!
Now, if your offer is accepted, which is soooo exciting, you’ll have to let your lender know to get the financing ball rolling. Since you’ve already done the pre-approval, the process should be pretty simple and easy. You’ll also want to schedule a home inspection. Your agent may recommend a couple of home inspectors. Give them a call, get references, and check their website. You can also find one on your own through the American Society of Home Inspectors.
Let’s move on to the next step: getting your home inspection.
Week 11
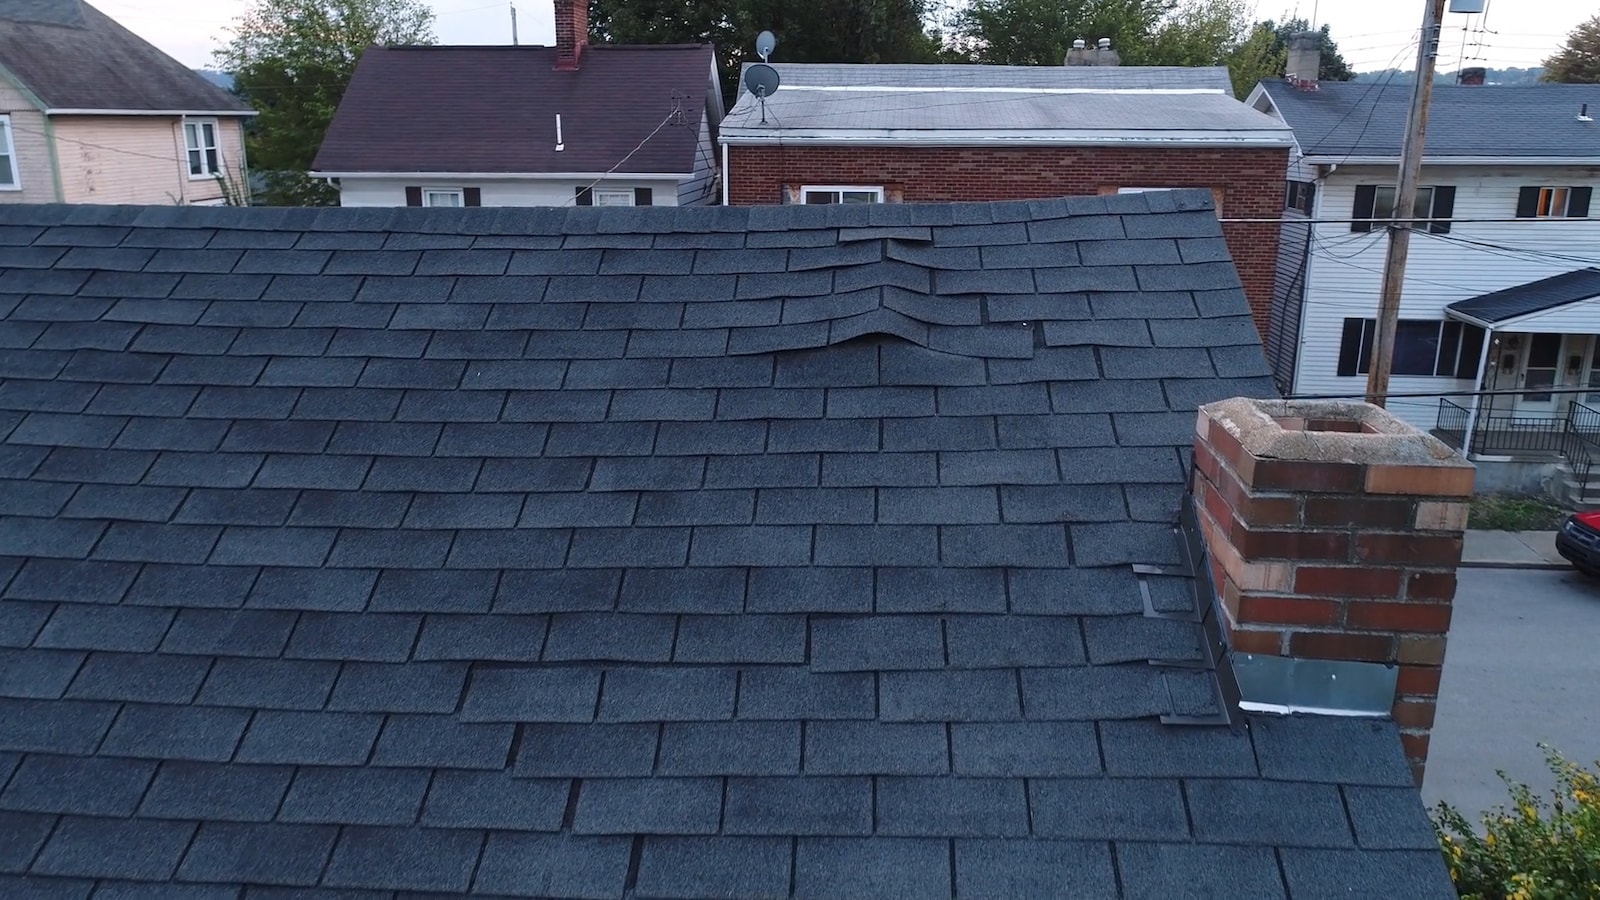
Once your offer has been accepted, it’s time to get your home inspection done. I’ve already mentioned that your agent may recommend a couple of inspectors, and that’s generally a great place to start. Or, you can find your own. Whichever your decision, check their references, interview them, and learn more about their inspection process. Home inspections aren’t required by most lenders but it makes no sense not to pay the $250 – $400 to have a licensed home inspector review the home you want to buy. If there are things that need to be replaced, you can ask the seller to fix them, get a credit for major problems found, or you may find small things that don’t bother you and you don’t worry about the seller fixing them. If major projects are found, you usually are able to walk away and decide not to move forward on the purchase.
Around this time, the home appraisal will be done by the home appraiser that the lender arranged to make sure that the home is really worth the purchase price that you and the seller agreed upon. It’s debated about whether you should have the home appraisal done first, or the home inspection. Talk to your agent about what’s best for your potential new home.
If everything checks out with the appraisal and you and the seller have worked out the home inspection repairs, you’ll want to contact your insurance company to purchase a home insurance policy on the property. You’ll need to show proof of insurance before you can go to closing. If you’ve got car insurance or other insurance, that’s a great place to start! Typically, insurance companies will give you discounts for having multiple policies with them!
The next step is the final walk-through and closing!
Week 12
By this point, you’re soooo close to owning your own home! You still need to do the final walk-through, which is an important step to make sure that any repairs that you and the seller negotiated have actually been done. You’ll want to check the exterior of the house…the ceilings…the floors…In fact, there’s a great checklist in your Home buying packet that you can take along to your final walk-through to make sure that you don’t miss an item to be checked!
You may be closing this week, too! This is the most exciting time!!! Closings are generally held at the escrow company or at the title company. The seller isn’t there. It will likely be just you, your agent, and the closing agent.
(TIP: Homes.com also has some suggestions on making sure that your walk-through and closing goes well!)
You’ll have to bring your photo ID, a certified check for the closing costs and down payment, proof of insurance, and the final sale contract. Just make sure you check to make sure that everything on the final sale contract looks good. And just so you know, you will be signing a lot of paperwork, like up to 30-40 documents! The stack is very thick. You’ll be signing a contract for your loan and a contract for the purchase of your home. But don’t worry, you’ll be so excited that you’ll barely notice. 🙂 And here’s a little tip: try to schedule the signing of the papers early in the morning and not on a Friday, in case there are minor errors in the paperwork that can be fixed quickly.
You may not get your keys on the same day as closing because there is still some behind-the-scenes paperwork that needs to be done. But your keys will soon be in your hand!
Once you get your keys, there are some final things you need to do to finally get your home move-in ready! Remember to submit a change of address form at the post office. Get your new utilities put in your name. Hire a housekeeper to do a thorough scrubbing of your new house. And consider changing the locks or rekeying the entry.
And now, your home is ready for move-in and decorating! It’s helpful to remember that you don’t have to buy all new things! Thrift stores are a great way to decorate your home with painted or refinished good quality pieces of furniture, and you’ll be creating a fun space that feels like home. For help with decorating your new home on a budget, and learning how to do easy home improvement projects yourself, visit ThriftDiving.com.
So Are You Ready to Buy a House??
So whether your home buying journey takes 12 weeks or 6 months, once you understand step-by-step how to plan properly, it demystifies the entire process and provides a clear road-map on how to become a homeowner! For more info on how to buy a home, check out Homes.com and be sure to subscribe to my blog so that you can get more info about how to decorate, improve, and maintain that home once you buy it. 😉
And remember to download the FREE home buying workbook here by entering your name and email!
Want to save this home buying guide? Click here to save it on Pinterest!
![]()

Download the 5 freebies!

Thrift Diving inspires women to decorate, improve, and maintain their home themselves...using paint, power tools, and thrift stores! Use these 5 printables, checklists, and ebooks to get started!


Take this lesson I learned the HARD way — Do NOT write contents on the sides of boxes! My mother’s good china ‘disappeared’ during a move by a supposed reputable carrier. We got money for it, but it wasn’t actual value and of course no sentimental value. INSTEAD get a journal book and NUMBER your boxes and write everything that you put into the box down in the journal; i.e — Box 10 –>things from hutch in dining room with grandma’s good linens. This is such a time saver !! When someone is screaming for a specific toy or mug or shirt, you can consult your master list in the journal and find EXACTLY the correct box that the wanted item is in, instead of opening boxes until you eventually find said item. Labeling 12 boxes ‘Kitchen’ and 27 boxes ‘Bedroom’ is crazy !! This has saved the day MANY times during my 19 moves !! Oh, and if you have children or multiple pets like me, Buy on a dead end street !! Minimal through traffic and you KNOW your neighbors — safety when the area is familiar.
Sarah, these tips are WONDERFUL! Wow, I never considered not labeling the box with actual location/belongings! Very smart. The box number is such a great idea that I will go back and edit this article to include those helpful tips!!! THANK YOU!!