13 Furniture Refinishing Tips When Stripping Furniture!
As much as I would like to think I know what I’m doing when restoring furniture, I’ve never considered myself a professional. A professional, in my opinion, makes furniture restoration their bread and butter, spending considerable hours each day, for years, restoring furniture in exchange for money.
Me, on the other hand?
I restore furniture for my own use, usually with some kind of “oops!” included, like this mid-century modern dresser I restored several years ago that turned blotchy on top. It still looked great, but it definitely wasn’t a piece I would have even thought to sell.
And don’t get me started on doing furniture makeovers for customers… After I refinished this 3-toned vintage dresser for my one and only client, I decided I would never refinish furniture for another customer. I hated the stress of it, the demand for a certain look and outcome, and in the end, was way more trouble than I would ever put myself through again.
Never again.
You might be like me, enjoying the challenge of taking something old and outdated and turning it into a gorgeous piece of furniture, usually for not a lot of money! You feel confident in your ability, despite some bumps along the way, and you like to jump into your next project and see how it turns out!
Or you might even be a newbie who’s interested in getting started with restoring furniture, but you’re feeling intimidated on how to even get started: what products do you buy? What do you do first, second, or third? You don’t want to ruin Grandma Betty’s antique dresser, but you want to restore it because it’s invaluable to you and you want to use it in your home.
Whichever category you fall into, this blog post and podcast interview is for you!
I had the pleasure of interviewing Gary LeClerc, owner of StripWell. StripWell makes a vintage finish remover called QCS (which stands for quick, clean, safe). He’s a furniture restoration professional with over the past 24 years of furniture restoration.
I wanted to hear from someone who had restored hundreds of pieces of furniture (including a piece of furniture that belonged to Abraham Lincoln that Gary had restored for a museum!). Gary’s got tons of experience that beginning furniture restorers (and even advanced restorers) can put to use!
So let’s jump into Gary’s tips for furniture restoration!
And be sure to watch my interview with him for Episode #72 of The Thrift Diving Podcast!
Click here to save this on Pinterest!

Watch Now!
Tip #1 – Most Chemical Strippers are More Dangerous Than You Realize
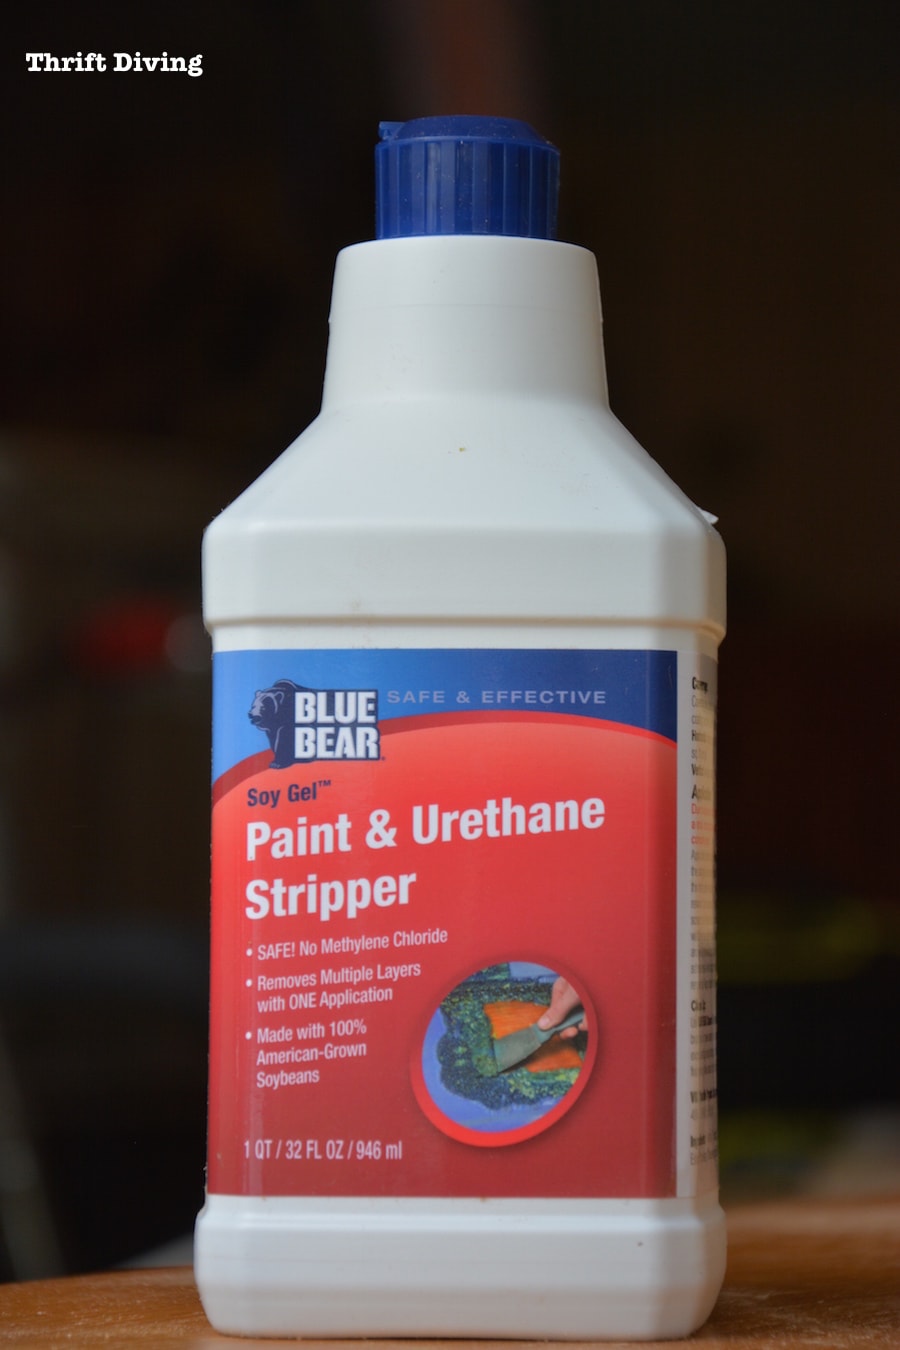
Recently I did a podcast and blog post about the dangers of furniture strippers. One brand in particular that I had used and was promoting on my YouTube channel and blog was a “soy gel” stripper.
What comes to mind when you think “soy gel”?
For me, “safe” and “all natural” comes to mind. But it’s all clever marketing until you pull back the MSDS (manufacture safety dada sheet) to see what’s really in the products being “green-washed” to be eco-friendly.
Little did I know that this particular brand of furniture stripper has a chemical called NMP (N-methypyrrolidone), which can cause miscarriages and reproductive harm. You can read all about it here in I’ve Been Using a Toxic Paint Stripper for Years!
When researching and writing that blog post, I also learned that paint strippers, such as CitriStrip, might not have the problematic NMP chemical, but they still can have benzyl alcohol, which can cause some mild concerns due to this preservative being an allergen that can trigger an immune response.
We’re under the impression that if a product is readily available on store shelves or can be ordered online easily through Amazon or something, that it’s safe and won’t cause harm. But that’s not the case with anything (even food products here in the U.S.). You have to look at the ingredients to know what’s truly in the products we’re using.
And with most chemical paint strippers, if you research enough, you’ll learn that most found at big box stores aren’t as safe as you think.
A Safer Option
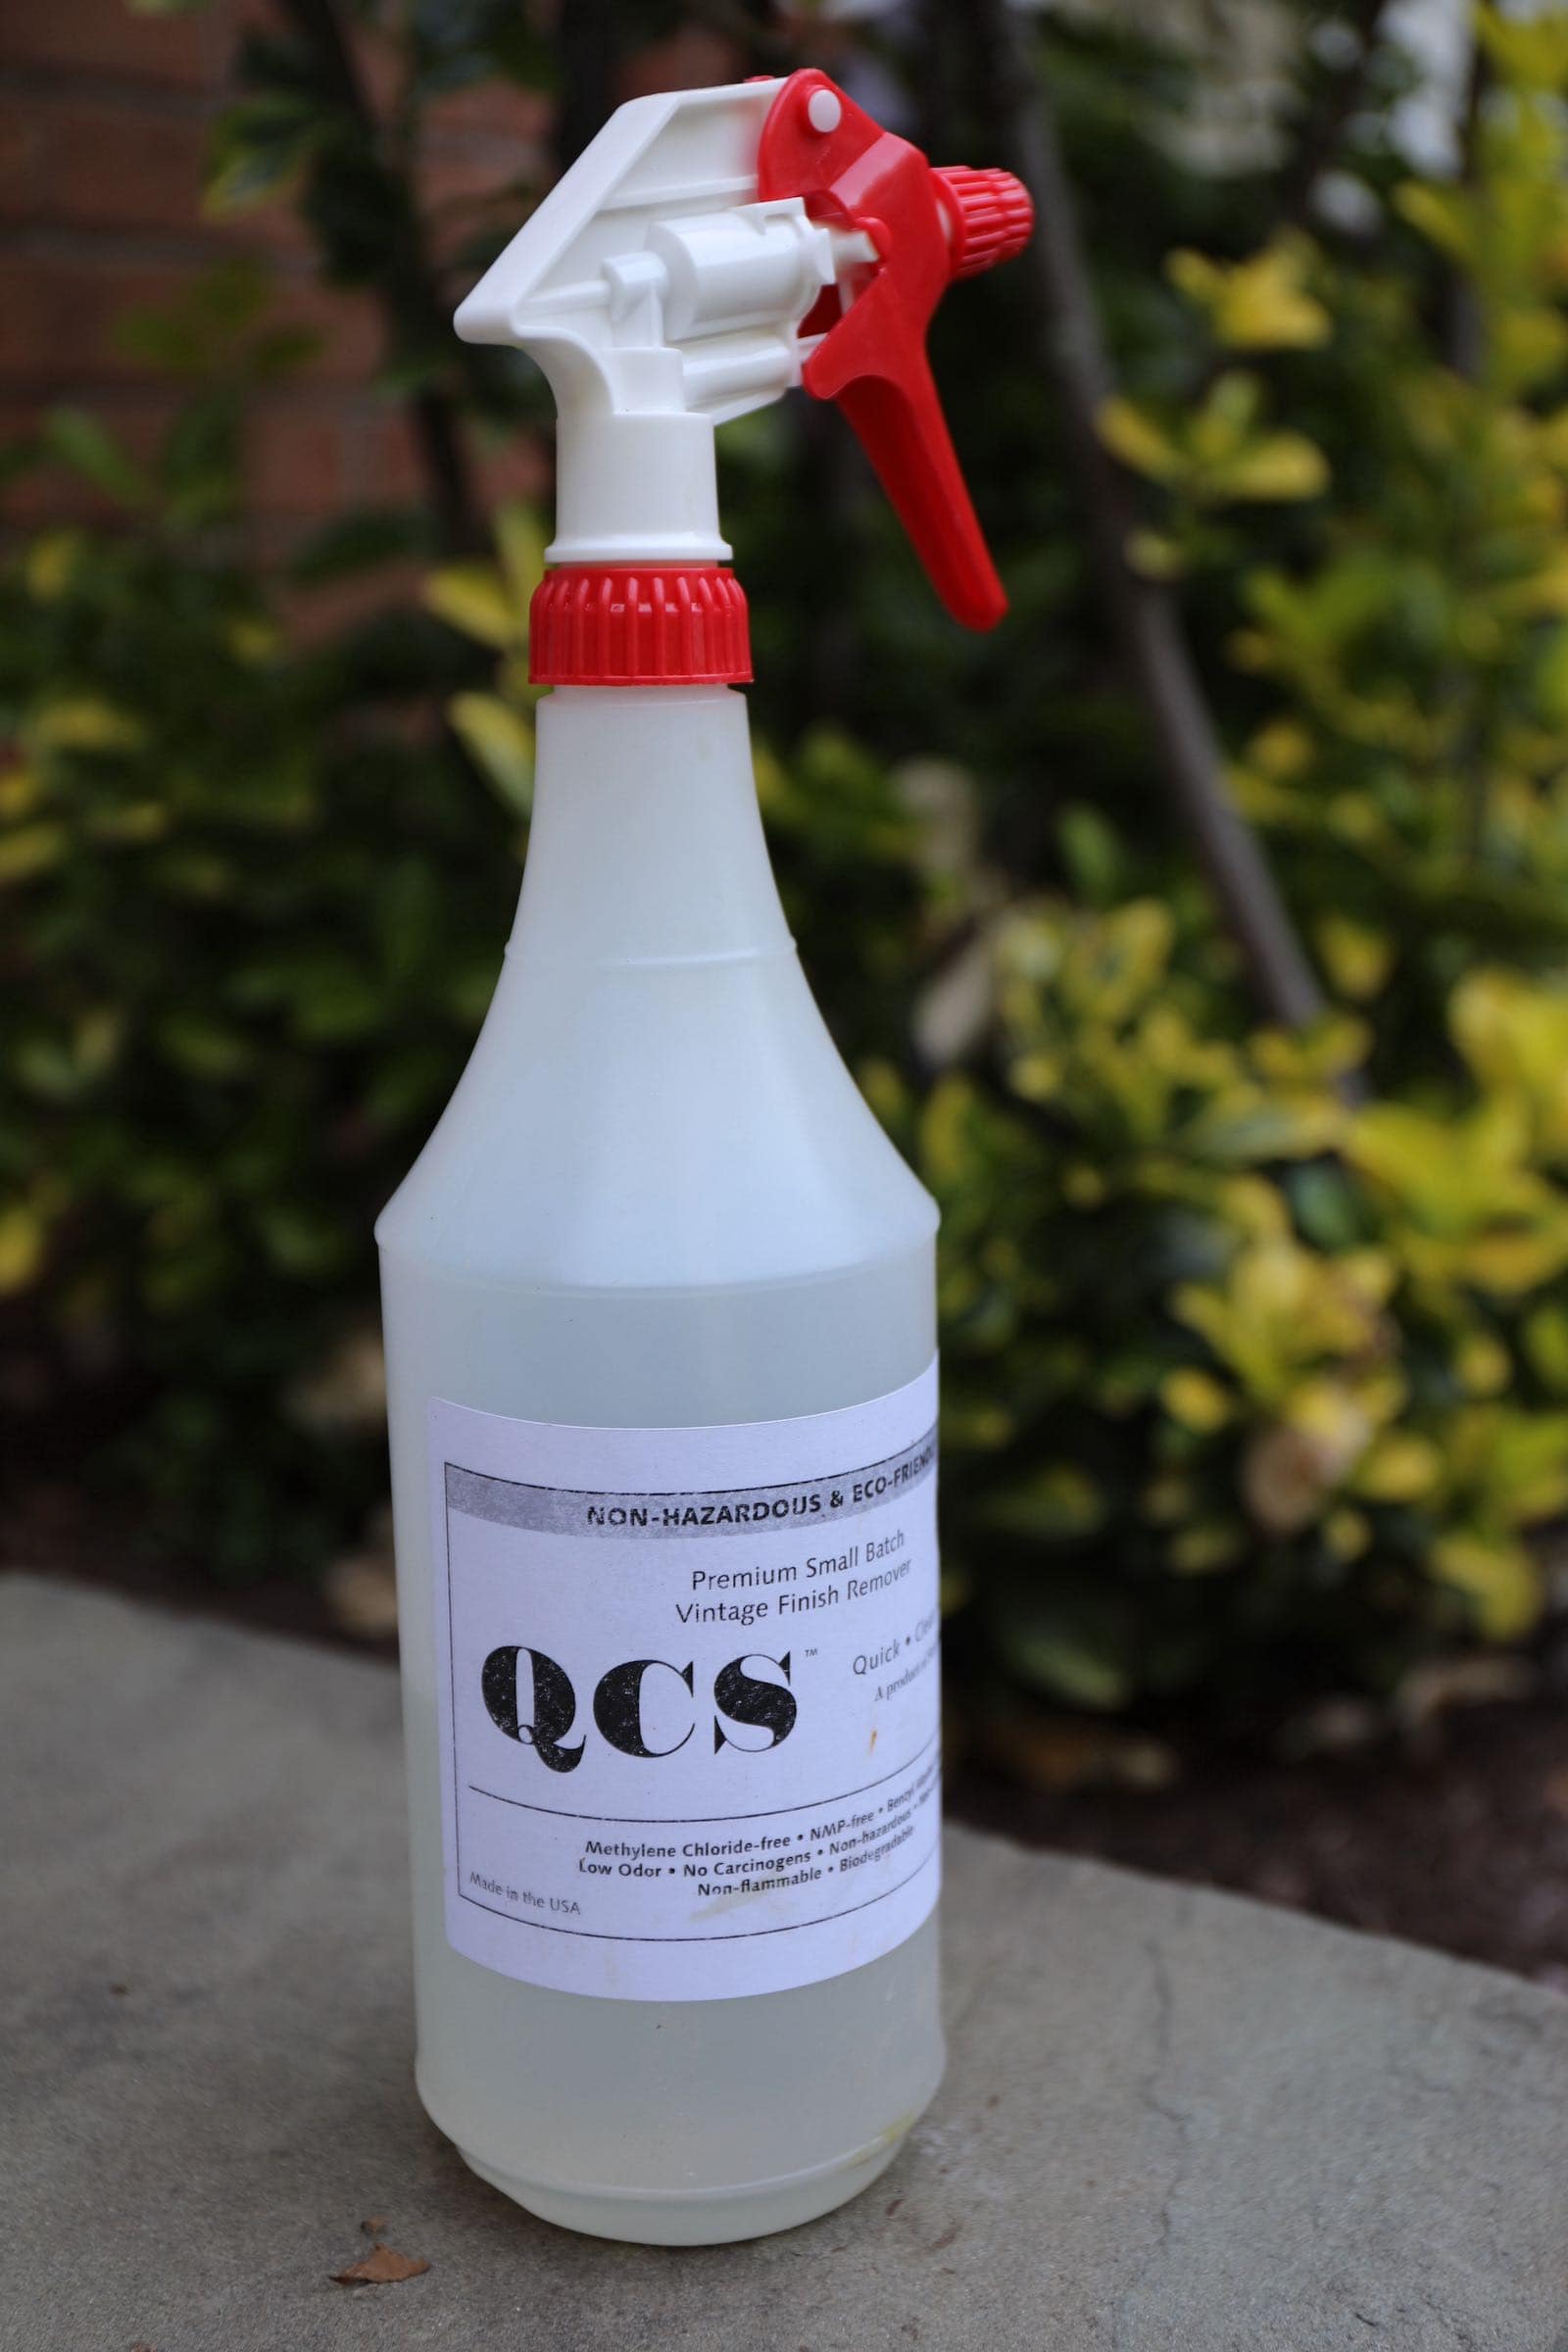
A safer option is QCS, which stands for Quick, Clean, and Save.
I had written a blog post about how I had been using a toxic stripper for years and had no idea! So I’m super stoked to find a readily available way to remove old finish from furniture that doesn’t have NMP, doesn’t have methylene chloride, or any of those other harmful chemicals!
TIP #2 – Start With Quality Furniture
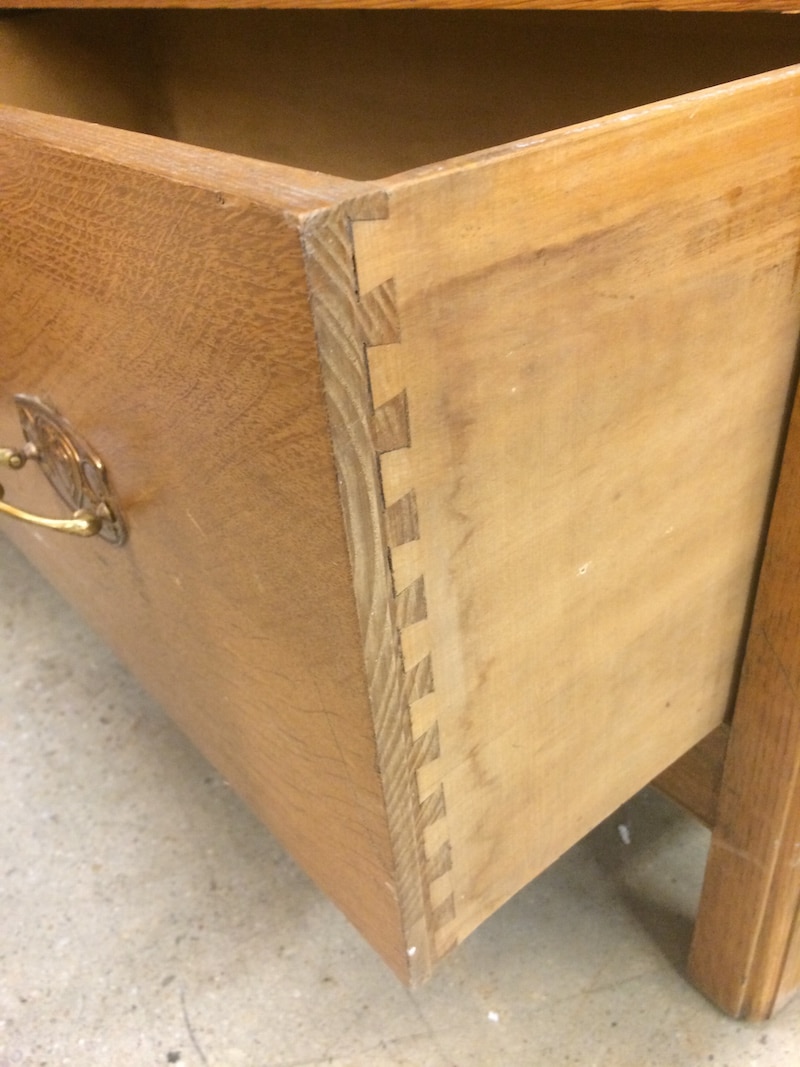
Before we jump into the other tips, let’s be clear that you should start with quality furniture. Make sure it’s a solid piece. Typically what I look for at the thrift store are things like:
- Dovetail joints.
- Solid wood.
- Furniture feels heavy and sturdy.
- Wood veneer that’s glued to solid wood (and not glued to particle board).
The better quality of furniture, the better results you’ll get. Gary pointed out that wood veneer has gotten a bad rep, that people think it’s a lesser quality of furniture. But that’s not necessarily the case. It depends on what the wood veneer is attached to. Be sure it’s attached to solid wood. If it’s attached to particle board, the particle board could become warped.
Tip #3: Use a Liquid-Based Stripper to Get into the Nooks and Crannies
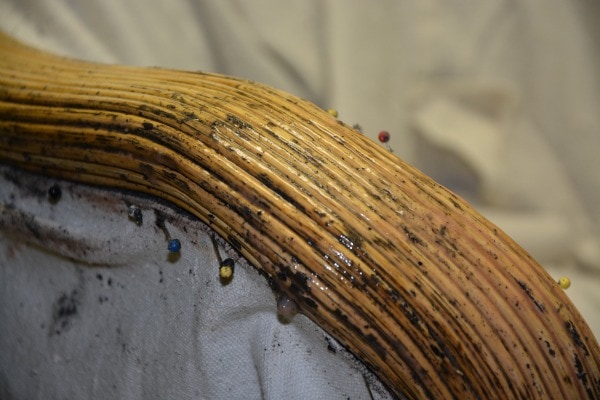
Most chemical paint strippers are a thick gel that gets slathered on a piece of furniture, allowed to break down the previous layers of stain and topcoats, and then removed in a thick layer of gunk that (while satisfying) is absolutely disgusting.
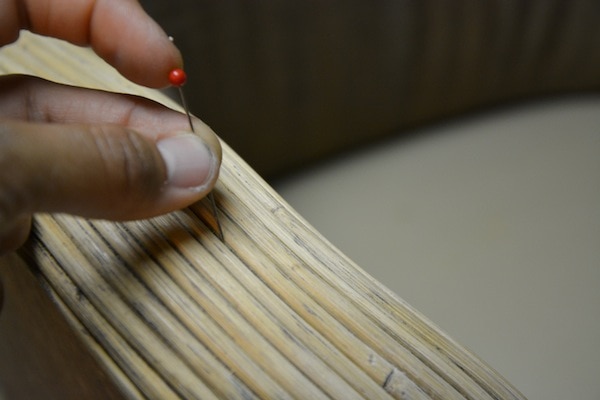
Gary LeClerc pointed out that the strippings gels make it very difficult to strip finish off of the nook and crannies of furniture pieces because the gels get trapped into the tight spaces and usually require scraping out the stripper. I have had to use sewing/quilting pins to remove stripping “gunk” in hard to reach places!
Gary’s product that he developed is called QCS (which stands for Quick, Clean, Safe), is a liquid-based stripping gel. The difference with using a liquid-based stripper is that it gets into the nooks and crannies, and instead of building up, it drips off, loosing the old finish underneath.
It doesn’t leave anything behind except the finish to be removed, not an excessive amount of gel and gunk.
TIP: Gary recommends using a kiddie pool underneath your furniture piece while spraying on QCS to strip it. The stripper will drip into the kiddie pool and can then be re-used!
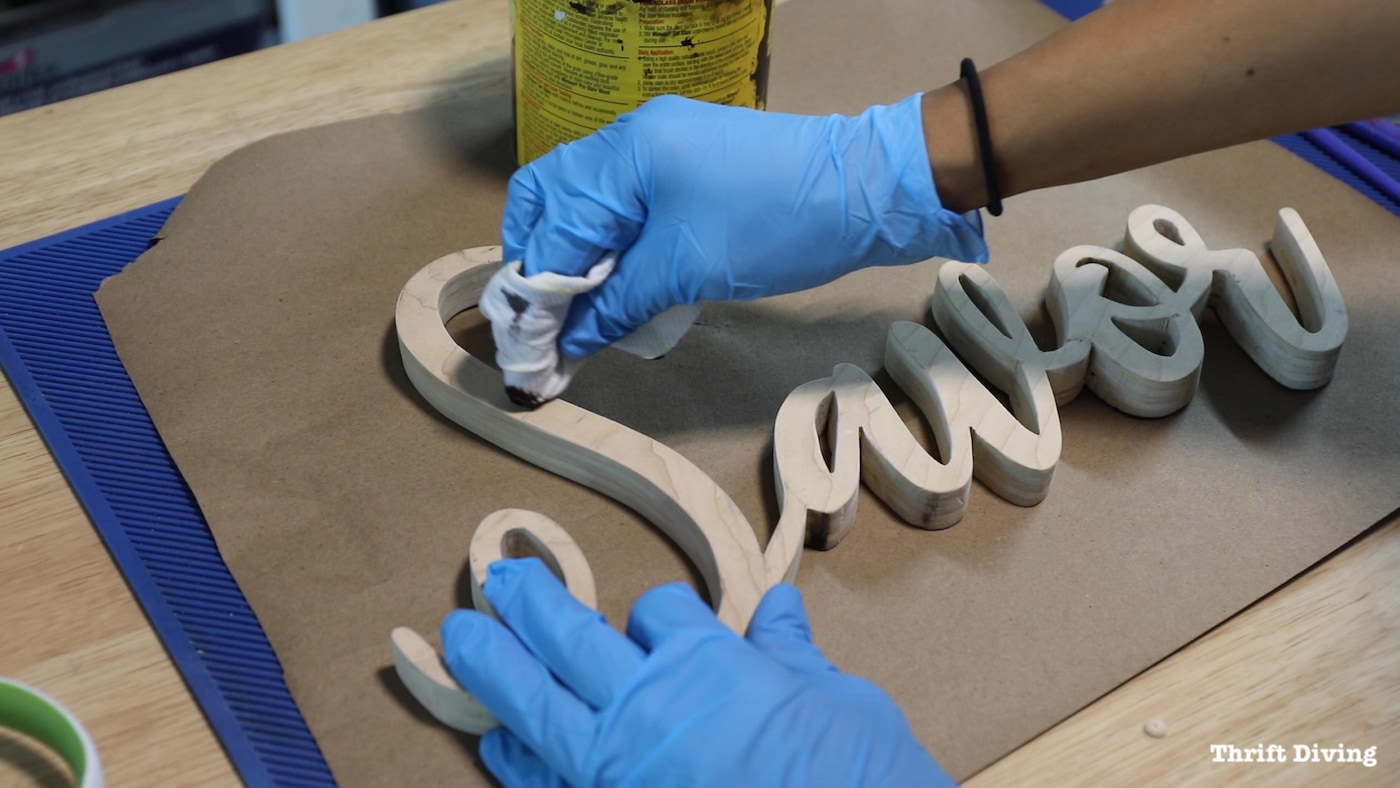
Tip #4: Use Stripper That’s Clear So You Can See What You’re Doing
Some strippers have color added to them that make it difficult to actually see how it’s working. Use a clear stripper so that you can see what you’re doing.
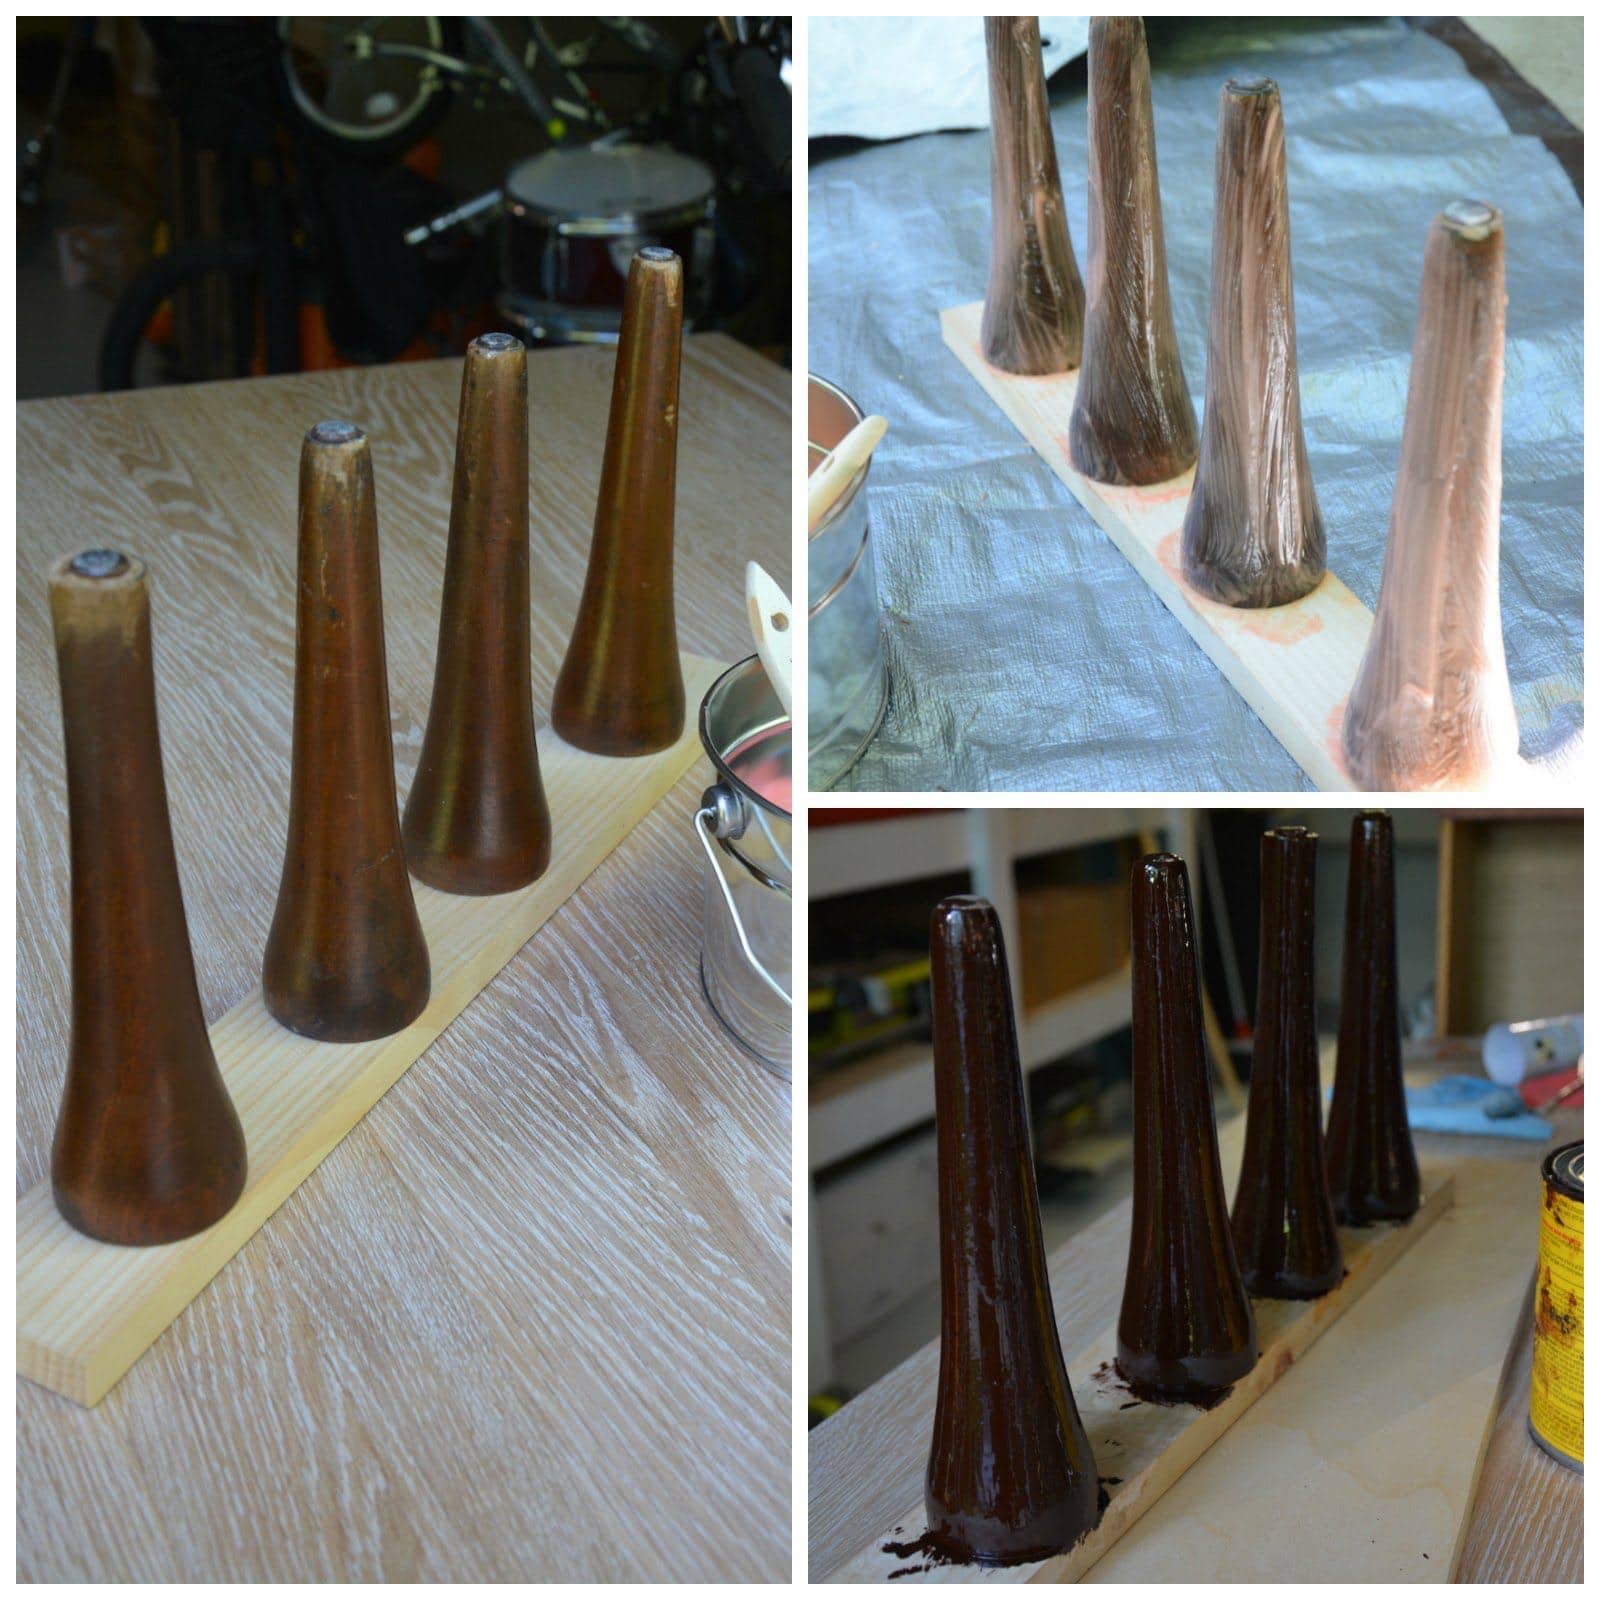
In the project below, I was using CitriStrip to strip these mid-century modern legs. The pink color totally coats the legs and you can’t see how the stripper and how it’s affecting the wood.
TIP #5 – Don’t Sand Your Furniture After Stripping (If Sanding Isn’t Needed)
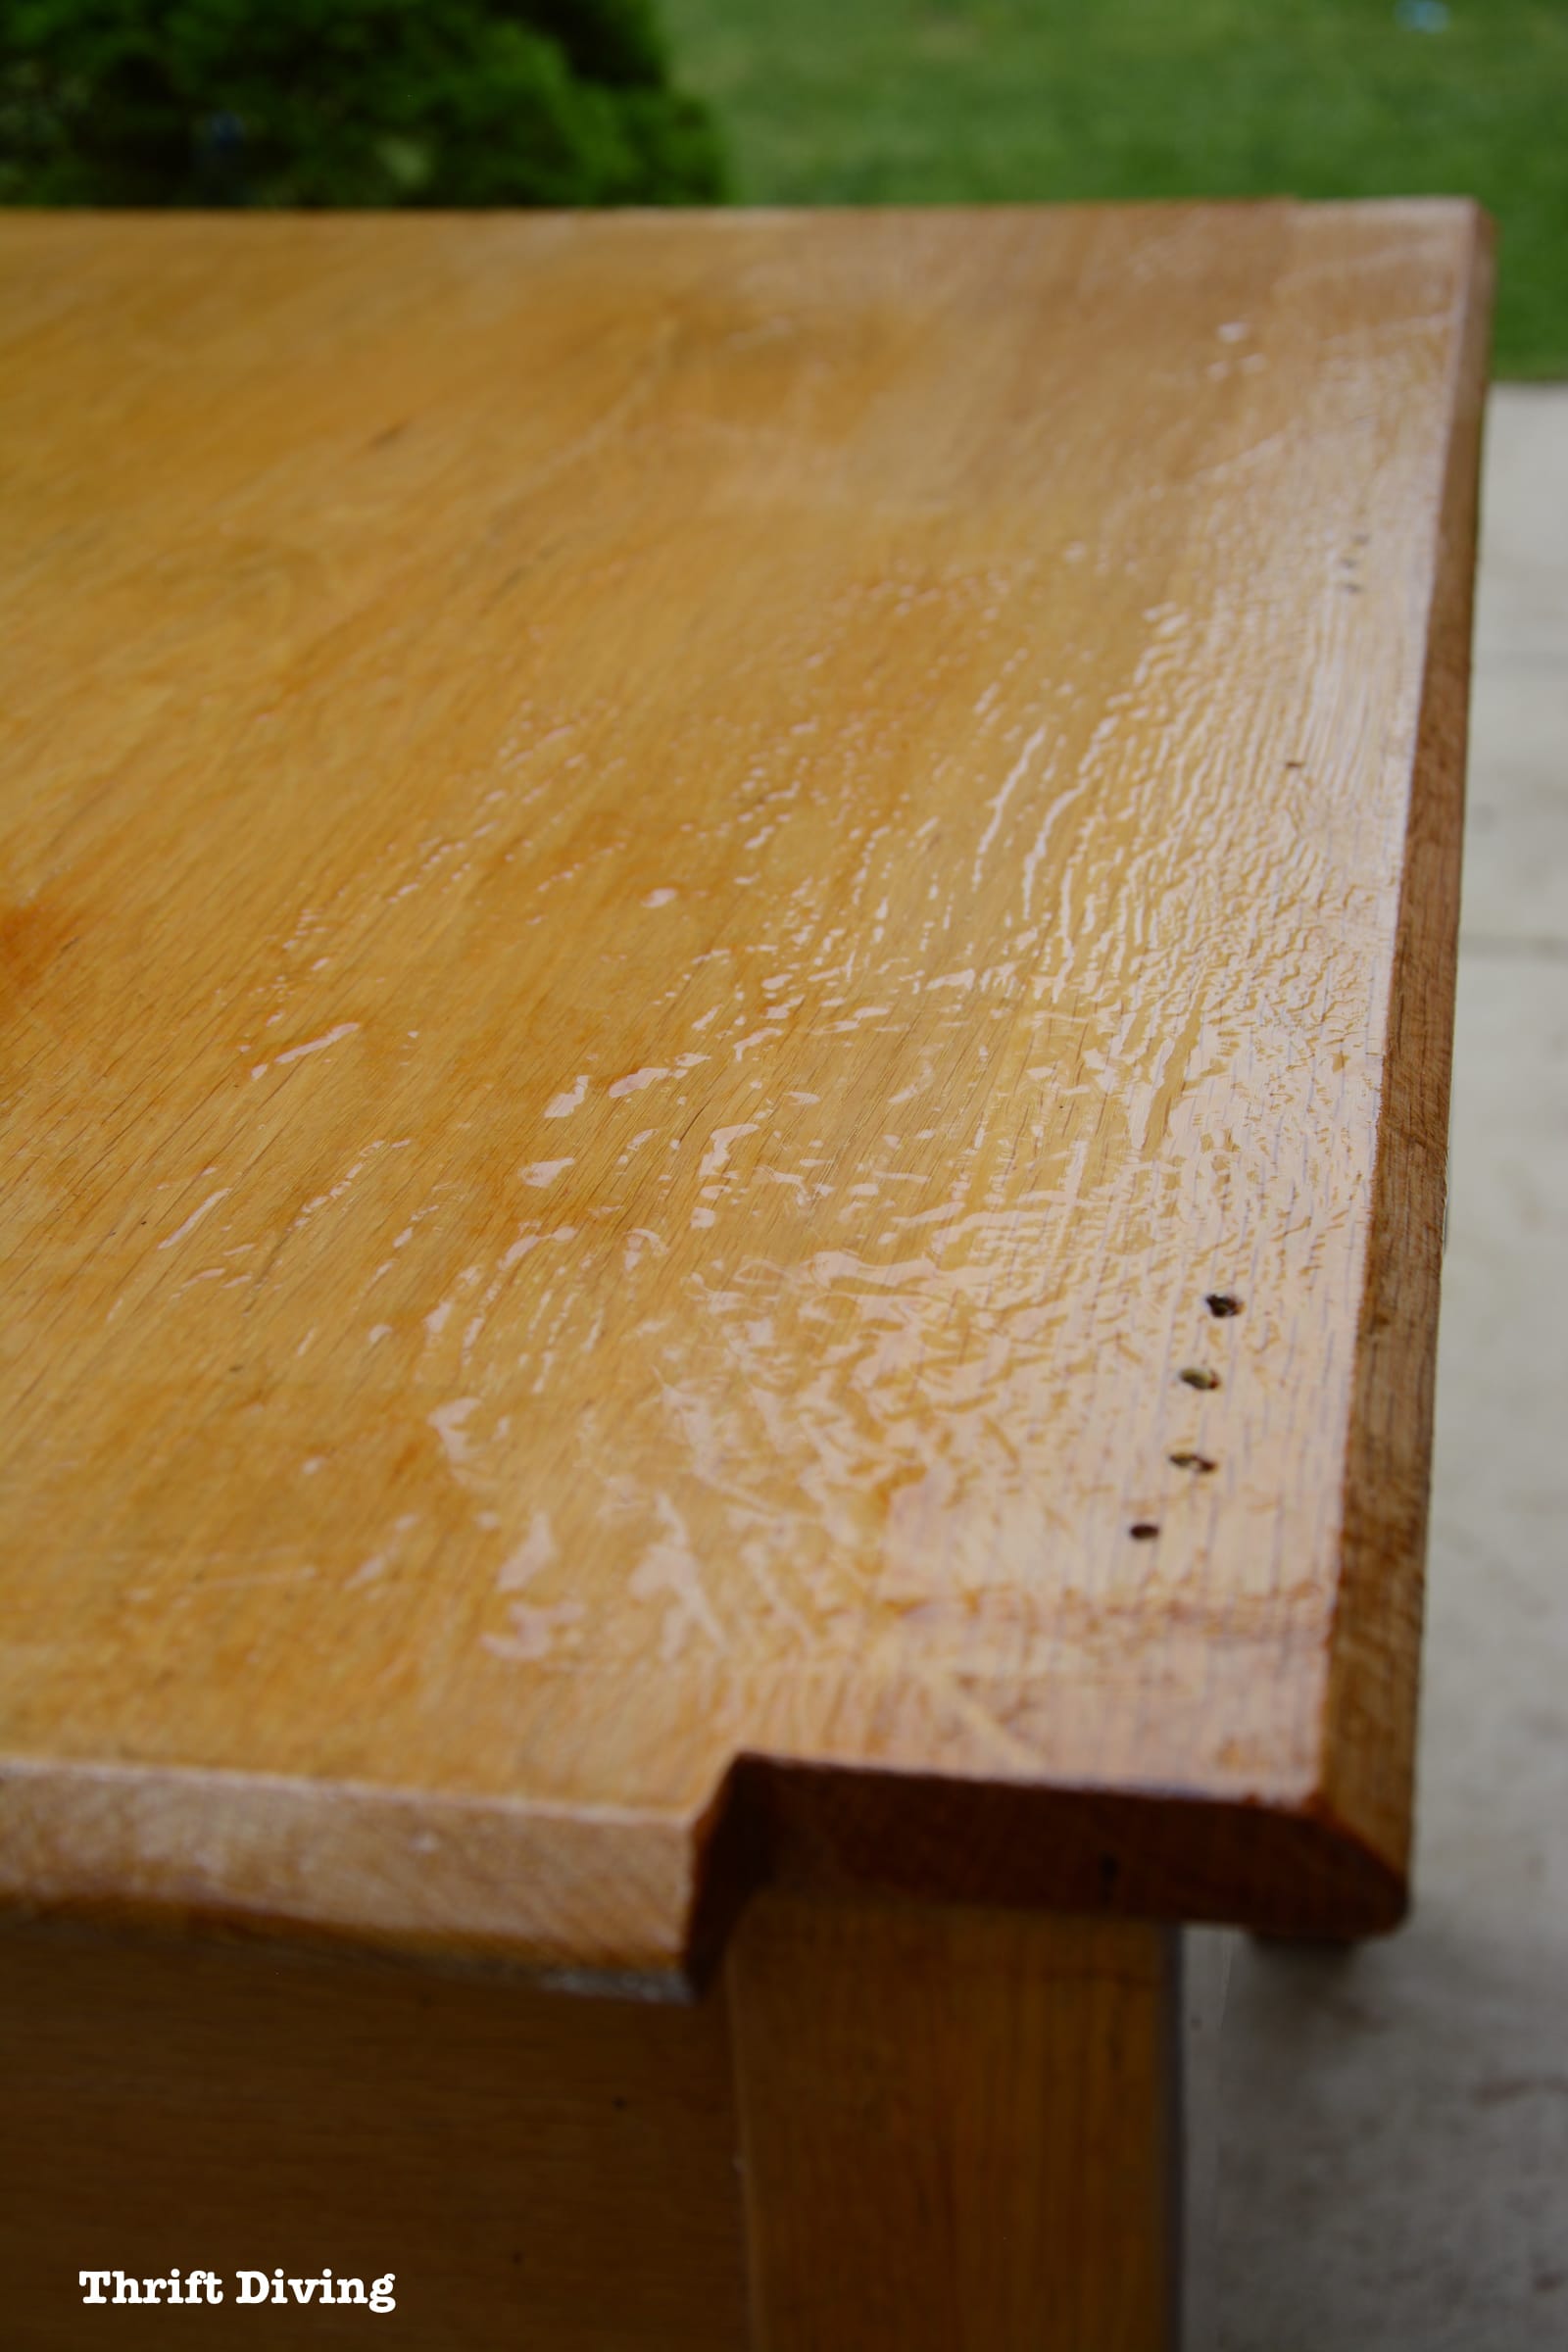
I am notorious for sanding furniture after I have stripped it. I’ve just always thought that you had to, for best results. The stripper never fully removed all of the previous color, and there were still surface imperfections that I wanted to correct before re-staining a piece of furniture.
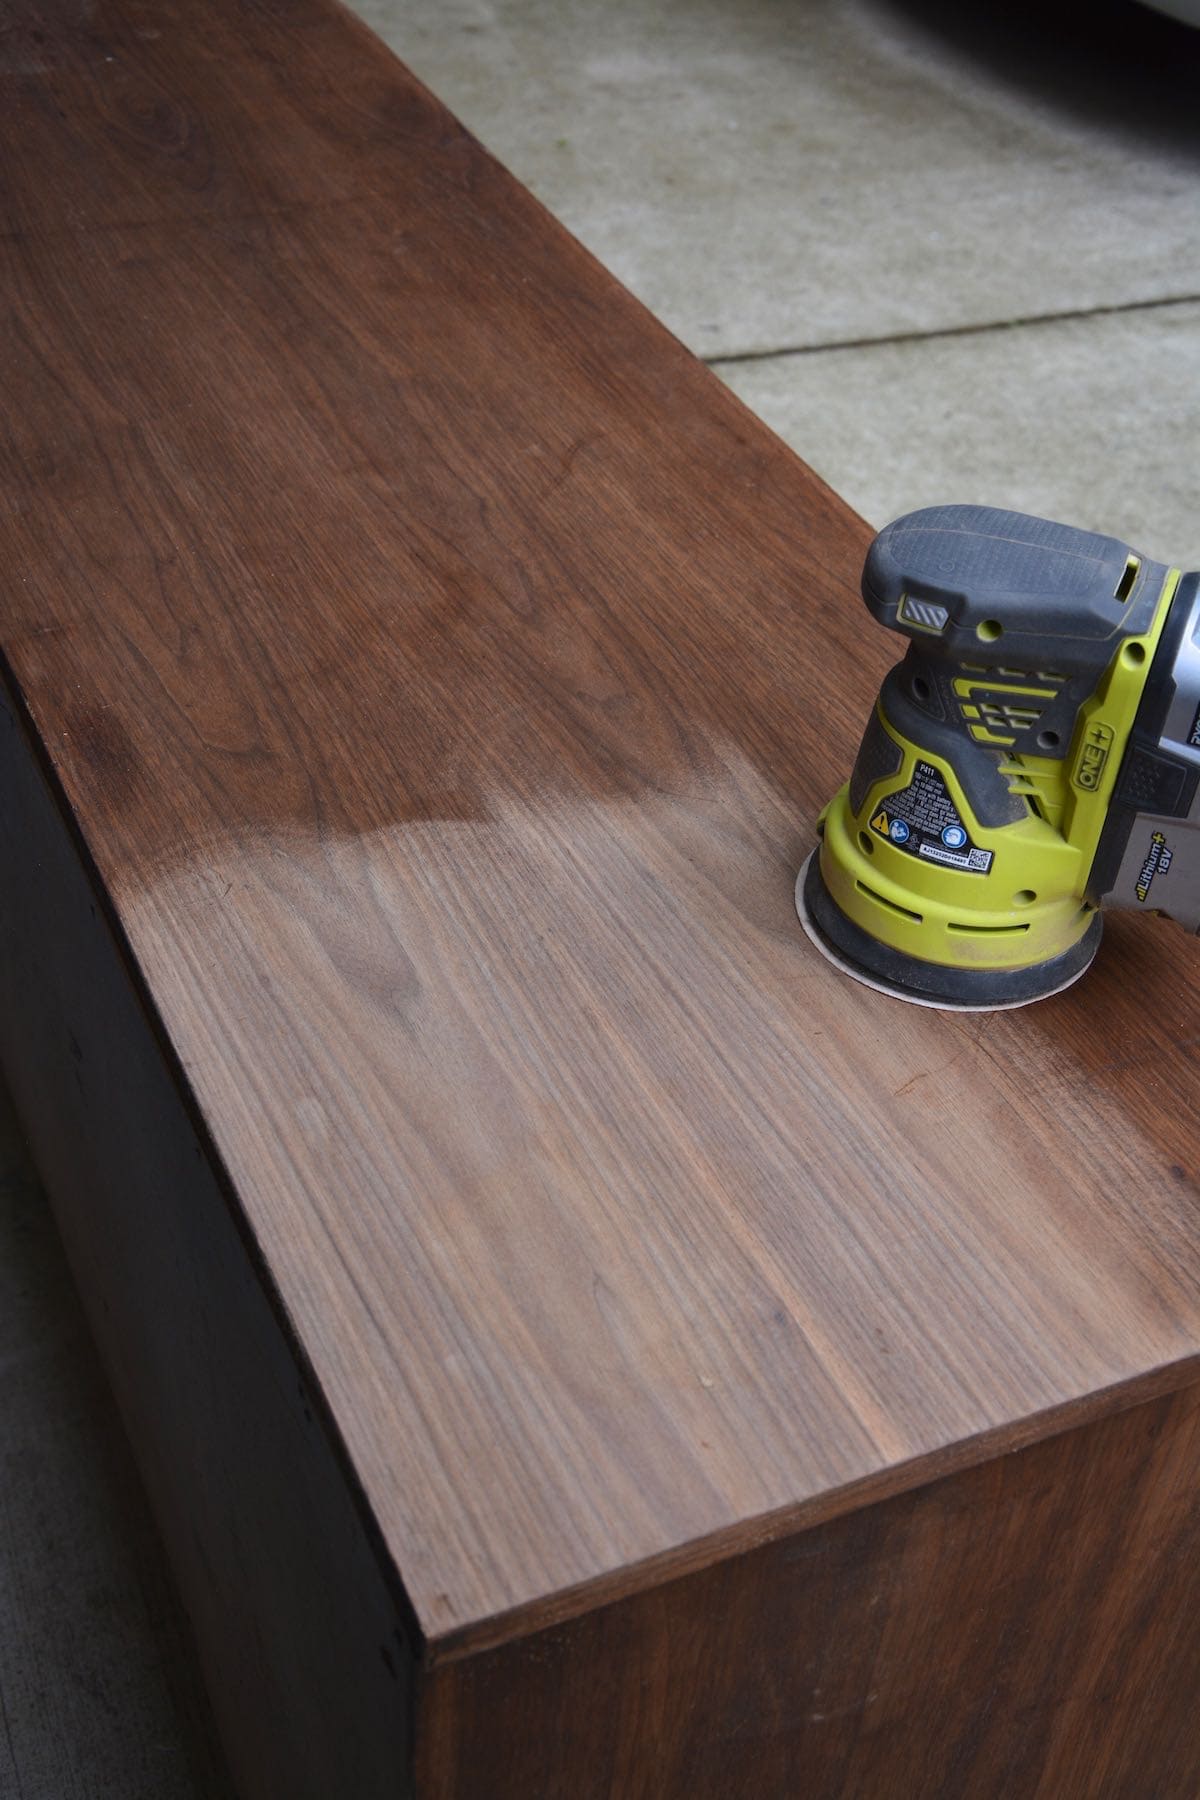
But according to Gary, if you spend more time upfront allowing the stripper to do its job, and using steel wool along with the stripper, you’re more likely to remove more of the stain and finish and may only need to a light sanding (instead of what I usually use, an orbital sander).
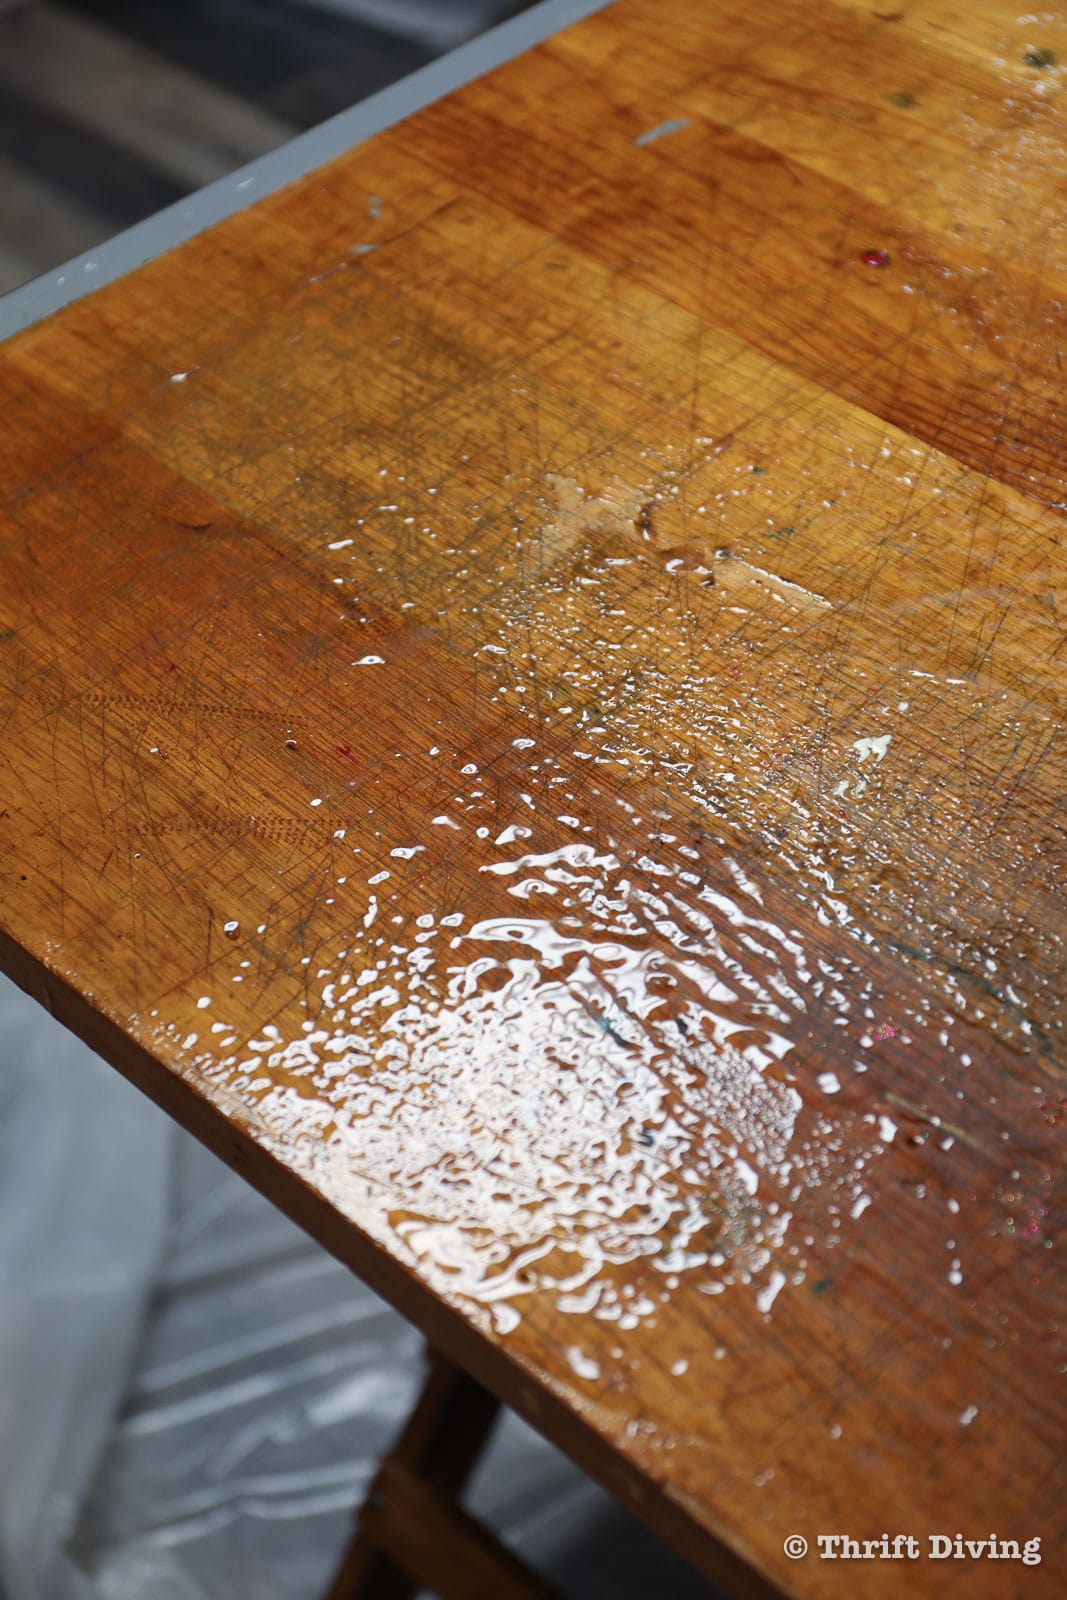
He also points out that most strippers have water added to them. Well, when you add water to wood, it can raise the grain. When you run your hand over the bare, stripped wood, you’ll feel the rough, “furry” texture of the wood. That’s the grain that has been raised.
Sanding helps to knock down those fibers, returning the grain to a a smooth surface again. (Red oak tends to be one of those woods that definitely experience a raised grain after water touches the surface).
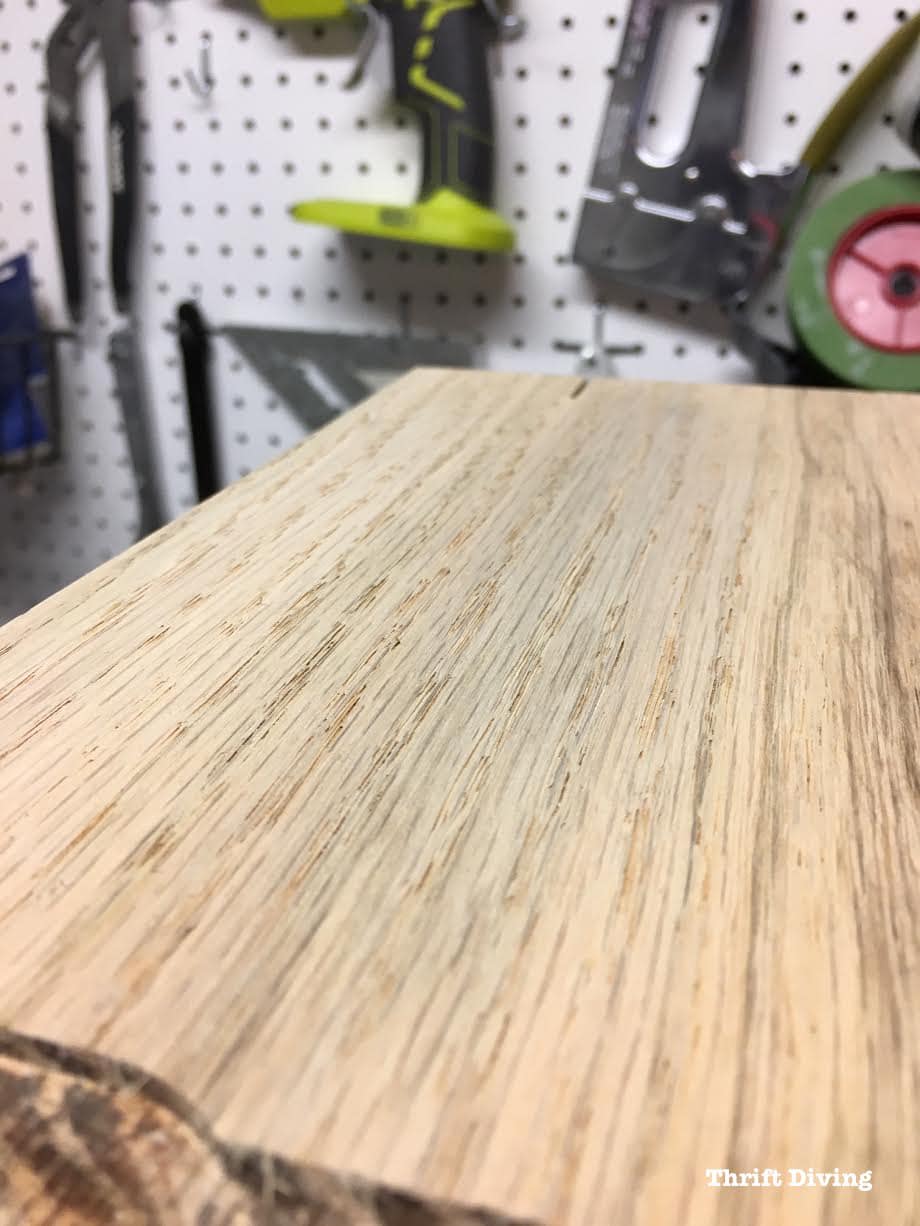
With QCS finish remover, Gary claims there is no water in the mixture, so the grain isn’t raised on wood that has been stripped with QCS. Therefore, there may be no need for sanding at all. At minimum, a very fine quick sanding, but nothing extensive.
Lastly, sanding the wood of furniture after you’ve stripped it removes layers of wood. The more wood you remove, the less wood that is available for future stripping and staining. Especially on veneers. Veneer is very thin, only millimeters thick. Once sanded, there’s not much veneer left if that piece of furniture will need future furniture restoration.
BOTTOM LINE: Spend more time up front with letting the stripper do all of the work to remove the layers of stain and top coat. The more the stripper works, the less sanding you’ll need to do to “clean up” the wood, which saves more of the wood for future makeovers!
TIP #6 – Save Time by Letting the Stripper Work
When doing furniture makeovers and refinishing, it’s easy to want to move forward quickly on the project. Especially if you don’t have much time.
But the quicker you apply stripper and attempt to remove it quickly, you’ll put in a lot of extra work that you won’t necessarily need to.
Instead, Gary advices that with his QCS vintage finish remover, simply spray it on in a fine mist to allow it to grab onto the furniture, allow it to sit for an hour or more (it won’t dry out), come back and spray a little more on, allowing it to work even further, and keep checking in on it.
In fact, you can use that time while the stripper is softening the old finish to work on another project.
You can even spray it on the night before, let it sit in the garage or even indoors (open a window or use a fan for ventilation), and the following day, it will be ready to strip!
The more time you allow it to work, the less work you’ll need to do to remove the existing finish!
TIP: Don’t use Saran Wrap over your stripper to prevent it from drying out. Doing so could create permanent discoloration in the wood! Instead, use QCS, which won’t dry out.
TIP #7 – Use Steel Wool to Remove Old Finish
I’ve always stripped furniture by scraping it off. Usually with a metal paint scraper. But there is a risk in that, because it can gouge the wood. I have gotten great results.
But I love Gary’s suggestion to use steel wool instead.
He suggests keeping a small amount of QCS at hand and dipping the steel wool into the QCS and then using the wet steel wool over the loosened up finish to remove it.
I have never tried this, so I am super excited to try it! And because QCS doesn’t create a lot of wasted product (the way gel strippers get “gunky”), it should be easier to strip the furniture.
TIP #9 – Use These Products for Great Finishing Results!
I love to get recommendations for “new” products to add to my DIY toolbox. Gary shared some of his furniture refinishing favorites!
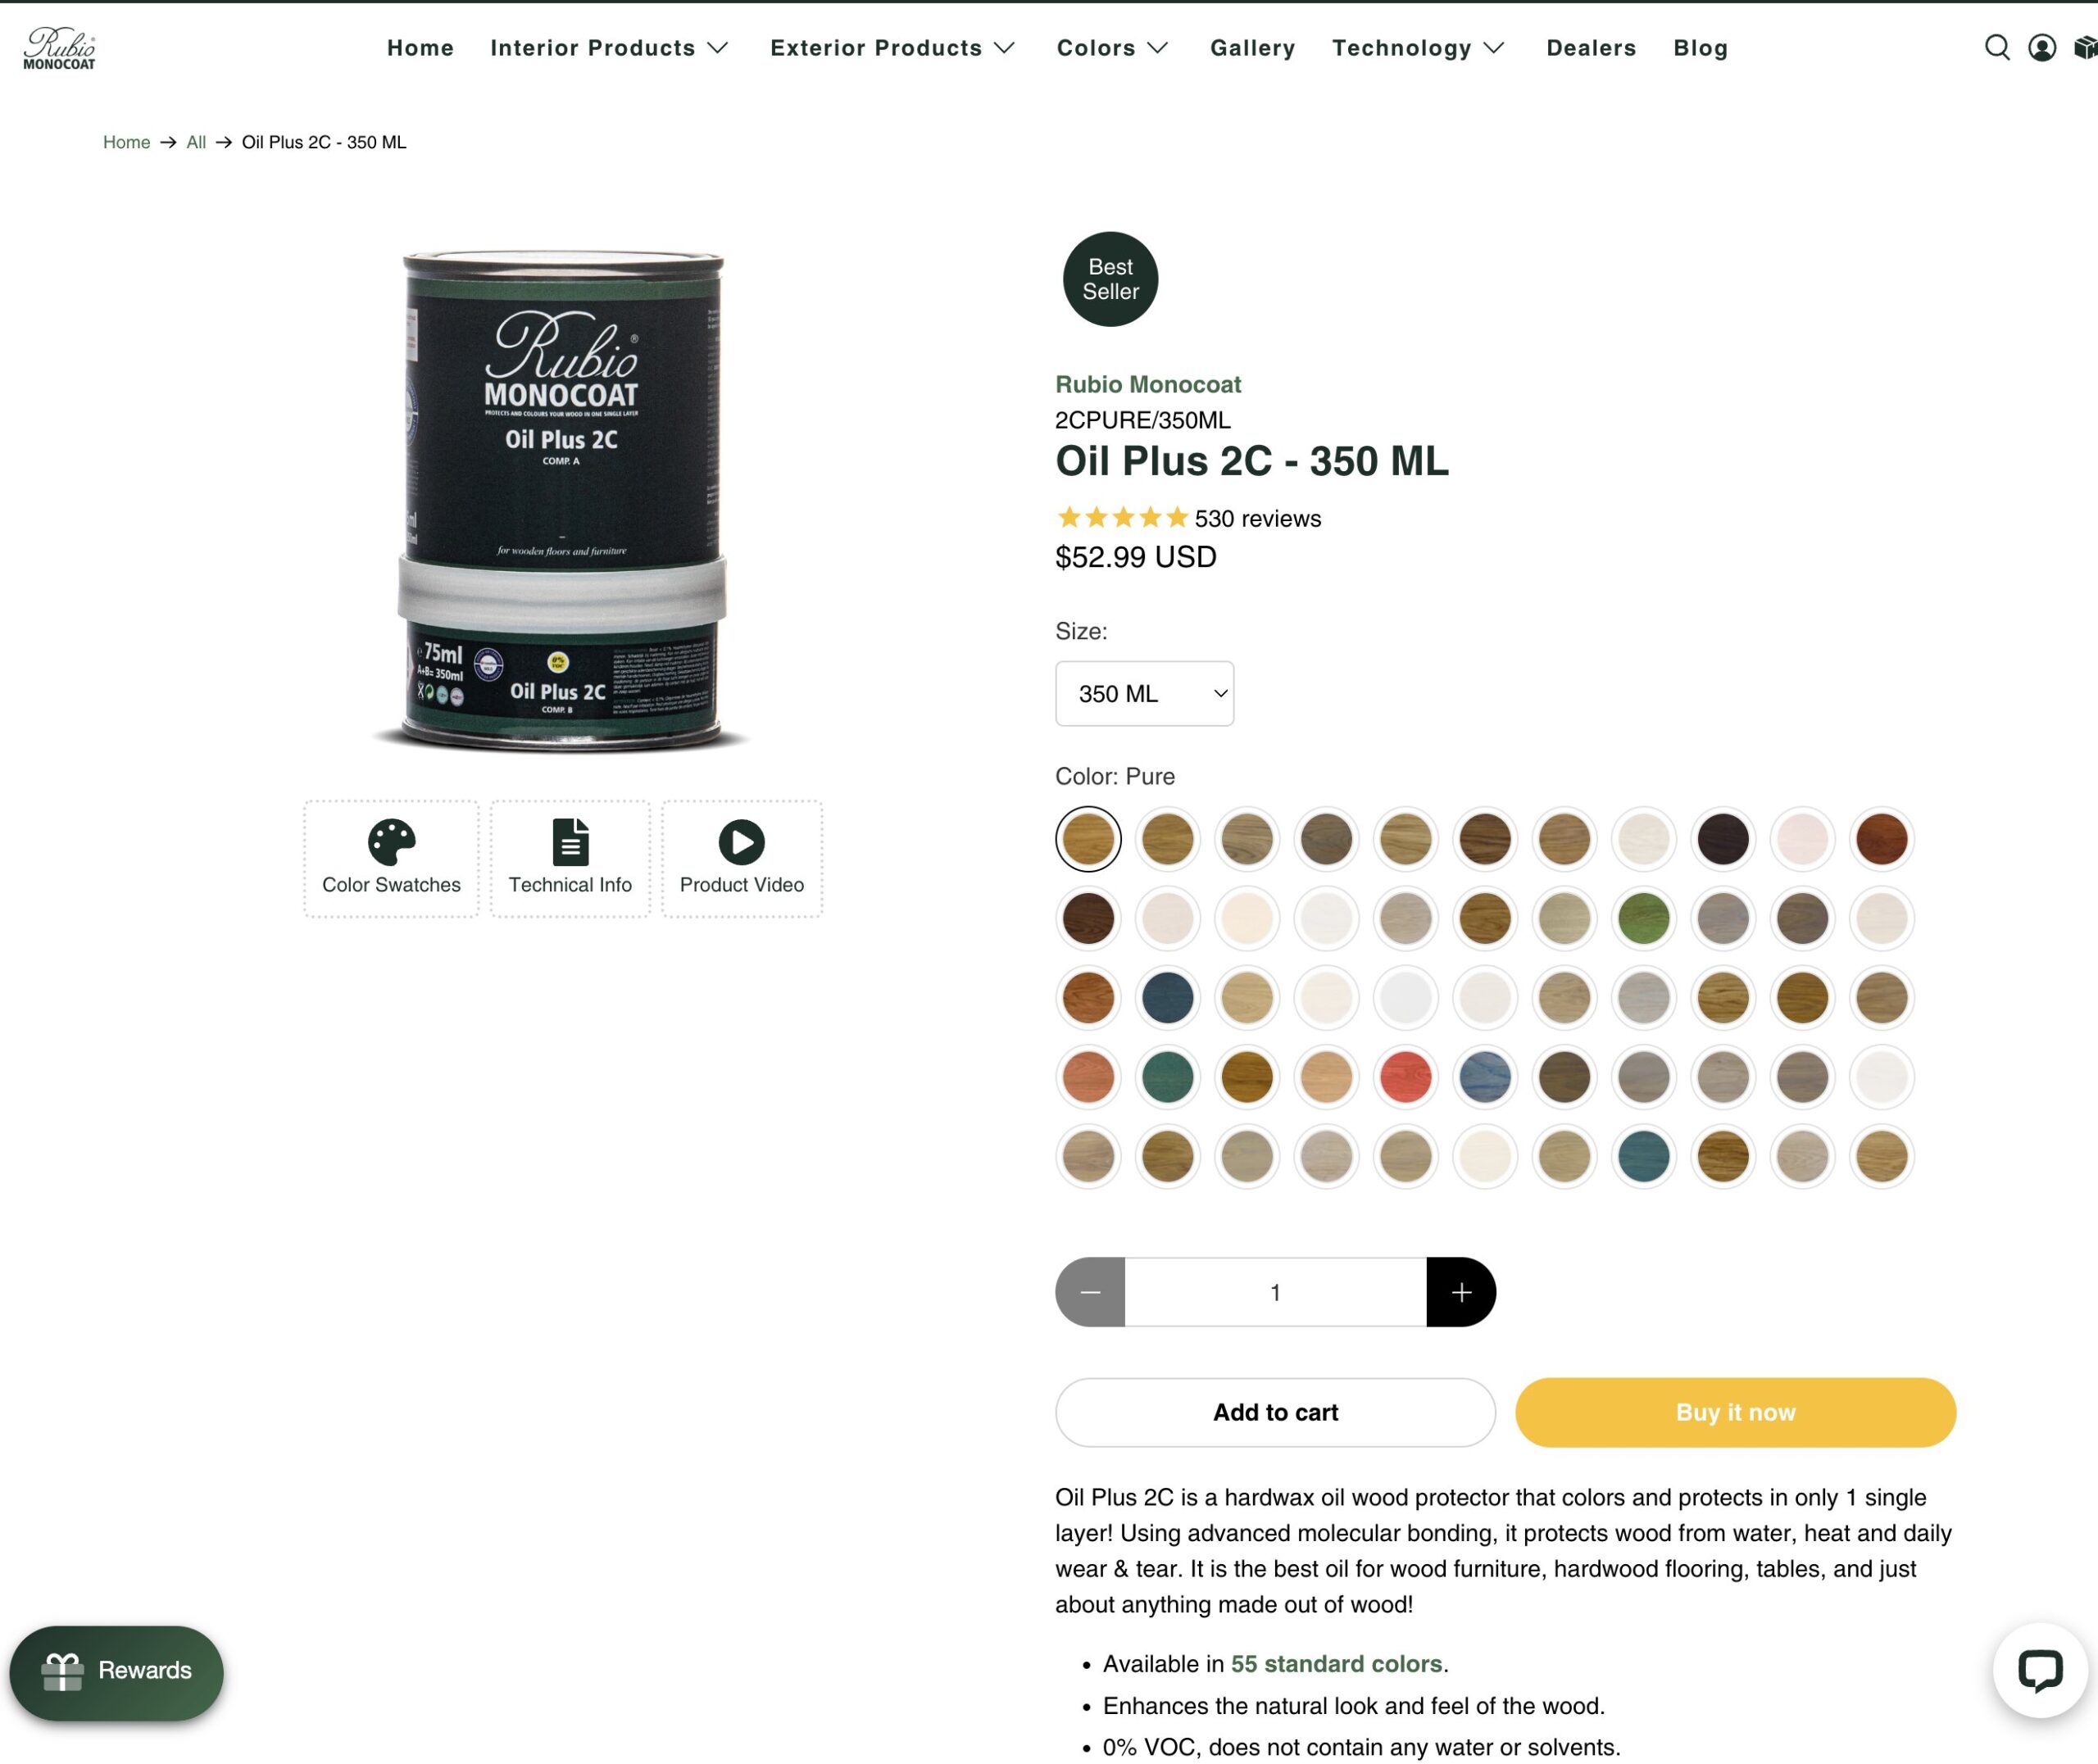
- Rubio Monocoat – This one-step oil has 0% VOC that will give you a raw, “unfinished” sheen to your furniture, but it will actually protect the wood, without changing the look of the wood very much.
- Waterlox oil finish – Waterlox will create a sheen to give furniture a more finished look. It’s a hybrid tung oil that becomes one continuous layer that you can build on. It leaves a glow that won’t look over-finished. It can be brushed on and even sprayed on.
TIP #10 – Every Furniture Polish Isn’t Created Equal
Some furniture polishes have silicone, such as Pledge. Any bare wood that Pledge or a silicone polish seeps into will create a problem with refinishing later.
Even another popular product, Restore-a-finish by Howard, can be used too much, or used on a piece of furniture that it should be used on, for the same reason: it can get into the wood and stain it, creating a problem with refinishing later.
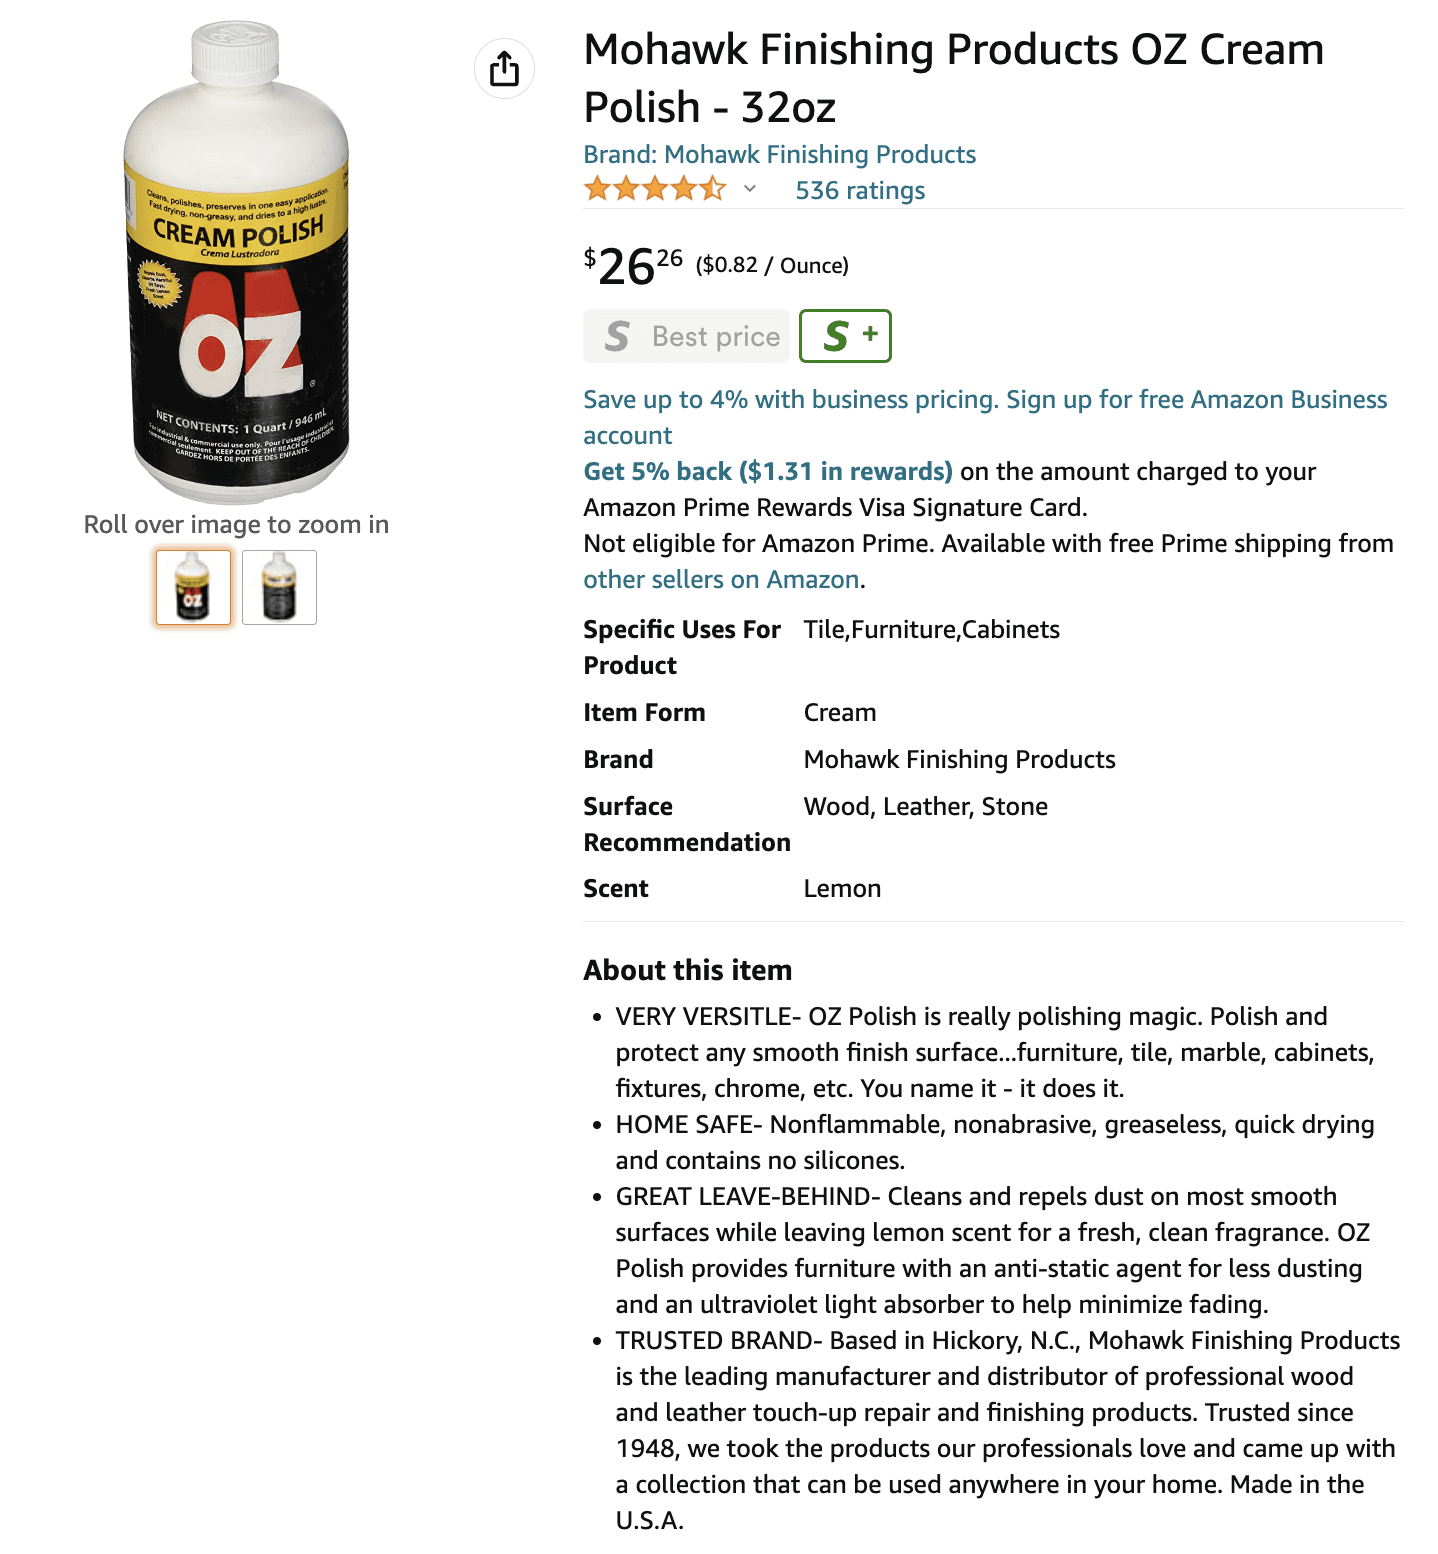
One product that Gary loves is called OZ Polish by Mohawk. They make an aerosol and a liquid version, is easy furniture polish to use, and will freshen up your furniture, give it a lift, but it doesn’t harm the wood.
TIP #11 – Don’t Be Afraid to Mess Up. Even Professionals Do!
Furniture refinishing can be challenging. Especially if you’re trying to match a piece of furniture, such as a table, to a set of chairs. No two projects are exactly the same, either, so that each project is like a puzzle.
Because no two projects are ever exactly the same, some DIYers can be intimidated to refinish or restore pieces of furniture, especially valuable pieces that are family heirlooms!
A wise piece of advice would be to start small on a piece of furniture from the thrift store. Work on a piece that will cause you absolutely no stress if something goes wrong, as you’re learning. Once you’ve done a few pieces with good results, then you can move on to pieces of furniture that are more valuable to you.
Even with valuable pieces, you might make a mistake. Even the professionals do. But it’s okay to start over, to re-strip a table that you didn’t like the color of, or maybe the new color doesn’t match well to the other pieces of furniture in the collection.
Don’t be afraid to start for fear of messing up. Just keep learning how to fix your mistakes.
TIP #12 – Always Look for Professional Furniture Restorers Who Specialize
If you’re feeling uneasy about tackling a family heirloom or something valuable and you want to hire a professional furniture restoration company, definitely look for someone who specializes.
For example, Gary specializes in Scandinavian furniture. He’s created a reputation for doing an awesome job with these pieces, which he loves because of their clean lines. If you had a piece of Scandinavian furniture that you wanted restored, he’s your guy.
But if Grandma Betty’s ornate piece of furniture has lots of nooks and crannies, don’t hire a furniture restorer who has never restored a piece of furniture with nooks and crannies.
Interview them just as you would if you were hiring them for a job, because essentially, that’s exactly what you’re doing.
Ask for references. Get some “before” and “after” pictures of their previous restoration projects. Follow them on social media to see what they’re restoring. Ask them if they specialize in something and don’t hire the a “jack of all trades.”
And don’t let cost be the determining factor for who you hire. Yes, you want someone who is affordable, but if they’re the absolute least affordable, why are they so much less than everyone else? It’s true what they say: you get what you pay for.
TIP #13 – Let the Old Paint or Stain Dry Before Throwing it Away
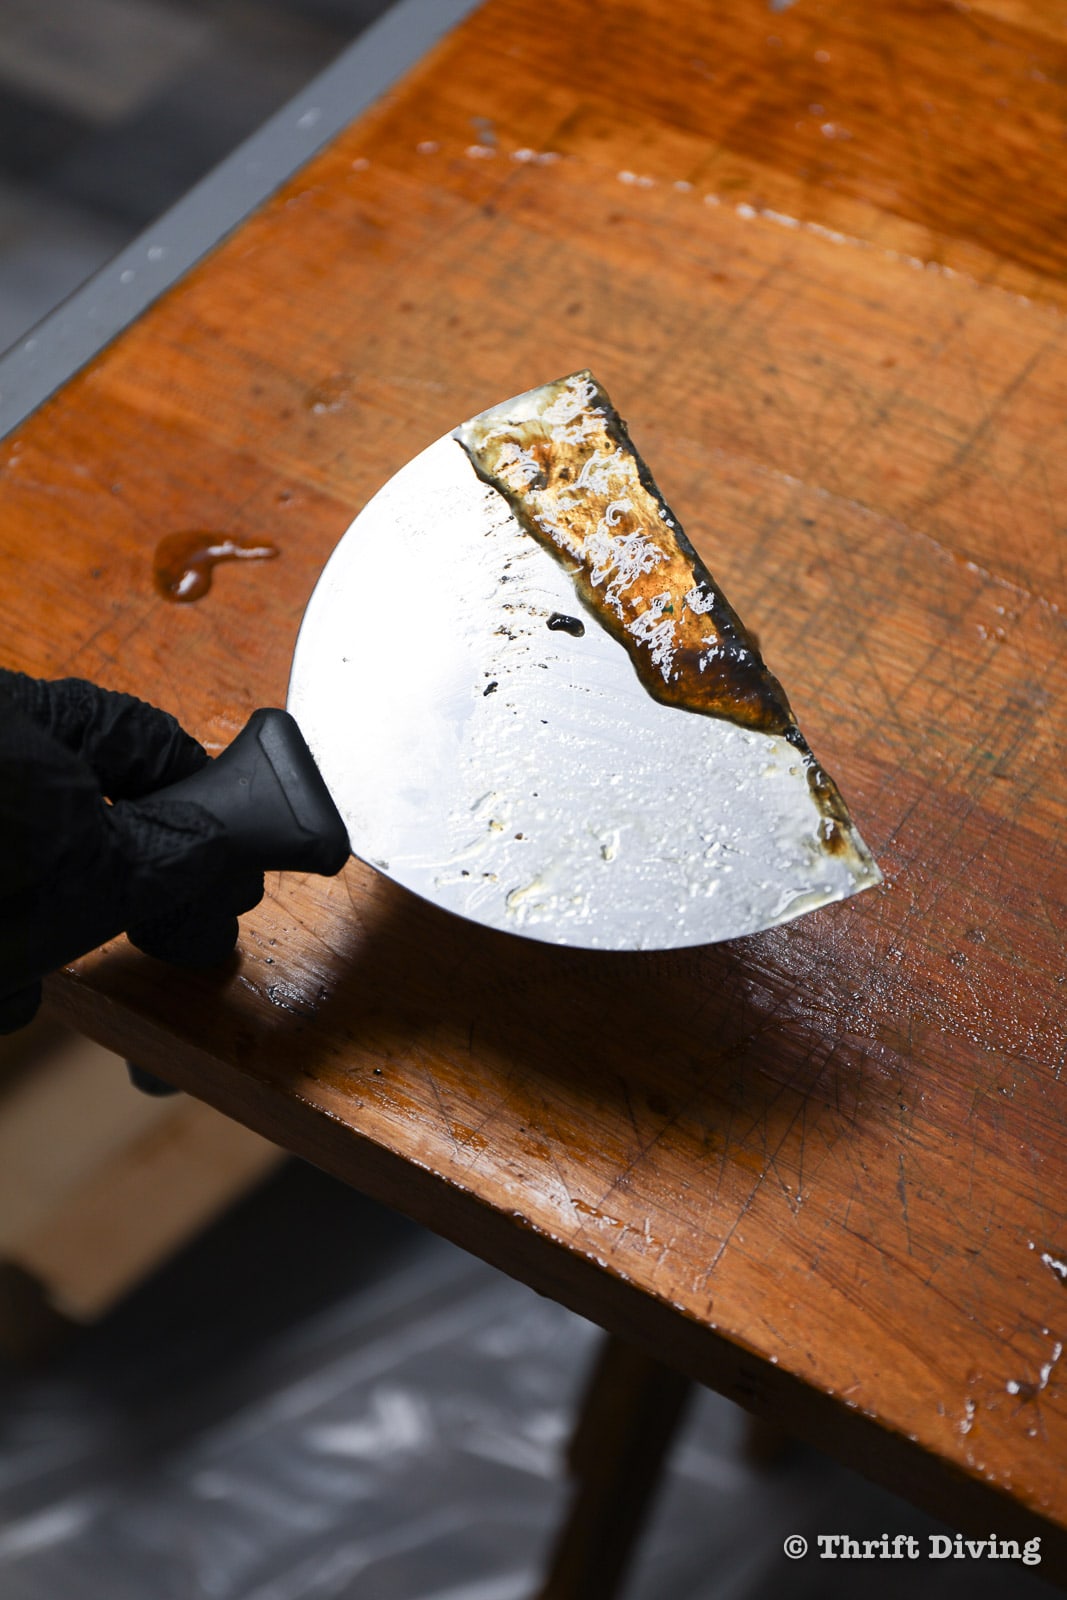
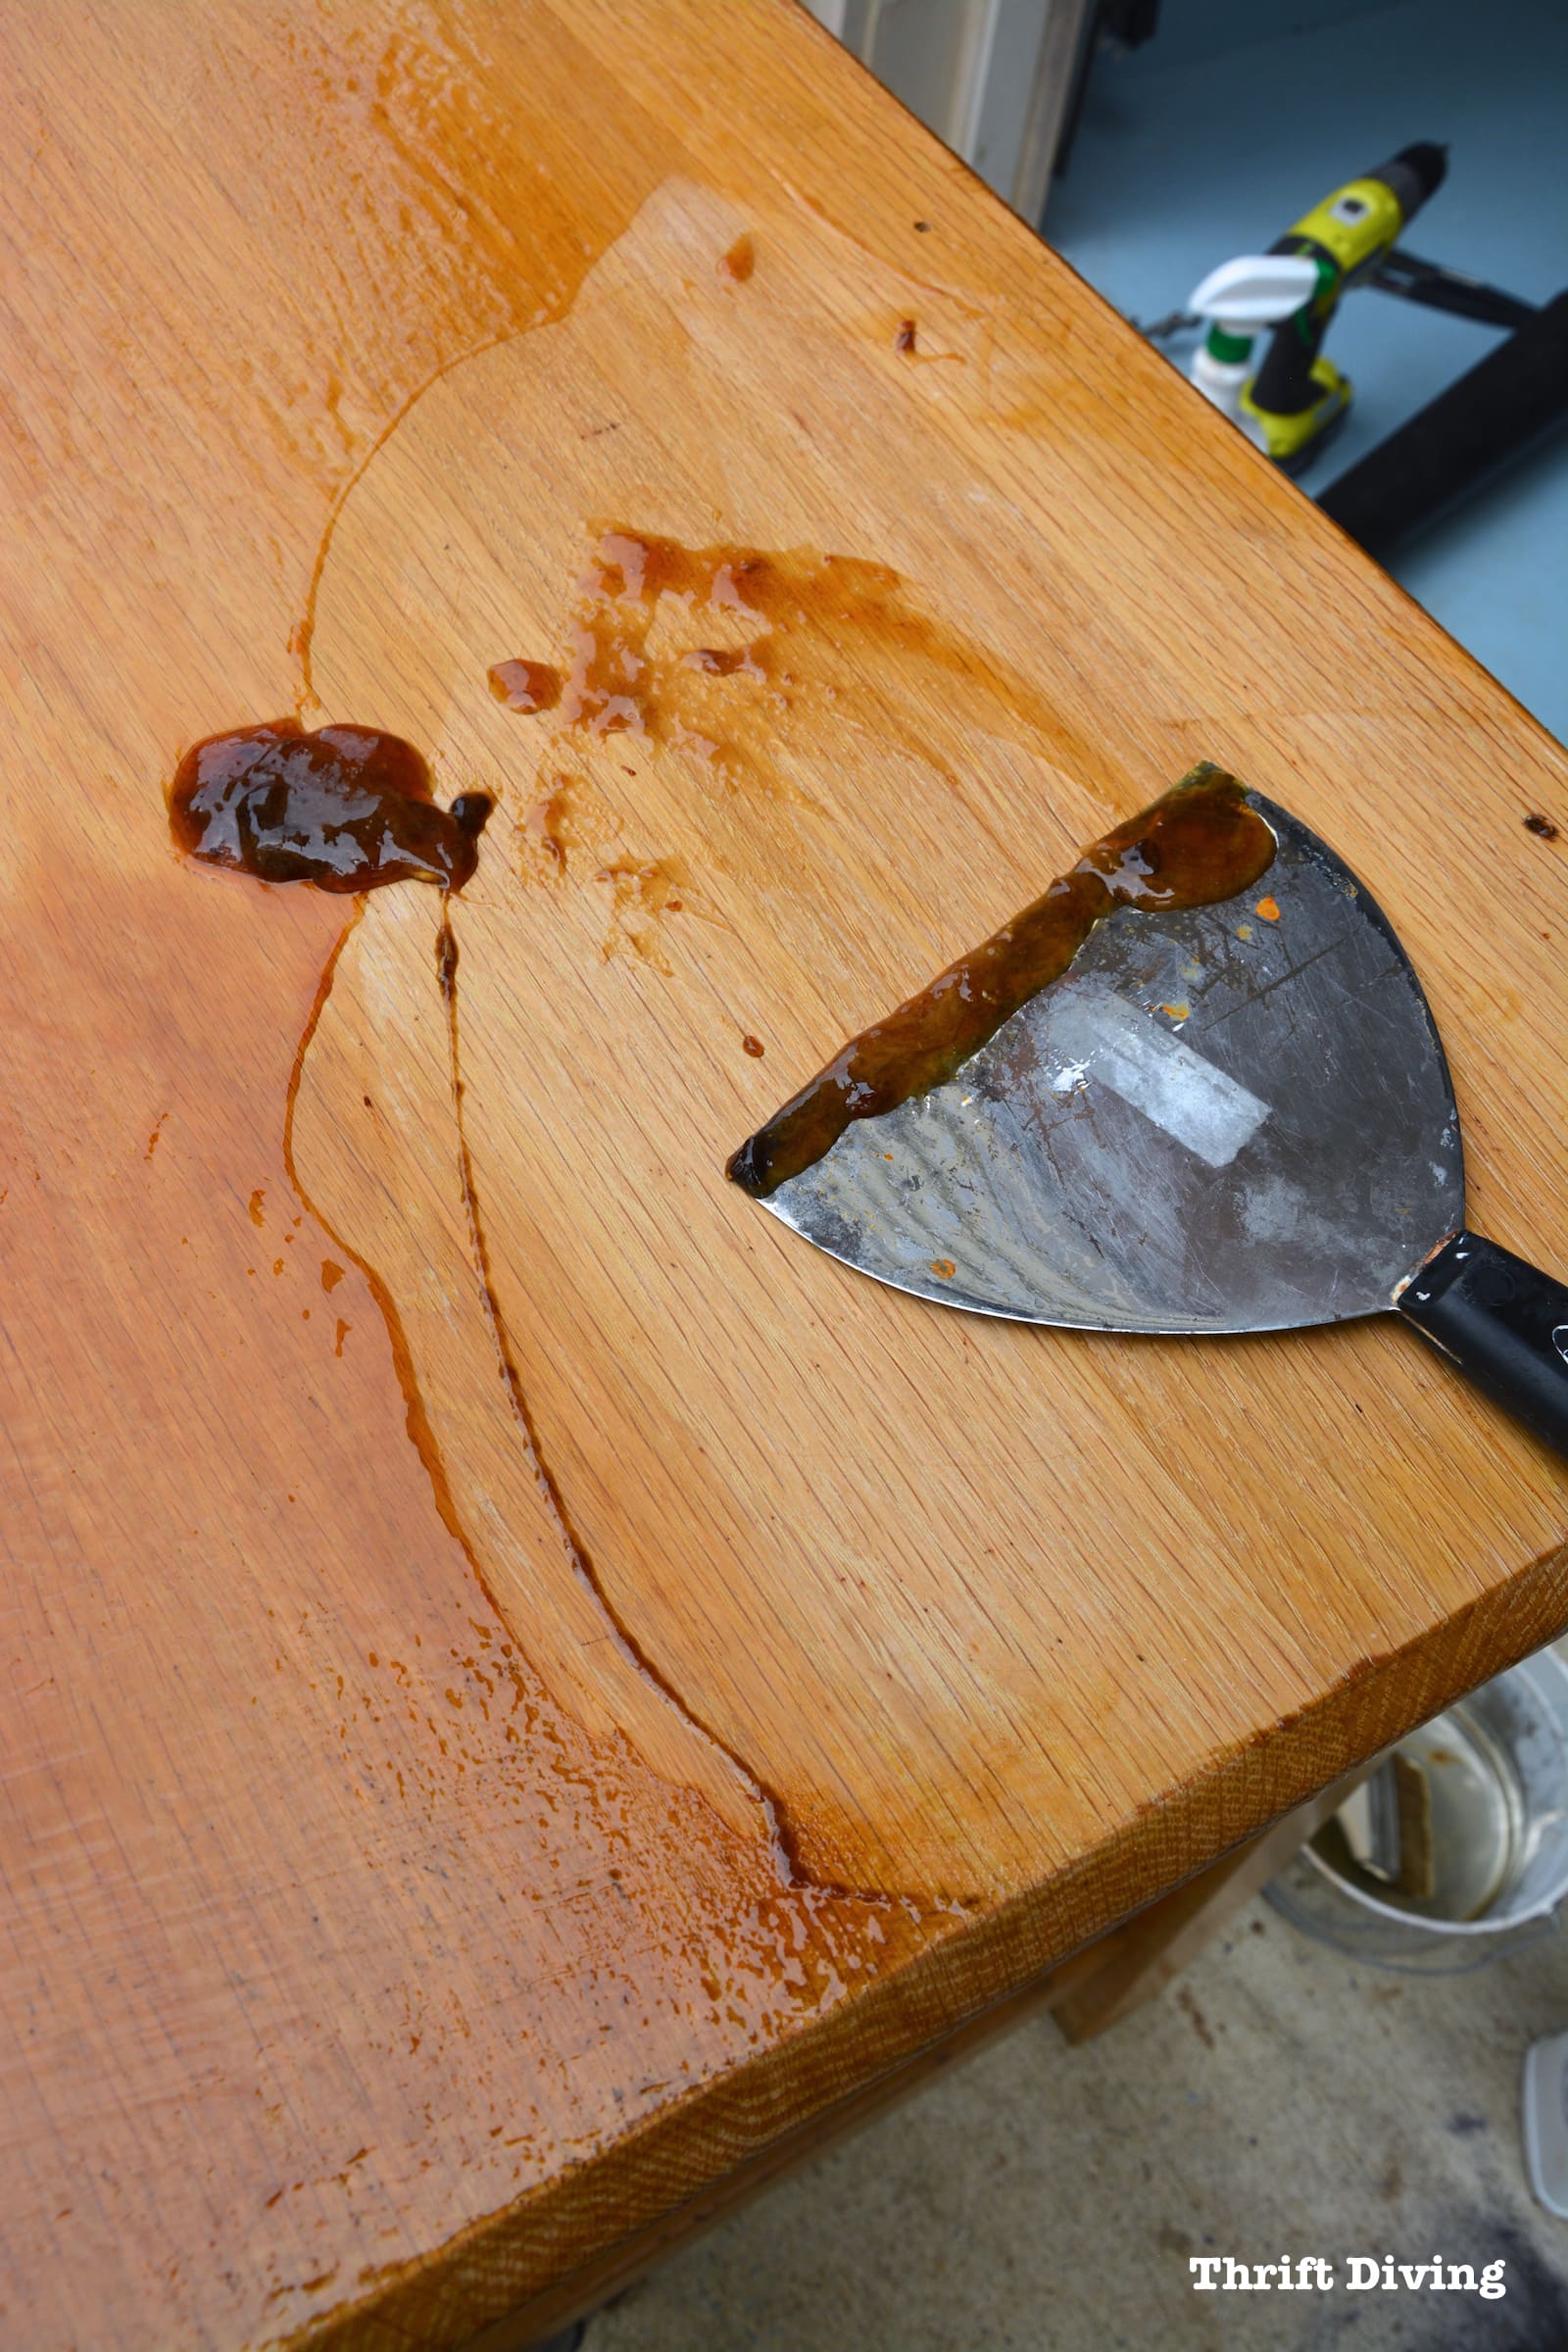
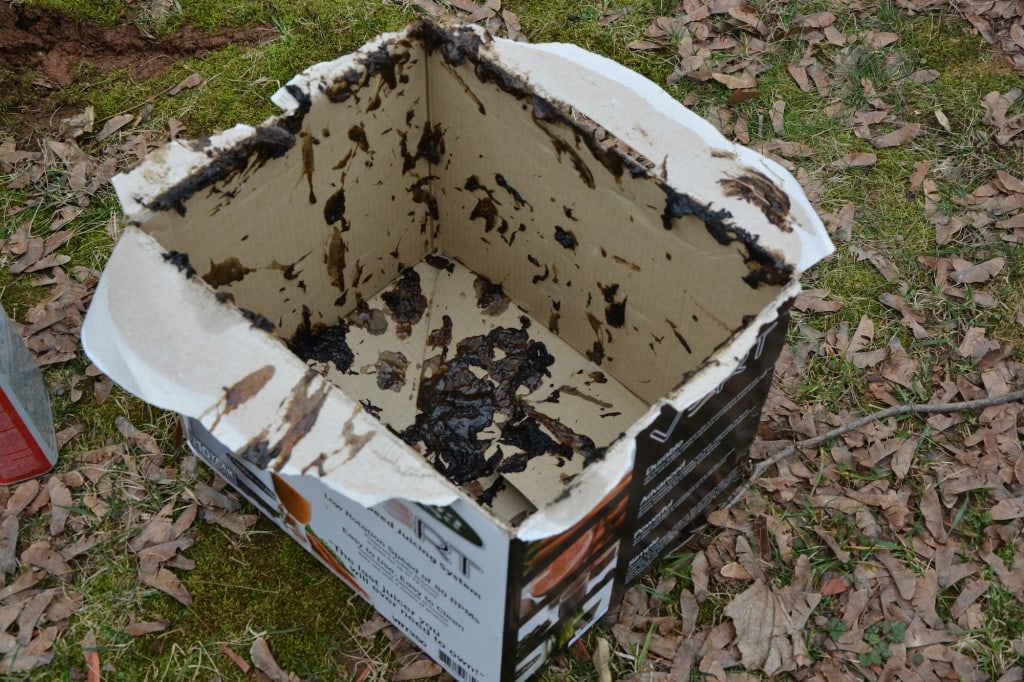
When I used to use traditional furniture strippers, they created such a huge mess! I’d use an old box or milk container to discard all the gunk from the furniture I was stripping.
And because the strippers were so thick, it always made the job feel much messier than it really needed to be, as you can see below.
That discarded material had to go somewhere.
You should check with your county, because wet material such as this will need to be disposed of properly, such as your local recycling center.
But if it dries out, then you can likely toss it in the trash. Just be sure to check with your county on what’s considered proper disposal.
Just Have Fun With Furniture Restoration!
There are always tips and tricks you can learn when restoring furniture. But at some point you have to put all of those things to use and dive into your first project if you’re a newbie. If you’ve got some experience already, hopefully this blog post will had a few more products, such as QCS, to your arsenal of DIY tools to help you create the beautiful furniture in a safe and effective way.
Be sure to check out these other posts for more info on furniture refinishing!
- How to Paint Furniture and Reupholster Your First Project!
- 10 Upholstery Tips that Beginners Don’t Know
- BEFORE & AFTER: My China Cabinet Makeover

Love this post? Click here to save this on Pinterest!
![]()

Download the 5 freebies!

Thrift Diving inspires women to decorate, improve, and maintain their home themselves...using paint, power tools, and thrift stores! Use these 5 printables, checklists, and ebooks to get started!


Serena….my solid wood front door needs a refreshing…can I just lightly sand and recover with a gell stain? Ann
Hi Ann! I would say yes. You’d want to make sure you use a good exterior top coat to protect it, though, since it’s your front door. Gel stains usually do well over previously finished wood because it goes on thicker and is more forgiving. Good luck! 🙂
Hi Serena.
I was so excited about QCS as I had just bought 4 1970’s orangey 🙁 chairs and am looking at stripping them. Unfortunately I could not find a QCS supplier in South Africa.
Just love watching you doing DIY’s and thank you for sharing tips and information so generously.
With love from Cape Town ⚘
Hi Zaeemah! Awww, I don’t think Gary ships internationally yet! Hopefully soon, though. I’m excited to try QCS on an old oak sewing table. I’ll keep you posted on how it works for me. 🙂 Thanks for the wonderful feedback! And I wish I could come visit you in Cape Town. I’m sure it’s beautiful there!
Very thorough and helpful article — thank you!
Thank you, Elle! Glad you found it helpful! 🙂