
BEFORE & AFTER: Pretty Entryway REFRESH Makeover!
This entryway makeover is brought to you by CIGMAN.
My latest “before & after” entryway makeover got me thinking about something…
When we think about “relationships,” we think about the relationship we have with people. But there is another relationship that exists that we don’t often think about:
The relationship we have with our home.
When you walk into your entryway, what do you feel? Does it feel like walking into an oasis, or does it feel like walking into a stress-induced hurricane, with stuff everywhere?
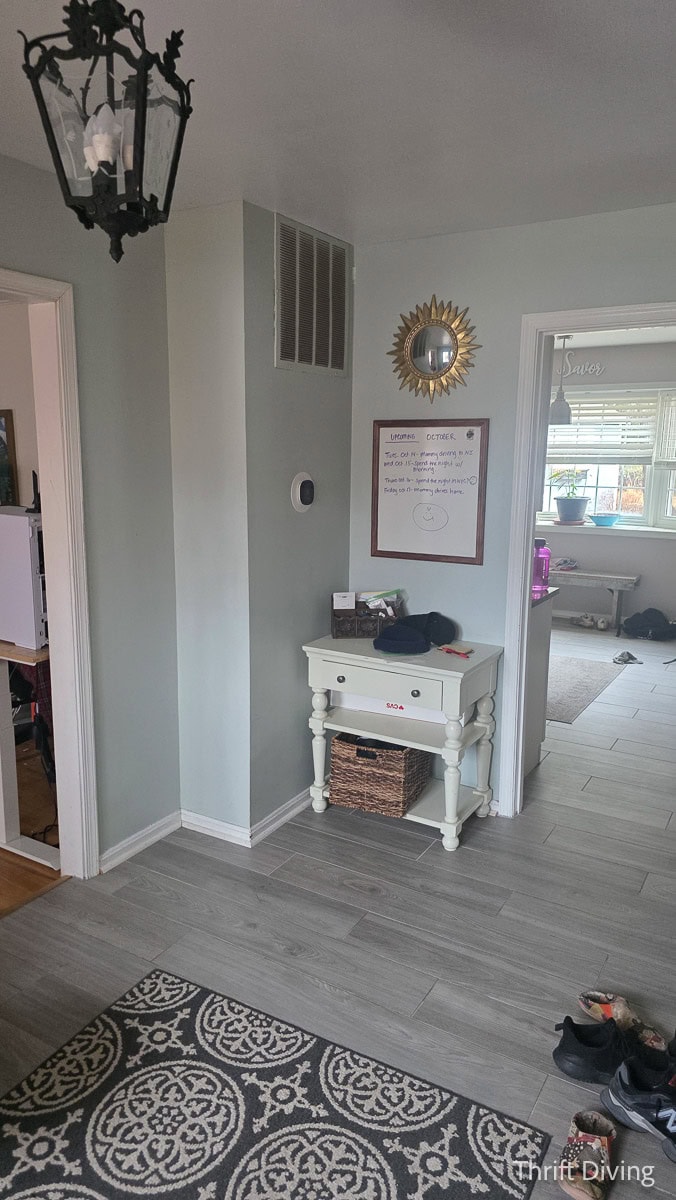
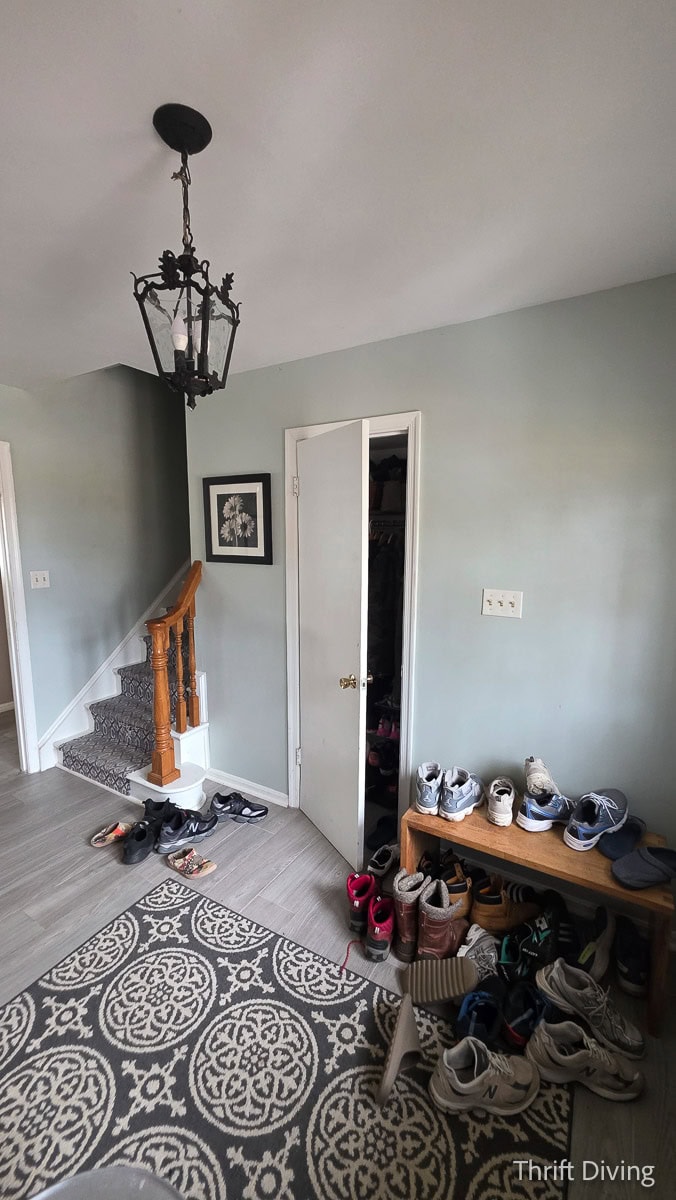
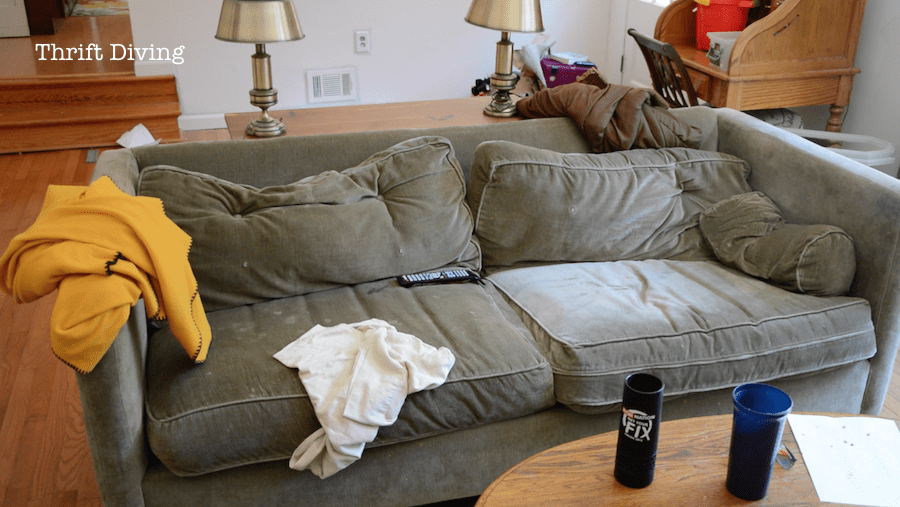
For me, when I walked into my house, it caused an immediate stress response. I couldn’t overlook the piles of discarded shoes, the dirty entryway rug, the worn DIY stairs runner, and the boring monochromatic color-scheme that I unintentionally created over the years.
This year I decided to stop neglecting my house and stop accepting the love-hate relationship I’ve had with it since we bought it in 2010.
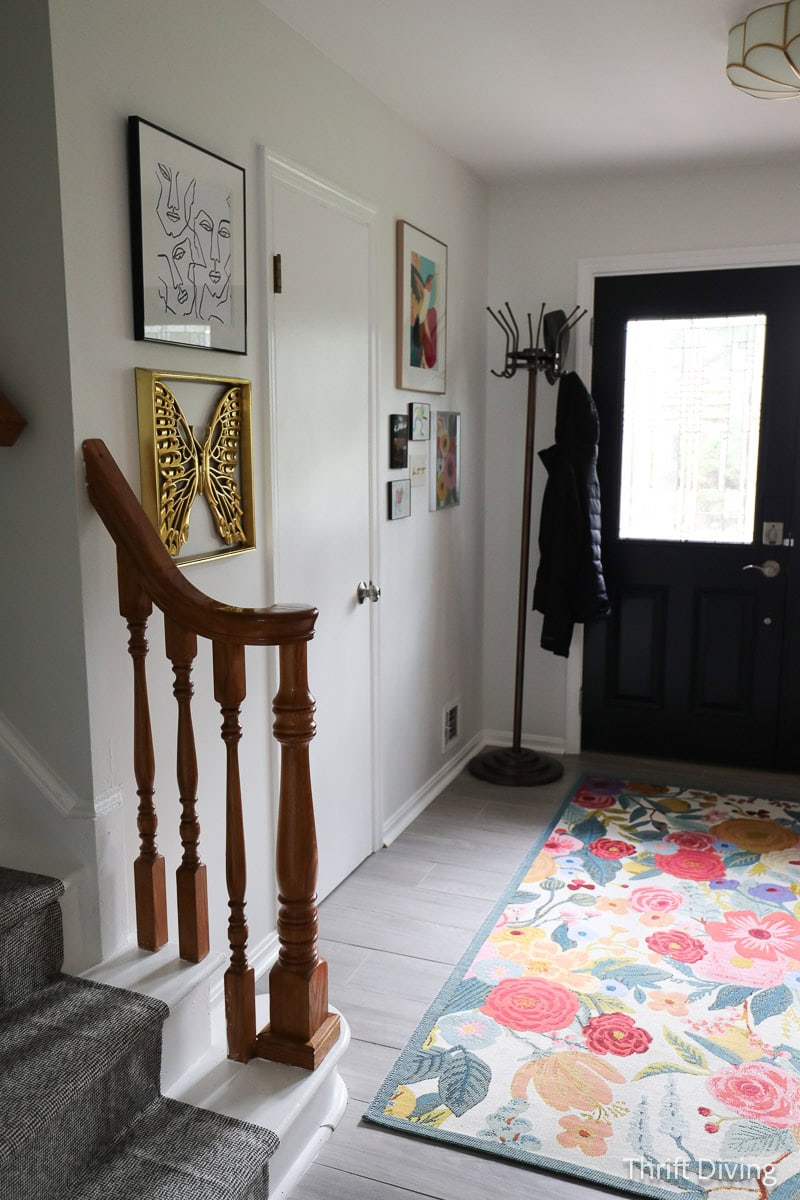
I would start with a foyer makeover because it was the first touch-point when coming home. I wanted it to be clean, with pops of color, and represent the present-day “me,” not the version of myself from years past.
This is what my entryway looked like before my entryway makeover:
BEFORE
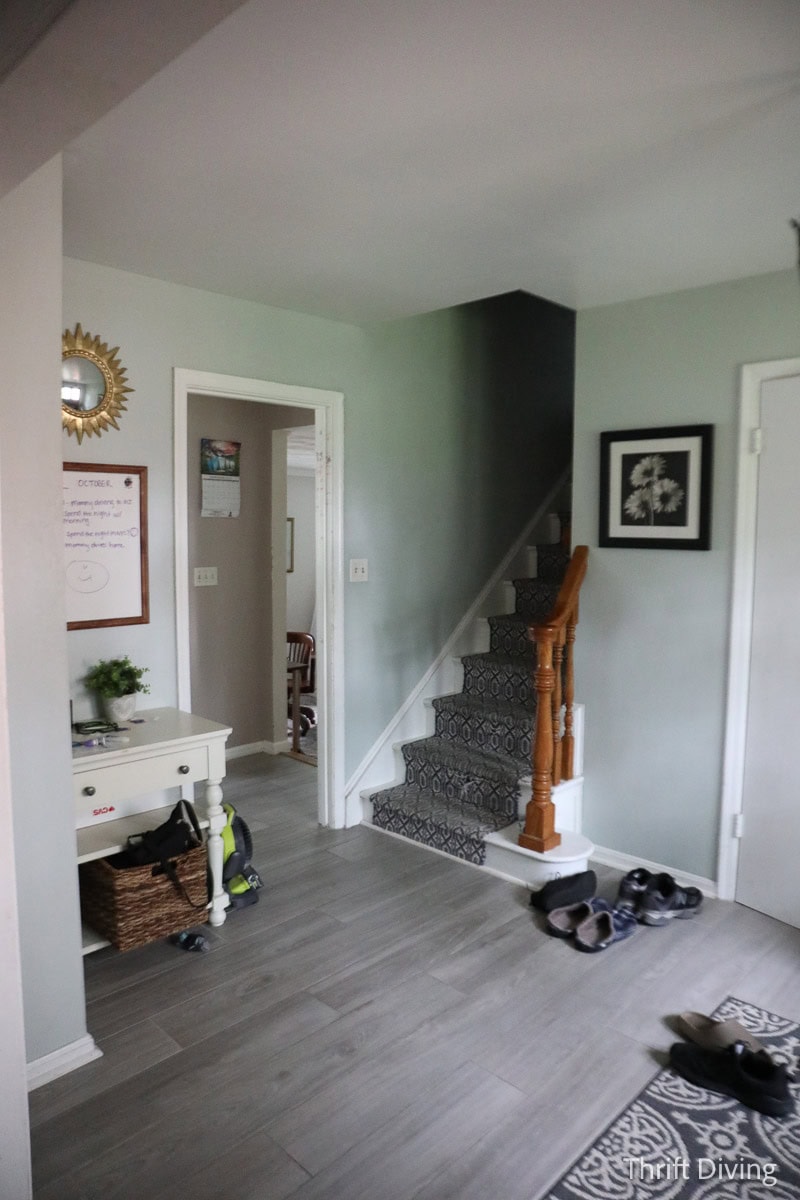
And while it’s not a dramatic makeover, it’s a makeover that feels lighter, cleaner, and more in line with who I feel like I am now. As I get older (at the age of 48) I want simplicity. White walls feel simplistic. Pops of color feel simplistic and happy. Displaying art on my walls that I created 40 years ago feels authentic. I want to keep leaning into what makes me happy. This entryway makes me happy!
AFTER!
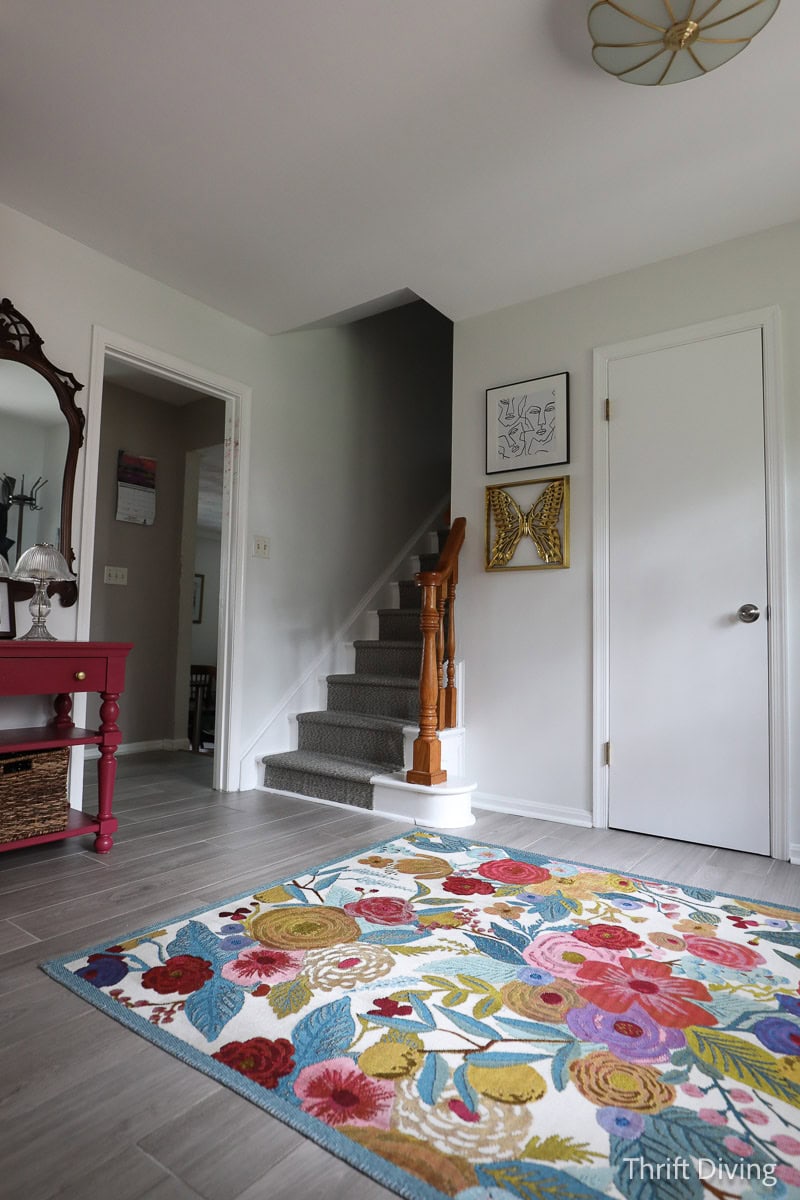
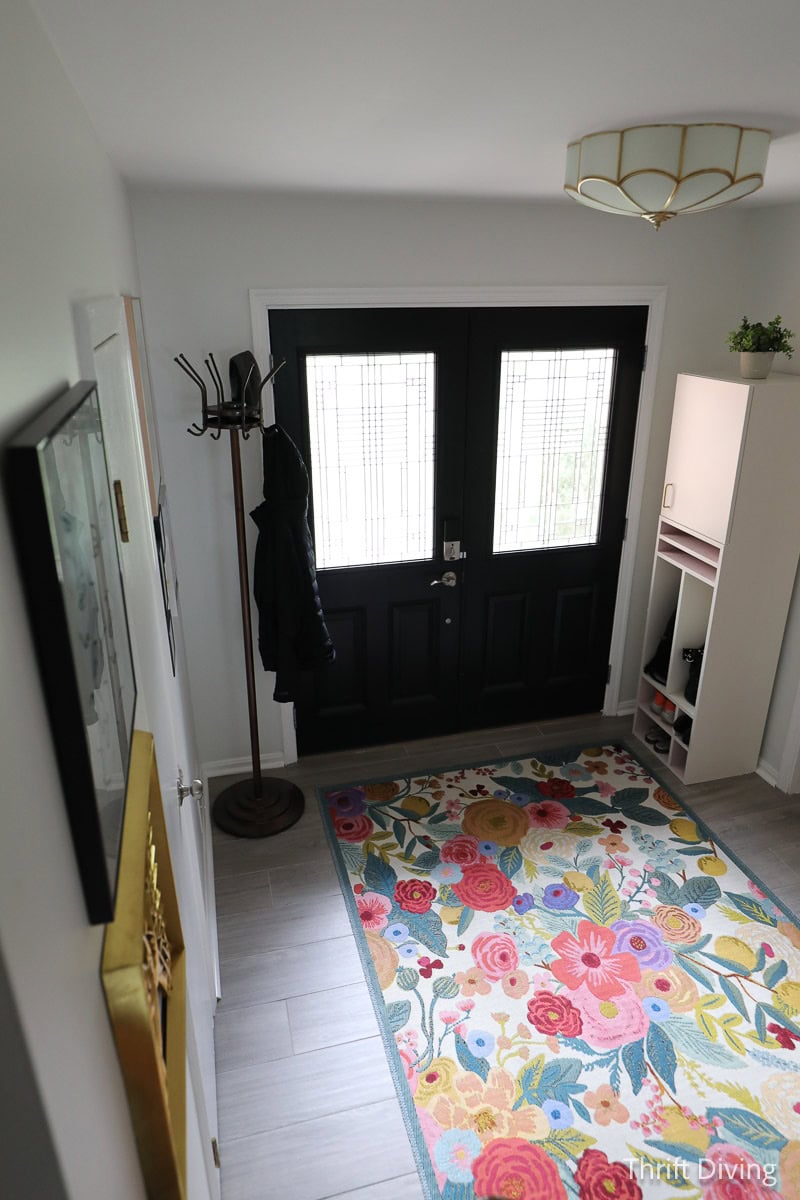
Now it feels more alive instead of a dingy monochromatic after-thought. Let me share with you the minor refreshing touches I did to create something that feels more fresh!
TOOLS & MATERIALS
I love makeovers like my entryway–there isn’t a lot that’s needed other than paint, a colorful rug, and a few tools and materials to make it feel lighter. Here’s what I used:
- Sherwin Williams Pure White
- Sherwin Williams Juneberry
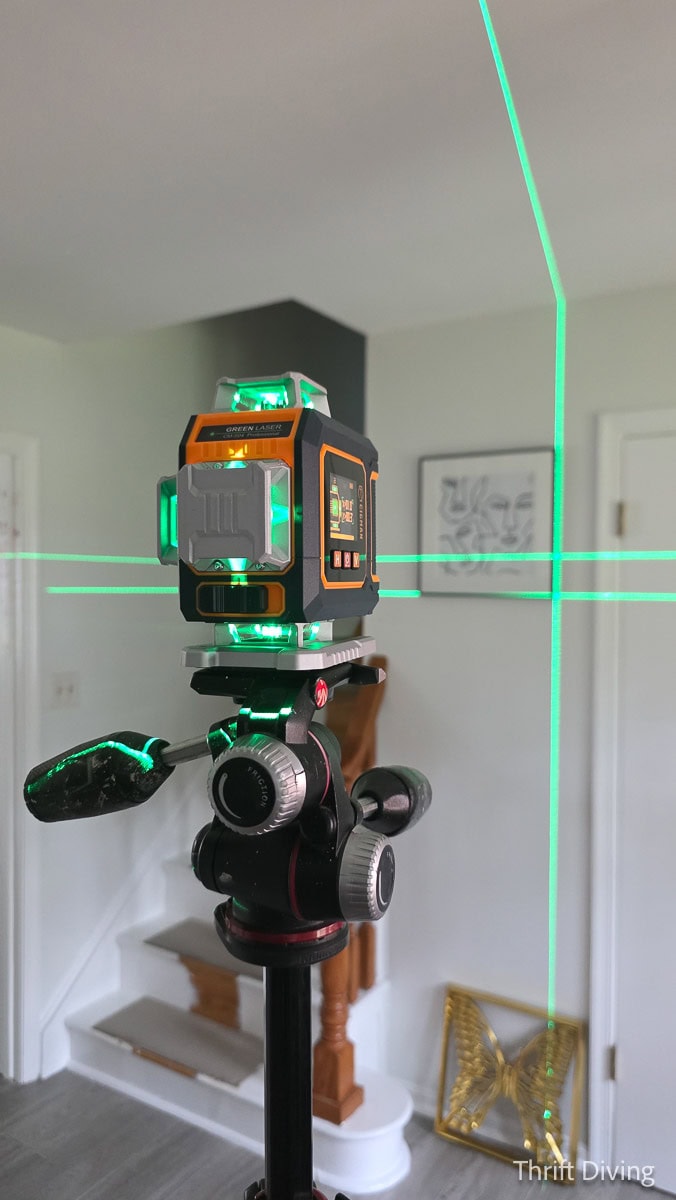
- CIGMAN SM-C04 laser level
- Arrow Tool Group hand tools (e.g. hammer, screwdriver, tape measure, etc.)
- Etsy artwork
- Rifle Paper floral rug
- Vintage picture frames
- BB Frosch paint transformer/additive
- Floral-shaped entryway light
- Thrifted cabinet
- Upholstery stapler w/ air compressor
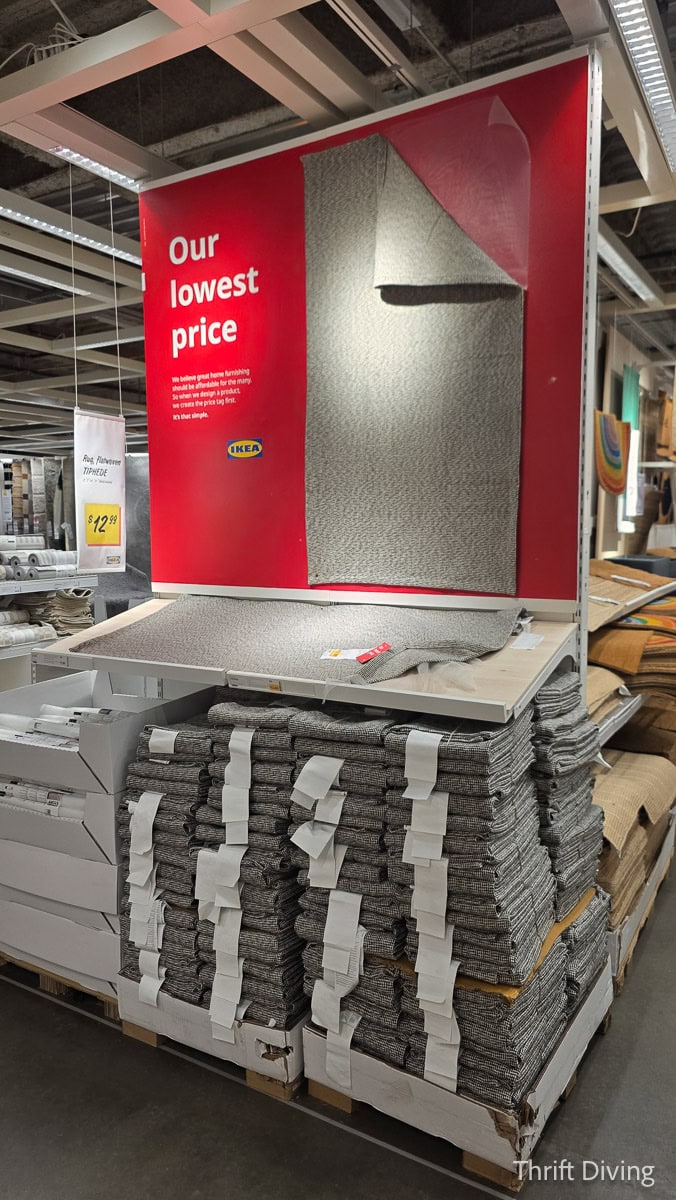
- IKEA rugs for stair runner (TIPHEDE)
Watch This Entryway Makeover in Action!
Get the entire low-down on this project on YouTube!
I’m Going Back to the Basics: WHITE!
I love vibrant colors. I really do. (Just check my lipstick stash).
But when it comes to my home?
Colorful walls feel heavy and cumbersome–even with colors as light as Sherwin Williams Sea Salt, which is the color I have had for years since moving in back in 2010 (the color I’m painting over).
As I’ve gotten older, I feel myself craving spaciousness and decluttered spaces–that includes white walls.
Not to mention craving spaces that feel more like who I am now and not who I was when we moved in 16 years ago.
White feels like the definition of “spaciousness” to me. Yet, my soul still loves the rich saturation of color—color I don’t have the heart to slather on my walls because we don’t get much natural light.
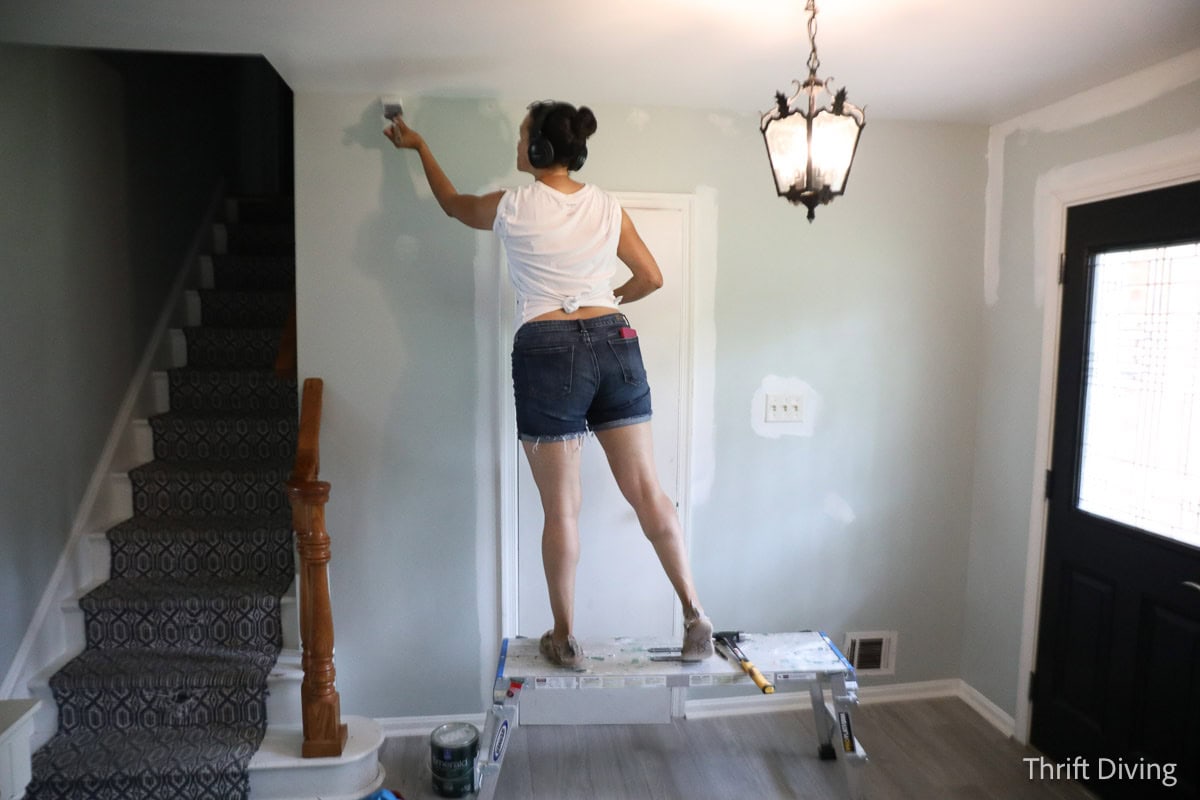
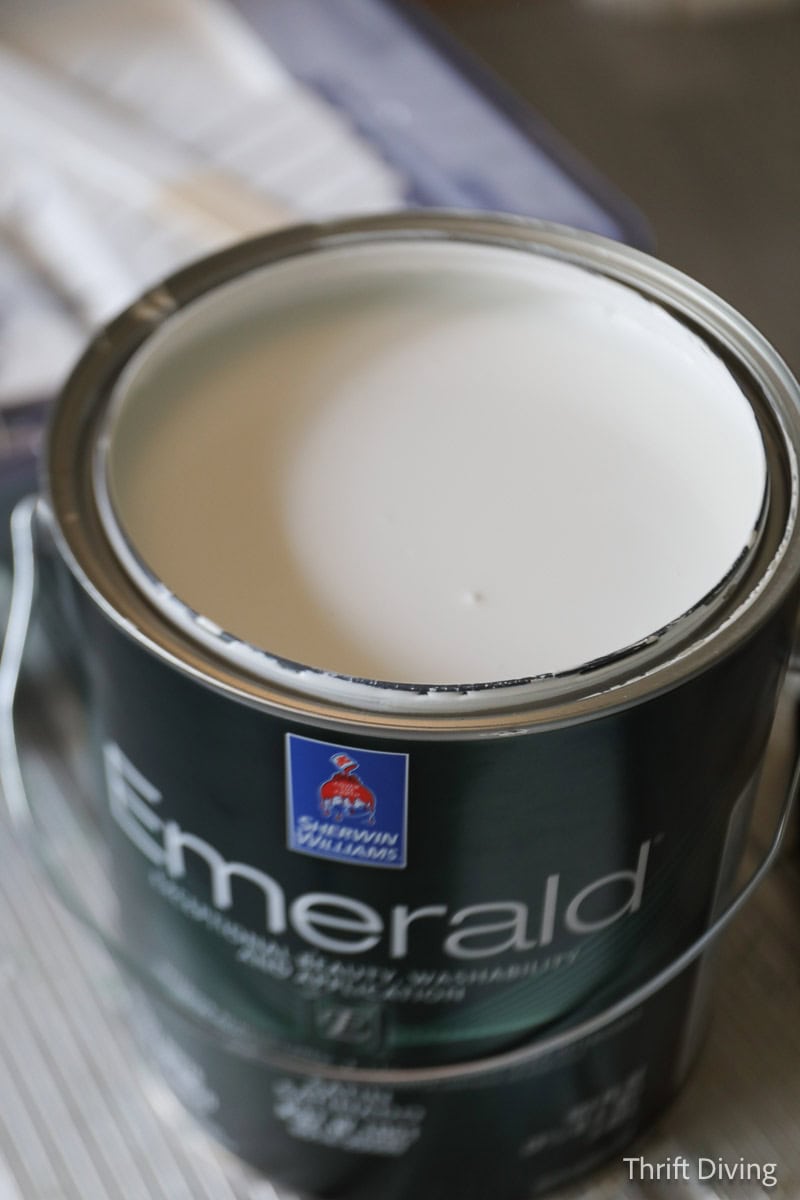
I decided going forward, most of my living spaces will get Sherwin Williams’ True White walls so that my walls can become a blank canvas to the pops of color that I crave to bring to my home. With white walls, I can go in any colorful direction with rich color decor, and not have to do the heavy lifting of painting walls—only refreshing up, not total color makeovers.
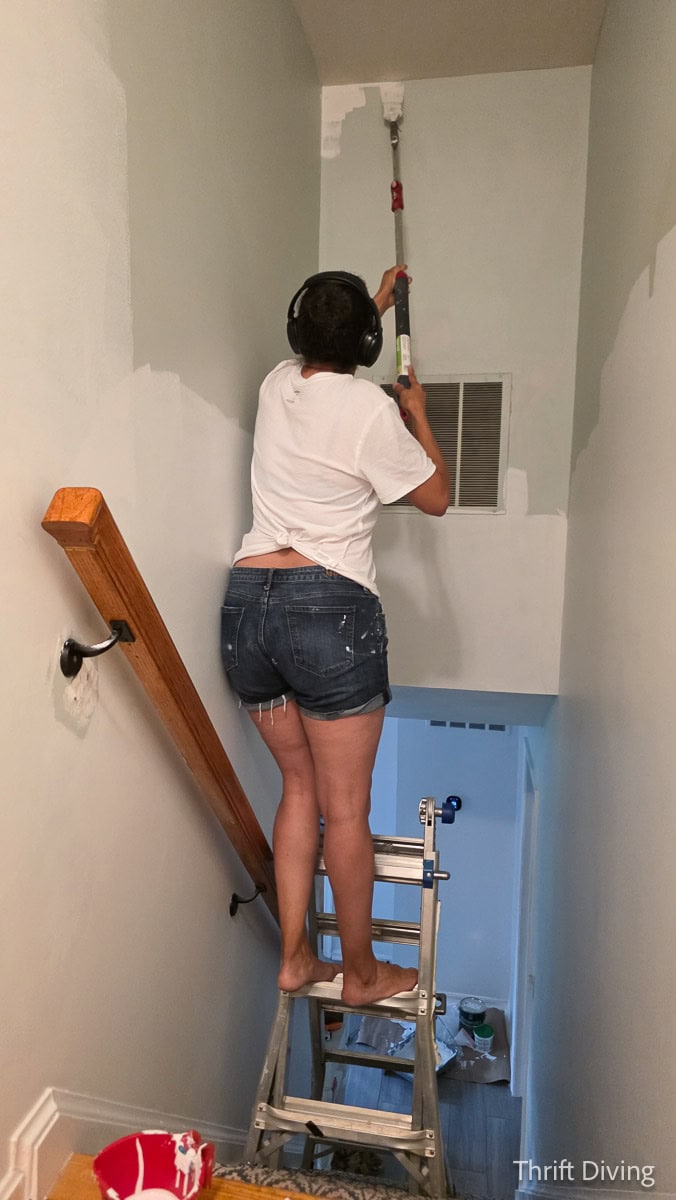
The most challenging part is always the stairwell. Be careful here! Use the right ladder. Get someone to spot you, if needed. And use the right tools. I admit that I taped a paint brush to the end of an extension pole and carefully cut into the edge of the ceiling. HA! Not the safest, but I didn’t fall. So there’s that….
Delicious Juneberry
I found this $20 entryway table at The ReStore last year. It was in excellent condition. Heavy. Sturdy. But it needed some color.
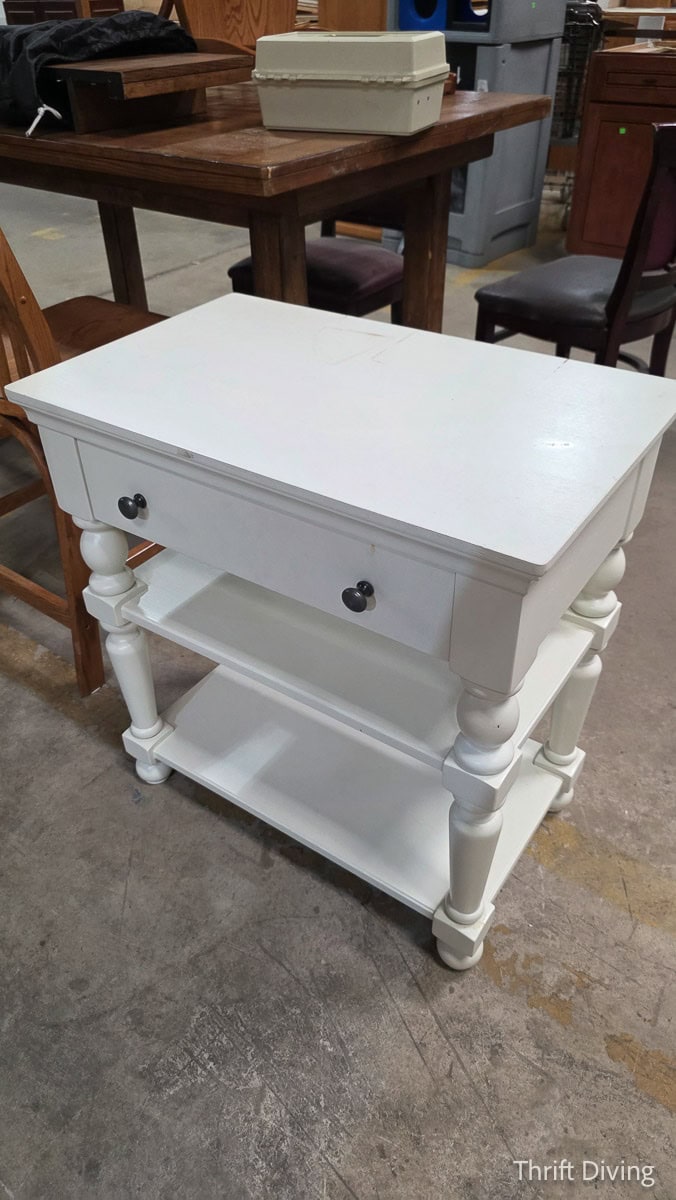
BEFORE
The size of it was perfect for that small section of wall where an entry table would naturally “live.” The white wasn’t doing anything for this monochromatic space, though.
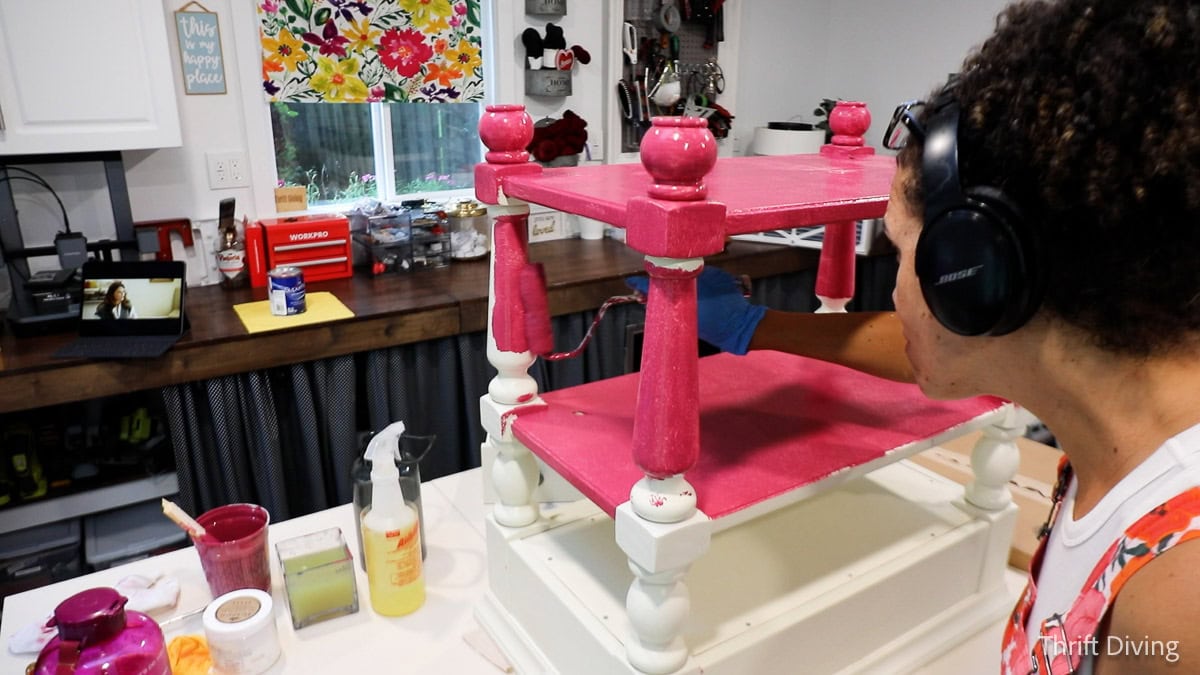
It’s much brighter when the paint is wet, but once it dries, it’s a deep cranberry color that is so rich! I had to do a few coats, though, so I would recommend using the best flat paint you can afford when mixing your own DIY chalk paint!
AFTER
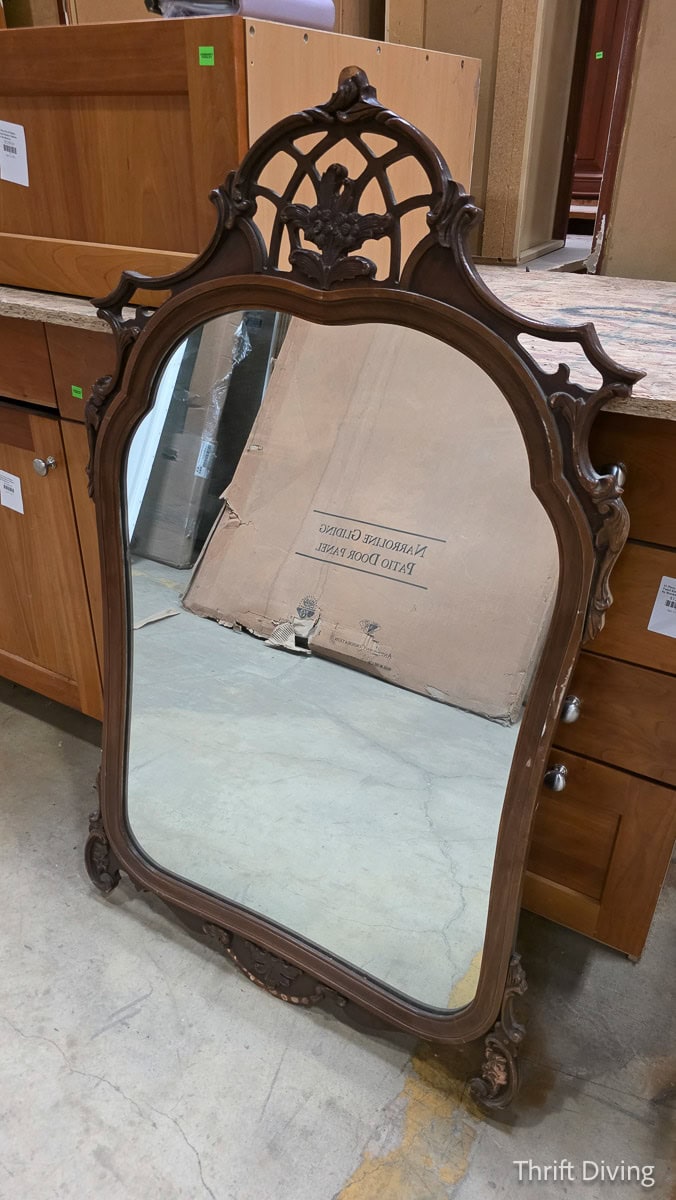
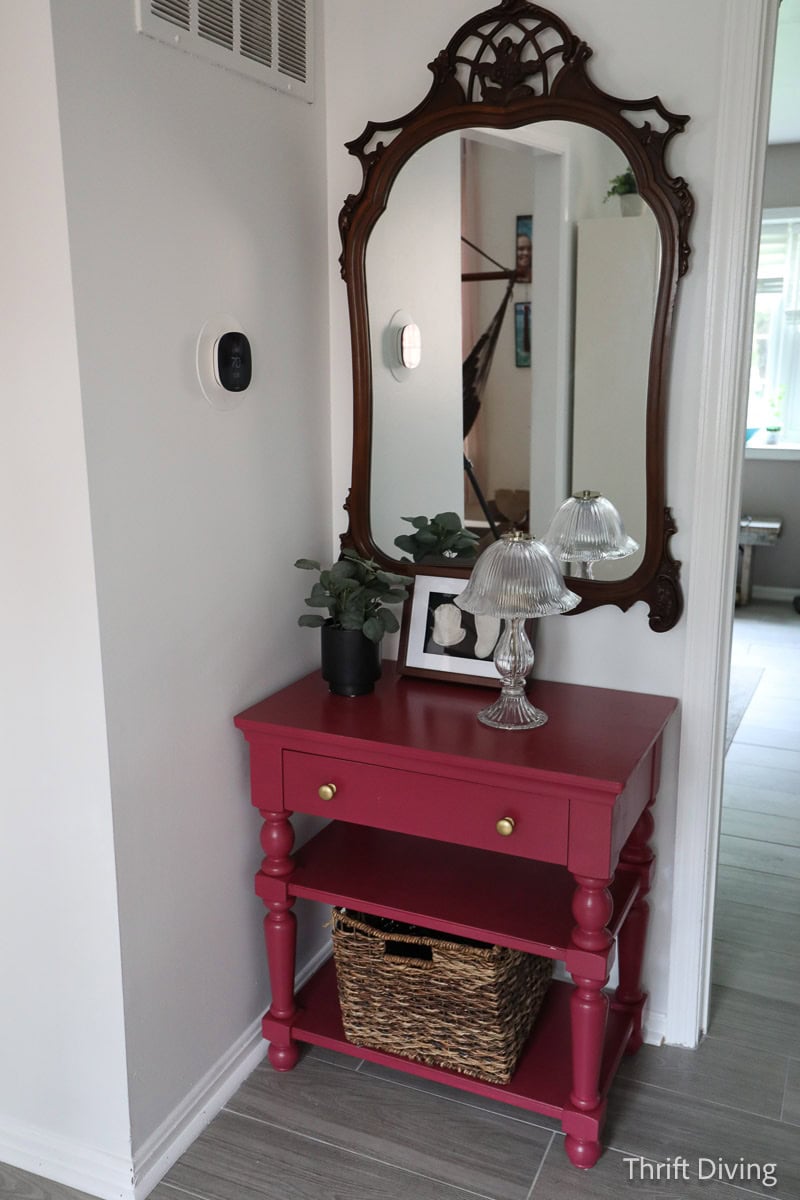
Paired with my $5.00 vintage mirror (found at Community Forklift–yes, only $5.00!), the Sherwin Williams Juneberry felt more “grown-up” than just a “pink entryway” table. I actually wanted a taller faux plant here, but it wasn’t in the budget (yet). So I just borrowed another faux plant from another part of the house. But I do think that a taller plant here (real one!) could add even more visual interest here. Overall, I love the rich color of the Juneberry!
(I made my own DIY chalk paint using a flat finish of SW Juneberry mixed with a chalk paint additive called BB Frosch, in order to paint the table, then covered it with a coat of water-based top coat).
The Thrifted Cabinet!
There’s a really awesome thrifted-salvage spot in Baltimore called Second Chance. It’s huuuggeee. It’s a bit pricey, but if you get there at the right time, with the right mark-down (and are super friendly with the staff), you get awesome deals. 😉
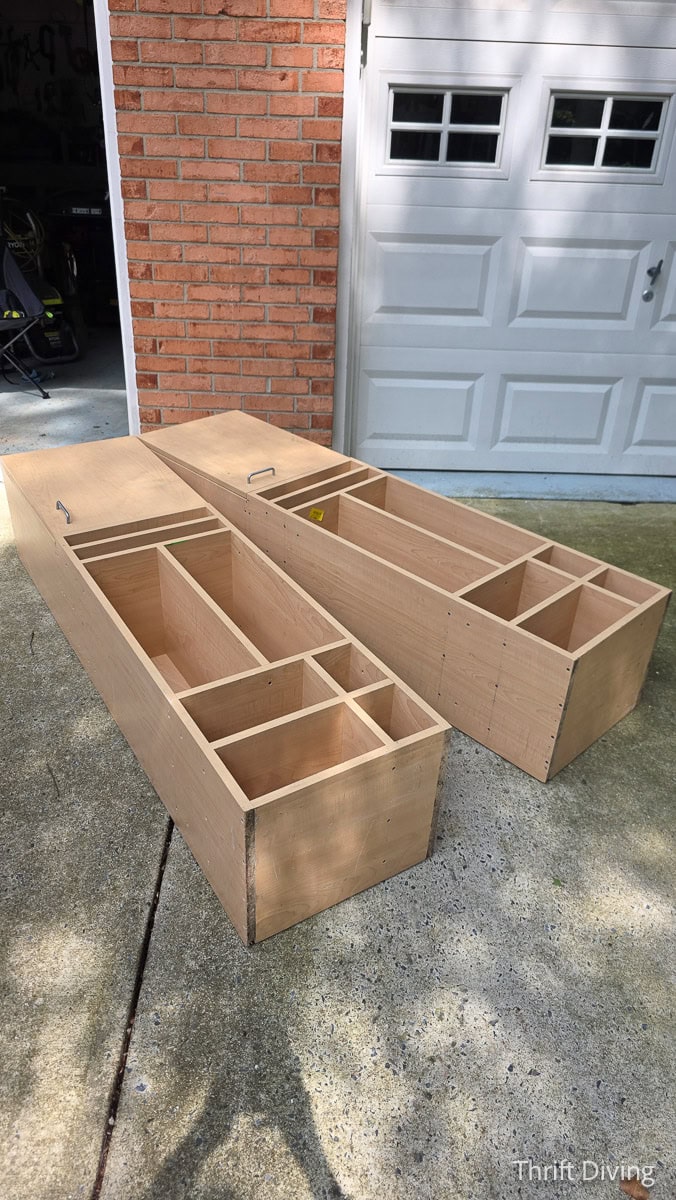
I found these cabinets for only $35! They were screwed together, with two cabinets together as a set. STEAL! I bought two of them home, one of which was going to be painted for my entryway for storage, and the other, for my “she shed.”
BEFORE
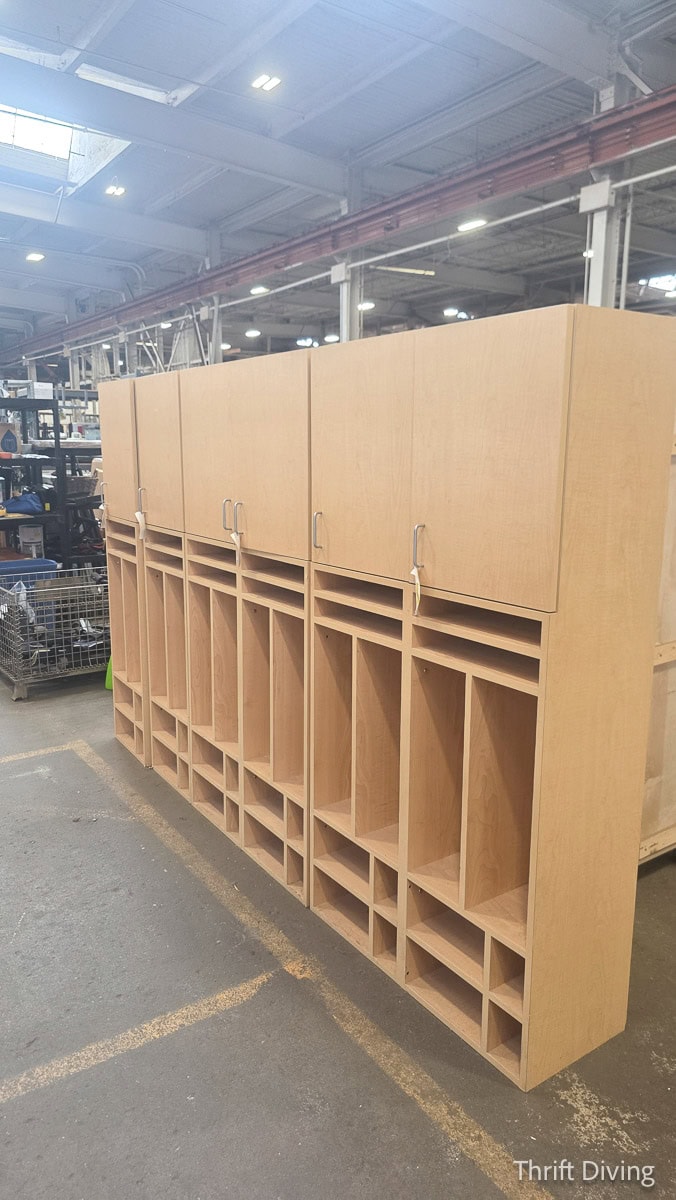
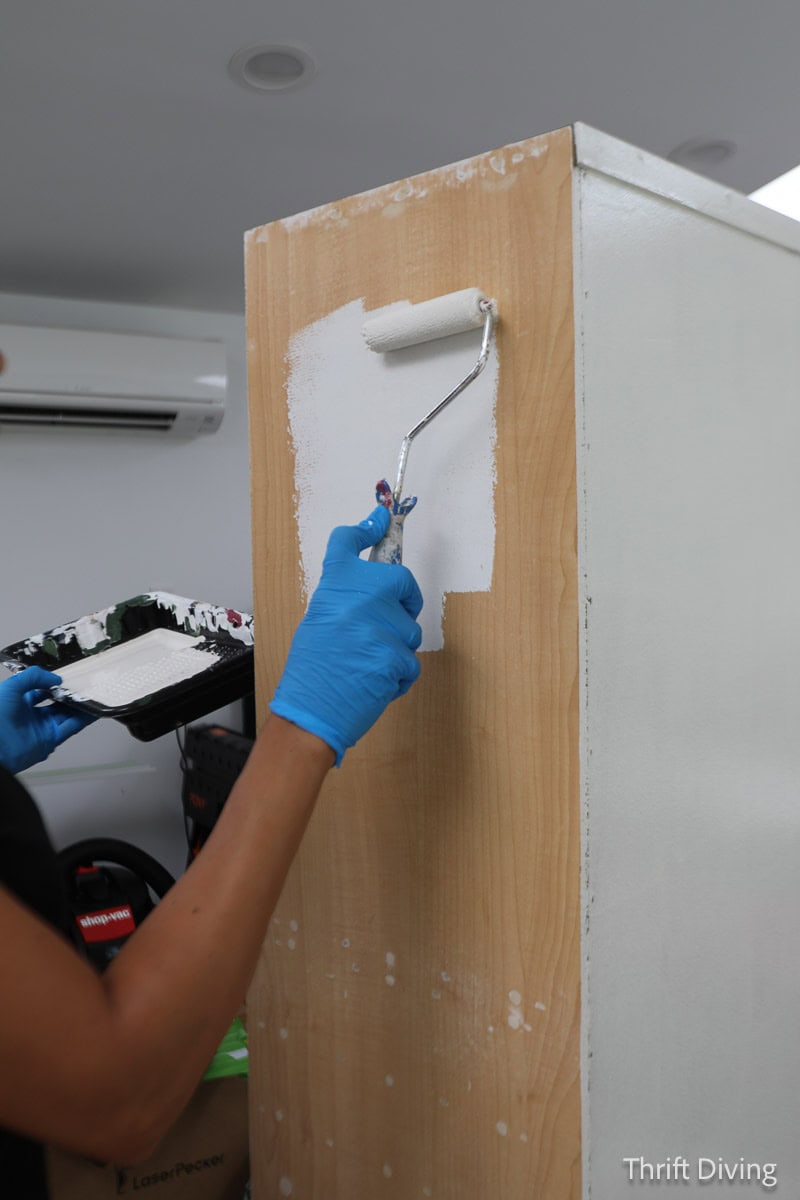
I painted the tall cabinet with the chalk paint I had on hand (two coats).
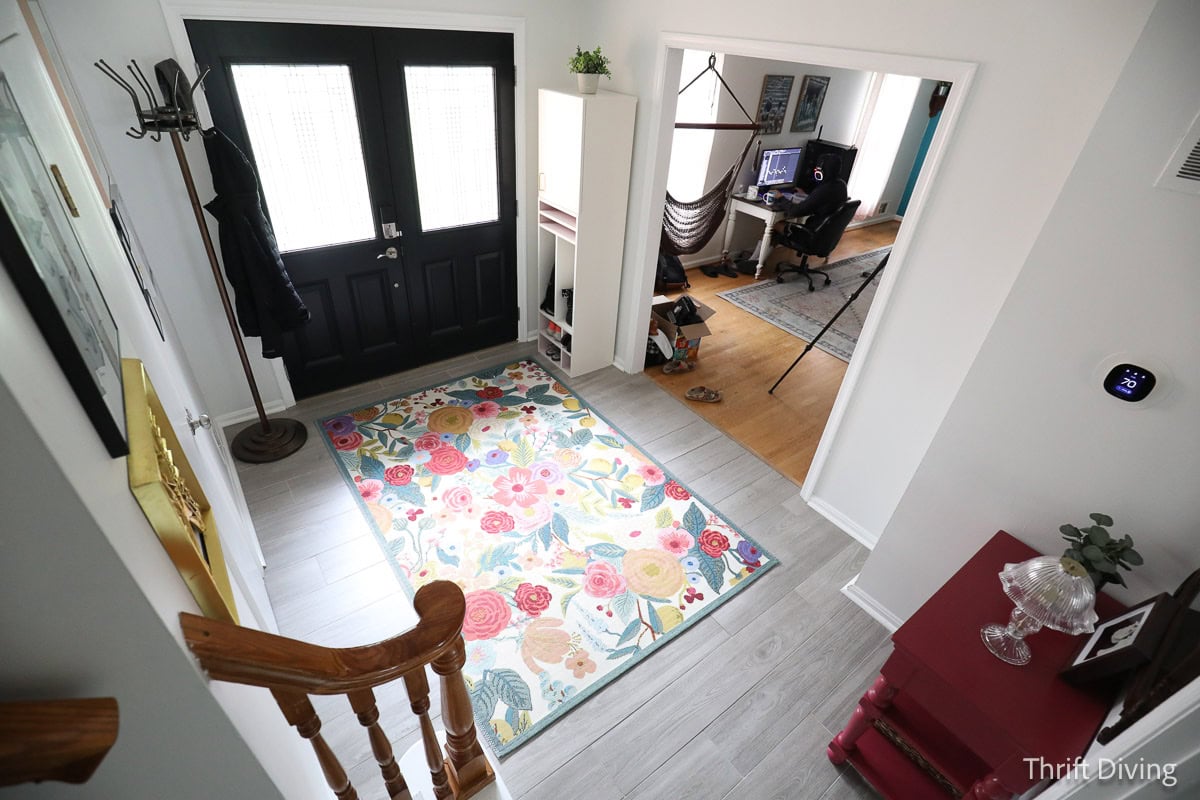
AFTER!
At the front door, this cabinet will hold a few pairs of shoes, my purse, and some other things that can fit in the top cabinet. I would like to get a larger plant for the top, but again–budget. 🙂 Shop your home if you can!
The vintage coat rack to the left I bought from an online auction for about $40. And don’t mind the other room–that’s our computer room, where my sons play on their computers. That room needs a makeover, too! 🙂
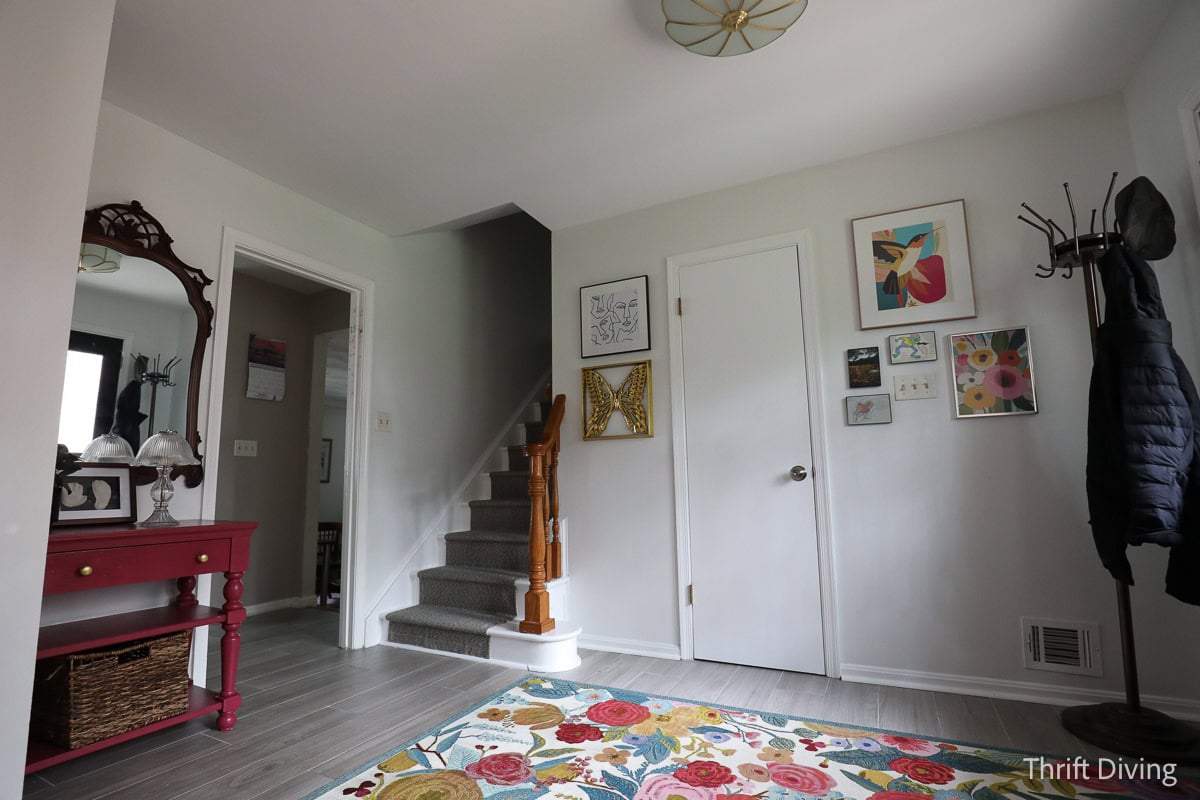
The Gallery Wall!
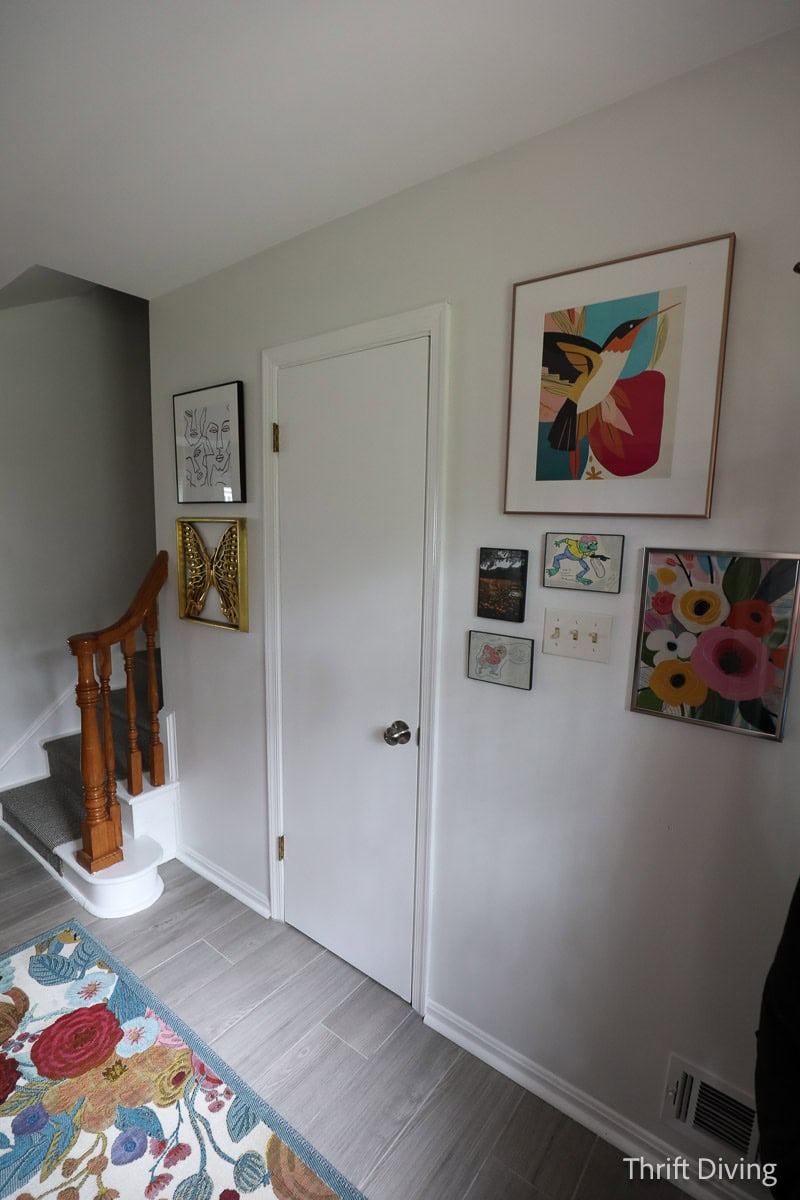
I wanted the art on my entryway walls to reflect what I love and who I am. This means including pictures of my own artwork, including artwork I did when I was just 9-10 years old.
I found some thrifted frames for the gallery wall and framed fabric (black and white faces), along with a vintage butterfly from Facebook Marketplace, and some colorful hummingbird and floral pics from digital prints I purchased on Etsy.
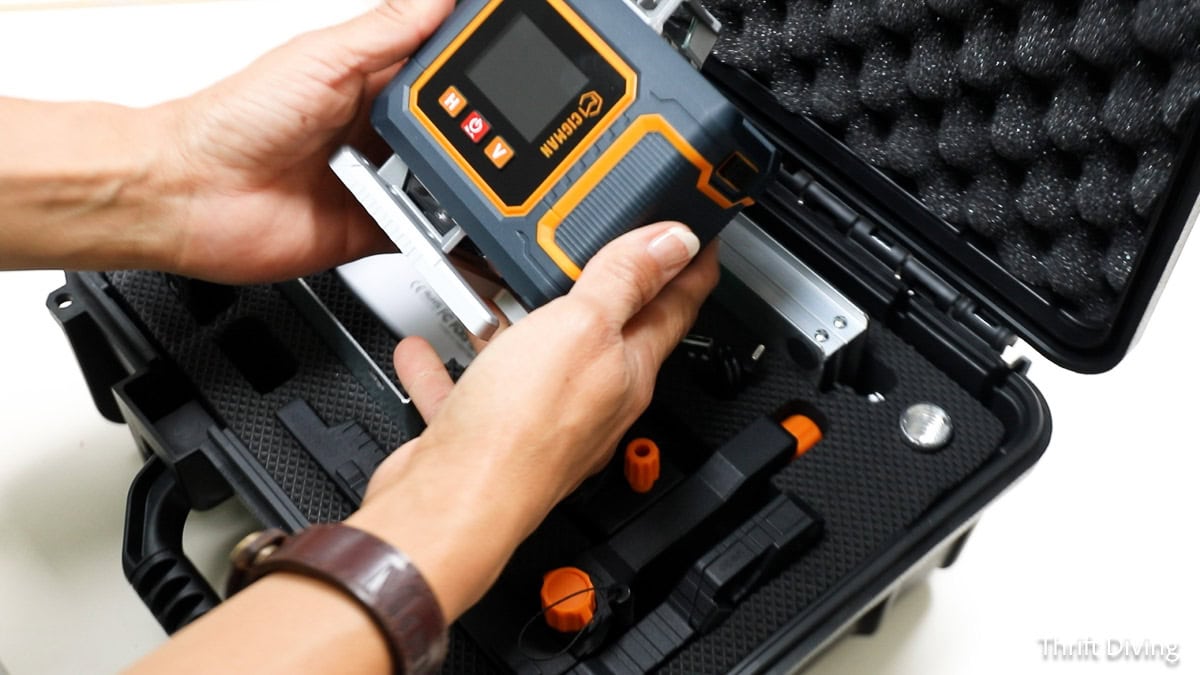
In order to hang the gallery wall, I used my new CIGMAN SM-C04 laser level to keep everything straight and level. Out of the box, it comes level and ready to use. It even works with my tripod, but you can attach it to other surfaces, too.
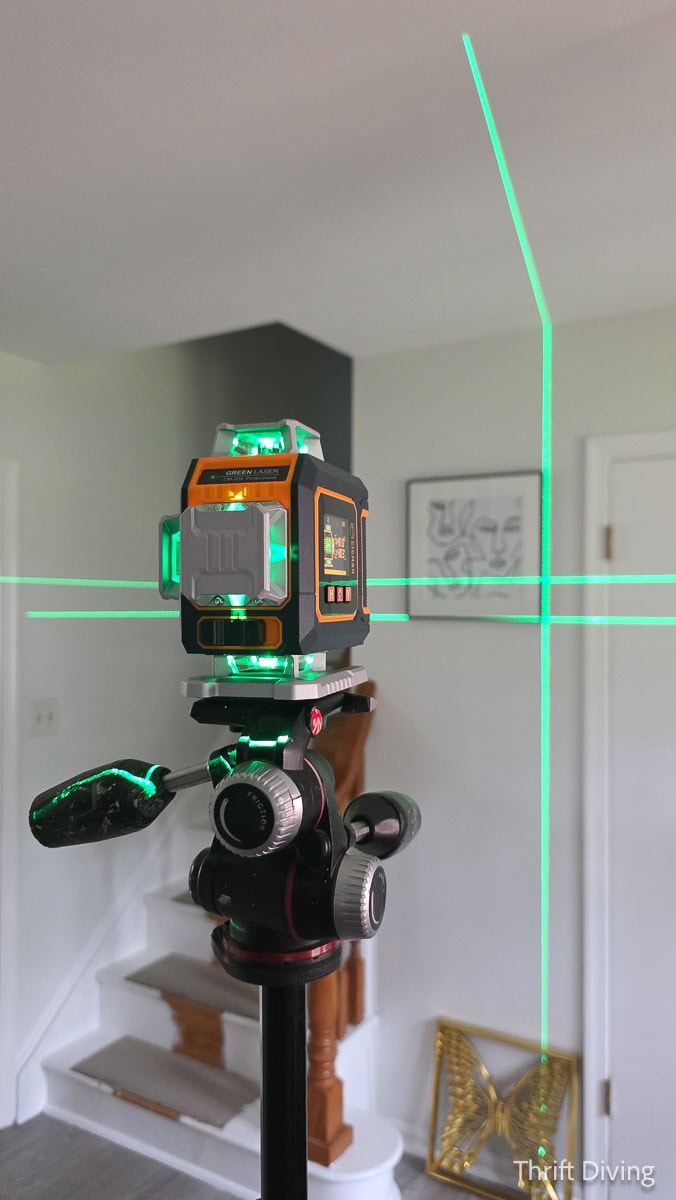
Gallery walls don’t have to be exact, but you at least want to have a frame of reference with keeping things straight and plumb. The CM-S04 360-degree laser level:
- Self-levels vertically and horizontally within 3-4 degrees, so all you have to do is turn it on. That’s it!
- Perfect for gallery walls, installing cabinets, and any other home improvement or decorating projects that require level and plumb.
- Comes with two USB-C rechargeable batteries so it’s always ready to go.

I love how the gallery wall turned out! It was easy to hang with the laser level! Someone recommended doing a more creative light switch cover, by the way, and I can’t agree more! 🙂 I’ll have to look for one. Love that idea!
The DIY Carpet Runner!
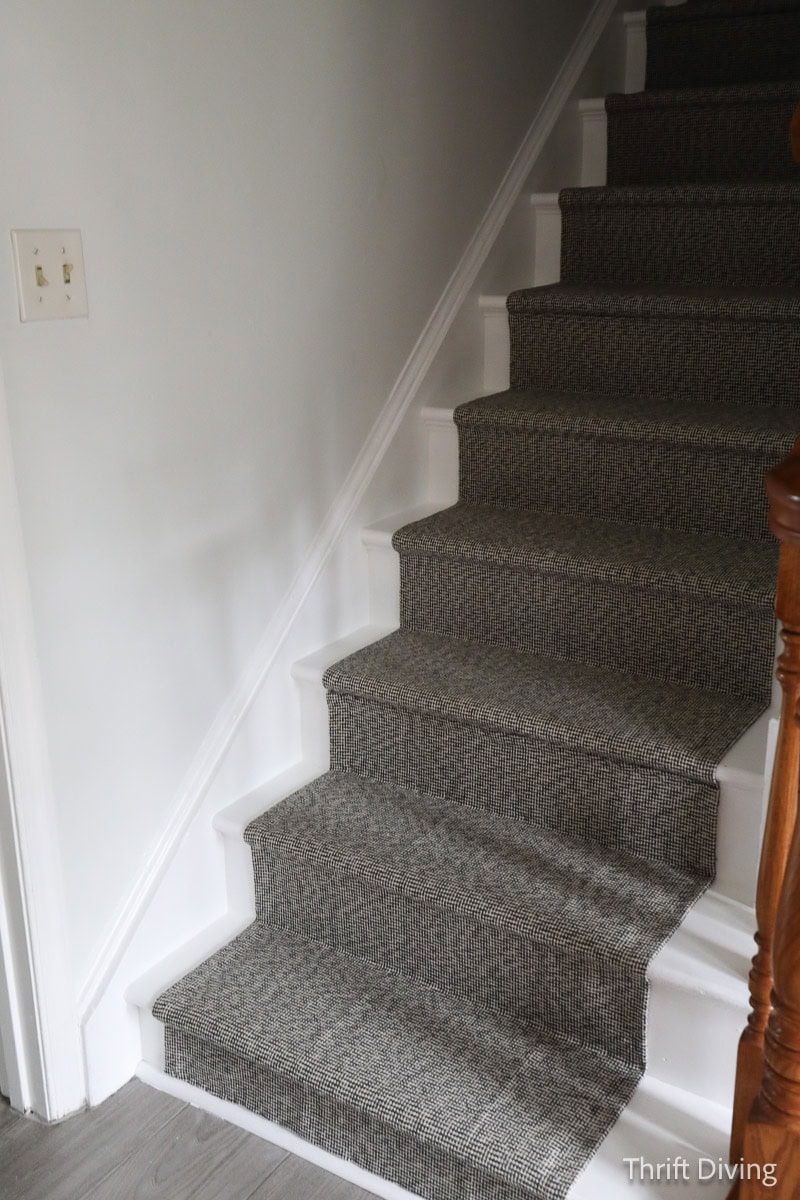
It’s been about 5 years since I made over my stairs with a DIY carpet runner. I used cheap rugs from Amazon, painted the stairs white, and made the stairs more safe and cozier.
But over the years, they got worn down, dirty, and needed to be freshened up and replaced.
BEFORE
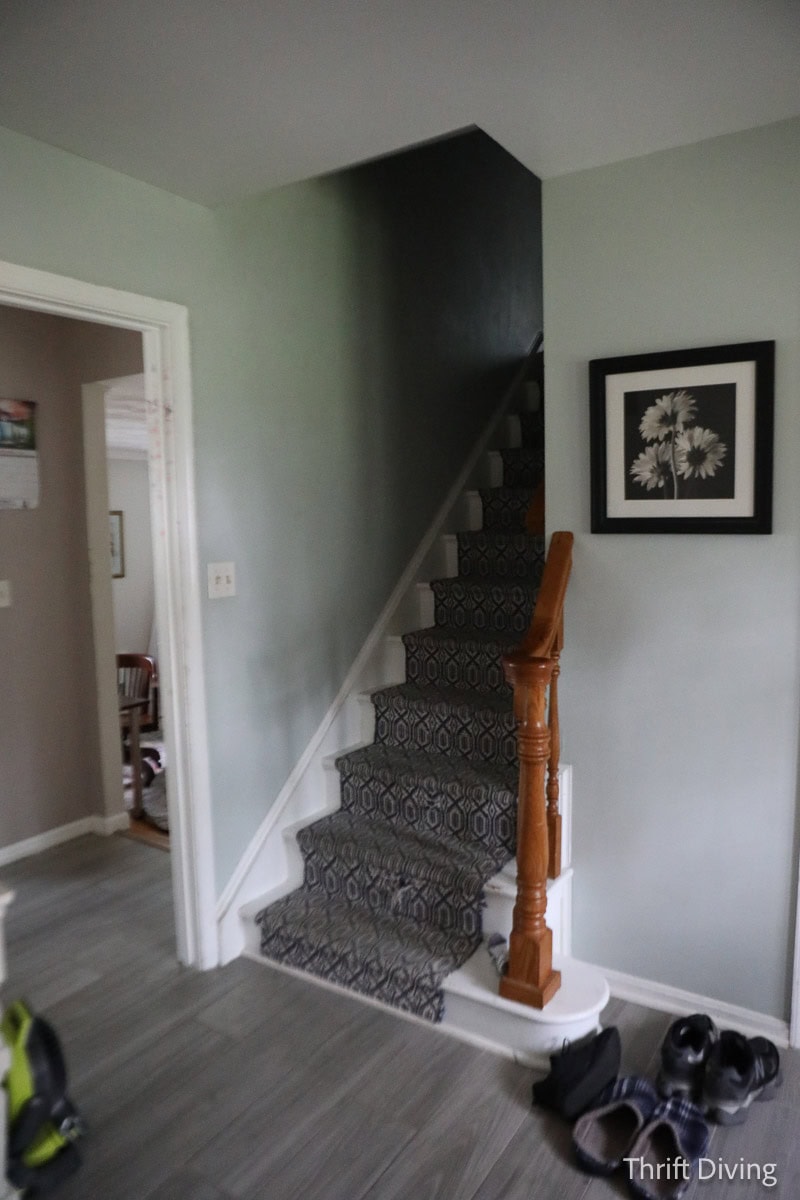
I was looking for another affordable solution and found these IKEA TIPHEDE rugs for only $12.99 each! The flat-woven texture and the neutral pattern was just what I was looking for–I didn’t want to compete with the floral rug in the entryway.
AFTER!
With fresh white semi-gloss paint, these rugs were perfect for lasting another few years before I likely will have to do them again. But hey–for $50, I’m not complaining. I used 4 rugs, my upholstery stapler, and it took about 2 hours or less to do this. I wish I would have ironed the rugs first, though, because you can see where the folds were in the rugs. But I’m really knit-picking at this point. (By the way, I still need to change that ugly light switch!!).
The Light!
When we moved in, the vintage light that was there, we just….left it. I actually had painted it from brass to black years ago. I kind of didn’t mind it. But as the boys got older, and taller, they started hitting their heads on it. HA! My oldest son is 6’5″ so every time he came home, he needed to duck. Hilarious!
BEFORE
So I bought this fun floral-shaped light from Amazon, and installed it myself. I love it! Amazon listed it as an item that is “Returned Frequently” but honestly, I didn’t have any trouble or issues with it. It’s beautiful!
AFTER!
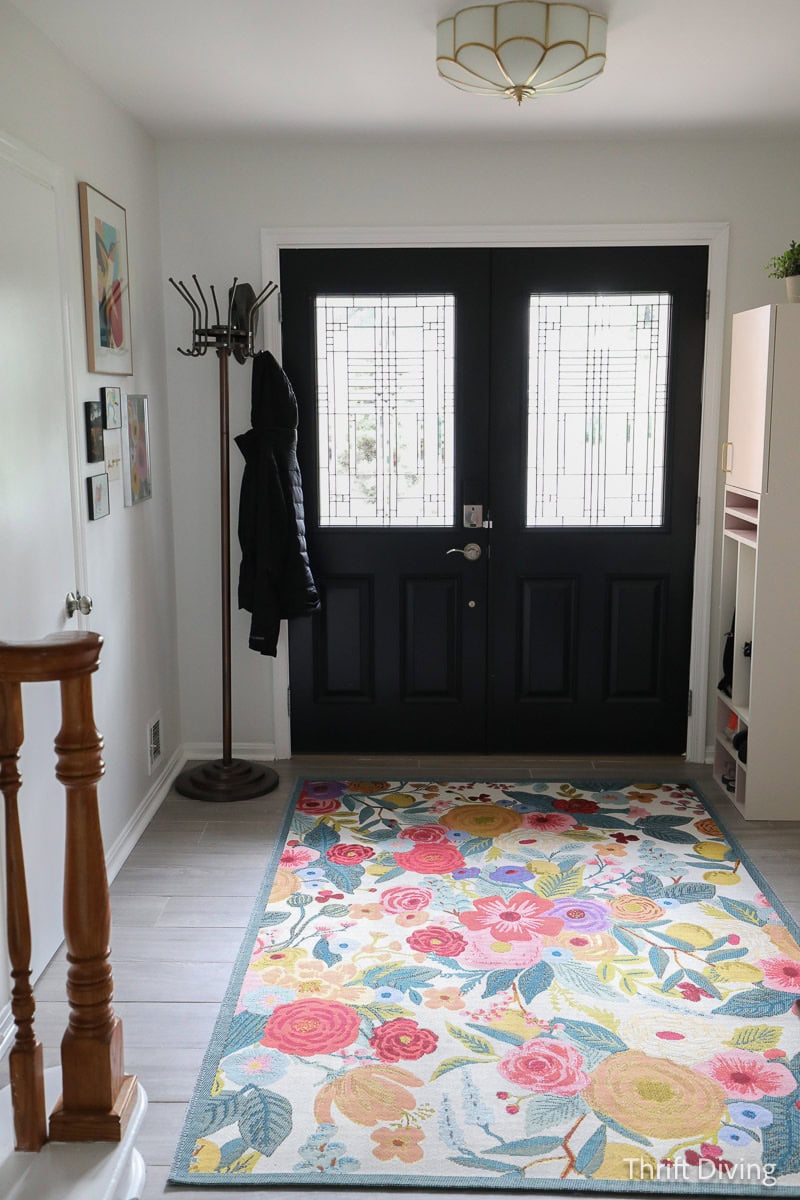
I Adore My Entryway Now!
There’s still that one sore spot–the railing. To paint or not to paint? Actually, I think staining it darker would work better, to match the shade of the vintage mirror. But for now, it’s pine. I’m not going to sweat it. Overall, I love my entryway now! It makes me yearn to do all the other spaces in my home now.
I feel like I’ve got a relationship….a functioning relationship with my home again. While it’s not perfect, and it clearly would never land on the cover of HGTV Magazine, it works for me. Not my family (since I don’t think they really care), but for me.
When I come home and see the lack of clutter….the pops of color…the bright floral rug…it makes me smile. I’ve been tending to my home again, nurturing that relationship with the place that protects us from the elements; the place that is supposed to feel warm and cozy; the place that’s supposed to make me feel most like “myself.”
I feel like I’ve come “home” to myself again.
What about your home? Do you feel like you’re in a functioning, happy relationship with your home? Or do you feel like it’s a toxic relationship? LOL. Let me know down in the comments how you’re improving your own relationship with your home!

Download the 5 freebies!

Thrift Diving inspires women to decorate, improve, and maintain their home themselves...using paint, power tools, and thrift stores! Use these 5 printables, checklists, and ebooks to get started!
Framing an entryway makeover as part of how we relate to a home gives the before-and-after more meaning than a color swap. An entry is the first transition point of the day, so small choices in color, storage, and visual order can influence whether arriving home feels calming or chaotic. It also makes sense to treat this space as something that can evolve with the household rather than needing one permanent, perfect look. That relationship-focused lens is useful for deciding which changes are worth making first.