I Built a Custom Walk-in Closet All By Myself!
Back in October 2019, I got a great idea (insert sarcasm here) that I was going to rip out my old walk-in closet and build a custom walk-in closet. All by myself.
That’s right.
I had a vision in my head of an amazing, well-organized closet with color-coded clothing and organized piles of clothes by season. And everything had a place of its own.
You might be thinking that for me to even come up with that idea in the first place, I must have had some serious confidence in my ability to do so.
(Surely I had the tools. I even had some of the know-how; I’m not a novice with tools, by the way).
But I totally underestimated how much time this would take me: from creating the design (using a free software program called SketchUp), to finishing all the pieces of wood (do you know how time-consuming it is to apply pre-conditioner and 3 coats of top coat and sanding in between coats??), to meticulously assembling the custom closet organizer so that I didn’t make costly mistakes that would have me running back to the hardware store for more expensive wood.
What I thought would take a week actually take–gasp!–20 months!
Granted–I wasn’t consistently working on it. But the starting and stopping was nearly 2 years.
Back in Fall of 2020 I completed the first section of this custom closet organizer and I finally was able to finish the other side. In this blog post, we’re going to go through each of the steps needed to build this custom walk-in closet organizer and the lessons learned so that you can build one similar to it!
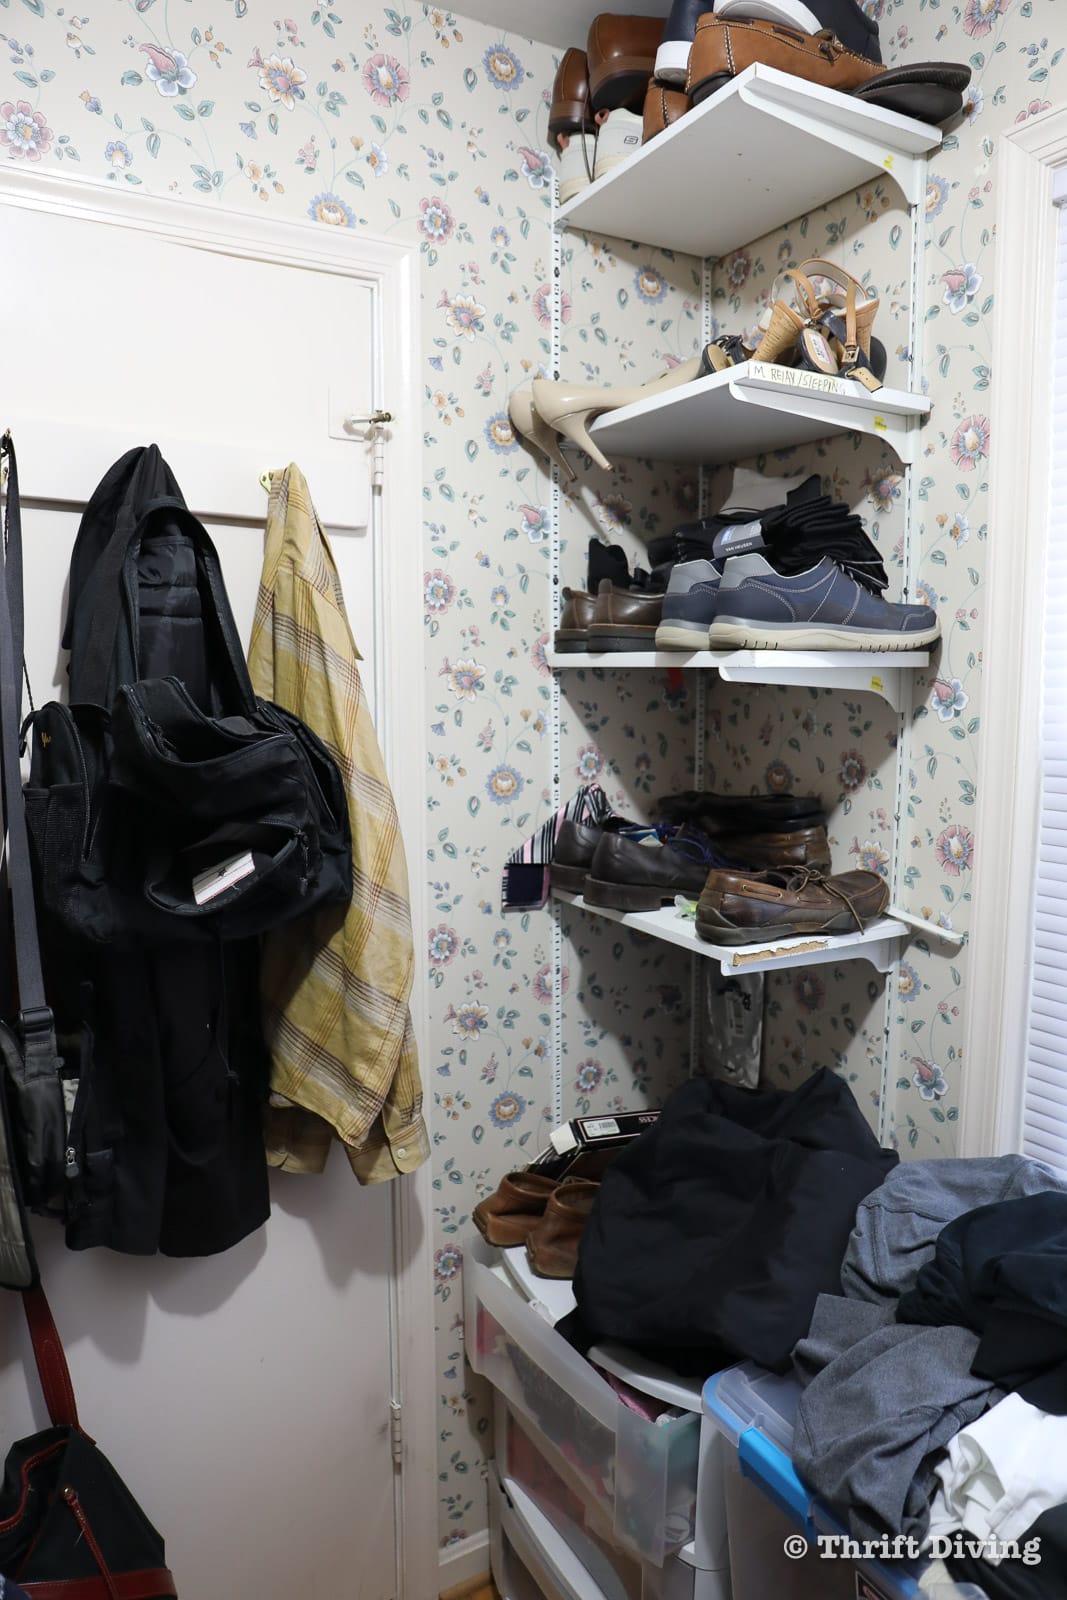
Here is what my master bedroom walk-in closet looked like before I started. This was the last section of my 1973 home that still had lingering wallpaper that needed to be removed. I posted a video on my YouTube channel on how to remove wallpaper and repair the drywall, which was the first step.
BEFORE
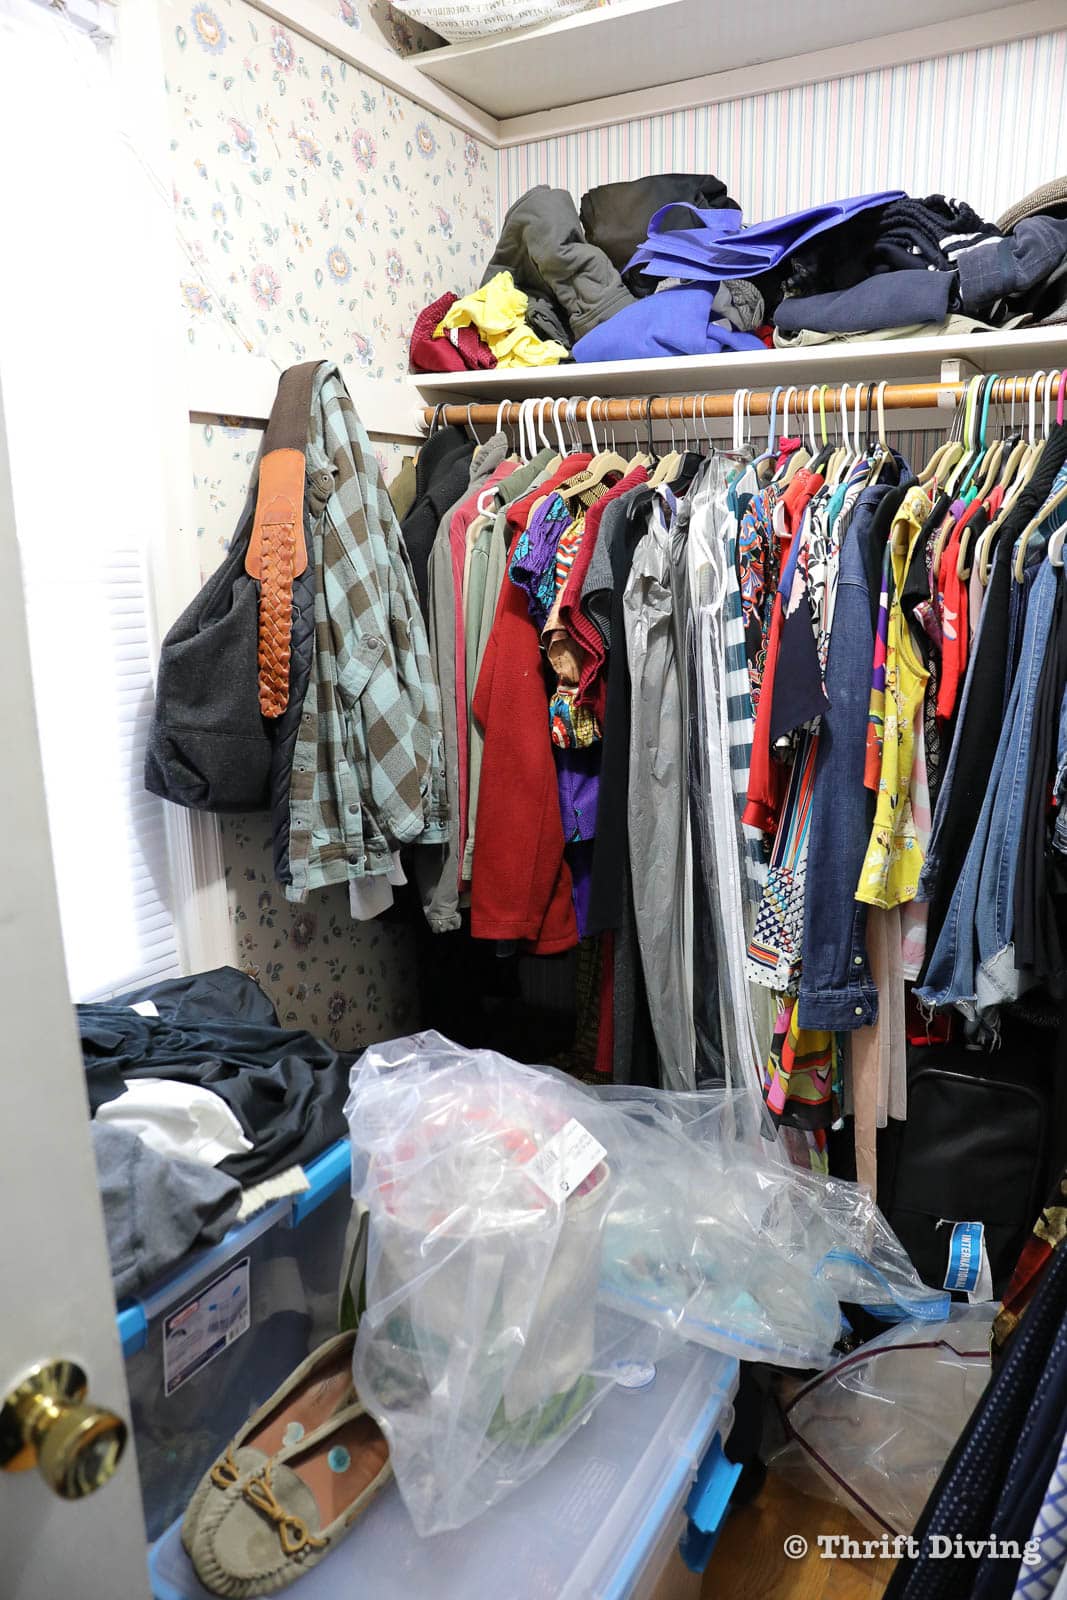
Although this closet isn’t very big at just over 5′ x 7′, there was a lot of space, but much of the closet space was wasted on shelving that we didn’t use. And the closet was very disorganized and you could barely walk inside of the closet. There was no storage for off-season clothing, either.
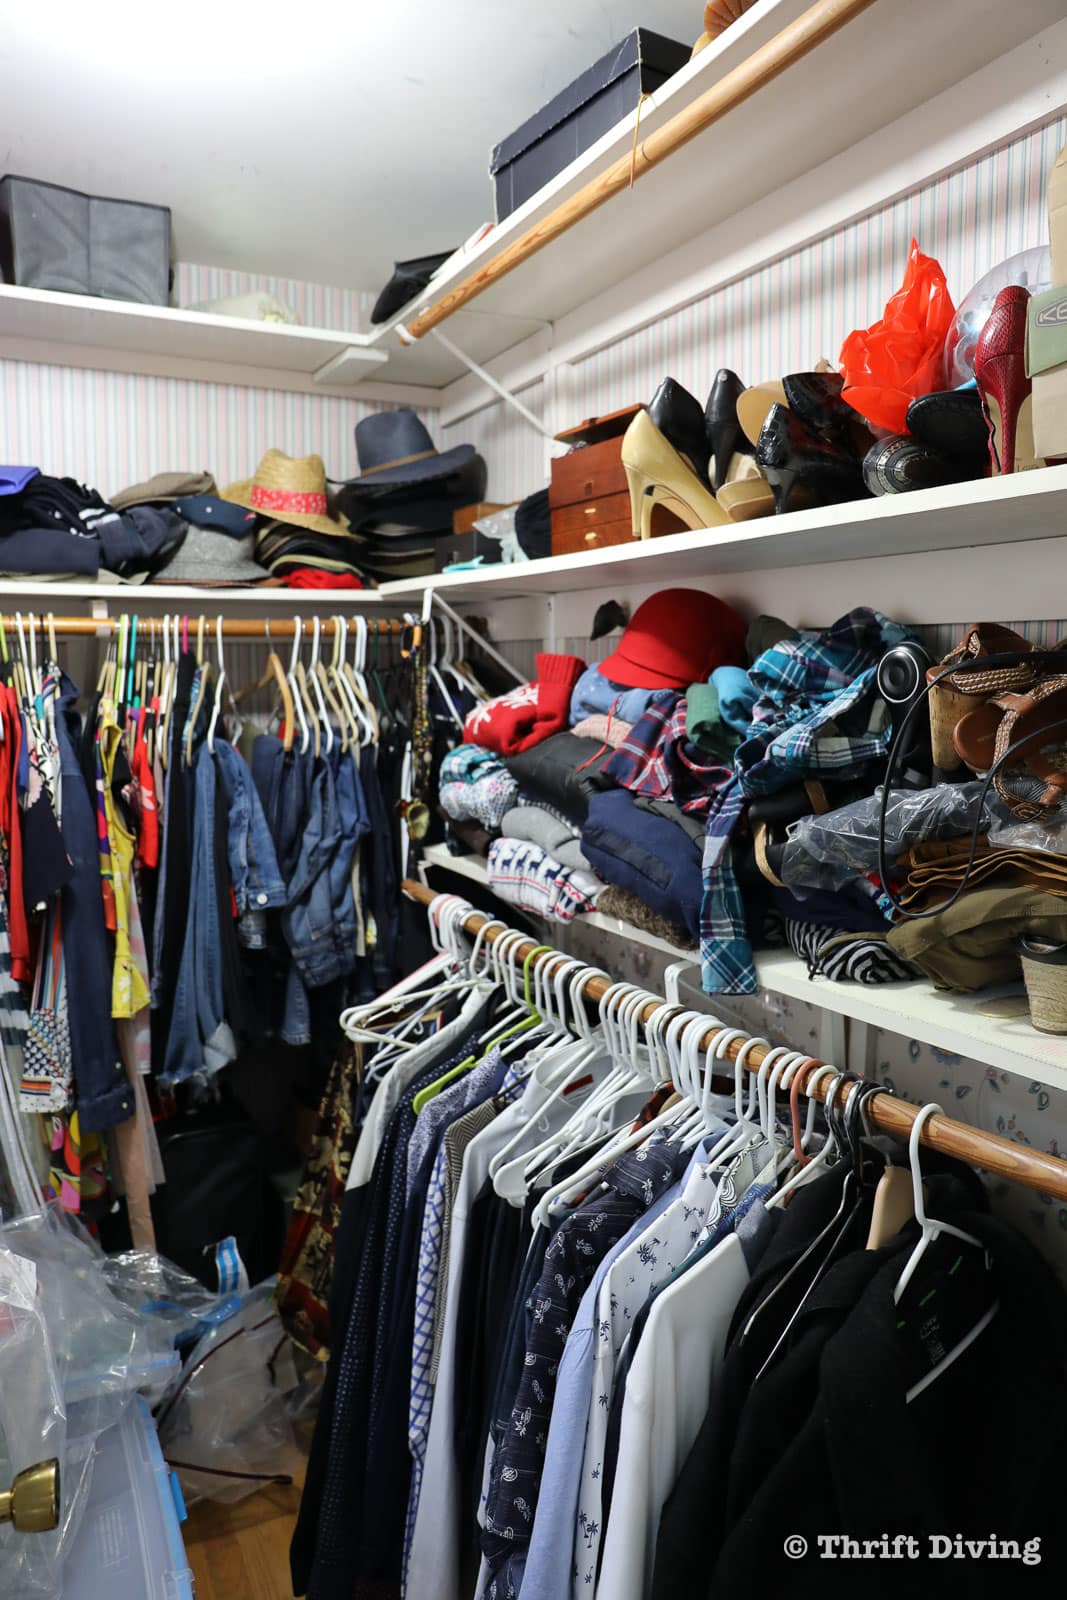
Near the door, the previous homeowners had installed some cheap shelving that wasn’t adequate for a shoe shelf. As you can see, multiple pairs of shoes were stacked on top of each other with no rhyme or reason. And that cheap little plastic “dresser” was a left over relic from when my first son was born and we were too broke to afford a real dresser. HA! It stored all my off-season clothing, but it was so small that everything was shoved inside.
The Vision
This is what I envisioned for the left side of the walk-in closet: a space for folded clothes, drawers for off-season clothing, desk space looking out the window, and a shoe shelf! I was able to create this space using SketchUp, which is a free design program. But believe me–it’s not a very intuitive program. Part of what took so long for this closet makeover was teaching myself how to use SketchUP online, via LinkedLearning. The training program was excellent and taught me everything I needed to know in order to create what was in my head!
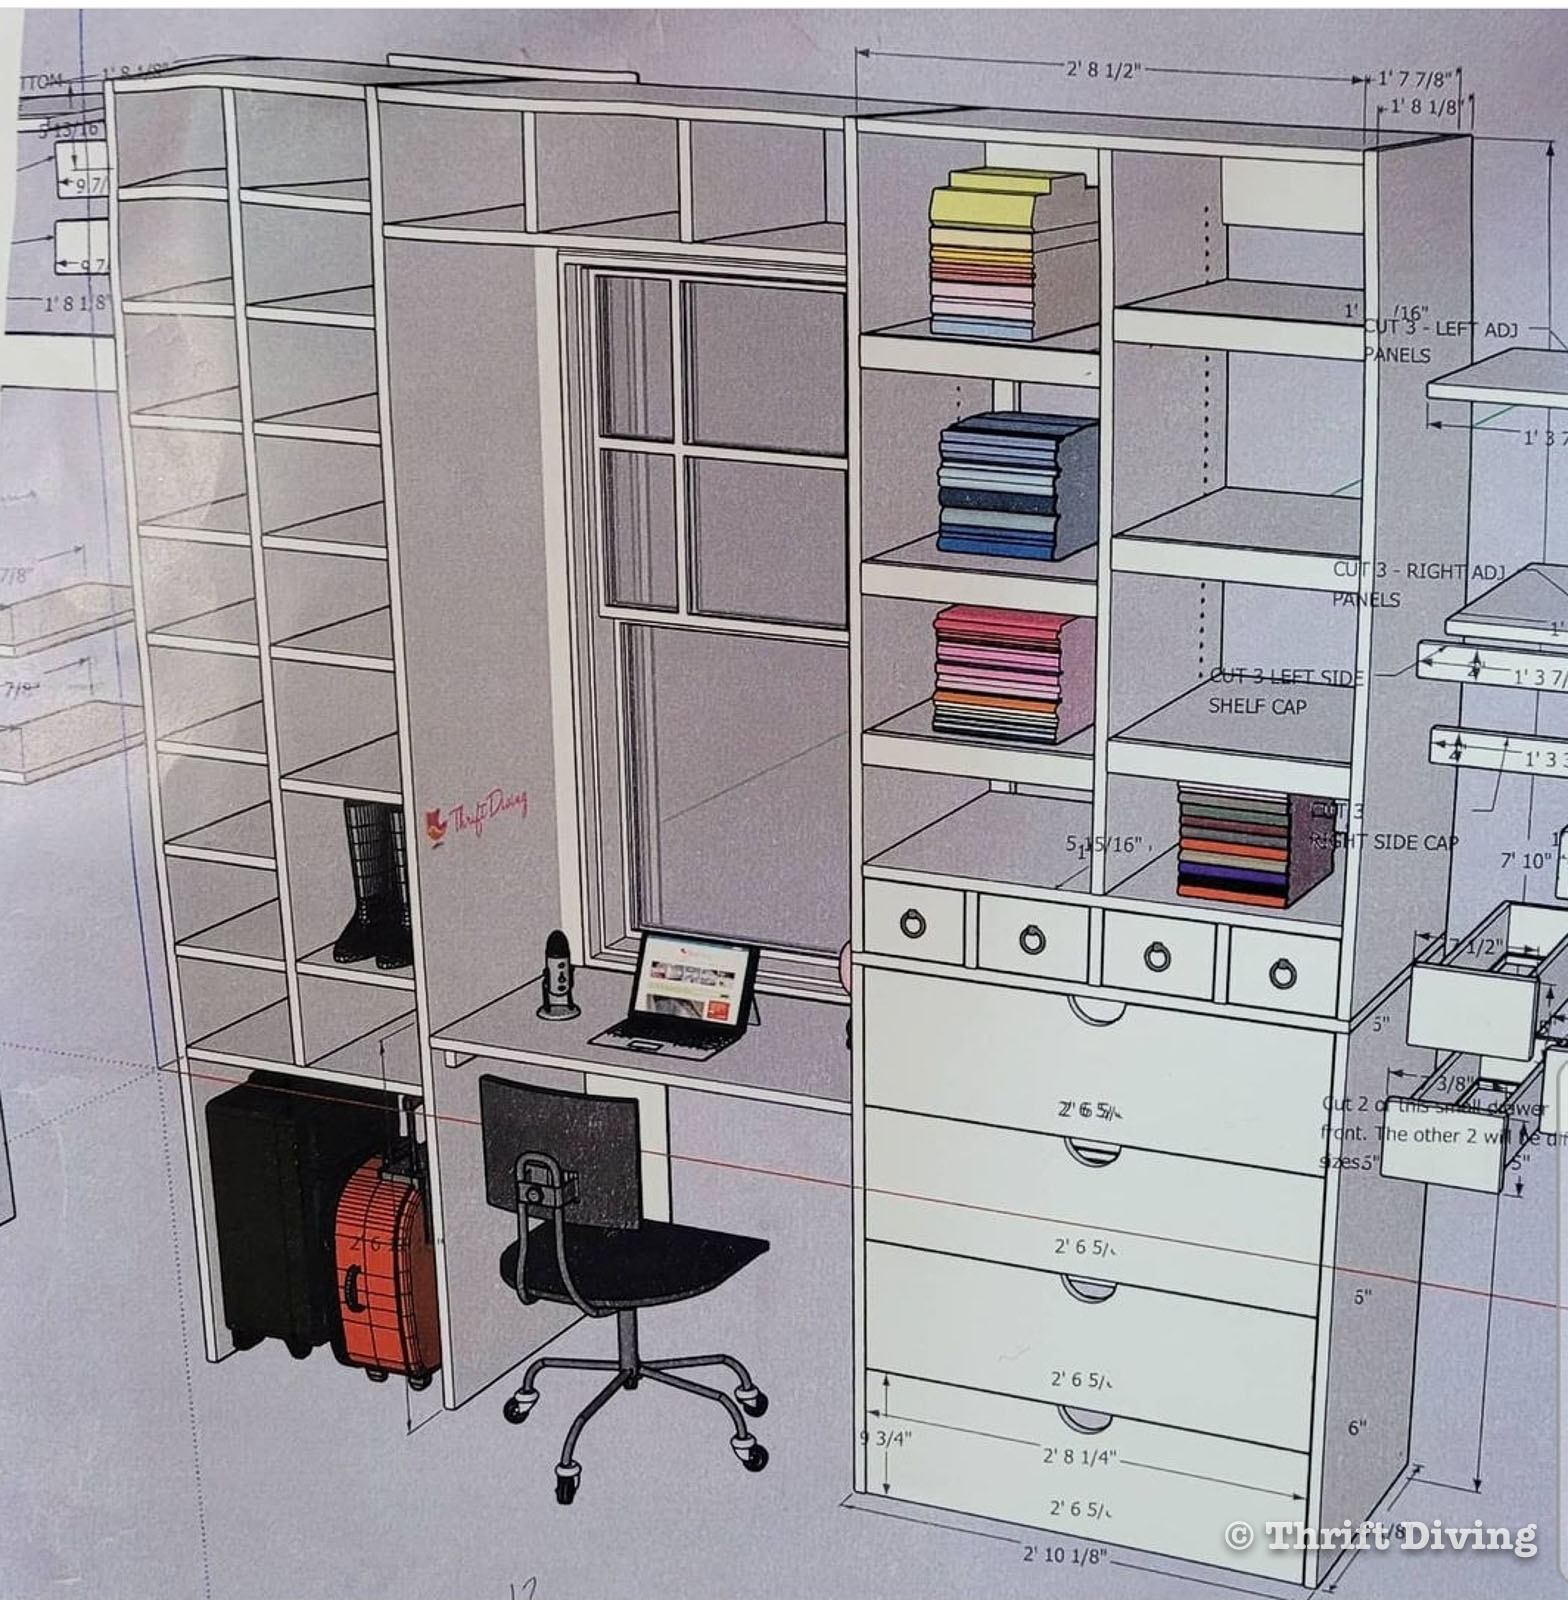
Once I was done, I was pretty impressed with how closely I was able to replicate it!
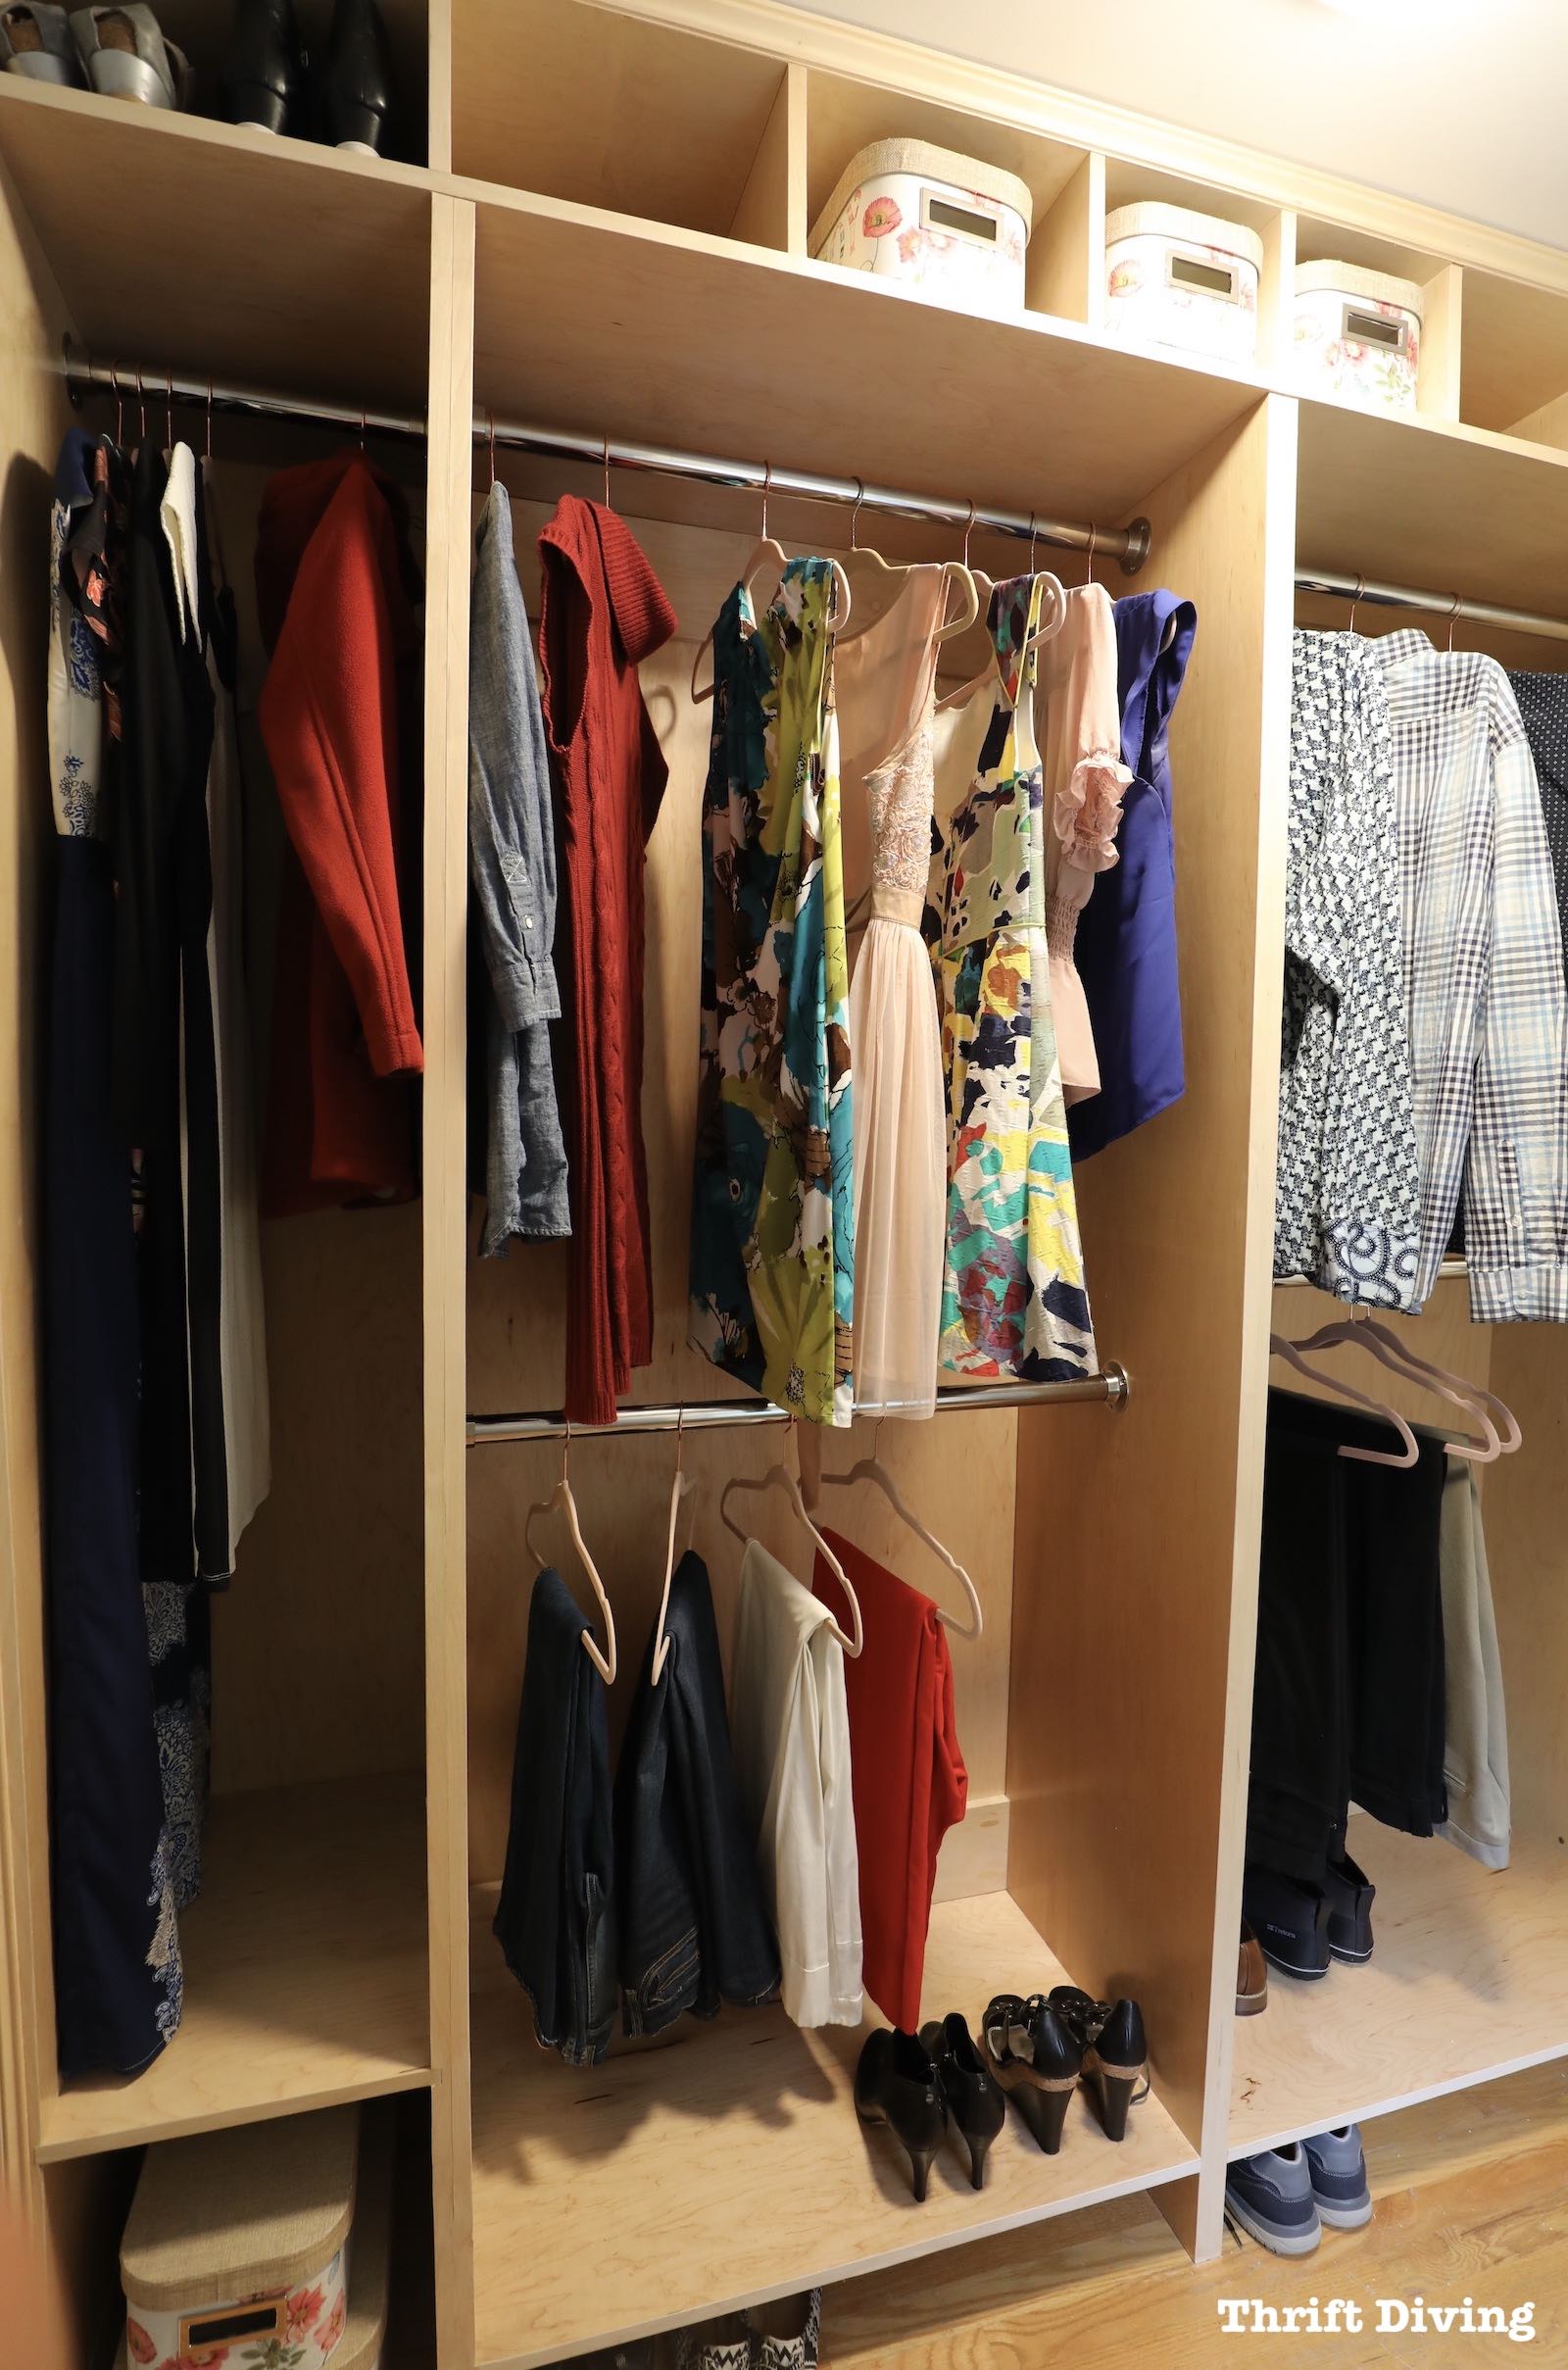
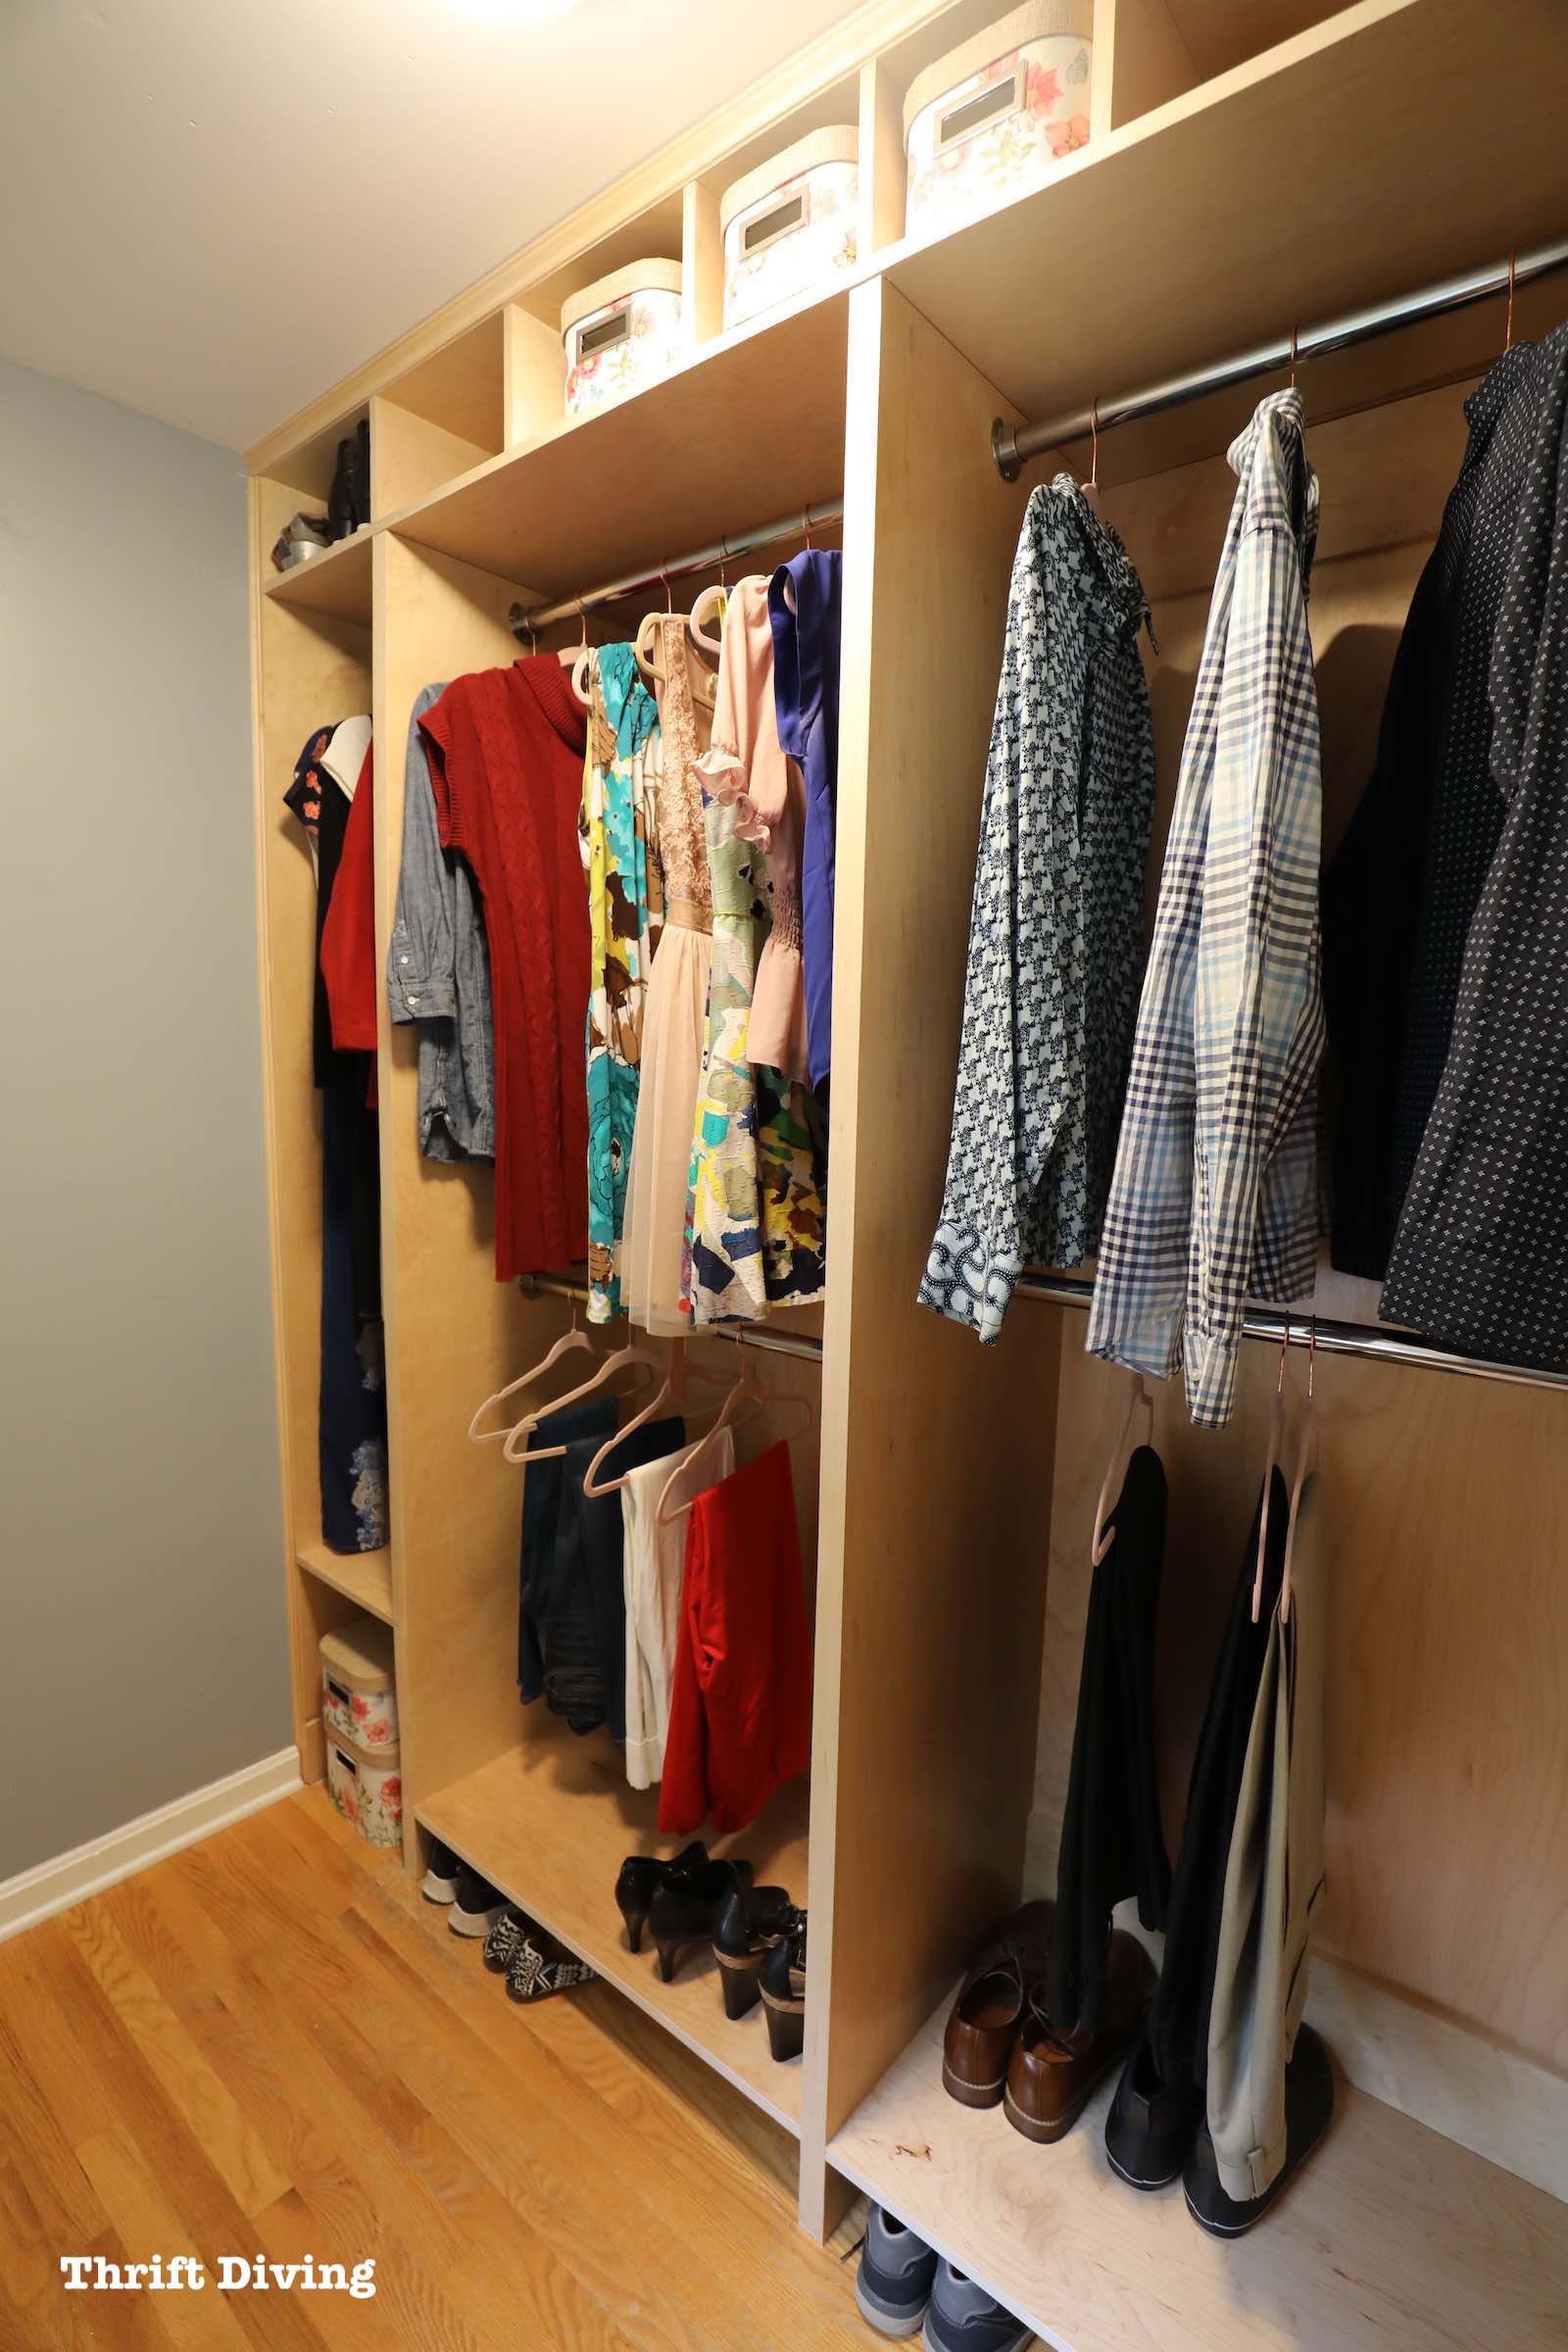
AFTER!
I can’t begin to tell you how excited I am at how this turned out! My first inclination is to tell you all the things I did wrong (don’t worry–we’ll get there. You know I always share those “Lessons Learned.”) But I really can’t point out the negative without telling you all the amazing things I discovered along the way! This project was a labor of love and helped me to learn some important woodworking lessons that will help with projects to come!
How to Build a Custom Walk-in Closet Organizer
In this post, I won’t go through all the steps to build a custom walk-in closet organizer, because I covered that in my other post, How to Build a Closet Organizer from Scratch. But I am going to walk you through how I built this other section and was able to customize it to meet the needs for:
- more storage space
- better organization
- a seating area that can be used a vanity or desk.
Tools & Materials
Your tools and materials will depend on the custom closet organizer that you decide to build, but there will be some common things you’ll want to include with your list. Here’s what I used that I think you’ll find helpful (include affiliate links):
- 4′ x 8′ sheets of plywood 3/4″ thickness. (I used maple plywood)
- 1/4″ plywood for the back of the closet organizer
- Maple egde banding
- Stud finder
- Level
- Wood shims
- 2 1/2″ cabinet screws
- Drawer pulls
- Kreg adjustable shelf jig
- Adjustable shelf pins
- Festool track saw
STEP 1: Take Your Measurements of Your Walk-in Closet
Before you can build a custom walk-in closet organizer, you have to know what you’re working with! And it starts with measurements. But here’s the thing: you must take different measurements:
- Length of the room
- Width of the room
- Floor to ceiling height
- Is the floor level?
- Are the walls level?
- Will you have to remove any baseboards in order for your custom closet organizer to fit flush to the wall? Take measurements without the baseboards getting in the way, if you have to.
When you’re doing your measurements, be sure to measure at different points along the walls. Don’t just measure in the middle. Trust me–the measurement you get from corner to window trim may be one length at the bottom, but at the middle and top it could be bigger. You’ll want to use the smaller of the numbers so your custom closet organizer fits and isn’t too big!
STEP 2: Mark All Your Studs
Custom closet organizers must be secured to studs. Studs are generally 16″ on center. Which means, from the center of one stud to the next, it’s 16″. Once you find one stud with a stud finder, it’s easy to find the others with certainty with the stud finder. Mark where these studs are with X’s.
(This blog post tutorial is still being written! Stay tuned for updates! In the meantime, watch the YouTube tutorials!)
PART 2 of 3: How to Build a Closet Organizer from Scratch
PART 3 of 3: How to Build a Custom Closet Organizer From Scratch
Download the 5 freebies!

Thrift Diving inspires women to decorate, improve, and maintain their home themselves...using paint, power tools, and thrift stores! Use these 5 printables, checklists, and ebooks to get started!