Save Your Jammies From Being Ruined By DIY – Vintage Sewing Cabinet Makeover!
What do you get when you’ve got a passion for DIY…….no proper “paint” or work clothes…a drawer full of paint-splattered jammies, and ugly furniture like this to make over?
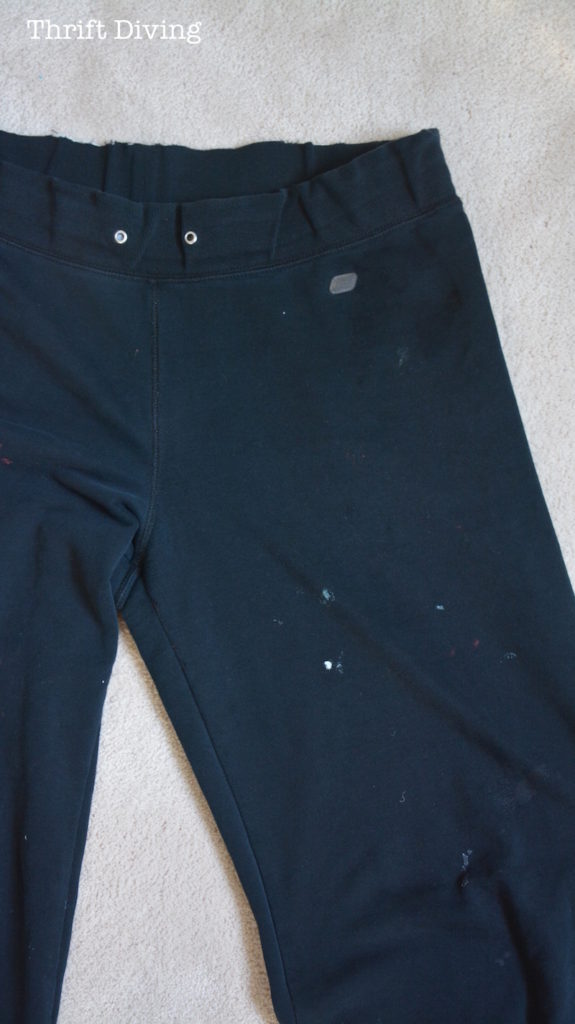
Well–you end up with a drawer full of clothes that look something like this:
This, my friends, is how you’ll find me on a Saturday morning: with ugly, ruined clothes in which I not only sleep, but also in which I do my projects and yard work!!
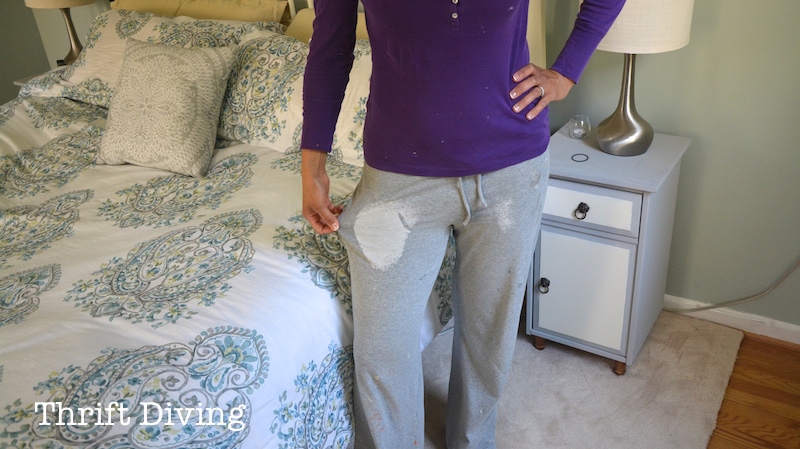
Last month I was rooting through my drawers trying to find decent jammies and I couldn’t find a thing that wasn’t speckled with paint, caulk, or stains. (I even had a pair of–GASP!-maternity leggings from nearly 4 years ago! I know……that’s crazy! What in the world am I thinking??)
The problem is four-fold (is that a word??): 1) I don’t have proper attire to DIY, and 2) I’ve ruined all my jammies because of it, 3) I look like a bum to the neighbors when I’m DIY’ing in the driveway, and 4) I don’t have any cute jammies for lounging around the house with my family because they’re all stained.
I knew I couldn’t be the only one suffering from this problem, so I posted awhile ago asking you guys if you’re guilty of DIY’ing in your jammies, too. And you know what?? You are!!
Duluth Trading Company to the Rescue!
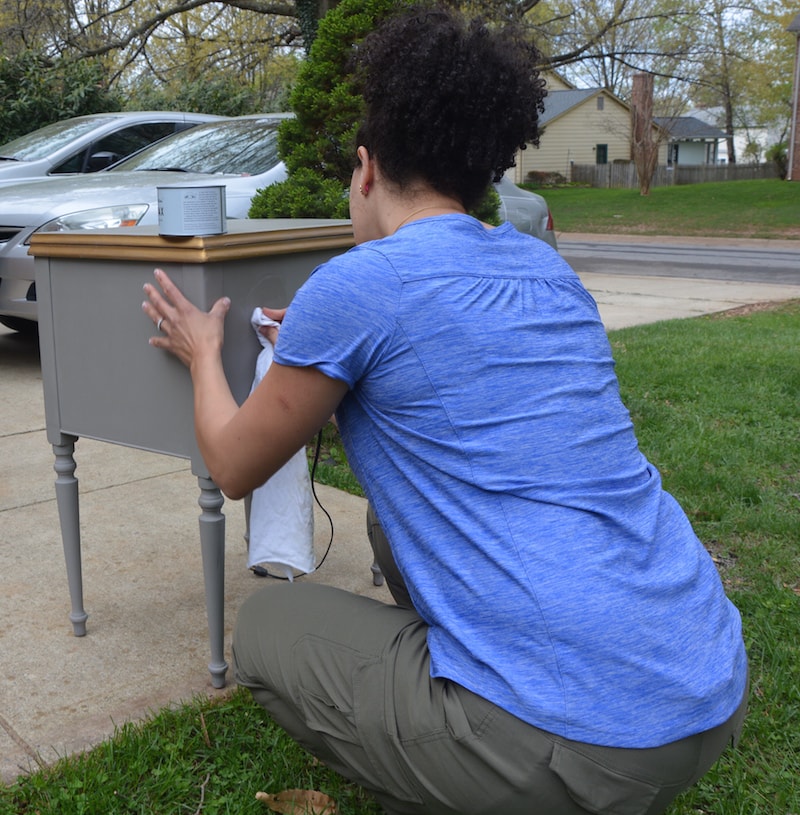
I decided that I would get some proper work gear this month (along with some pretty jammies)! I had a chance to try some Duluth Trading Company work clothes last year and absolutely loved them and their company (can you say BALLROOM jeans? Ha! That always makes me laugh!). So I decided to order some of my favorite things from their website (see my wish list for a complete list of what I ordered). I spend a lot of time on projects, and decided that I would treat myself to some of the best I could afford.
Most of my projects are done outdoors in the driveway and garage, so it’s really not ideal to DIY in jammies, anyhow. Plus, with spring here and summer coming, I wanted shirts, like this Armchillo® cooling shirt to not overheat in the sun.

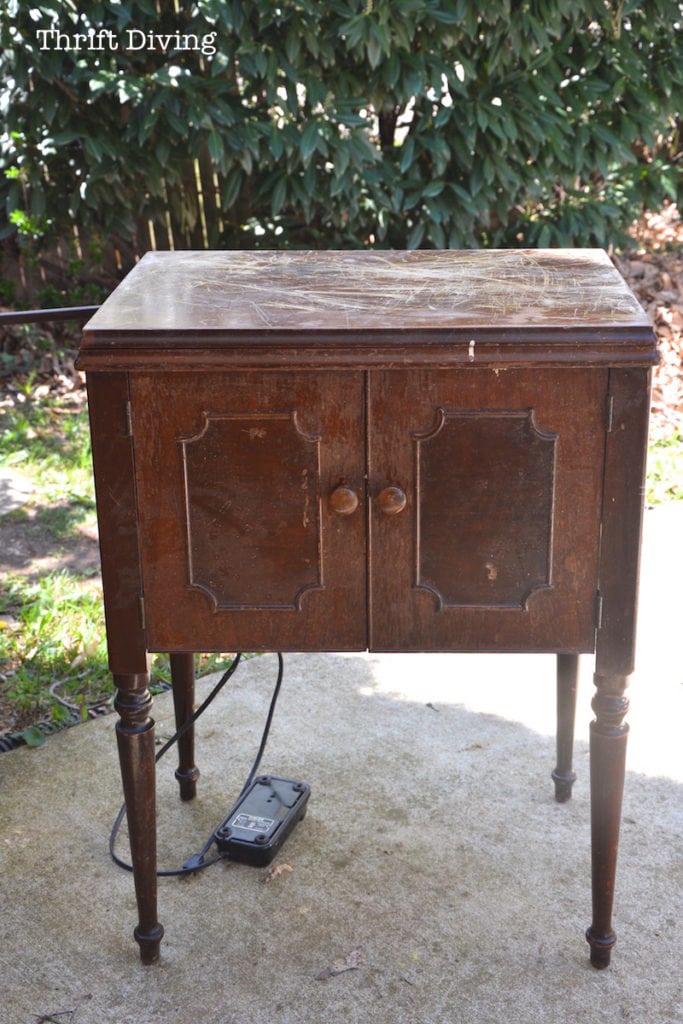
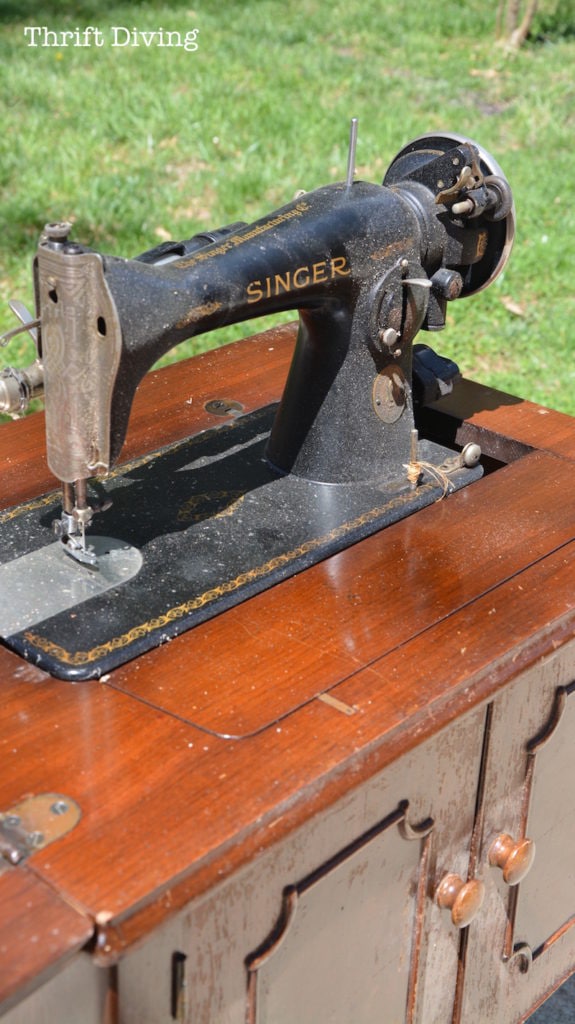
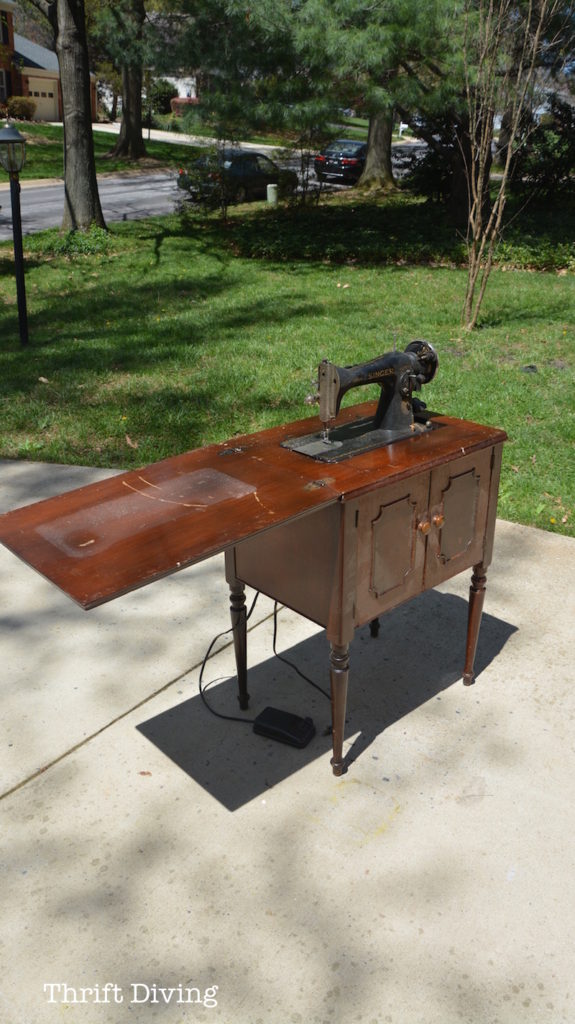
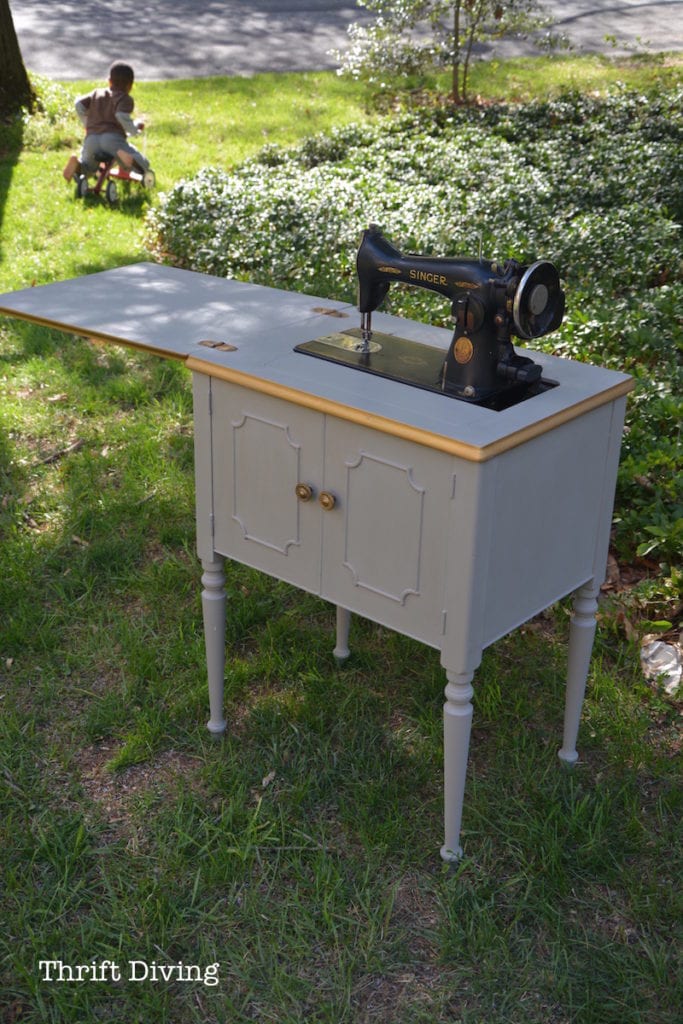
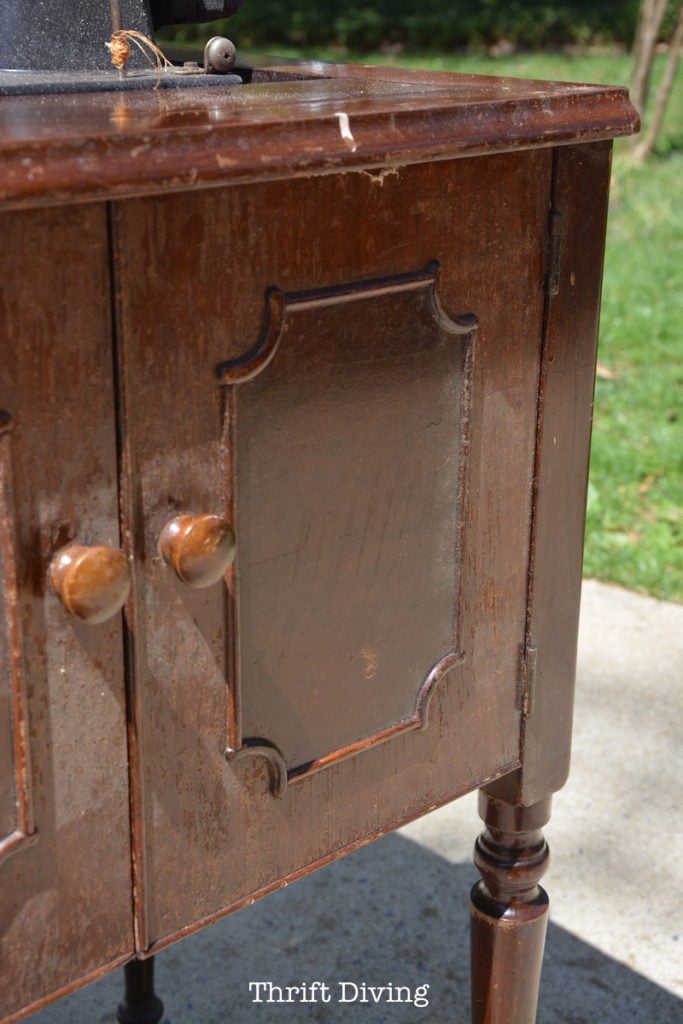
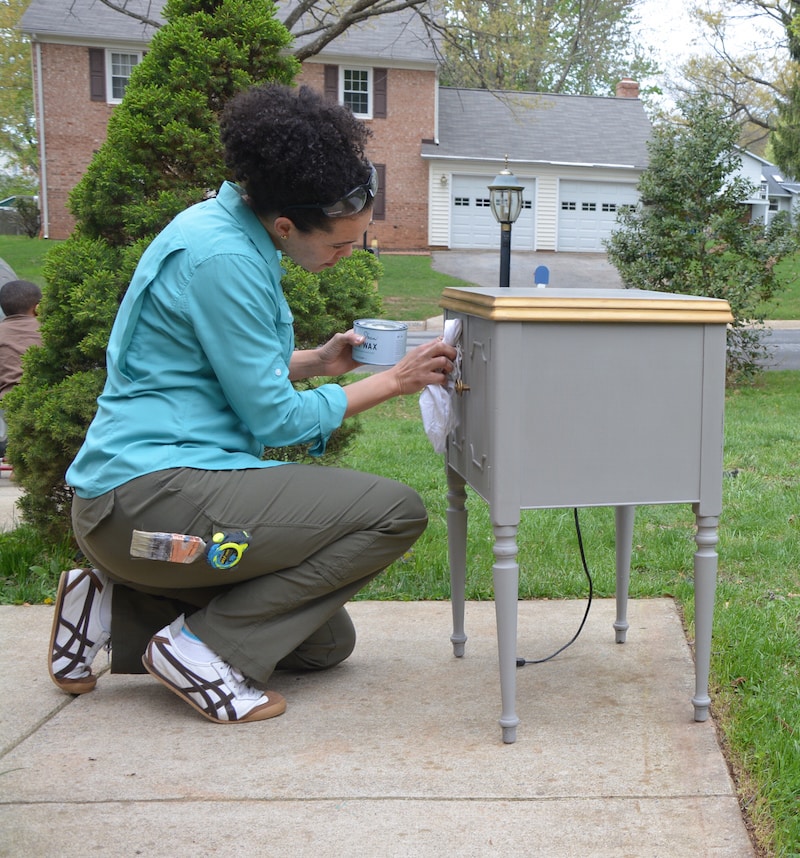
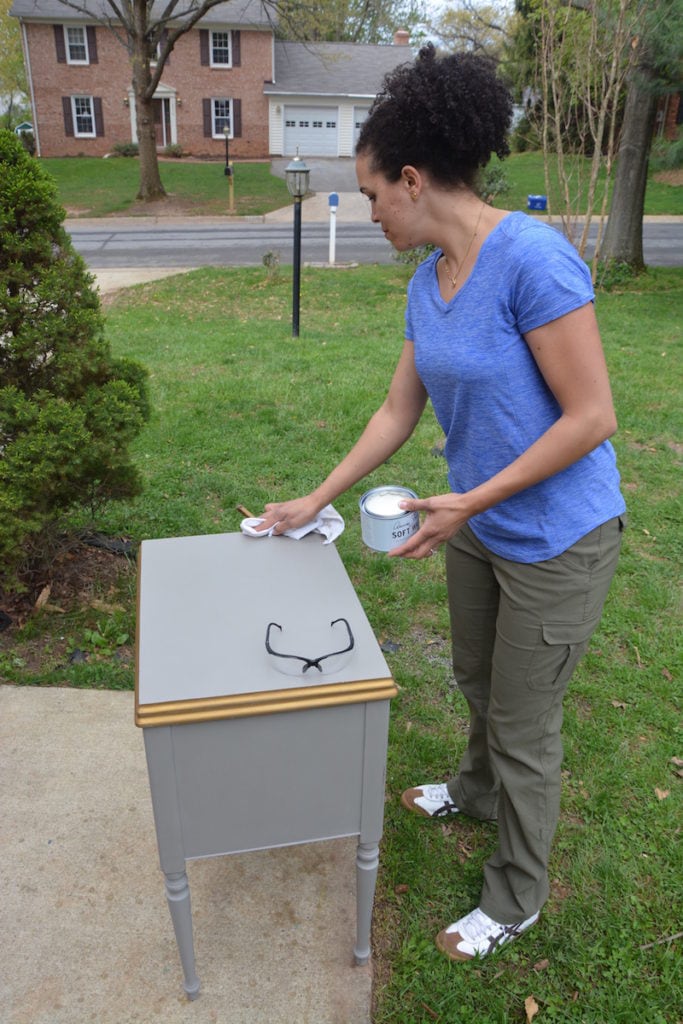
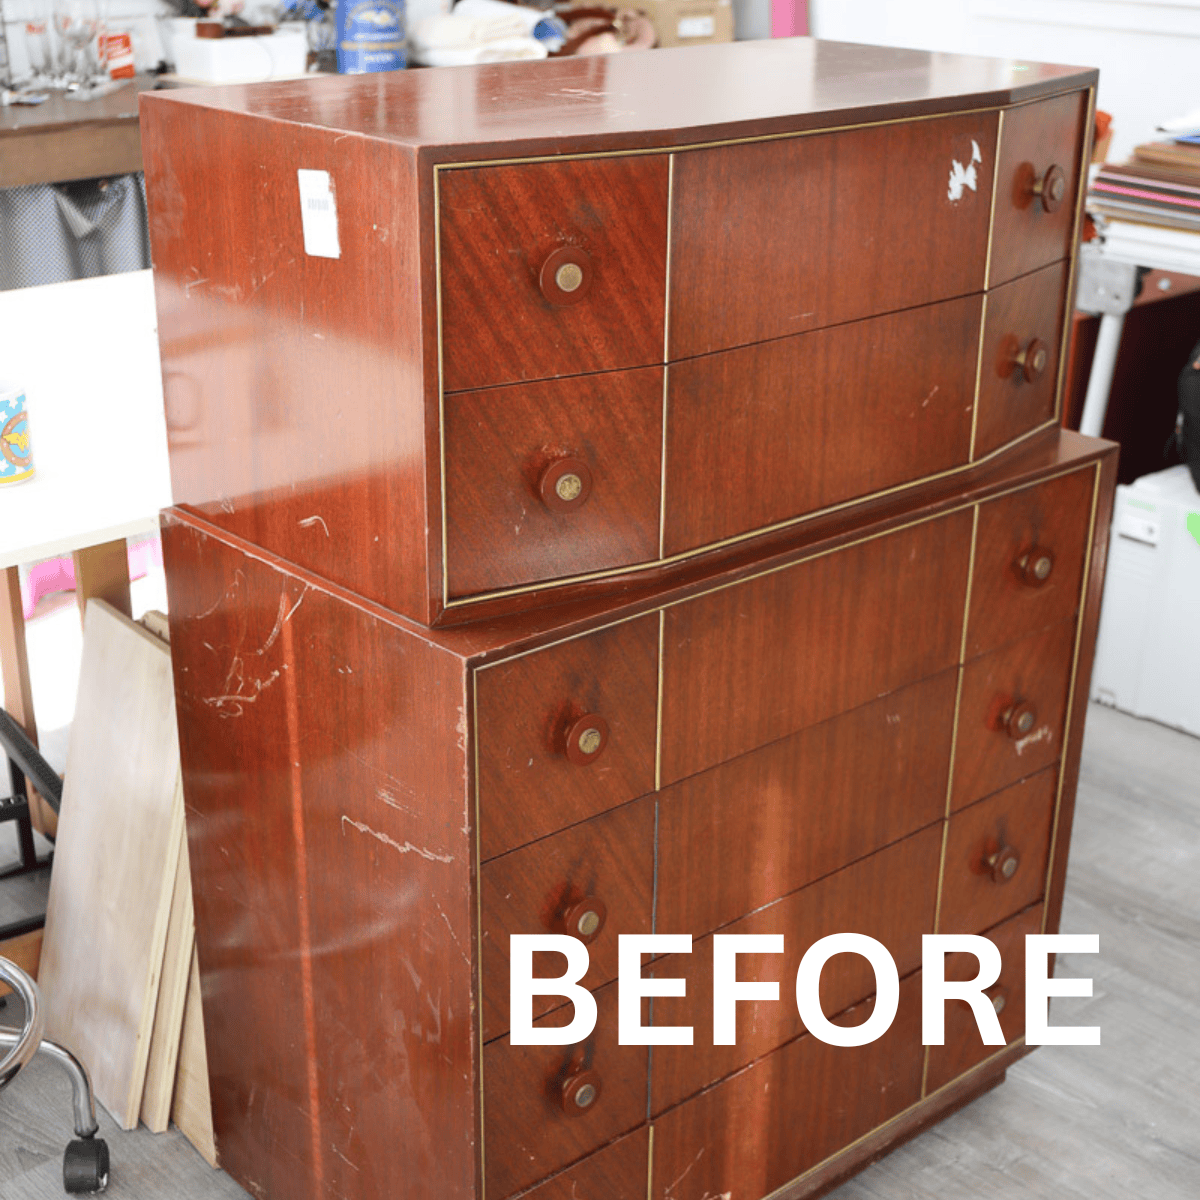
So this weekend I was working on my Ugly April project: a vintage sewing machine with a beat-up cabinet which may or may not be as old. But IT.WAS.UGLY.
BEFORE
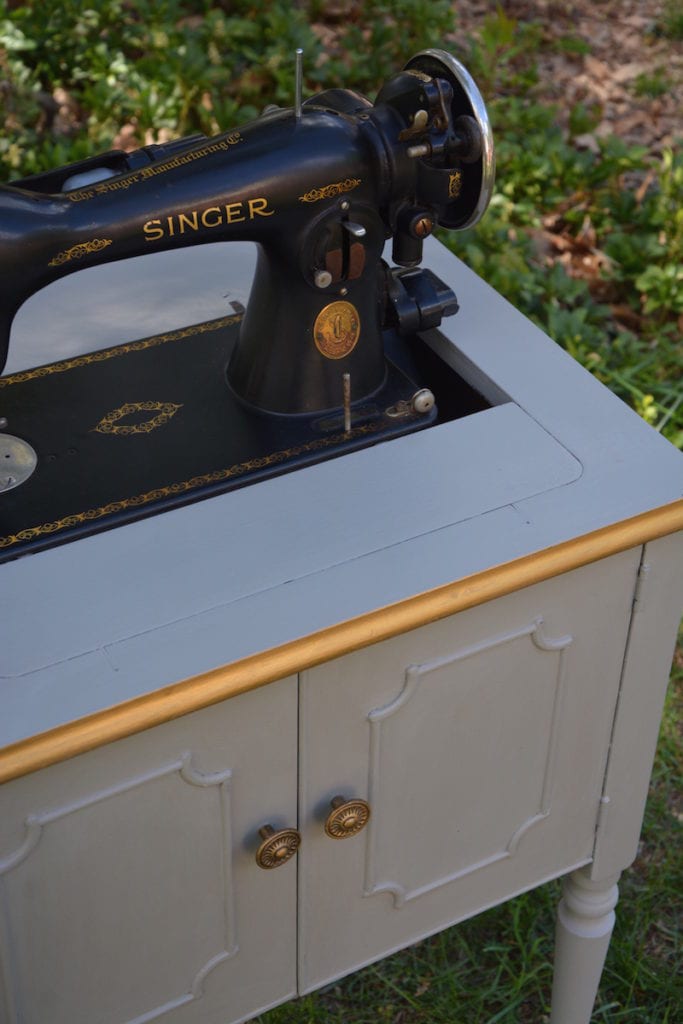
It took some sanding and a couple coats of paint, and some gold rub n’ buff (and lots of leaning over!), but it was worth it!
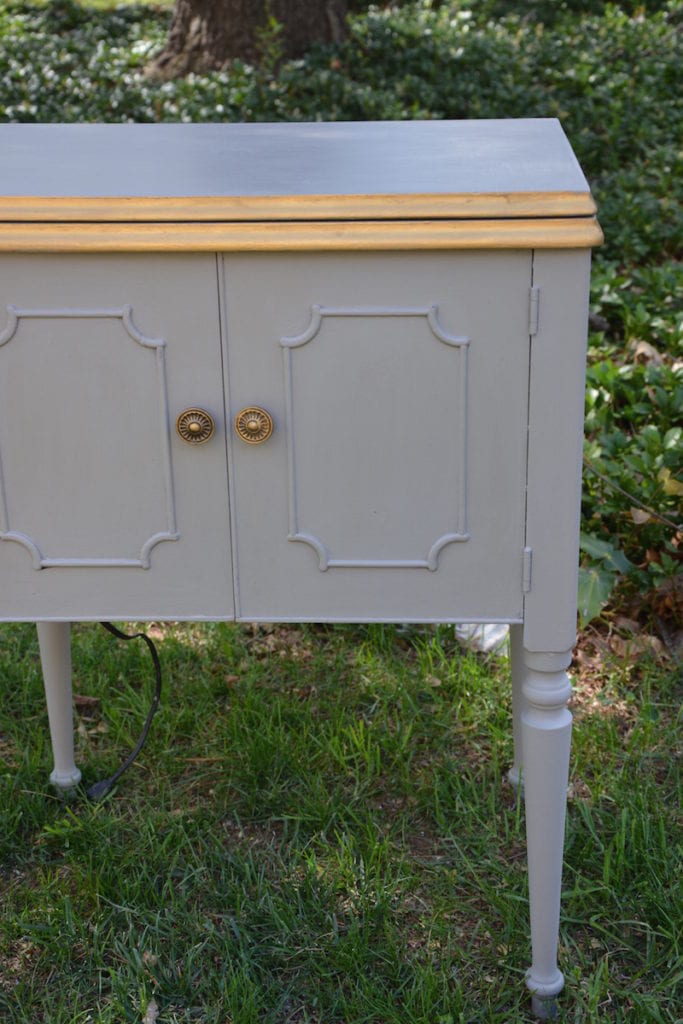
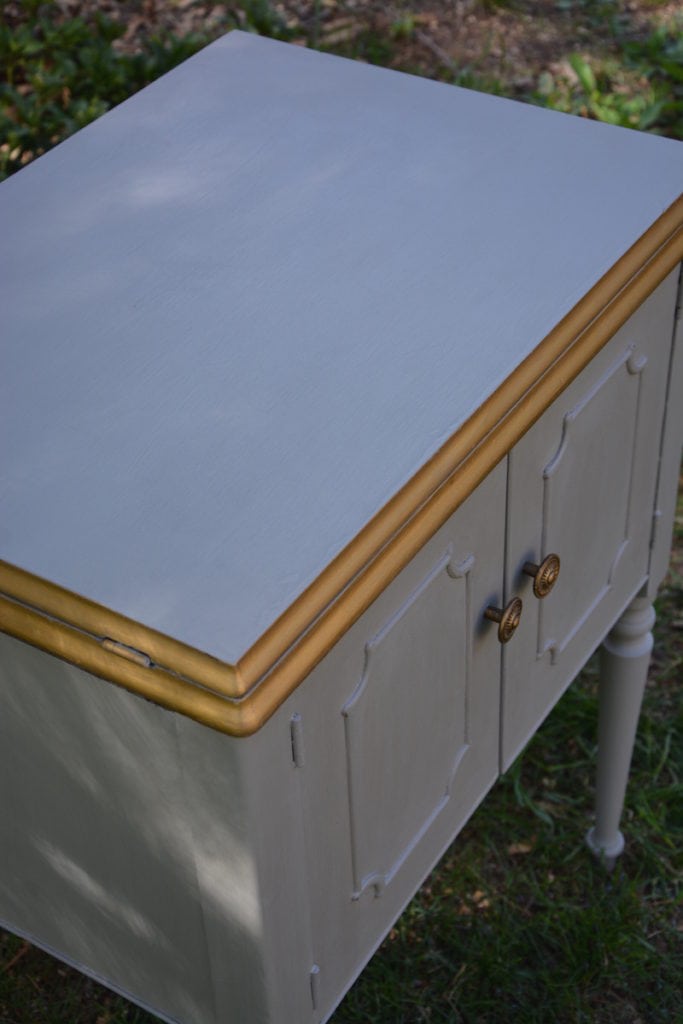
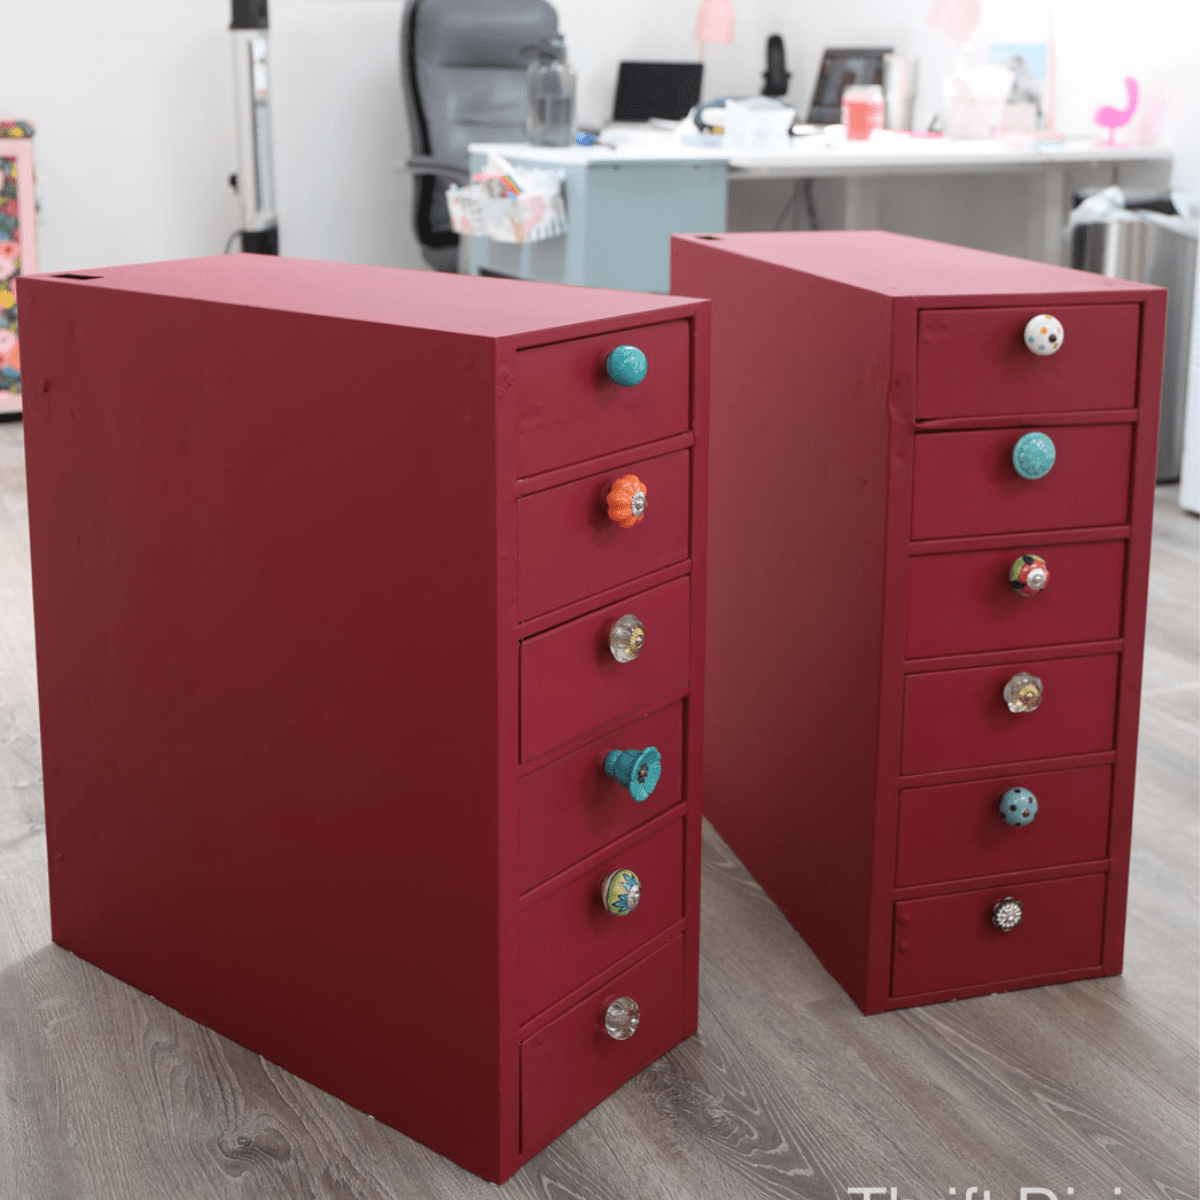
AFTER!

BEFORE
AFTER!
The knobs came from this vintage buffet I made over last year.
See This Post in Action — Watch the Video!
See the transformation of the sewing cabinet and how my new work gear held up!
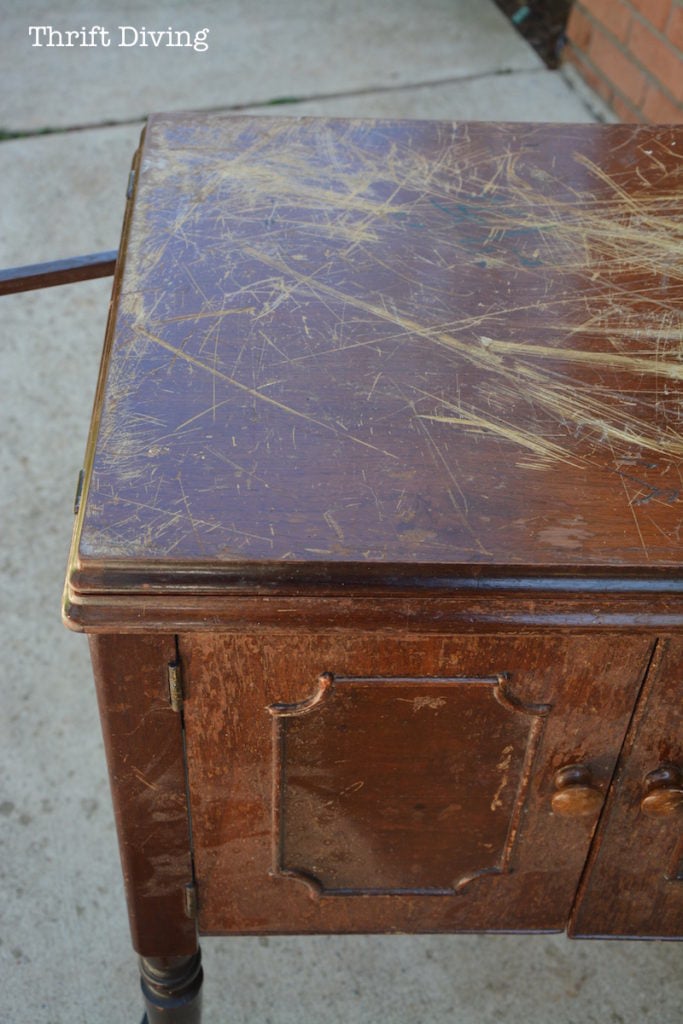
Believe it or not, it was a pretty easy project to complete, despite its condition. I did some sanding on the top, and painted it French Linen (Annie Sloan chalk paint), but it did take a bunch of stooping and squatting while working on it. I was stoked at how stretchy my new work gear was! And the best part: I didn’t moon anyone!! 🙂 The shirt was shaped nicely, yet long, and I could get low without worrying that someone walking by was getting a peep show or that I was inappropriately dressed (or ruining more jammies or street clothes, which I have also worked in).
And I was inspired by the gold in the vintage Singer machine. So I decided to use gold rub n’ buff on the edge. Here’s what it looked like WITHOUT it. Pretty plain, huh?

BEFORE
But the gold just sets it off nicely, I think.
AFTER!
The cord is frayed on the sewing machine so I’ll have to see about getting it fixed. Then, I’m not sure what I’ll do with this piece! For now, it’s sitting in my cluttered garage. Surprised??
I checked the serial number on it here, and it looks like the machine is from 1935! I am doubtful the cabinet came from that time, but I don’t know…?
BEFORE
AFTER!
While outside working on the sewing cabinet, I tested out one of my other Duluth Trading Company shirt, the Armchillo® Long Sleeved button down shirt. It’s surprisingly light weight and kept me cool (and it has sun protection built into it!) and wicked away sweat.
Oh, and get this–it even has a built-in microfiber glass shirttail shammy on the hem, so when your safety glasses or eye classes need cleaning (sawdust, anyone???), you’ve got one right there stitched on the hem of your shirt. Seriously, who was the genius that designed THAT feature??! Thank you!!

I might just have to save this one to wear out-and-about, it’s that pretty :). My favorite color!

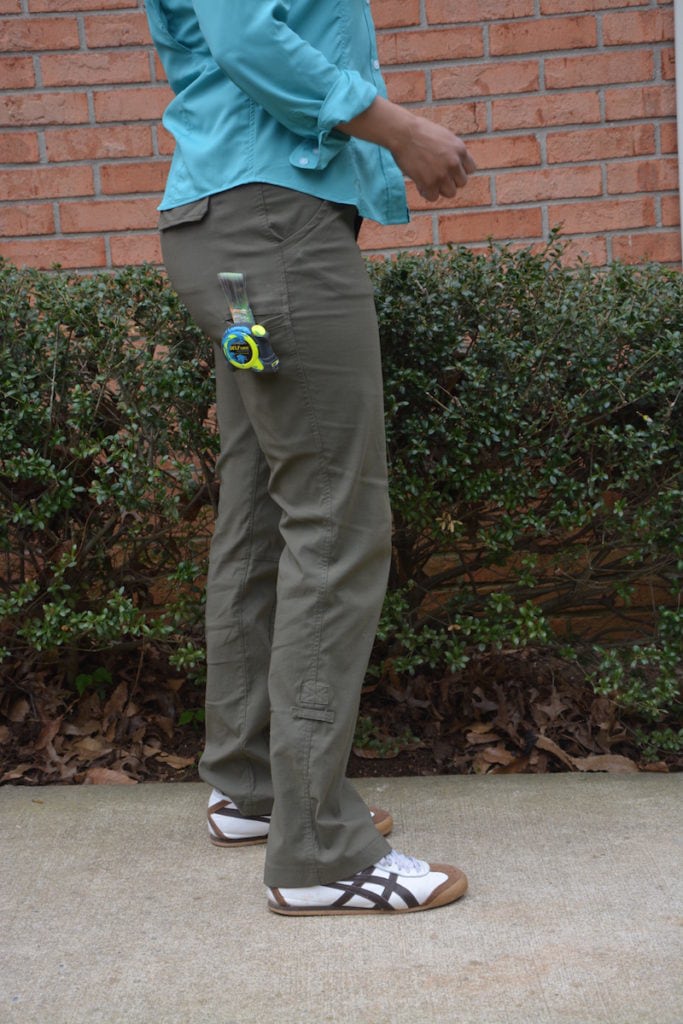
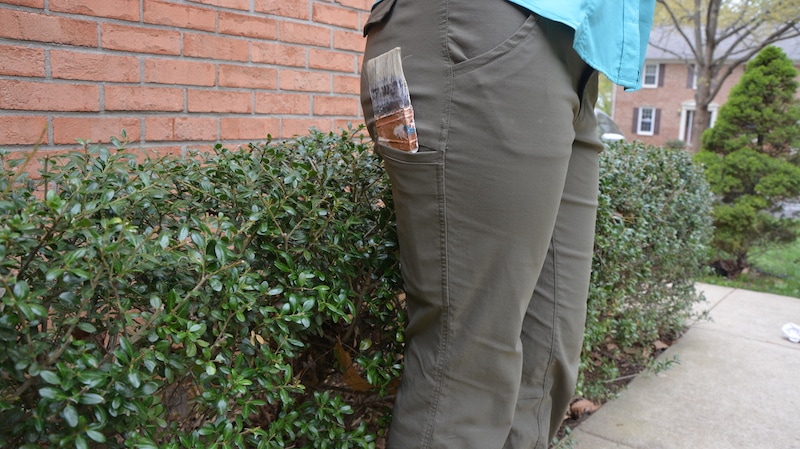
And my faaaaavvorite pants: the DuluthFlex Dry on the Fly Convertible pants! OH MY! How could I have lived without these?! Those deep pockets for TOOLS……the stretch (even has a stretchy waist!), and they’re long enough for my 5’10” frame. I’m seriously considering getting a second pair for just casual wear when I’m out-and-about. That’s how good they look and feel!
Overall, it was a pretty productive weekend! I had just gotten back from South Carolina this past weekend (did you hear about my exciting news??). And then to have completed this ugly project, and also make over my own ugly work gear and jammies, I’m feeling pretty great about now! 🙂
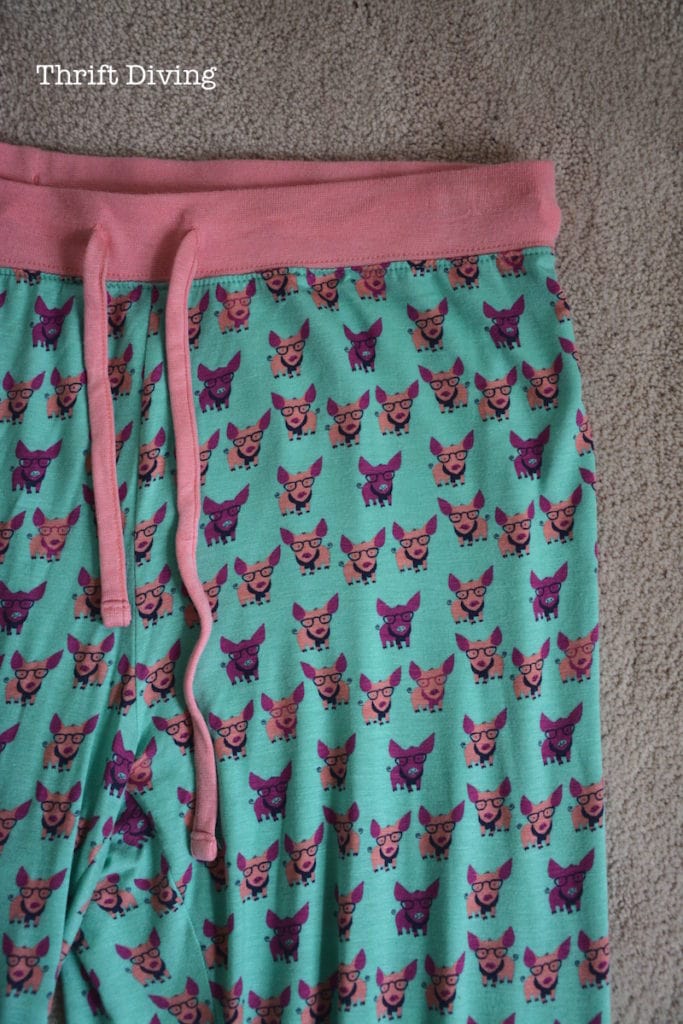
Meet My New Jammies
Well, you just met my new work gear. Now meet my new jammies. Yes, I am be vegetarian, but cute piglets with glasses don’t count. 😉
And although these are cutesy, I feel amazing in them! Finally, paint-free clothing! WOO HOO!
Worktime!
Playtime!
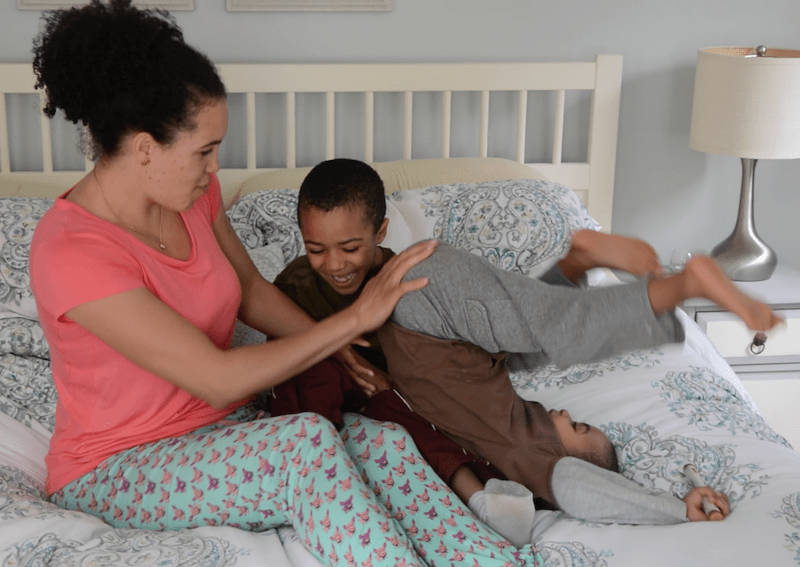
My boys had fun rolling around with me this morning. And I didn’t have to feel all gross in my bed. LOL

Download the 5 freebies!

Thrift Diving inspires women to decorate, improve, and maintain their home themselves...using paint, power tools, and thrift stores! Use these 5 printables, checklists, and ebooks to get started!

This machine and cabinet are both from 1930s a hard time for most Americans and right before WWII. Have the exact same machine and currently fixing it up to use. The stain is the original color for the cabinet.
Beautiful machine!
Totally amazing I am inspired by your work! 😀
First time I’ve been to your site, love your work.
I Love what you’ve done with the sewing cabinet Serena!! The color, rubnbuff and the knobs too. I have the same one, it was my grandmother’s and yes, the cabinet is original to the machine. I learned to sew on it and in the summers I’d go to my great aunt’s (my grandmothers sister) and use hers. they looked exactly the same, cabinets and machines but my great aunts didn’t go backwards, however it did wind it’s own bobbin 🙂 I guess Singer hadn’t figured out how to do both yet.
I love your pants and top. Great info and can’t have too many pockets while working:)
Thanks,Carla
Hi Serena,
Just wanted to tell you I think the sewing cabinet came out looking really nice! I like the color and the gold edge on it; it really sets it off.
I’m commenting because I don’t normally like something painted as much as I prefer the original stained finish.
Good job!
Awww…thank you, Shirley! I really appreciate that! 🙂
Oh my! So much to say. I’m, obviously, not leaving a comment to ‘win’ anything (since I’m in Australia it wouldn’t have counted anyway) but wanted to say a few things so hit up this page!
I LOVE all your work- and your blog. I love that you don’t do that shabby-distressed thing to your furniture after restoring it. (Seriously, people- like 1980s shabby-chic?) I know sometimes that edging and distressing makes all the details on pieces come up really well in photos and on blogs but I’d rather see a lovely, properly finished piece.
I LOVE your use of rub n buff. Not something I’ve some across in Australia either. Probably can’t get it here 🙁 I love your use of it on fixtures (knobs etc) but HERE on the edge of the sewing cabinet it makes an enormous difference.
I haven’t read through all the comments here but have you thought about using that cabinet either in your kitchen or workshop? I’m thinking that the lift mechanism that allows the sewing machine to rise and fall could be applied to other things. Either a ‘baking’ centre with a cake-mixer or, in the workshop as a table drill or saw?? I know it would sort of ruin the authenticity of the sewing machine cabinet but it’s just an idea.
Lastly, your work outfits look so cute on you. That last set totally says ‘park ranger’ to me. I know I have way too many old, sloppy clothes that I don for fixing and painting. And, PJs! Ha! I have just a set to take away if I’m off to hospital of somewhere. To bed at home, I just wear a comfy tshirt and my undies, but then, I do live alone.