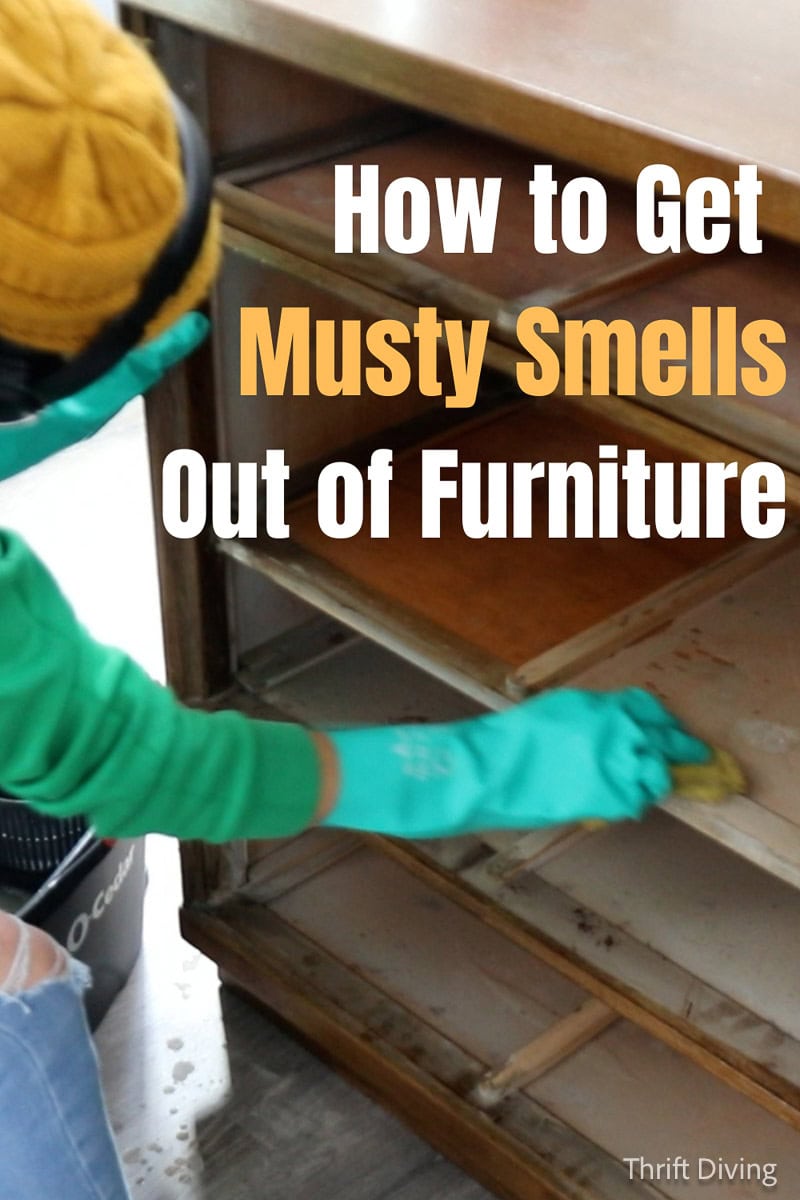
How to Get Musty Smells Out of Furniture (This Dresser Was STINKY!)
This musty furniture dresser makeover was sponsored by Powerscale.
I don’t think I have ever bought a single dresser (or piece of furniture) from the thrift store that didn’t have a musty odor. Even if it wasn’t very pungent, it still has that “thrift store” smell.
Or like it’s been sitting in someone else’s house, smelling like food, smoke, pets, and every other thing that makes you sick the minute you get close enough to smell it.
So I wanted to test out a solution: Could an ozone generator get rid of the musty smell from this low-end mid-century modern dresser that I found for my son at the thrift store?
It was the least expensive there, as well as the dirtiest one.
Perfect.
Let’s give this a shot!
Save this project on Pinterest.
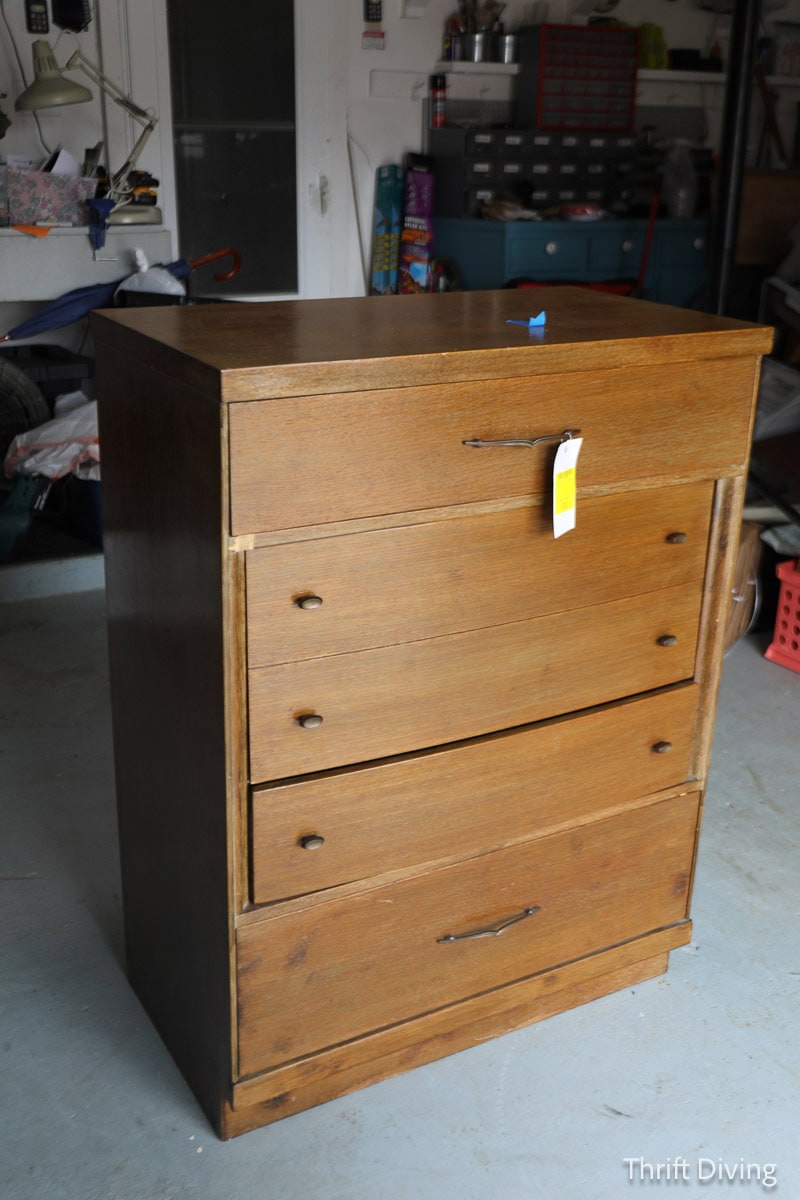
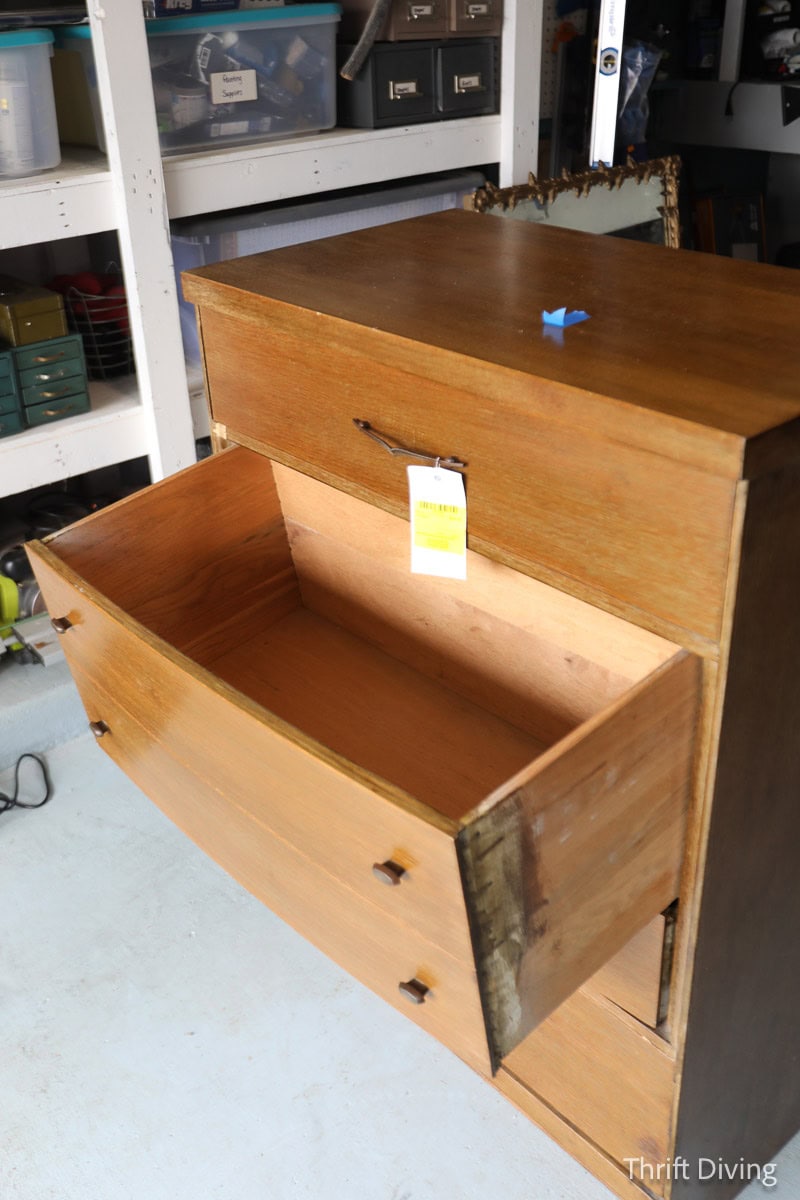
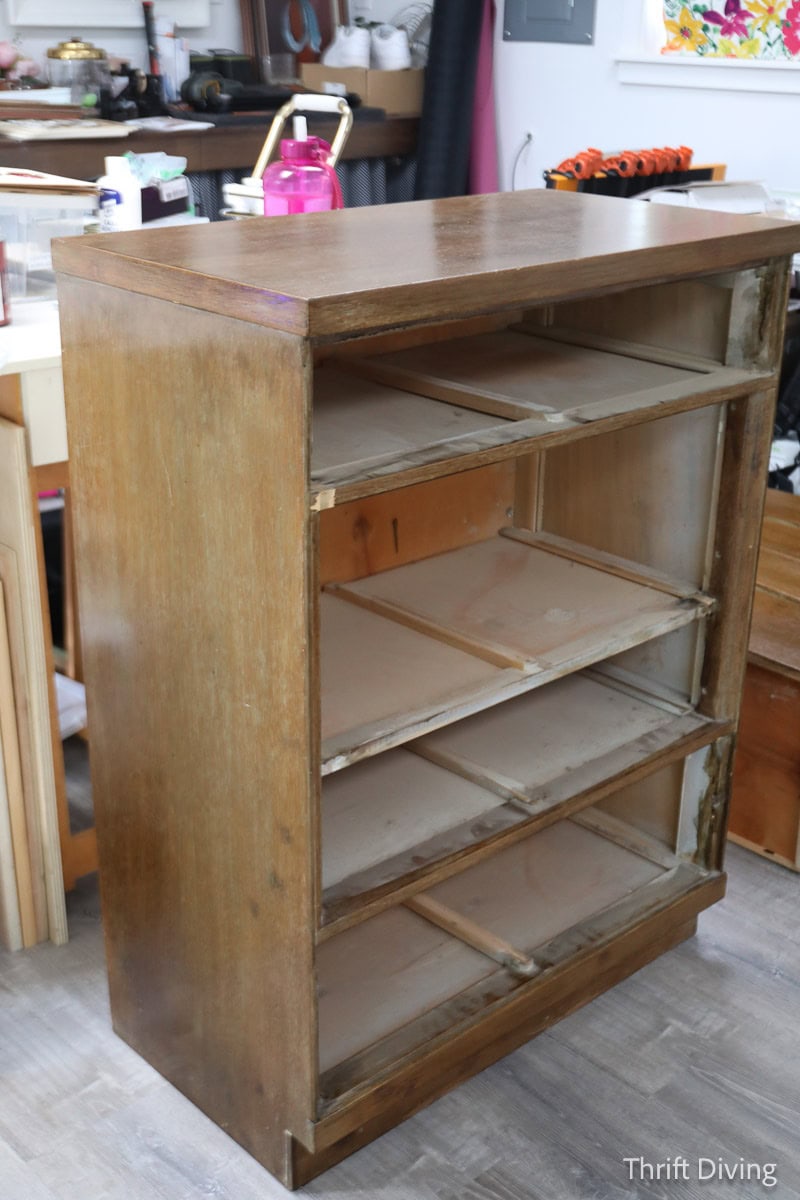
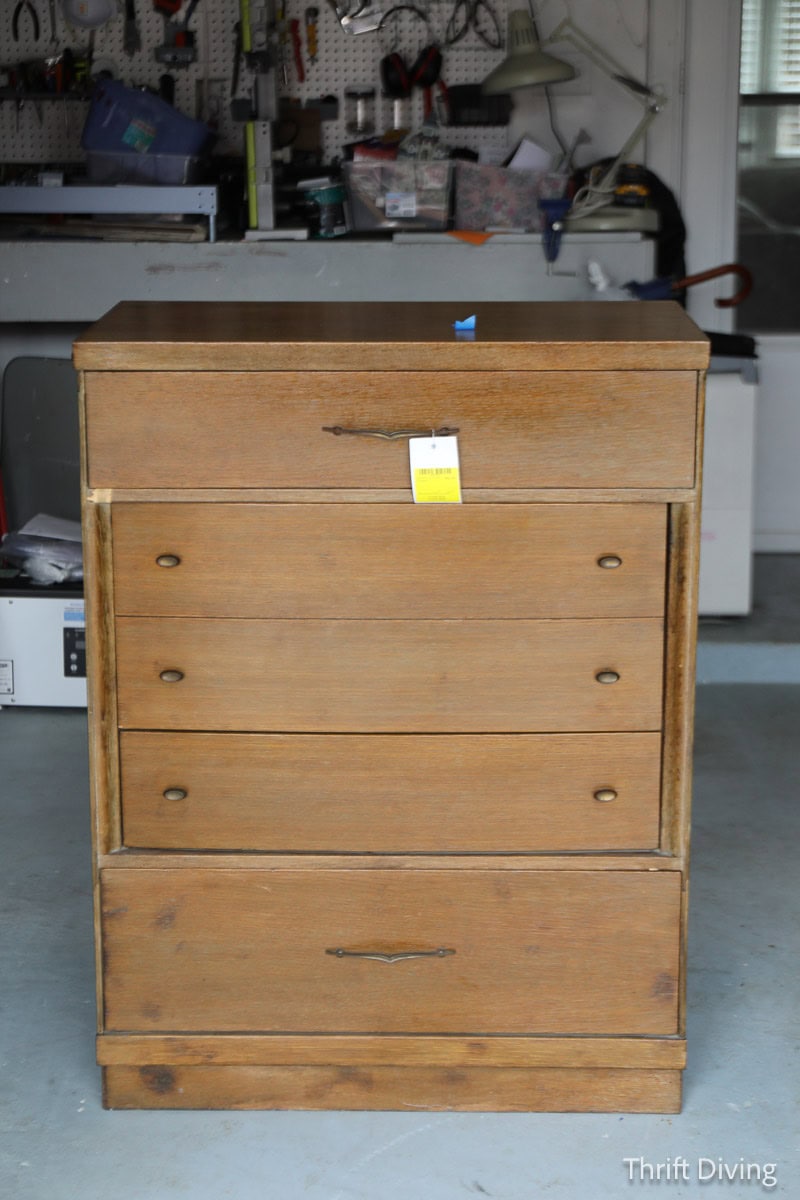
BEFORE – Musty Smell in the Dresser
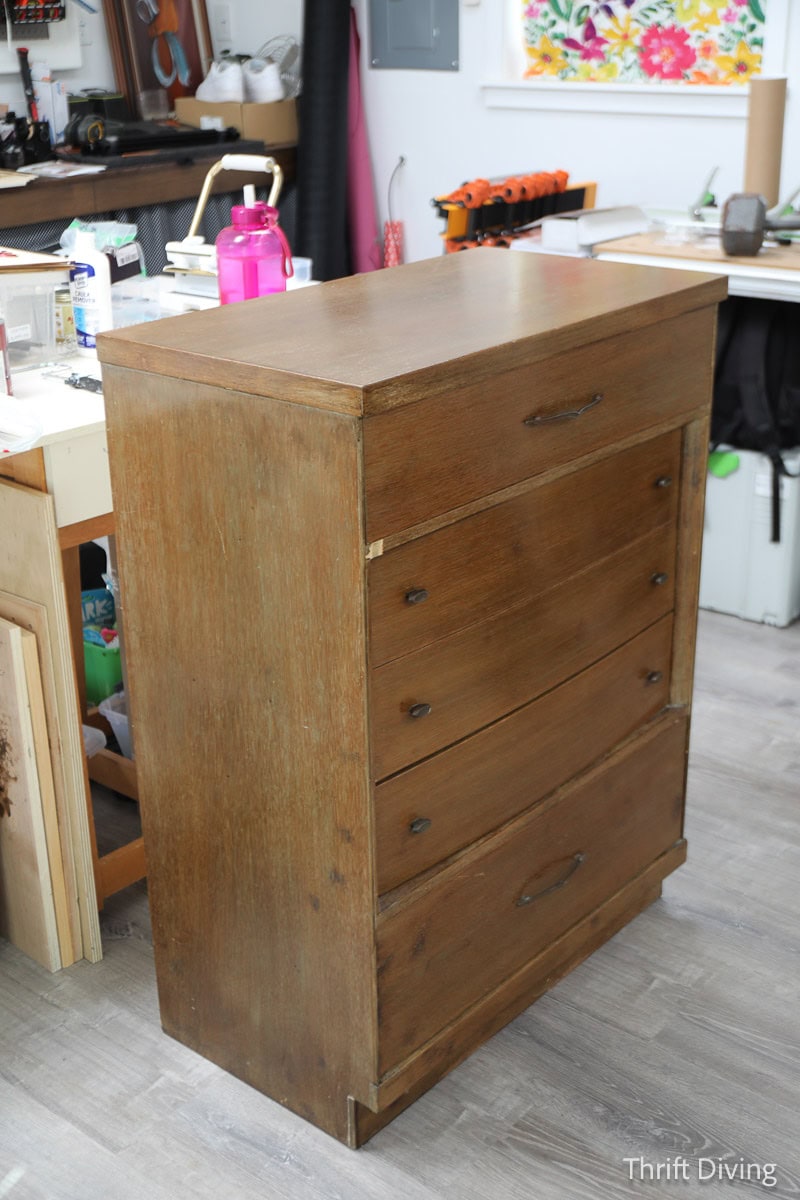
Here’s what the dresser looked like when I lugged it home into the garage. I wasn’t sure if I was going to strip and stain it (boring, since the last two dressers I refinished for my other two sons were stripped and stained–I wanted some color and creativity this time). Nope, we were going to paint this baby!
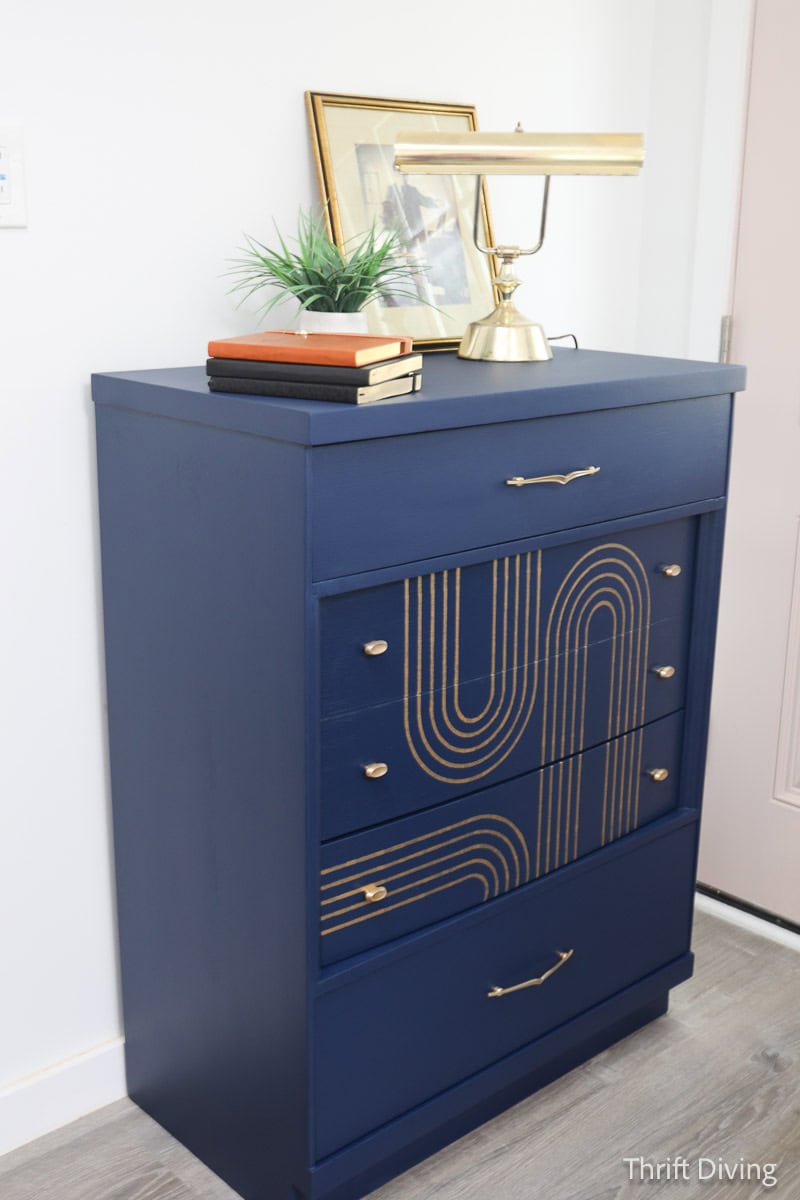
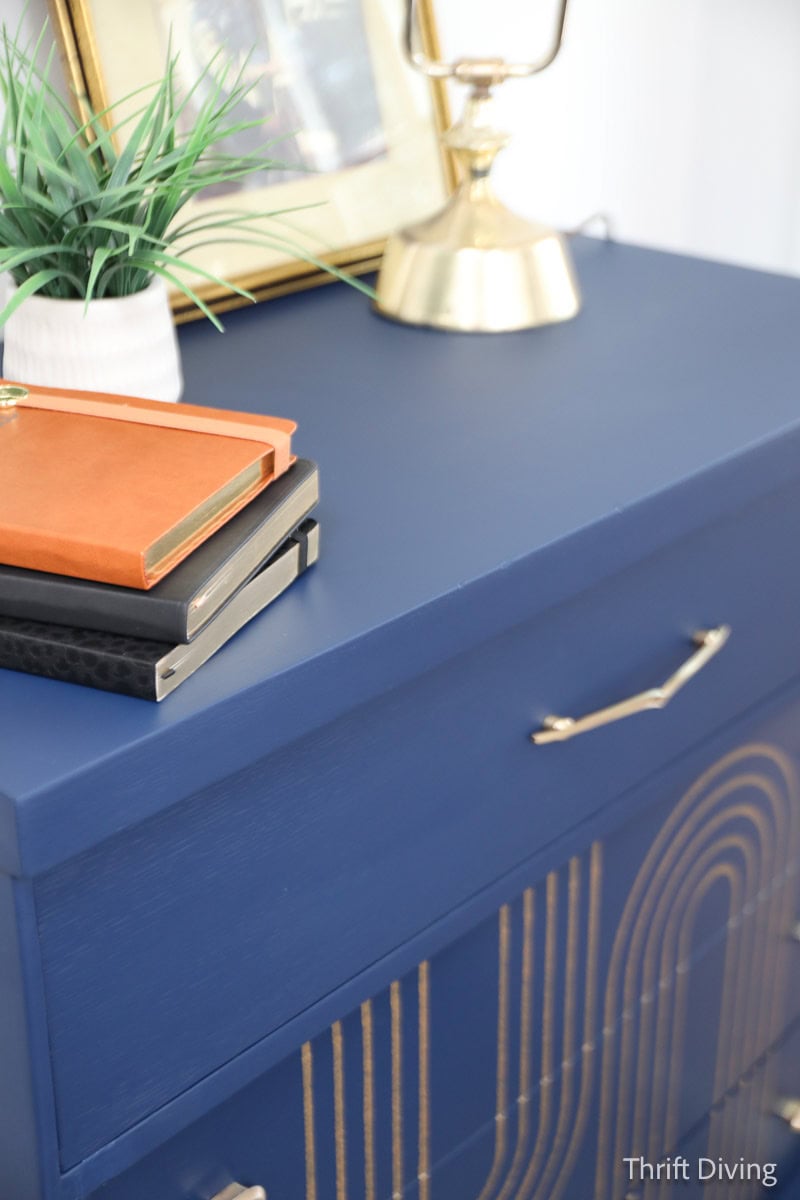
AFTER!
I’m so glad that I allowed myself to get creative with this dresser for my 14-year-old son! Doesn’t it look amazing?? Keep reading to learn how I transformed this dresser from a musty, dirty thrifted dresser into this clean (inside and out) dresser that commands attention!
Materials & Tools (Removing a Musty Smell From Furniture: Dresser Makeover)
Here are the things I used to transform this vintage dresser, and to get the musty odor out. I’ve included my affiliate links.
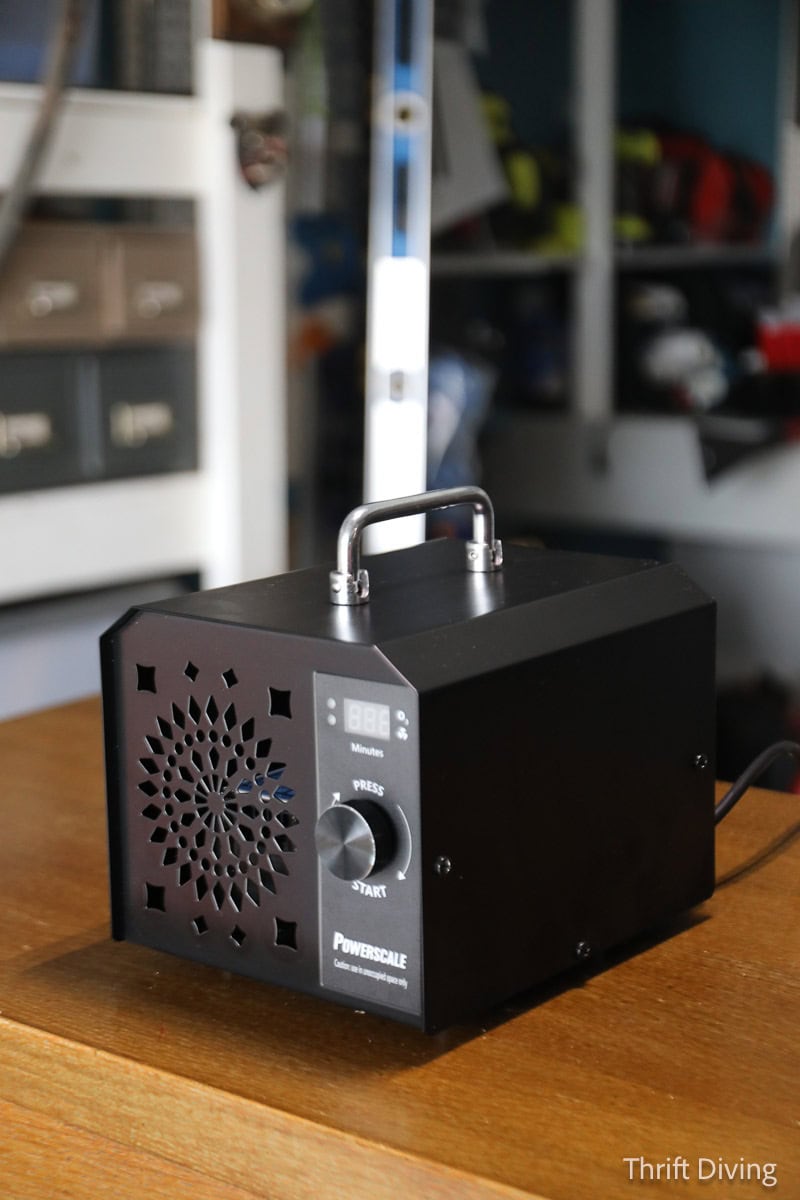
- Powerscale OZB1 Odor generator
- Compass Blue Behr Paint
- BB Frosch Paint Transformer (for making your own DIY chalk paint)
- Top coat (water-based or clear wax)
- Orbital sander & various grits of sandpaper, including dust mask
- xTool laser engraver
- 7.5mil mylar stencil sheets
- Gold metallic paint
- Murphy’s Oil Soap
Watch: How to Get a Musty Smell Out of Furniture
If you want to watch this entire project, from removing the musty smell, to upcycling the dresser, here you go!
How to Get a Musty Smell Out of Furniture
(and make the inside smell good while the outside looks great!)
STEP 1: Take all the drawers out and do a THOROUGH inspection.
When I found the dresser at the thrift store, that is where I started my inspection. I hate the idea of bringing a piece of thrifted furniture home, only to discover it’s got–gasp!–bugs…..or left over socks in the drawers.
This dresser actually had a pair of men’s socks and underwear wedged behind the top drawer, so I’m glad I looked! The thrift store worker removed it. Thank you, because that would have freaked me out to discover it later once I lugged this baby into my “she shed”!
Once you get it home, you still want to do a thorough inspection. Use a flashlight. Make sure you check all the cracks and crevices.
STEP 2: Use an ozone generator to remove musty smells!
This, my friend, is the secret stinky, musty killer solution. I don’t know why I didn’t discover this sooner for getting the bad, musty smells out of furniture (including upholstered furniture, because I have had my share of stinky fabrics!).
I knew that ozone generators existed, but it never dawned on me to use one for my DIY furniture makeovers!
But yes, it works. But here’s the key things to remember:
- Use the ozone generator in a small, enclosed space. The ozone will better seep into the cracks and crevices to break down odor-causing mold, mildew, smoke-smells, food-smells, and more.
- Set the timer for up to 300 minutes, and then walk away. Tell everyone in the house to stay out of the area where the ozone machine is running.
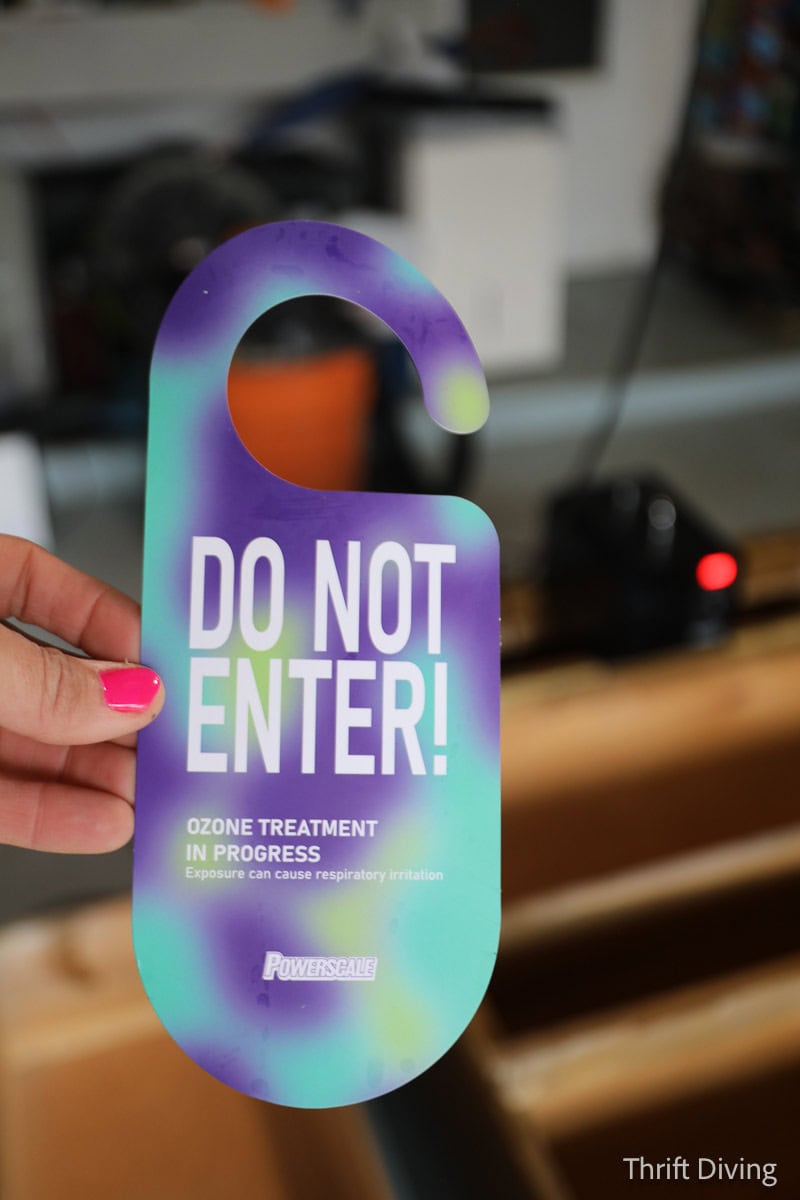
- Don’t enter the area when the ozone machine is on–this includes people and pets. It can irritate your lungs.
- Put a towel under the door to keep out the intense “bleachy” smell from leaking into other parts of your home.
- Let the room thoroughly air out at least 30 minutes once the machine is done running before entering the space.
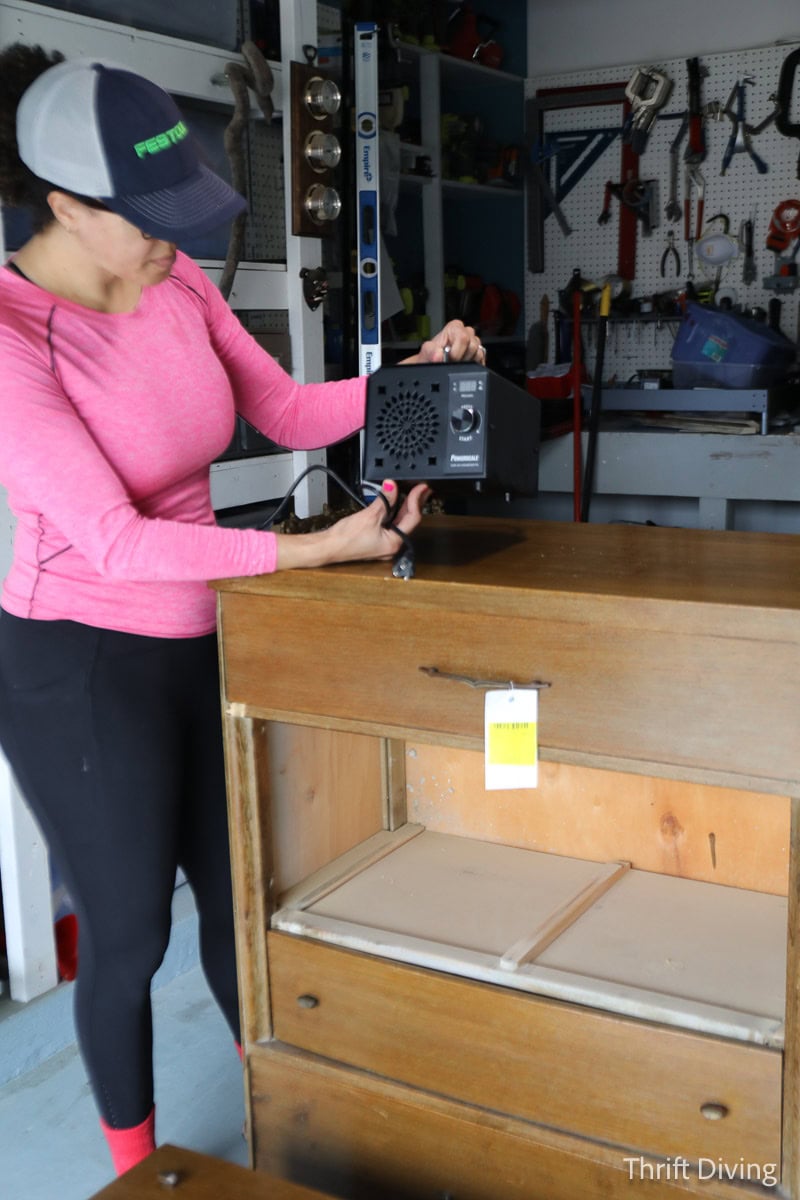
STEP 3: Set it and forget it!
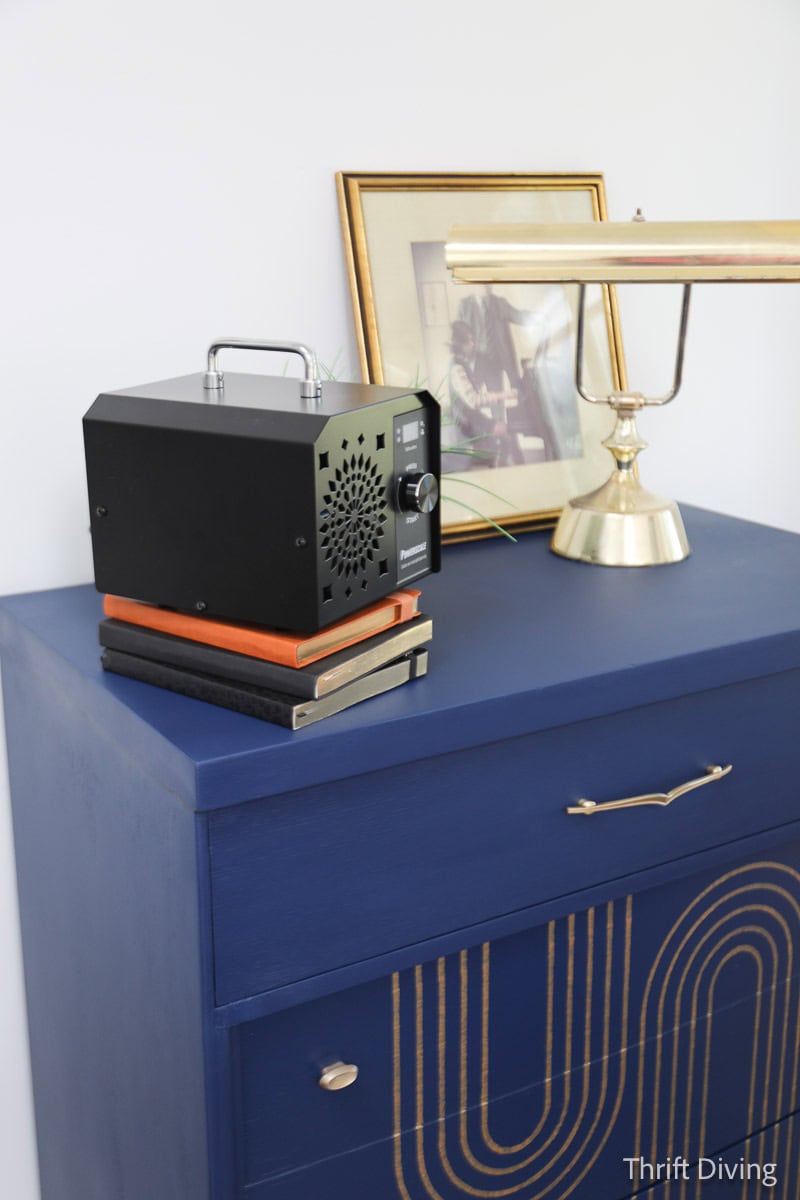
This Powerscale OZB1 ozone machine has a digital timer, not a mechanical timer (which can often fail). So when you set the timer and walk away, you have peace of mind that it’s going to properly cut off when the timer is up.
You’ll see how I arranged my dresser on the floor, with the drawers lying around it, and the ozone generator securely sitting on top of the dresser. I wanted the machine to be as close to the dresser as possible. I set the timer for 120 minutes (2 hours), then closed the garage door and walked out.

STEP 4: Air the space out for at least 30 minutes….then clean the furniture.
Once the garage (where I used the ozone generator) was aired out for 30 minutes (it still had the lingering “bleach” smell, but it was pretty dissipated by then), I moved the dresser into my “she shed” so I could wipe her down and paint her. 🙂
So here’s what my process was so far:
- Inspect the dresser (I also vacuumed it out).
- Remove the musty smell with an ozone generator in the garage.
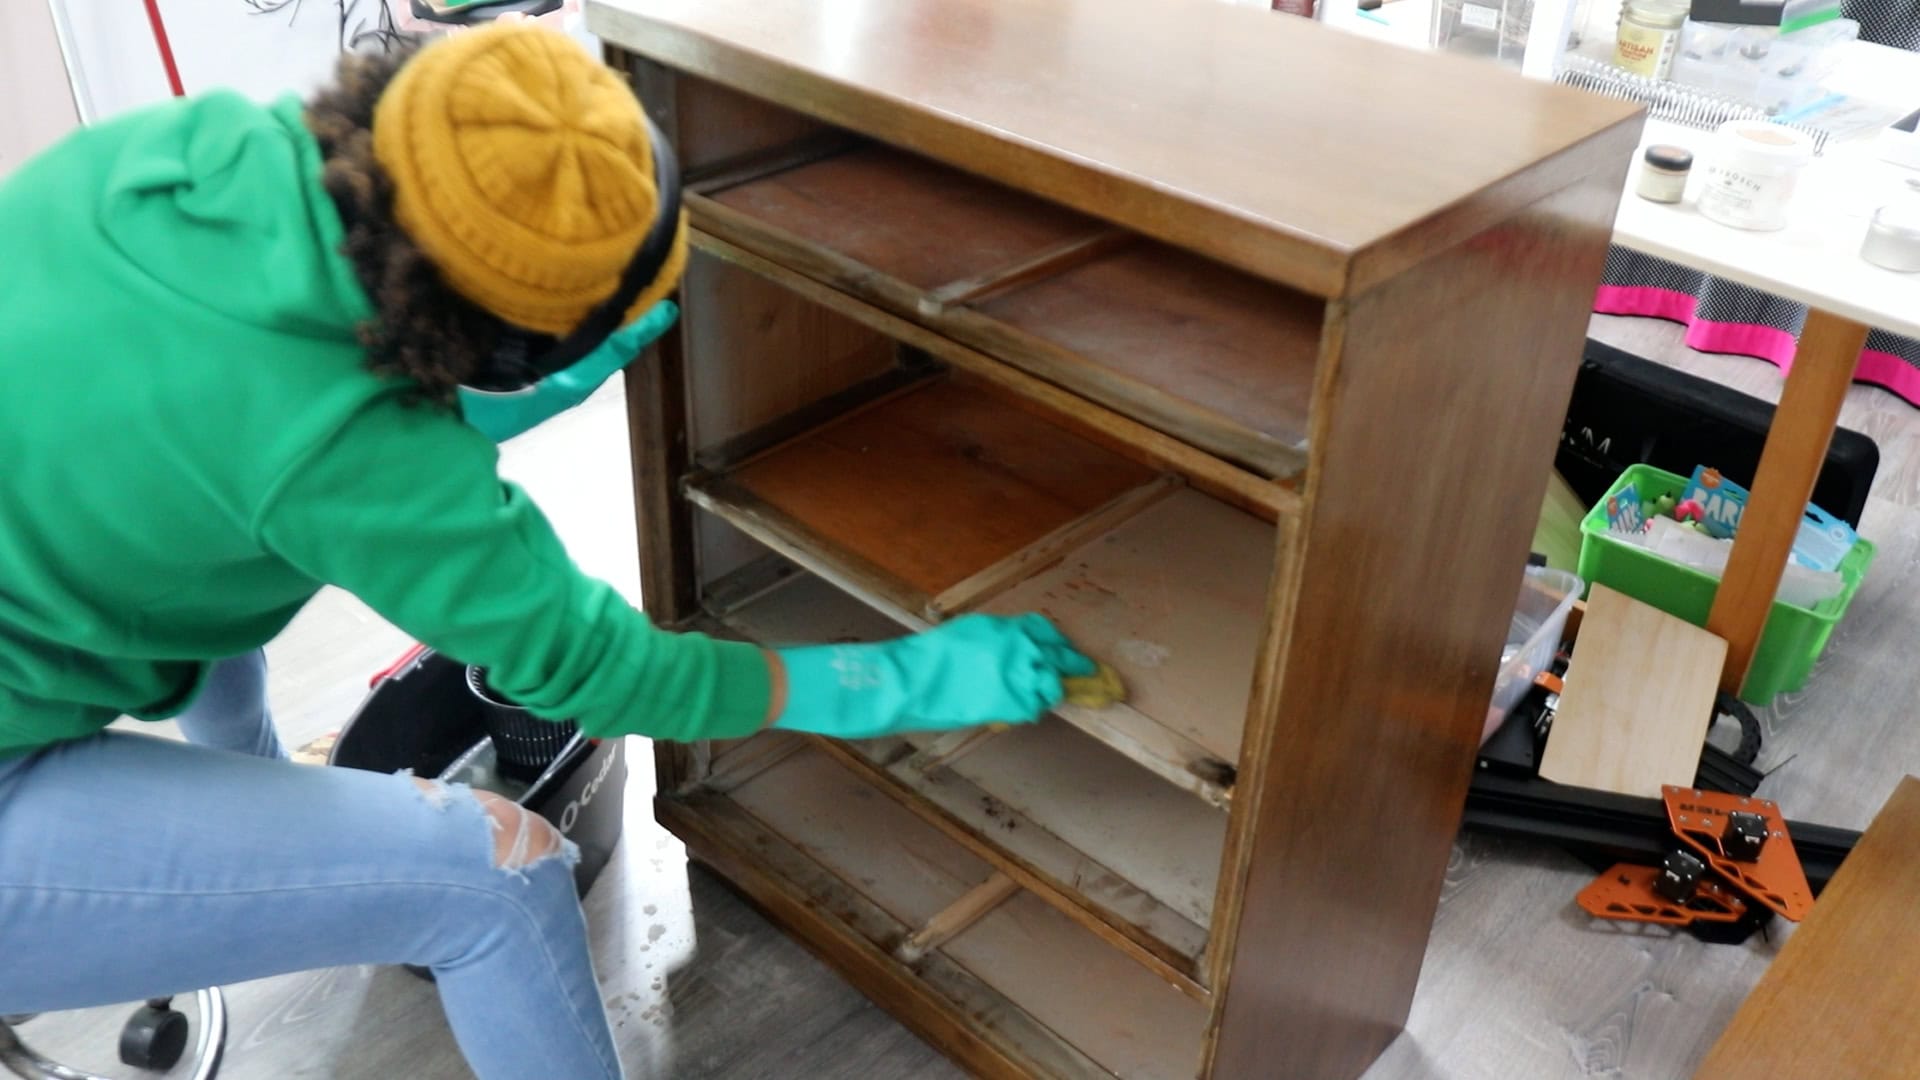
- Cleaned the dresser out with Murphy’s Oil Soap.
The reason I cleaned the dresser with Murphy’s Oil Soap was because I wanted to remove the musty smell at its root first. Then remove the noticeable, exterior grim inside the dresser.
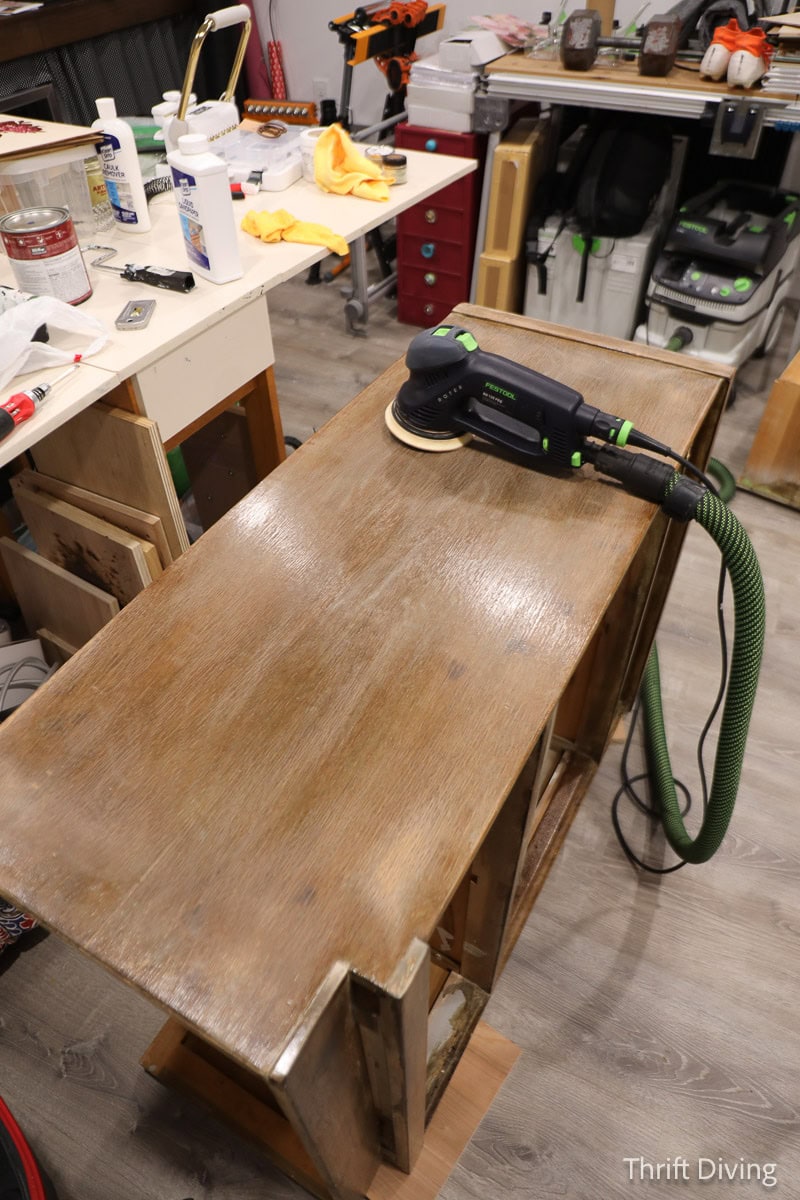
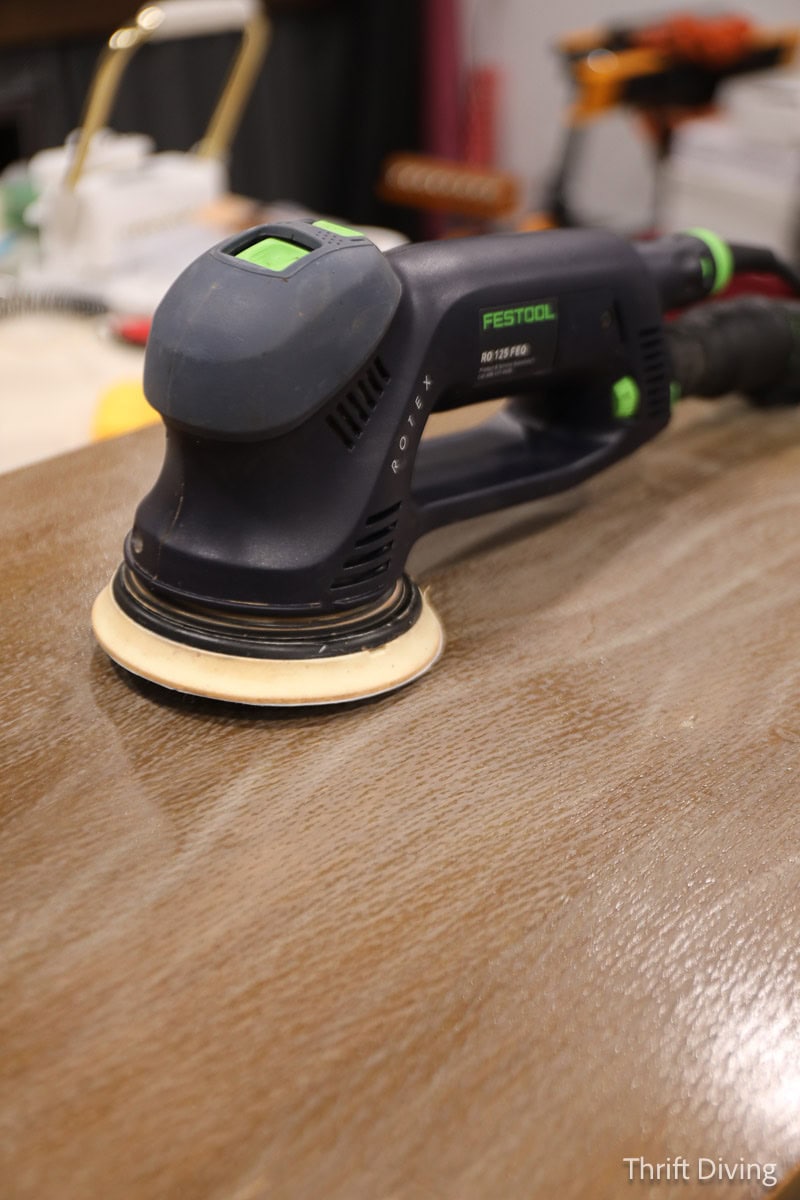
STEP 5: Sand and make repairs.
Yes, I said “sand.” And you might be wondering, “Well, Serena, you’ve always said that you don’t have to sand or prime when painting furniture.”
While that’s generally true, if you’re using furniture paint, your furniture must be in pristine condition. This dresser was not in pristine condition.
The surface was bumpy, full of ridges that (when painted), would look terrible and “cheap.”
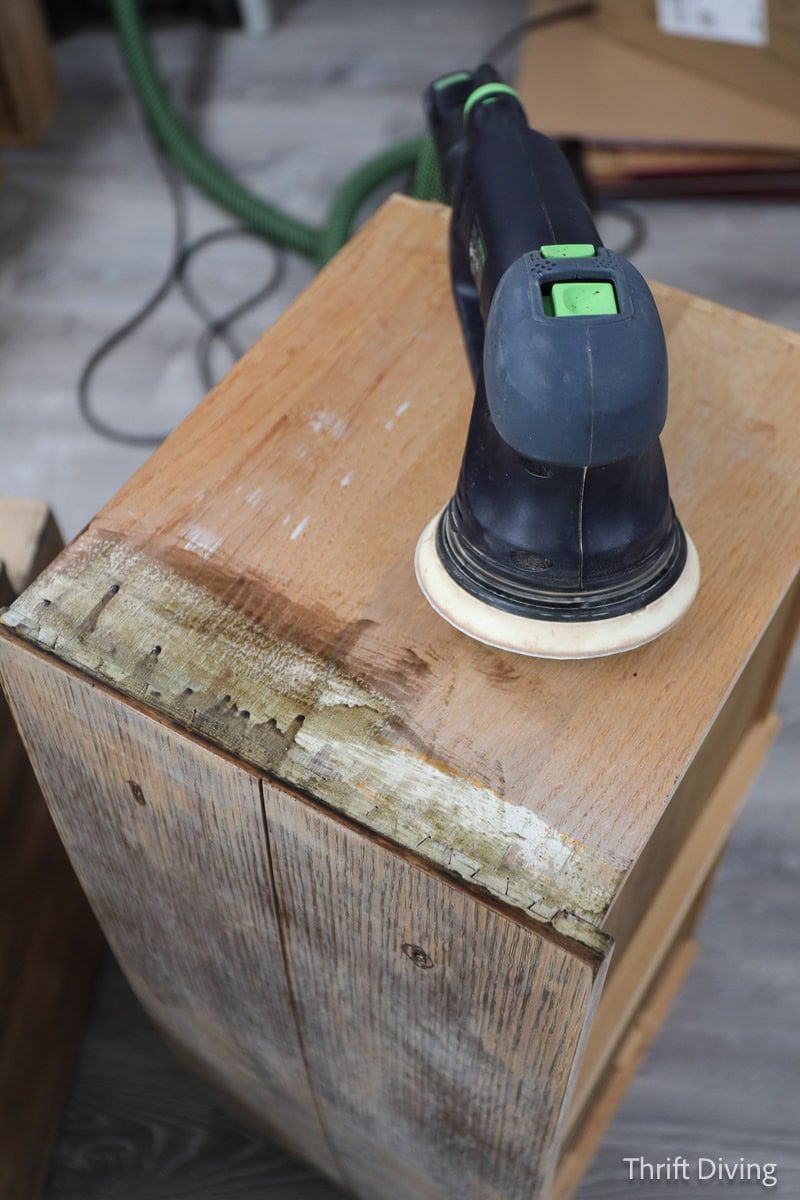
So that’s when I started sanding down the entire dresser and its drawers, trying to create a smooth surface, not to get it back to bare wood.
That’s what I mean when I say sometimes you will need to sand down furniture before painting. Same goes for priming. Not all furniture will need a coat of primer before painting. Check out my blog post on 10 Common Mistakes When Painting Wood Furniture for more about when to sand and prime and when you can skip it.
At this point, the dresser was smooth to the touch, yet roughen up enough that my DIY chalk paint would adhere nicely!

The sides of the drawers were also funky, so a light sanding helped to move whatever paint and stain there, too.
STEP 6: Make your own DIY chalk paint!
I love painting wood furniture. I don’t do it as much now because I see beauty in quality wood, especially vintage pieces that would look amazing when restored, like this mid-century modern dresser I refinished recently for my oldest son, and the vintage Federal dresser that I refinished for my middle son.
An old stinky dresser like this was on the cheaper side of quality; plus, it has a piece of cracked veneer. These types of dressers are easier for me to pick up a paint brush and slather on a couple coats!
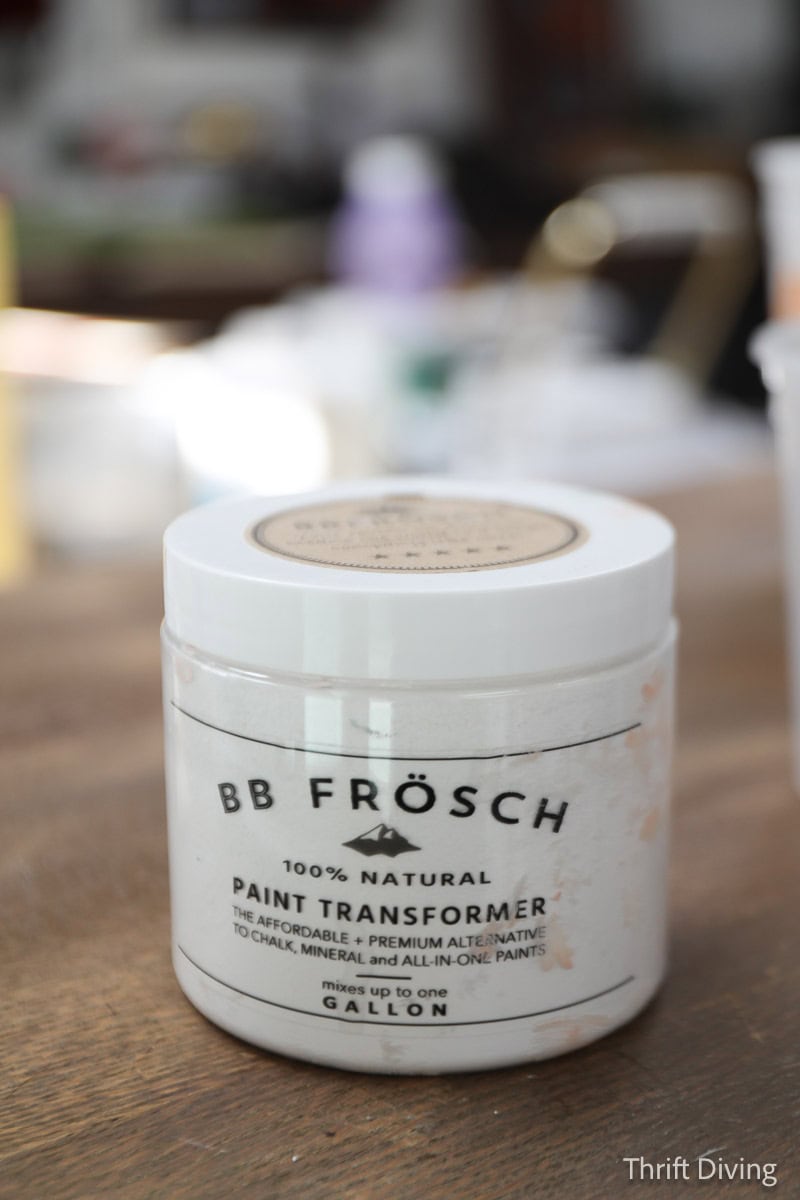
I used a paint transforming powder called BB Frosch. I had used this once before, years ago, and it worked well in my half bathroom makeover sink cabinet. So I wanted to use it again, because I was in love with this Compass Blue (flat finish) paint from Behr!
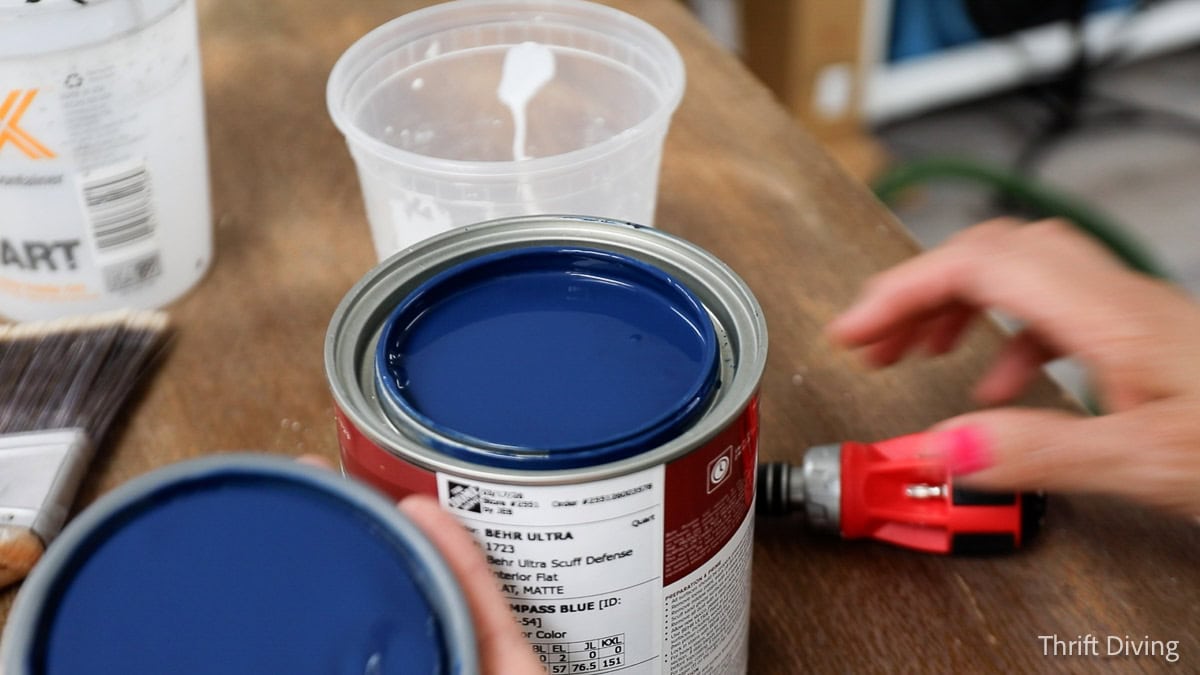
You have to mix the right amount of BB Frosch powder first with the right amount of water…..until it’s like pancake batter….then mix in the amount of regular latex paint you want to use. I mixed half a quart at a time.
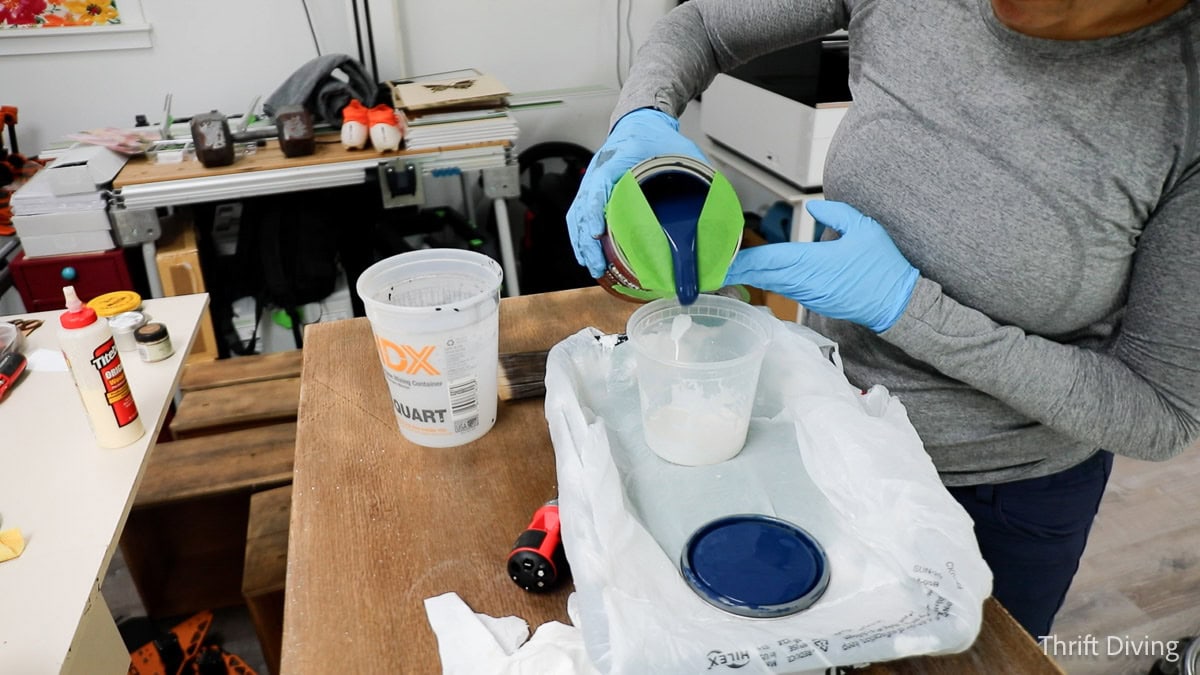
And, let’s be honest….making your own DIY chalk paint is WAY less expensive than buying jars of ready-made chalky paint, paying $35 or more for a quart! This Behr was about $18, I think!
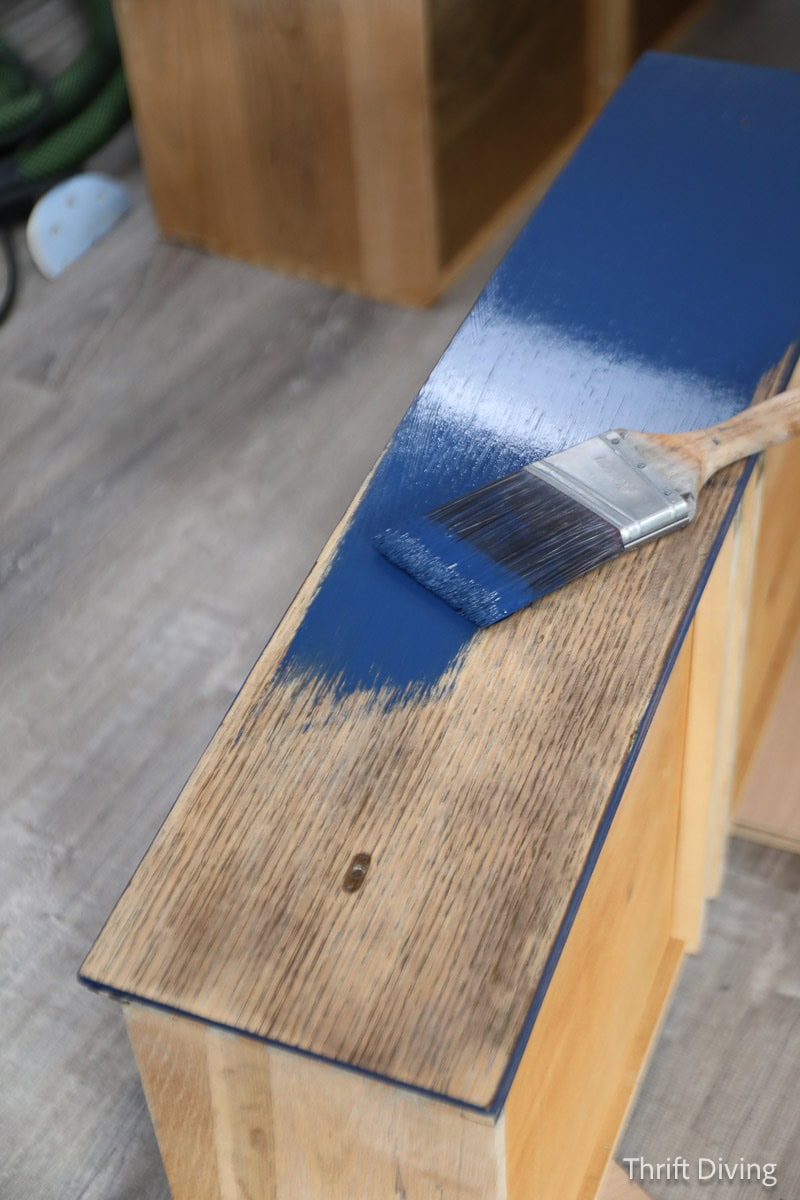
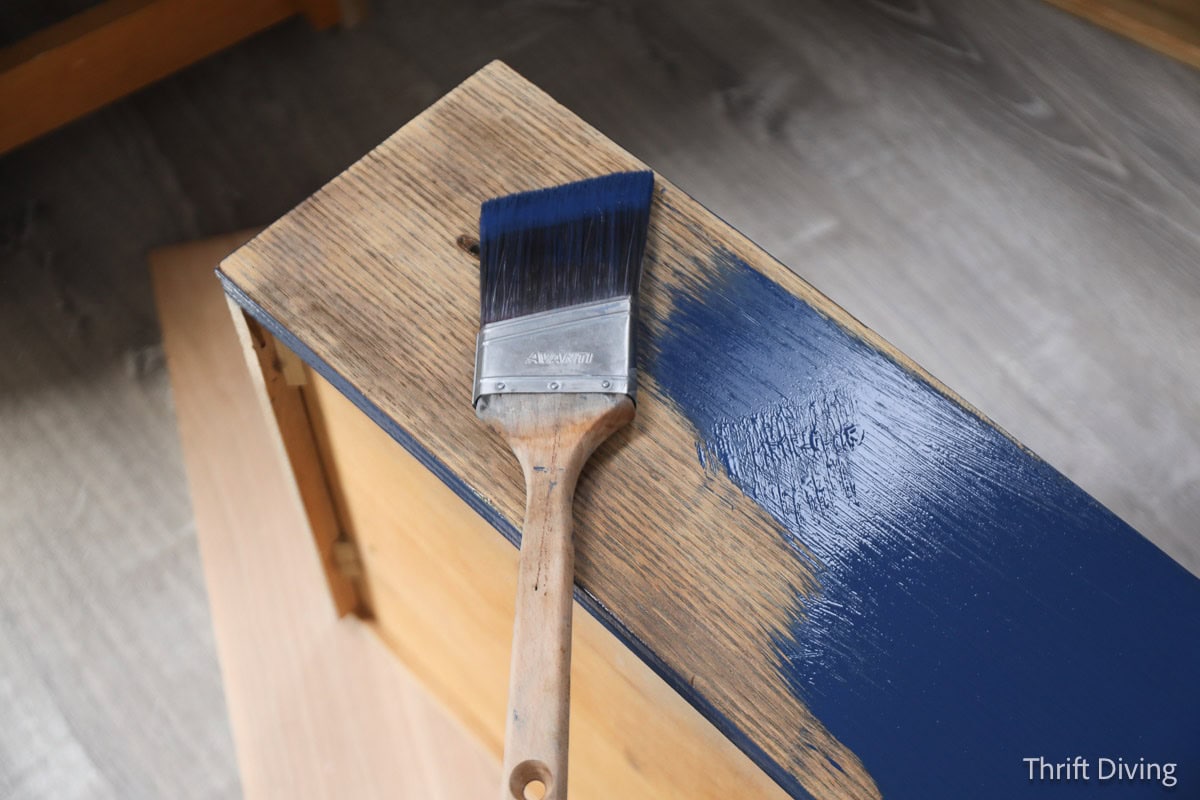
The color was absolutely stunning once it was dry!
STEP 7: Make your own cute stencil!
I knew this dresser needed something, like a stencil. I love, love, love stencils! I’ve made many vinyl stencils using my Cricut cutting machine, but those are “one and done” stencils. I wanted something that I could reuse multiple times on the same project, as well as on future projects.
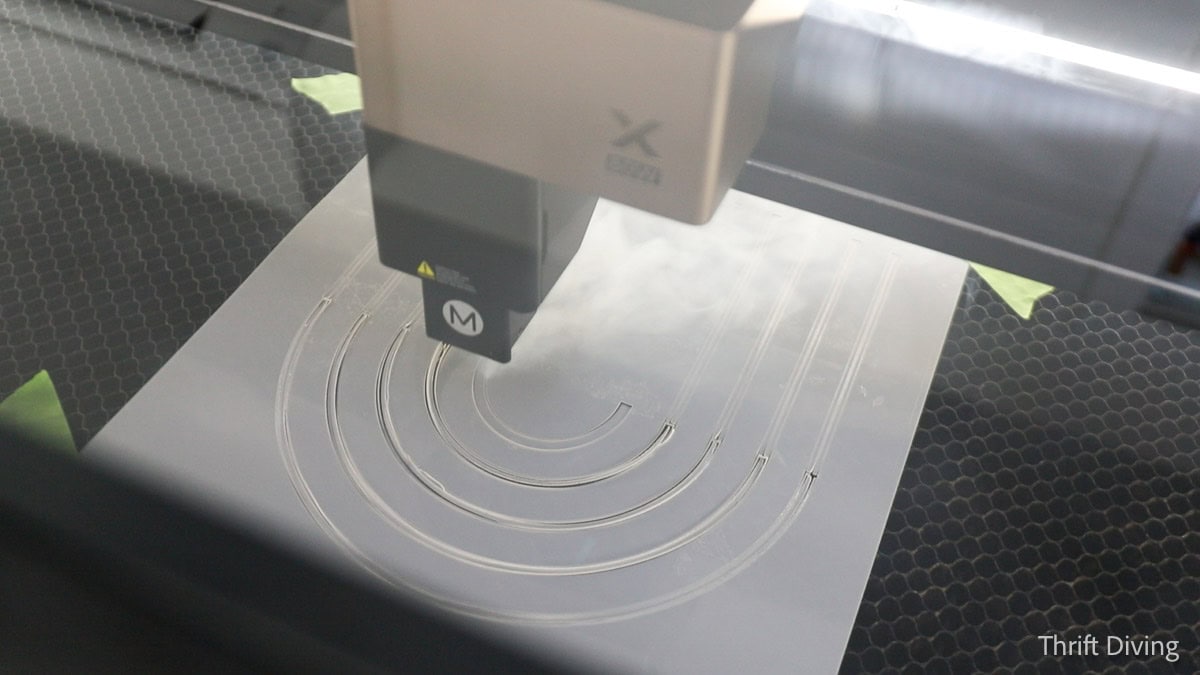
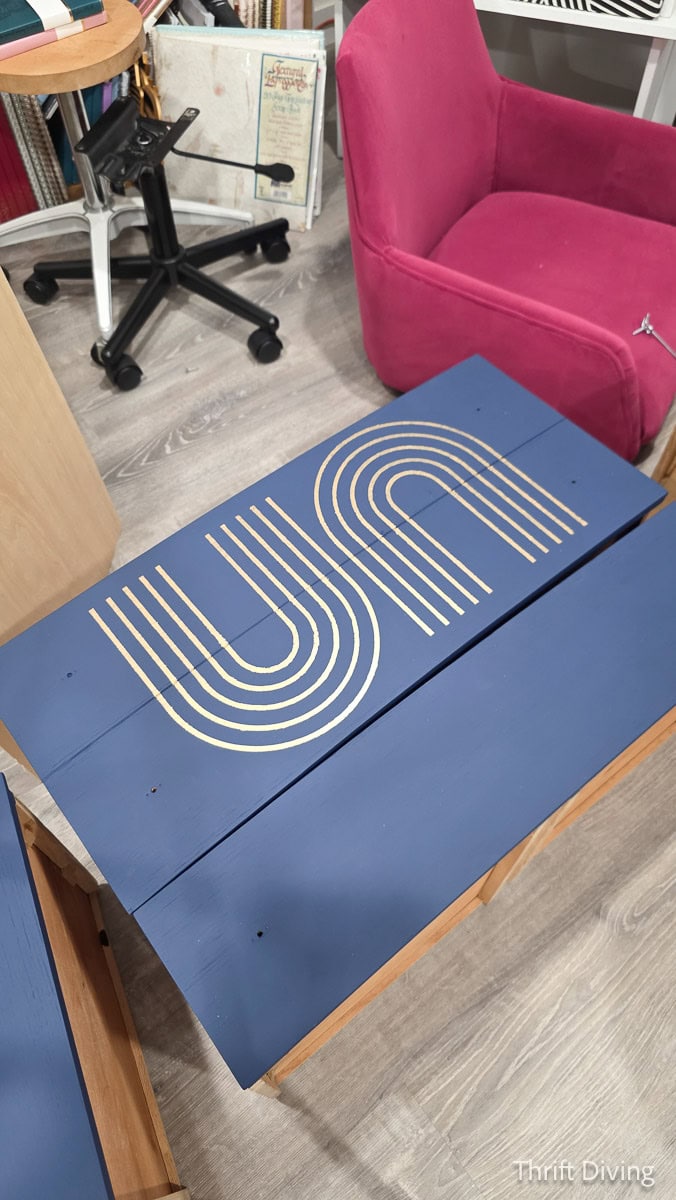
I had never used 7.5 mil mylar sheets, but when paired with my xTool laser engraver, I was able to create the perfect vintage, “mid-century modern” design that I love: concentric U shapes!
If you notice, the middle two drawers of the dresser are inset a little, and I wanted to stencil those center drawers to accentuate that feature of the mid-century modern dresser.
So I stacked those middle dressers together and started stenciling on them.
Keep reading: How to Use Stencils (A Complete Guide)
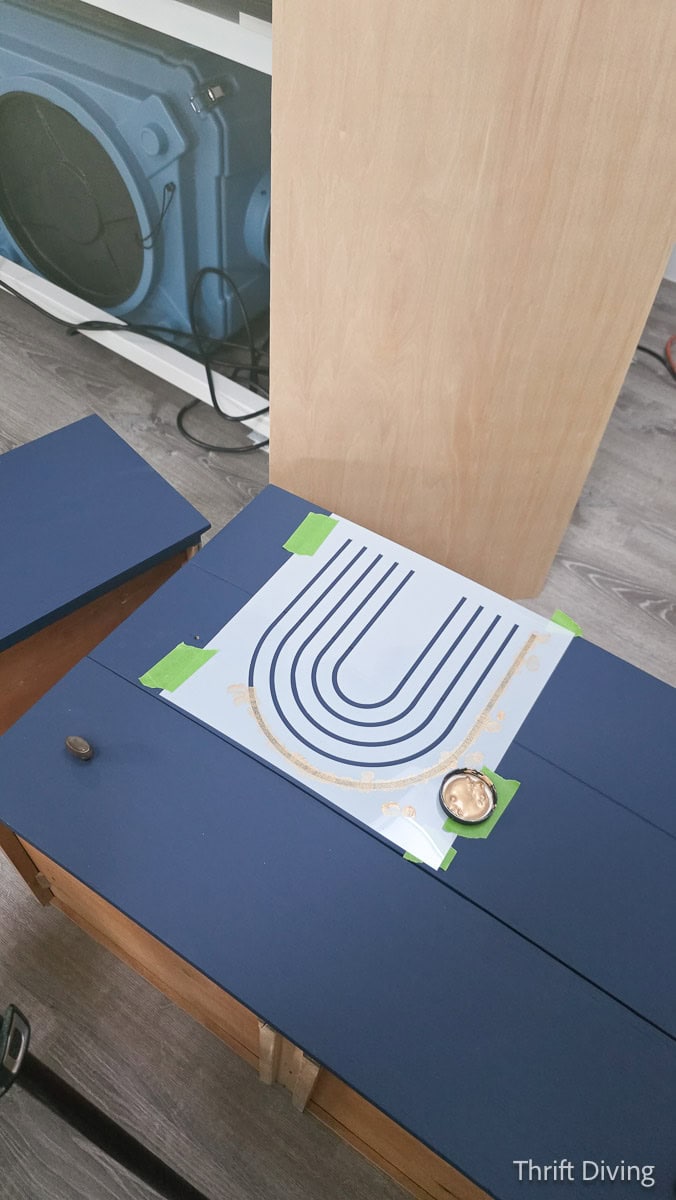
OMG….I inadvertently spelled “UN” on the dresser. HA! So I had to make a few edits. I decided to extend the lines to the drawer underneath, as well as add more stenciling horizontally.
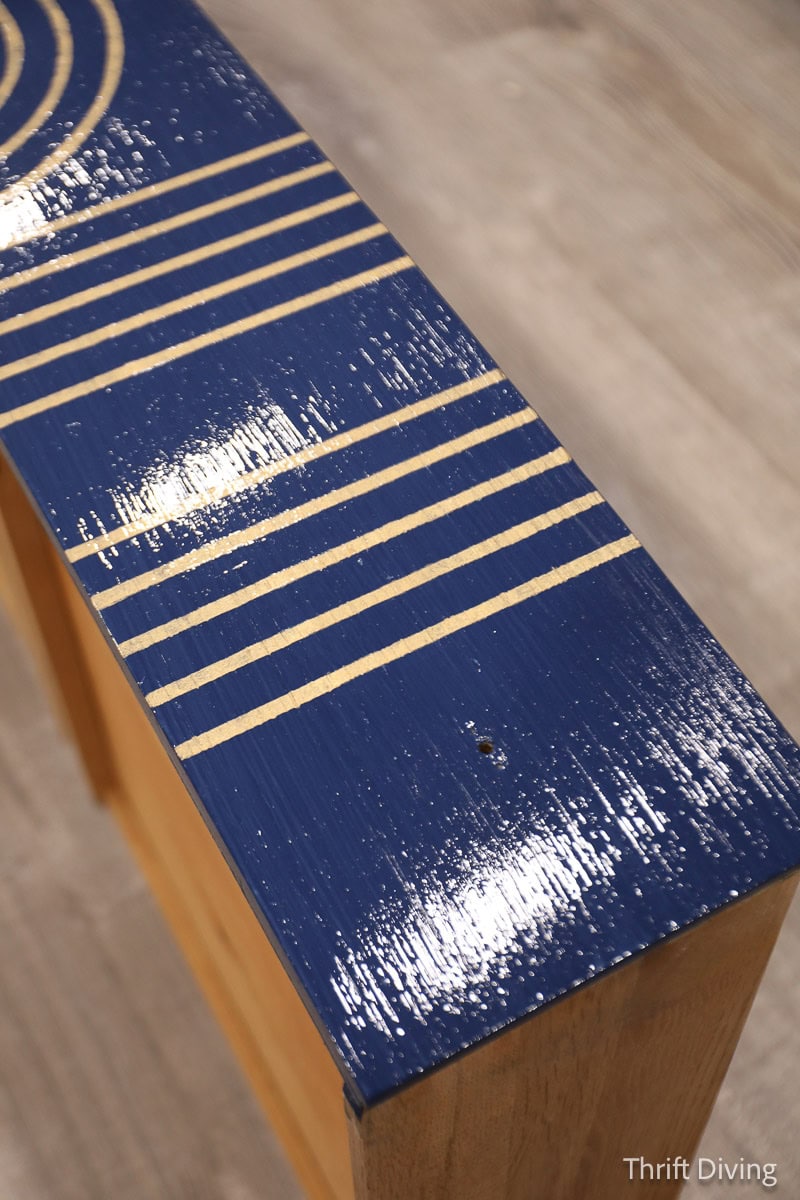
STEP 8: Choose a top coat.
I had planned to use a water-based topcoat on the entire dresser, but decided to only add this satin topcoat to the stenciled drawers, to further set it apart from the rest of the dresser. Then I used a clear coat of furniture wax on the rest of the dresser, then buffed it smooth.
BEFORE & AFTER! – Stinky, Musty Dresser No More!!!
I think this is one of the most dramatic dresser makeovers I have ever done! Not just because I was able to remove the musty smell, but also because the paint and stencil elevated this furniture to something that looks soooooo good!
BEFORE
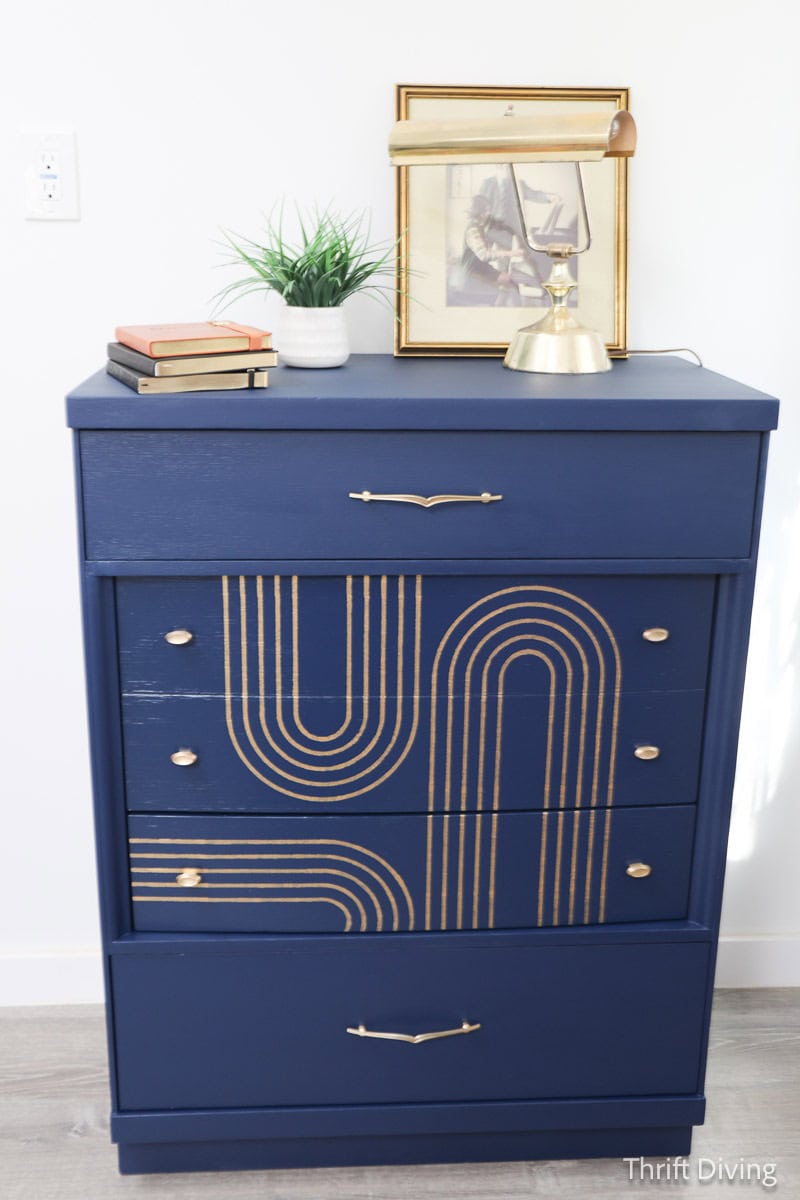
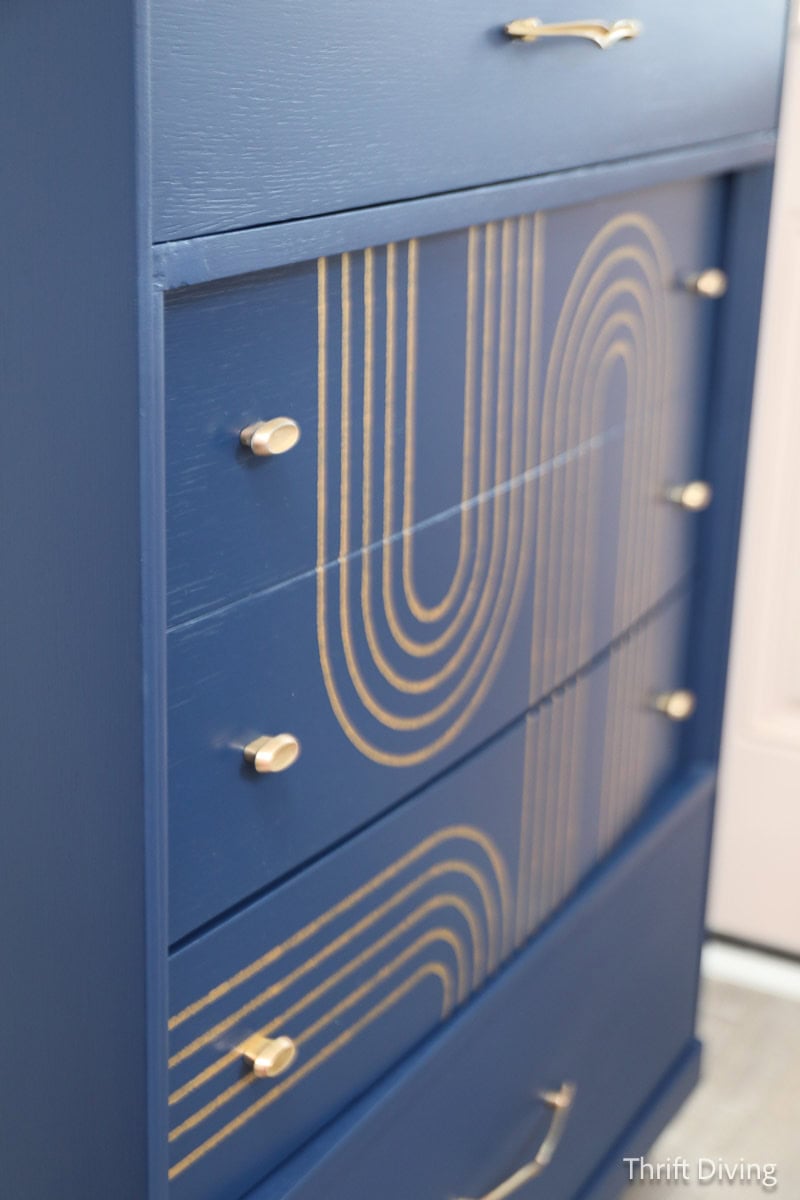
AFTER!
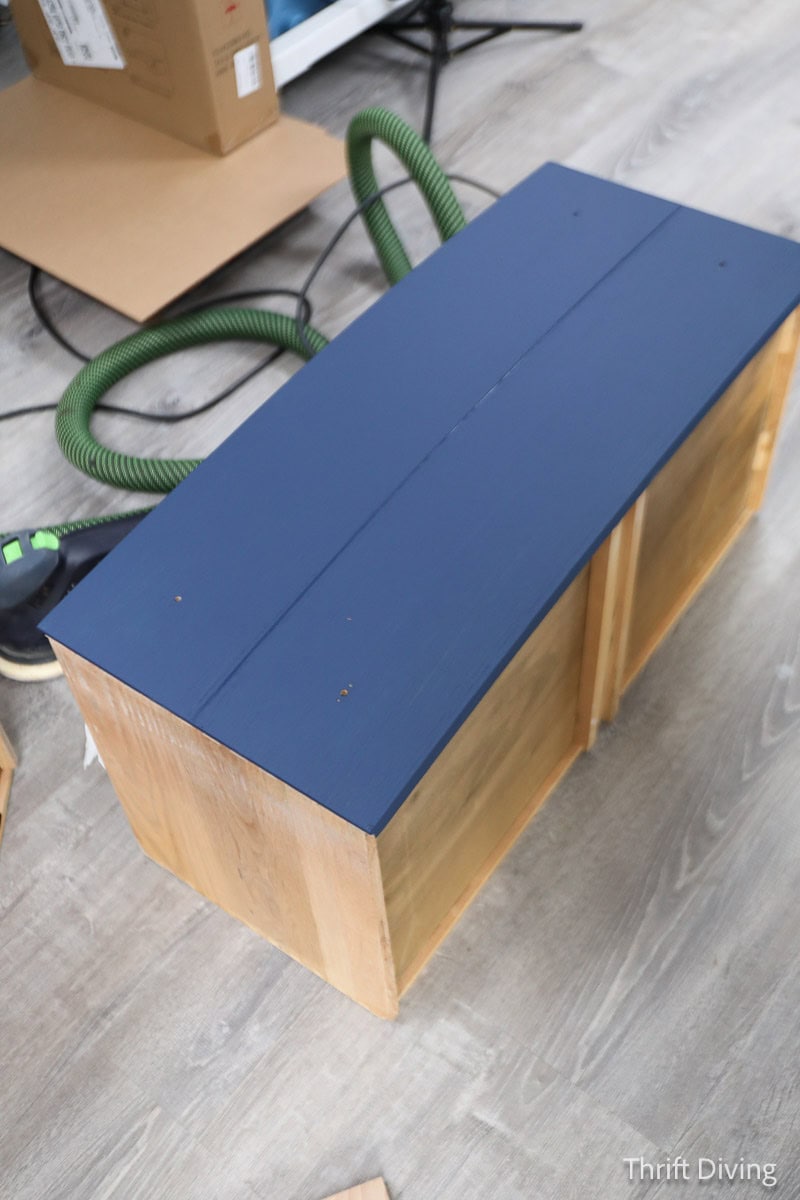
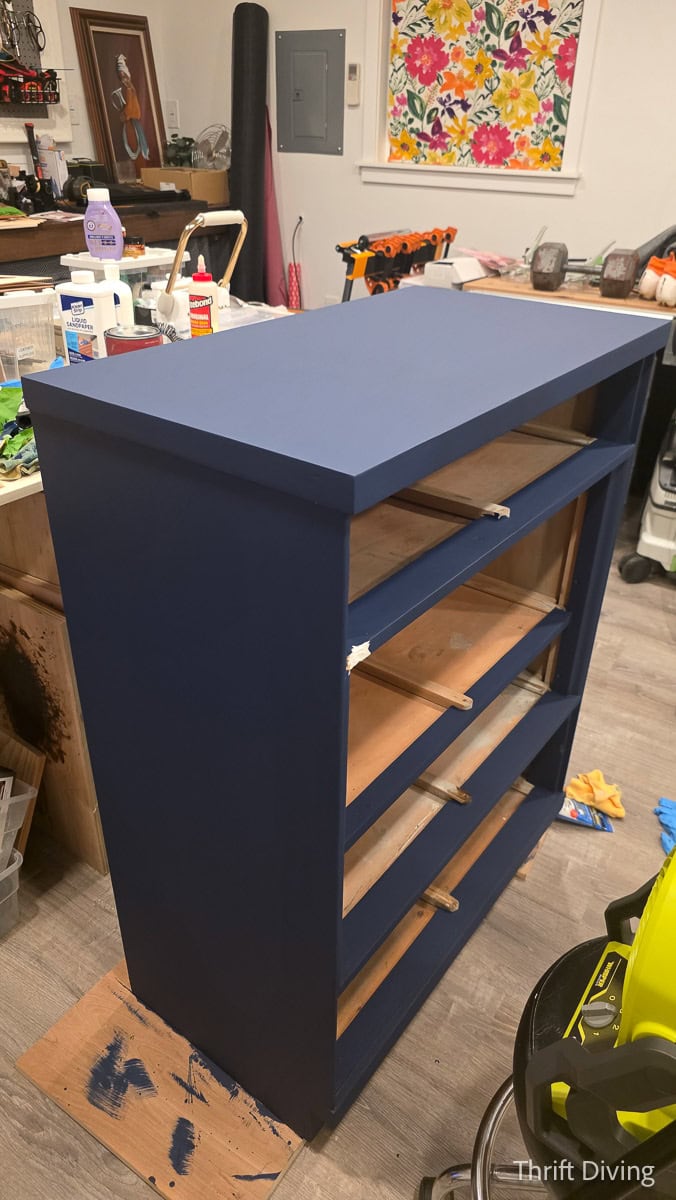
Look at that smooth top!! Because I sanded first, it allowed the paint to lie smooth. 🙂
BEFORE
AFTER!
I’m still so pleased with the custom stencil!!! This was exactly what I had in mind–something retro…..a bit Art Deco….it just elevates this dresser so much!
If you’ve experienced musty furniture (including wood and upholstered furniture), then grab yourself one of these affordable Powerscale ozone generators so that your next thrifted piece of furniture doesn’t just look good on the outside, but smells good on the inside, too! 🙂
Love this project? Click here to save it on Pinterest!
![]()

Download the 5 freebies!

Thrift Diving inspires women to decorate, improve, and maintain their home themselves...using paint, power tools, and thrift stores! Use these 5 printables, checklists, and ebooks to get started!