How to Sew Cute Lined DIY Curtains
You know the inside joke among crafters, right?
The idea that you can spend $100 on materials to make the exact same thing that you could buy at the store for $7. HA!
That is so true!
You can add sewing or making your own DIY curtains to that list of “Things That Are More Expensive To Make Than Buy at the Store”!
What I’ve discovered in my 17 years of teaching myself how to sew and make things is that many of these DIY projects aren’t only about saving money. A lot of times they’re about the love of the creative process. And being able to pump your fist in the air and shout, “Dude, I made that!!!” when friends and family come over. LOL
So, no, making your own curtains isn’t necessarily cheaper (unless you’ve figured out a way to stitch lint together from your pocket). But it’s about making exactly the curtains that you want for your home instead of buying some random, cookie-cutter, short, ugly, generic curtains from a retail store.
(But if you found a super cute pair at the thrift store for dirt cheap, I wouldn’t hate you! More power to you!!).
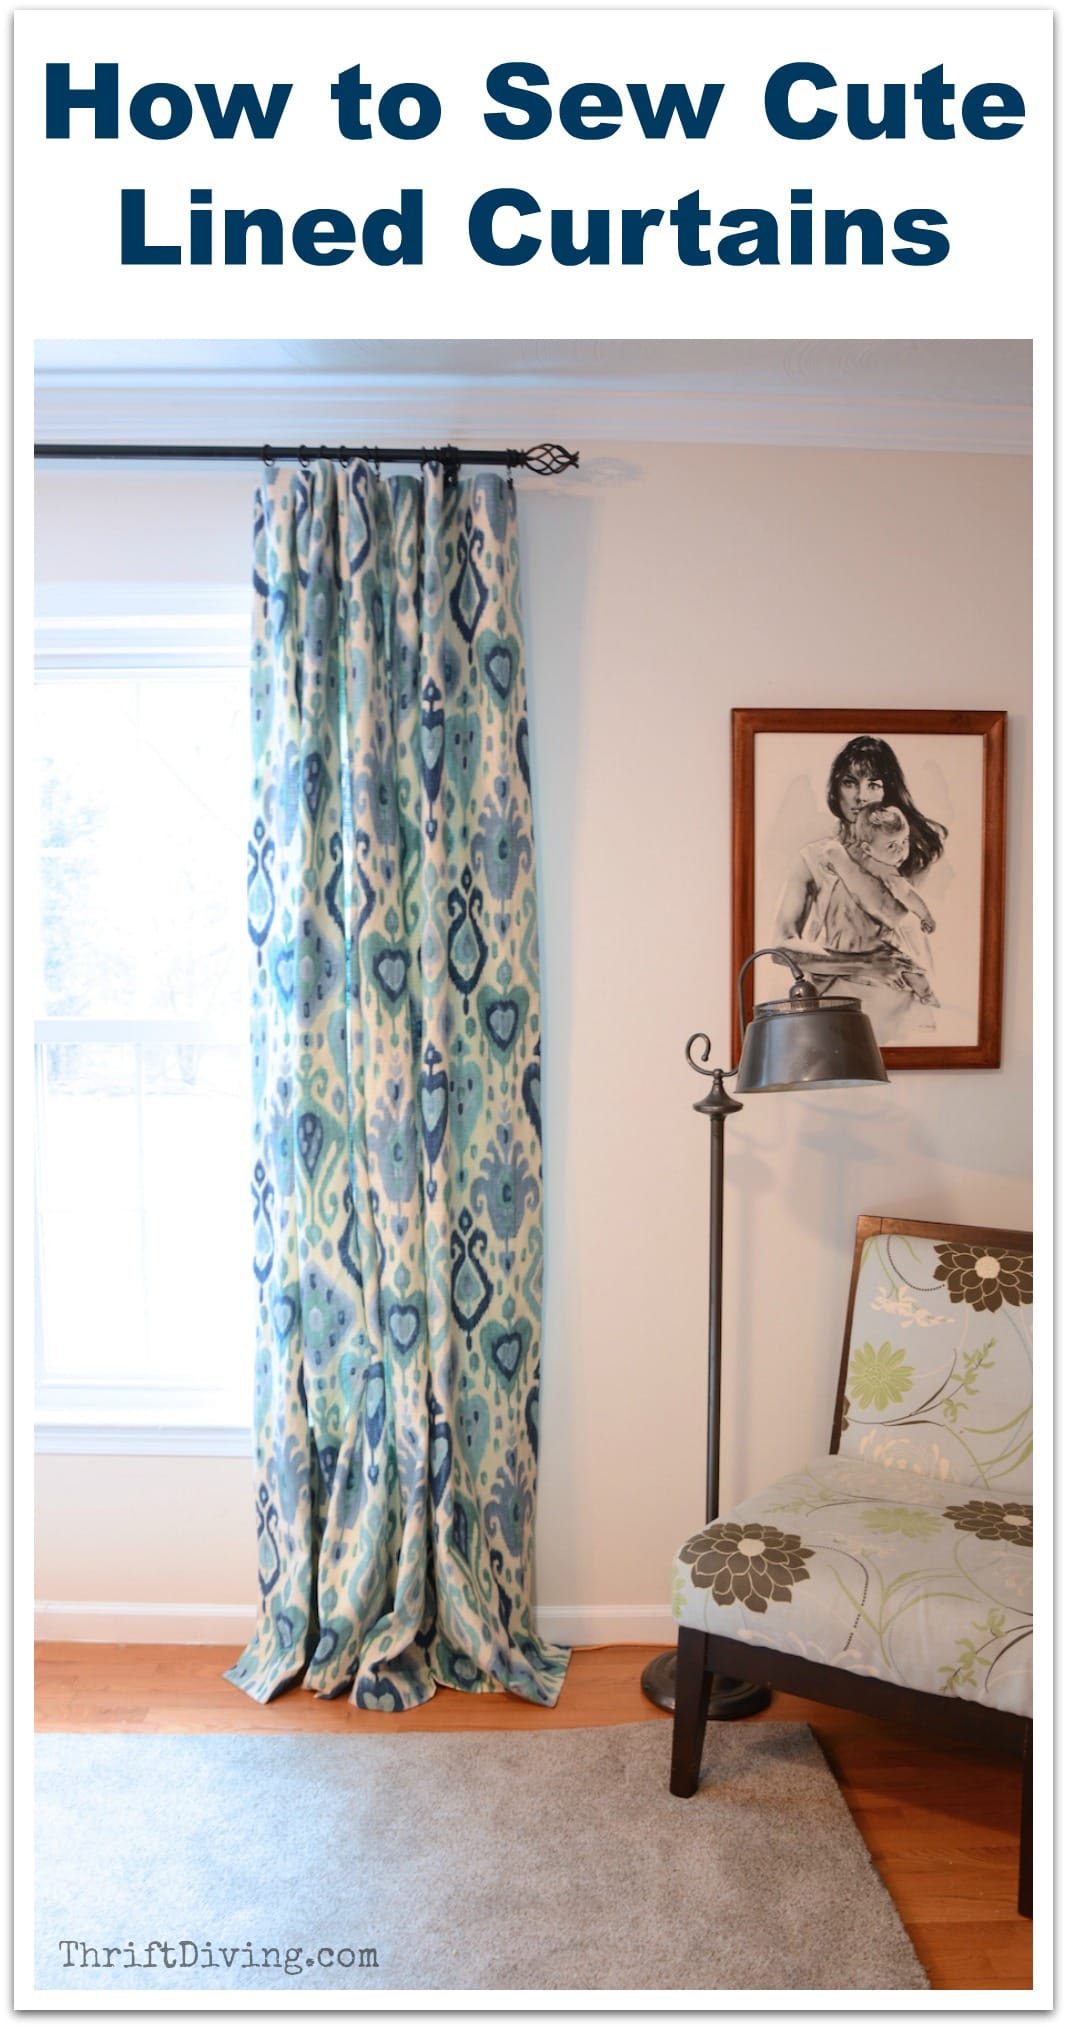
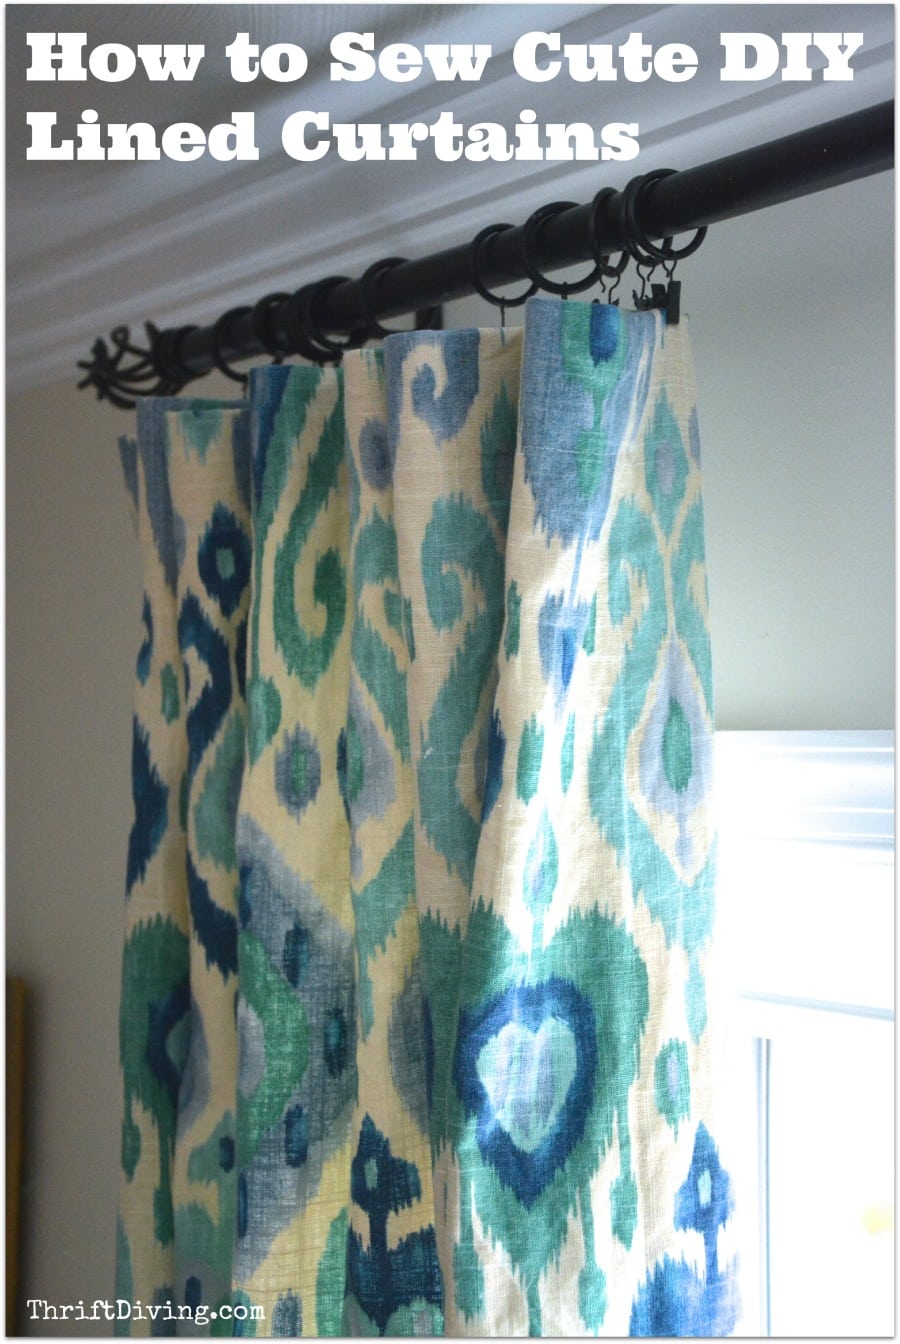
Okay–so let me show you how I made these cute, lined curtains for my family room!
Like this project? Pin it HERE!
It’s Okay If You Don’t Have a Sewing Machine!
Some of you don’t own a sewing machine (hint: get one for as little as $69 on Amazon, my friend!!). You can still make a “no-sew” curtains version using Heat ‘n Bond tape, which is a fusible iron-on tape that will join any two pieces of fabric together with just an iron (no sewing machine required! whoo hoo!). You can watch my tutorial on How to Make Cute “No Sew” Curtains for instructions on using the Heat n’ Bond.
Let’s jump into it!
Materials Needed
- Decorators fabric. I used Richloom Django Turquoise Fabric from OnlineFabricStore.com.
- Lining Fabric – Keeps the cold out during warmer months. You could choose to use blackout fabric instead for keeping light out.
- Heat ‘n Bond – If you’re making the “no-sew” curtains version
- Medium or heavy-weight interfacing
- Polyester thread
- Curtain clips
STEP 1 – Measure, Measure, Measure
Make sure your curtain rod is up high over your window. I’m sure you’ve seen this “faux pa” of hanging your curtain rod right at the window height. It makes your window appear smaller when you do that. Put it up high and wide and you’ve got instant “vavoom”!
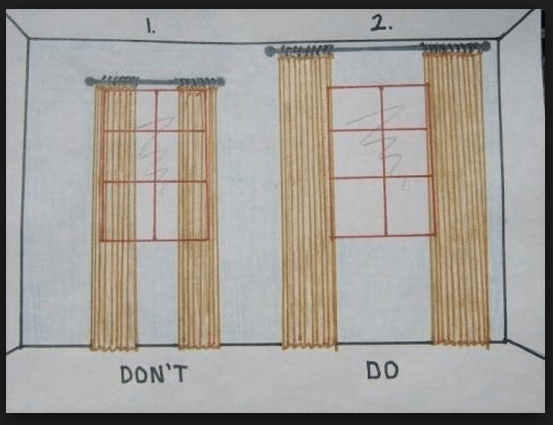
I moved mine up about 6″ above the window.
Now just use a tape measure and measure from the hooks or clips down to the floor, like this, and from side to side.
You’re not just measuring the windows, but you’re measuring from how high the fabric is going to be hanging from the clips.
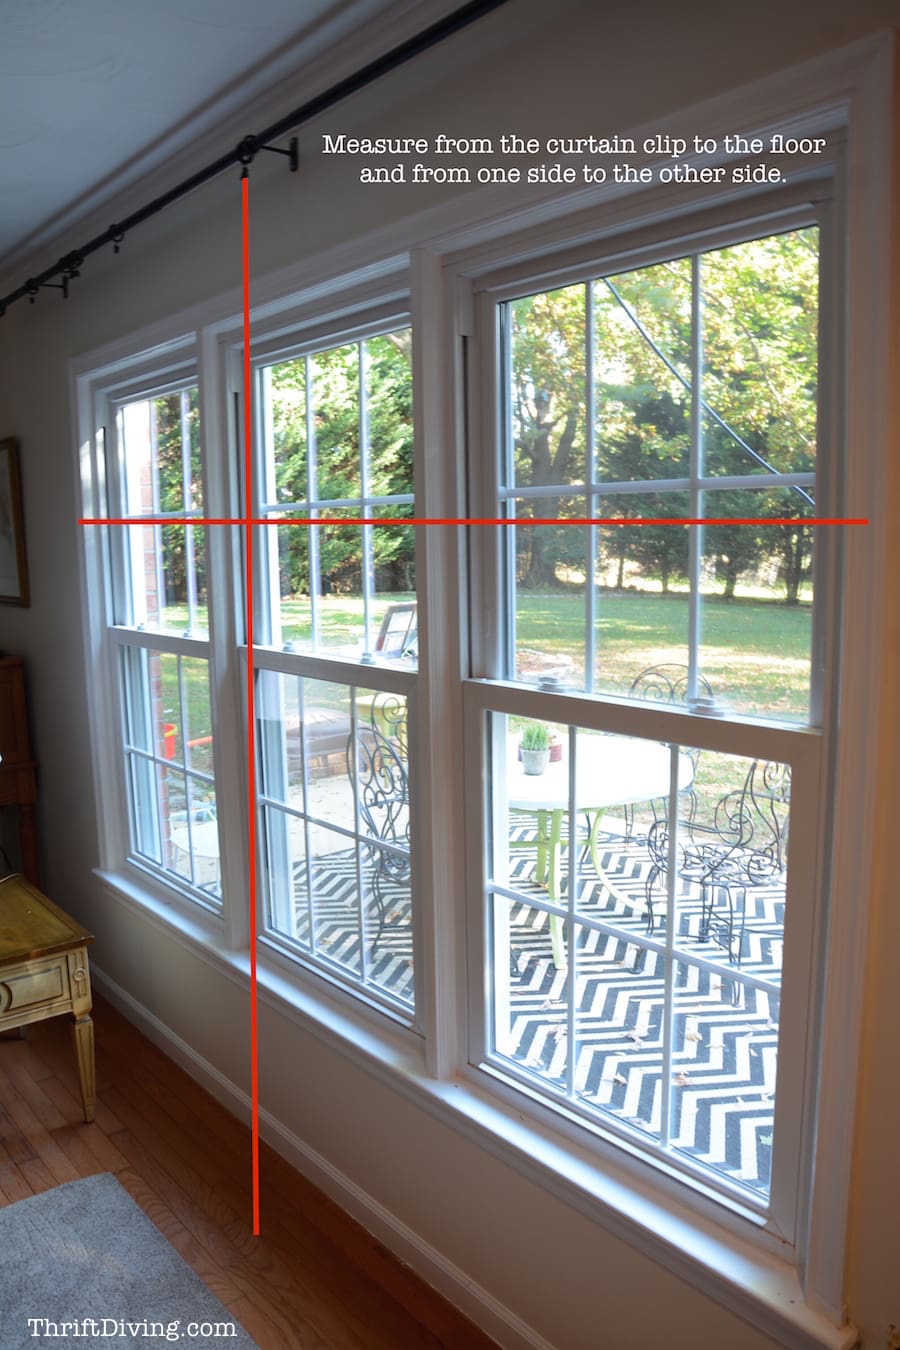
After you’ve gotten your measurements, add about 5 inches to the top of that measurement and 5 more inches to the bottom of that measurement to account for mistakes and seam allowances.
You’ll need to add extra inches to account for the width of the fabric’s seam allowances and mistakes, too, which we’ll talk about in a second.
STEP 2 – Pick A Pretty Fabric
This is where DIY curtains get reeeaaal interesting. Fabric can be expensive. It’s why you see people making curtains from drop cloth because that stuff is cheap. You can paint it, stencil it, mark it up, and everything imaginable because it’s so affordable. So definitely consider drop cloth if you find that fabric is waaaay out of your budget.
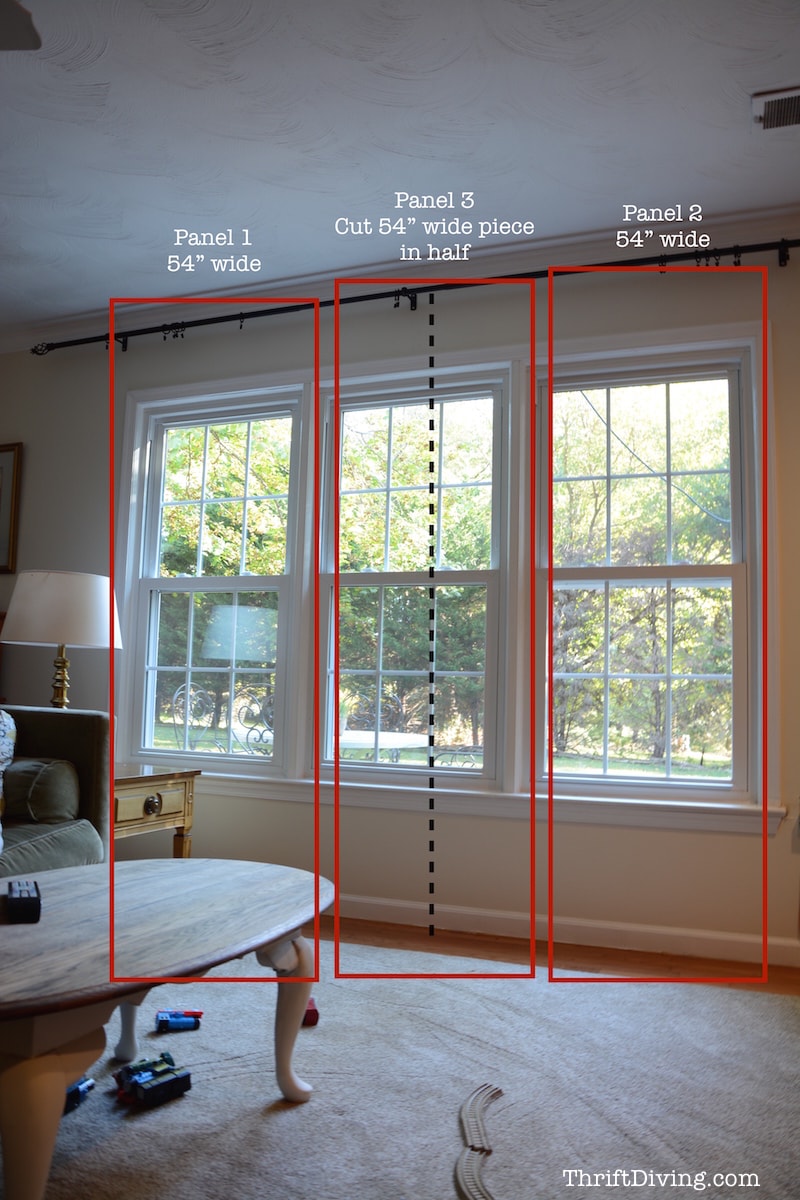
But let’s say you buy home decor fabric and it’s 54″ wide (most of those fabrics are).
You’re going to need to sew together (or use the Heat ‘n Bond) several yards of fabric in order to cover the width of your windows if you’ve got large windows like me.
I usually don’t want a lot of fullness, so I’ll get 1.5 times the amount of fabric to cover the width of my windows. If you want a fuller look, get 2X the amount of fabric to cover your windows.
In my case, I needed a panel of fabric for the left side and right side. And I needed one panel of fabric for the middle to be cut in half.
1 yard = 36 inches
So I needed each panel to be about 2.5 yards each, for a total of 7.5 yards.
STEP 3: Sew the Panels Together
Since no fabric is ever going to be wide enough to cover large windows, you have to join panels of fabric to make wide DIY curtains (see STEP 2).
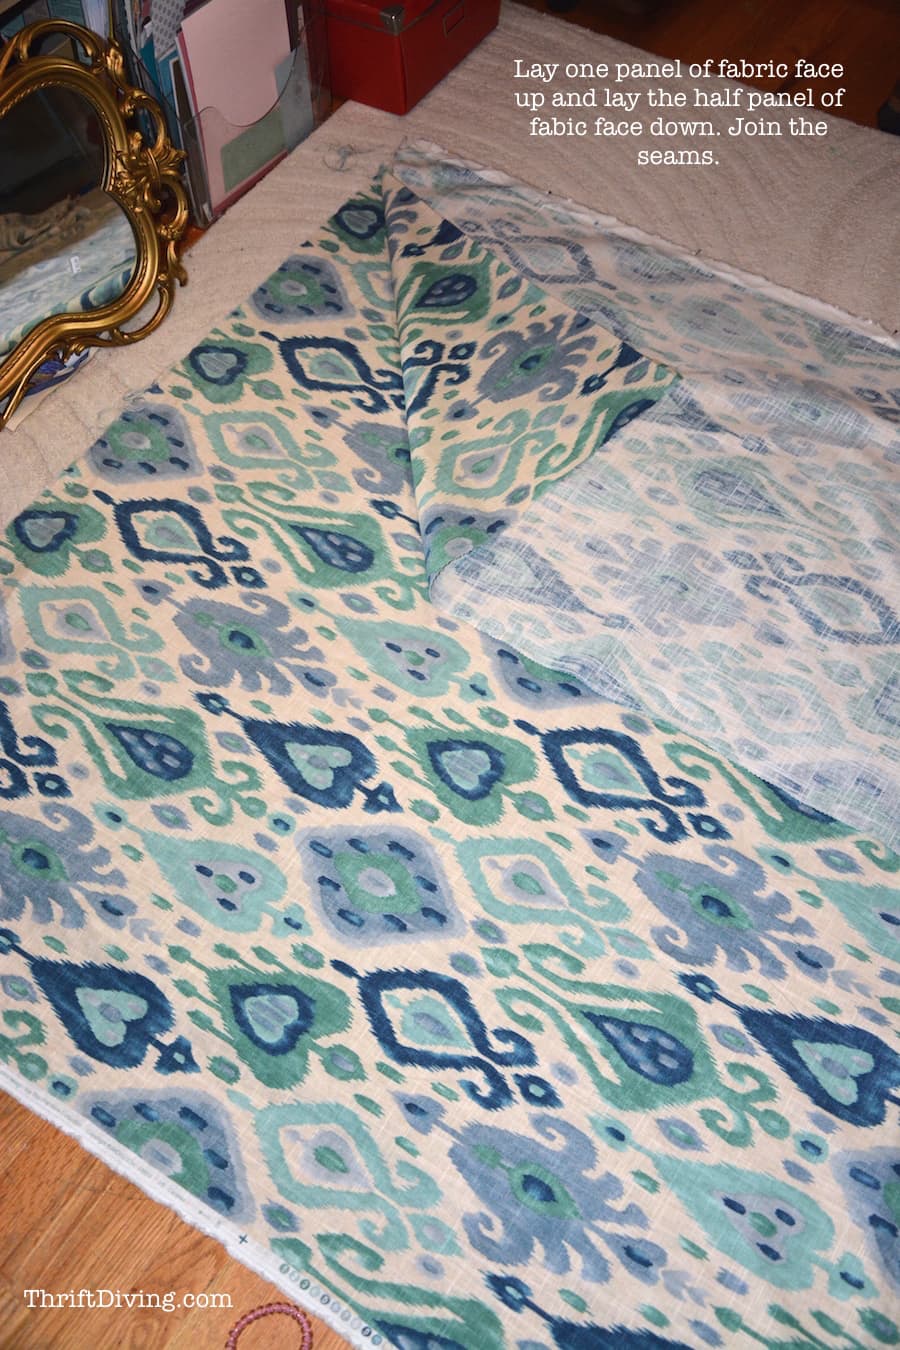
And in the sewing world, always remember that “right” side goes to “right” side (“right” side is considered the pretty side with the pattern). When you sew panels together for DIY curtains, you get a nice seam that gets hidden in the folds of the curtains!
So lay down one panel of fabric. Line up the edge of the half piece of panel on top, with “right” sides together. Use straight pins to hold your fabric in place exactly like this, to make one wide piece of fabric. Set it aside and pin the other panel together with the half panel of fabric.
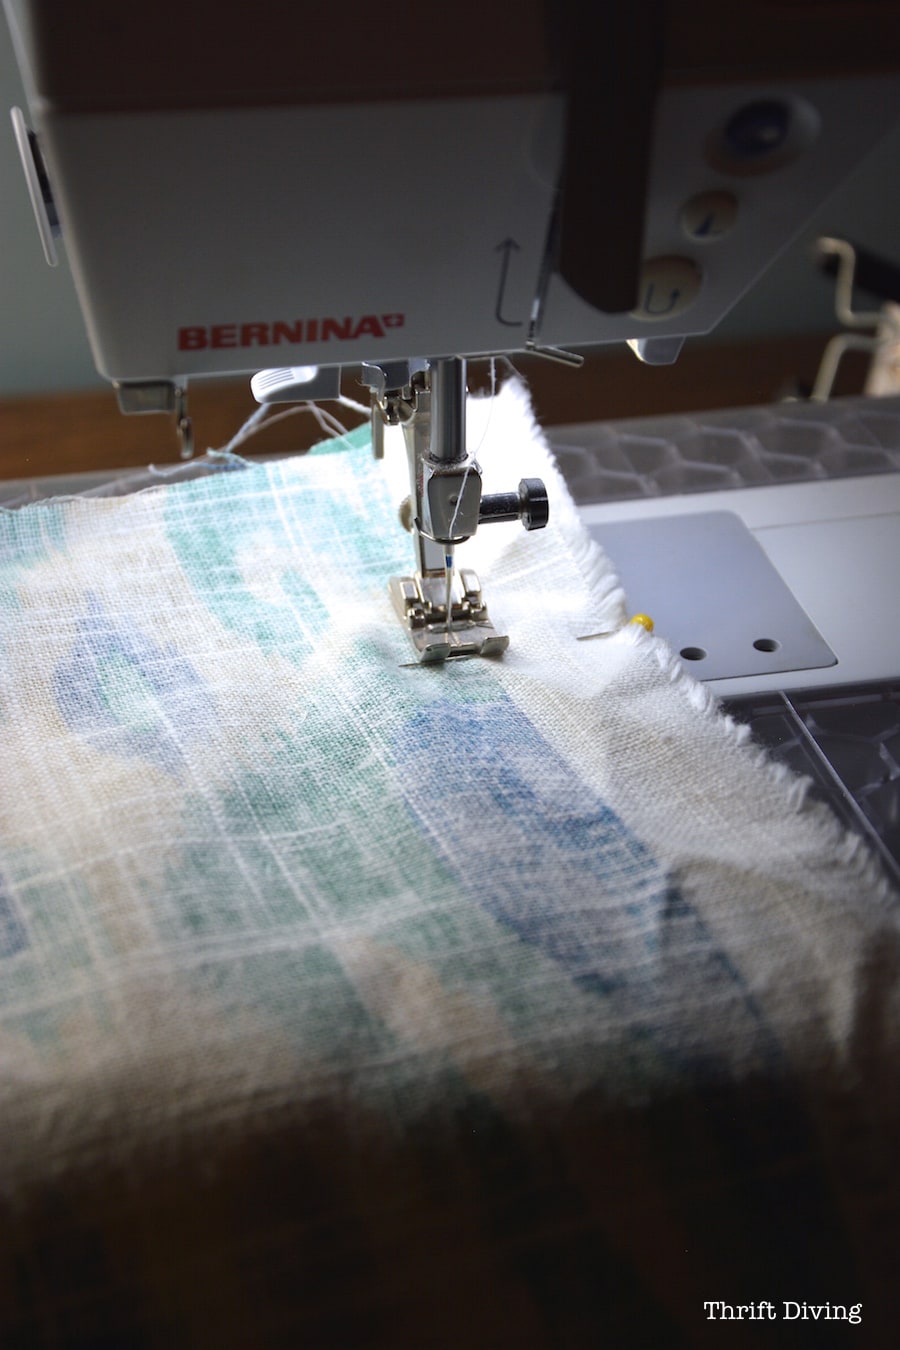
Now sew it together. You can use 1″ seams. Just make sure that you don’t sew on the white selvage (which is the fringy part of the fabric edge that keeps it from unraveling) otherwise it will show on the other side of your seam when you open it up.
(NOTE: If you’re making the “no sew” version, check out my post on How to Make Pretty “No Sew” Pillows for info on how to use Heat ‘n Bond to join seams instead of sewing them together).
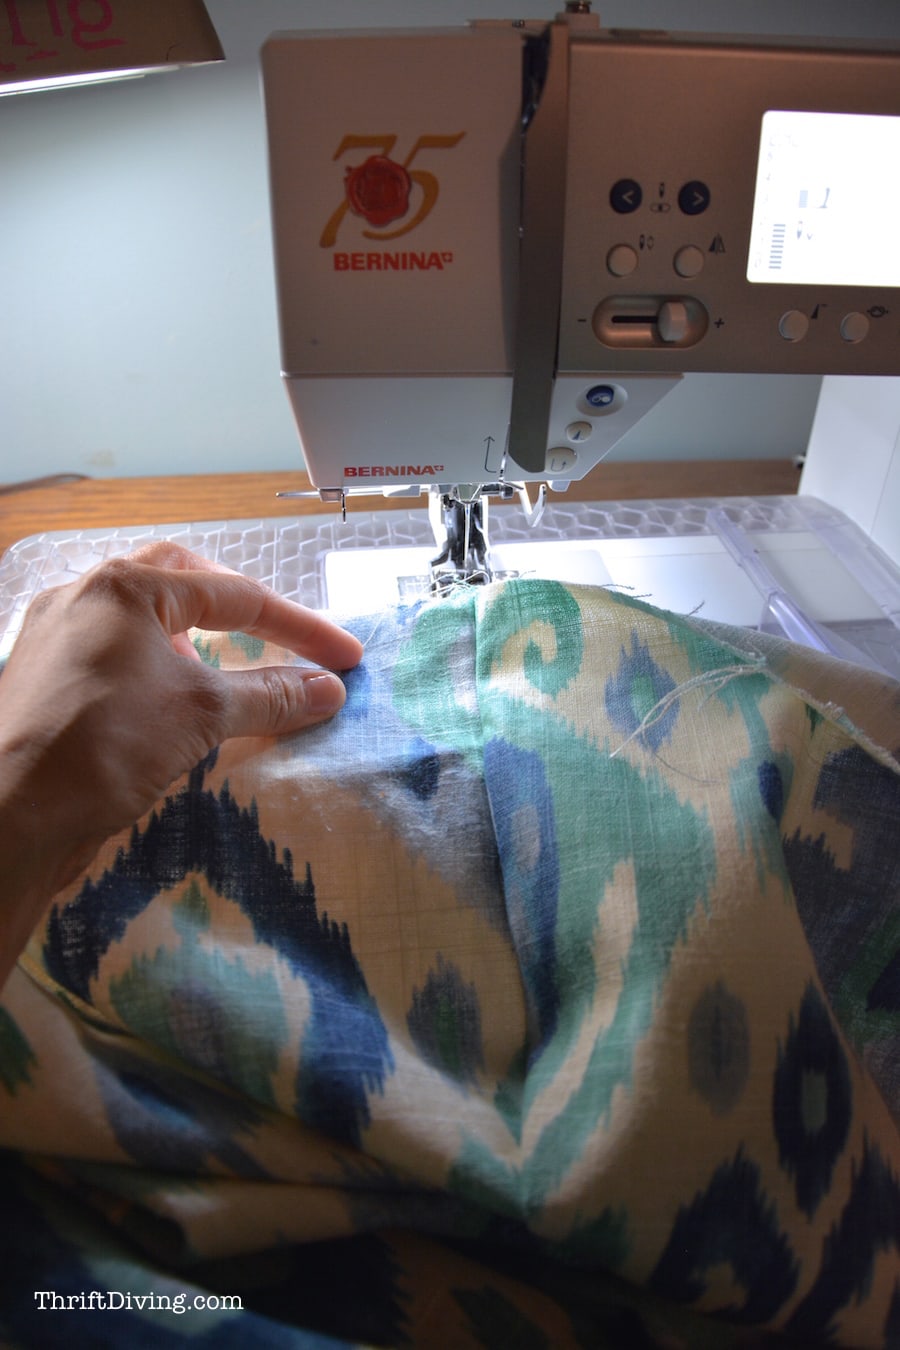
When you open up your fabric, you should have a beautiful seam!
Press the seam open with an iron to get a nice, flat seam.
Just be careful, though! If you’re using patterns instead of plain fabric, it’s a nightmare forgetting to match up patterns and then ending up with a funky seam like I did! HAHA
(I ended up having to rip out a seam and start over because my fabrics looked funny because I matched them up wrong. HAHA).
Repeat this step for the other piece of fabric you had pinned together, to create the other wide fabric that will make up the other curtain.
STEP4: Press Seams and Hems!
Press the seams that you just sewed. And then iron the hems. I like to make curtains about 3″ inch hems at the top and the edges. Don’t forget that you’ll need hems on every side, too! Go ahead and press hems all the way around the perimeter. Just make sure that you use the same size hem all the way around.

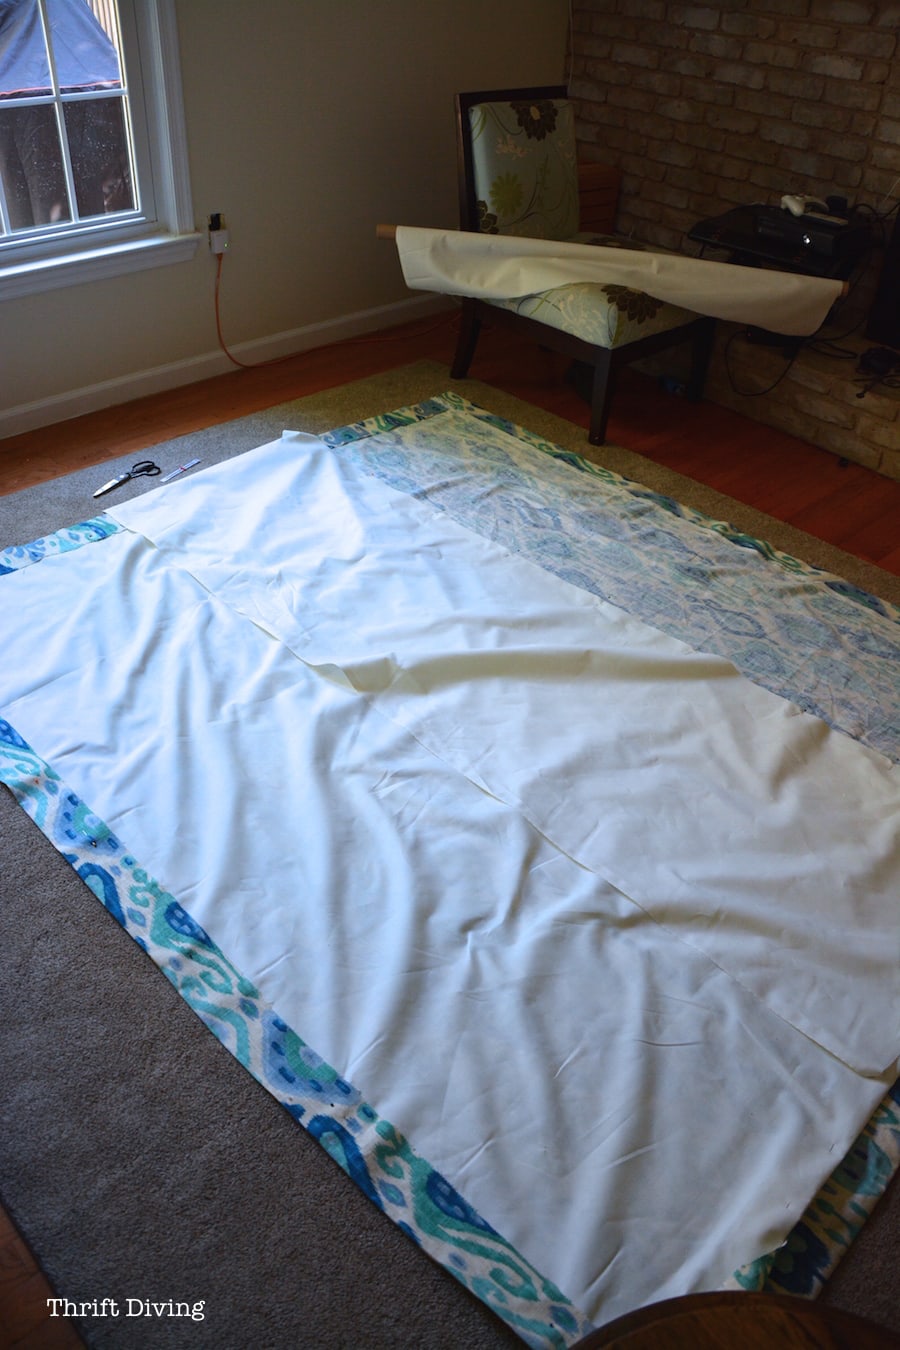
STEP 5: Make the Curtain Lining!
Lined curtains are just soooo much more luxurious than unlined curtains! It’s really easy to do, too.
You’re going to make the curtain lining the same way you made the wide curtain fabric: join panels of lining fabric together and sew it together (or use Heat ‘n Bond), just like in STEP 3.
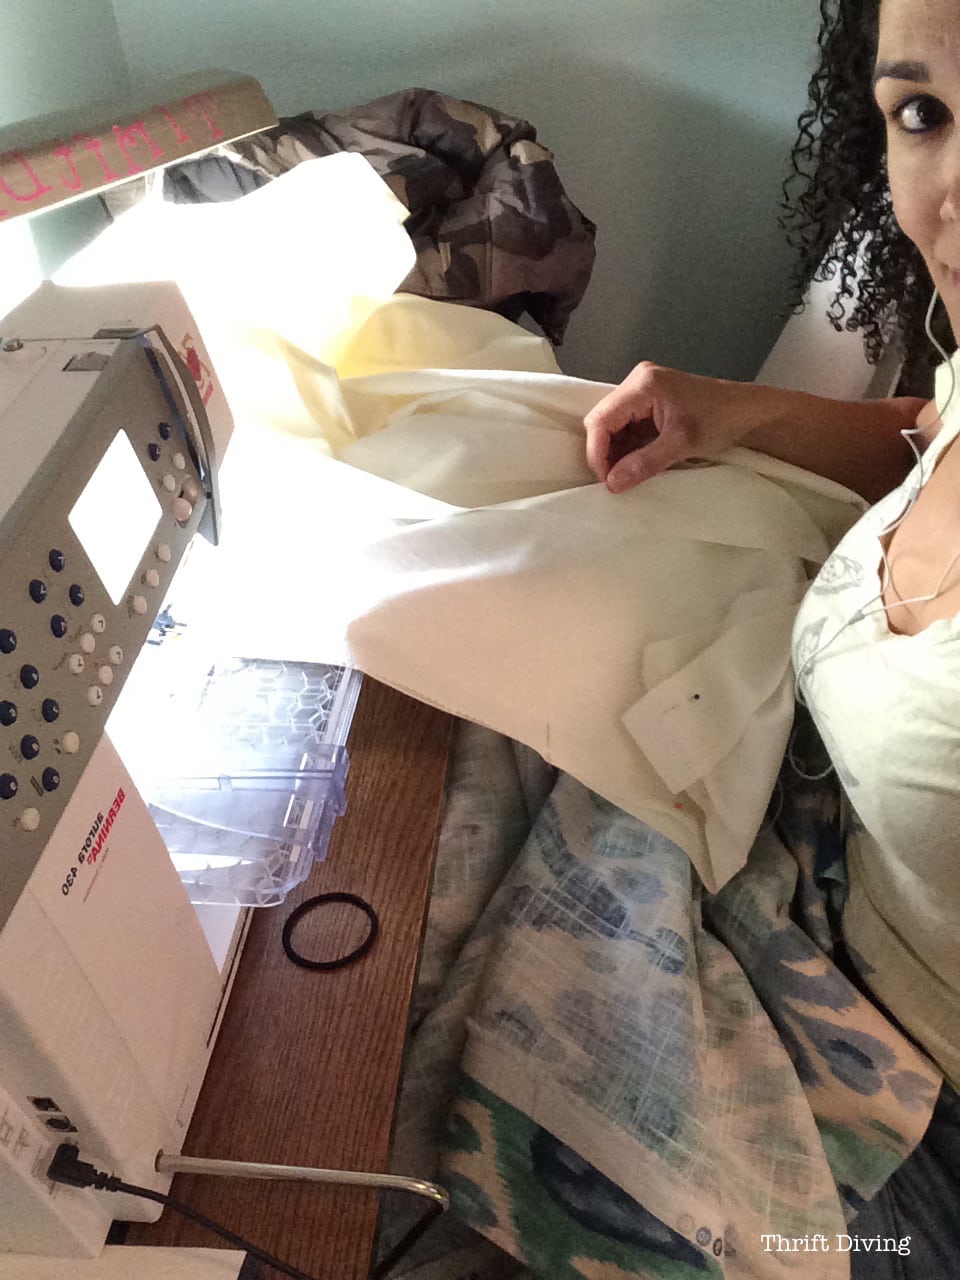
The only difference is that lining fabric is going to be slightly smaller than your home decor curtain fabric. Since your curtains may be a different size than mine, I won’t give you exact dimensions. It’s just trial and error. Just make sure it’s slightly less tall and less wide. And smooth it out as straight as you can.
Here you can see I am test-fitting the lining to guesstimate how much I’ll need to sew together.
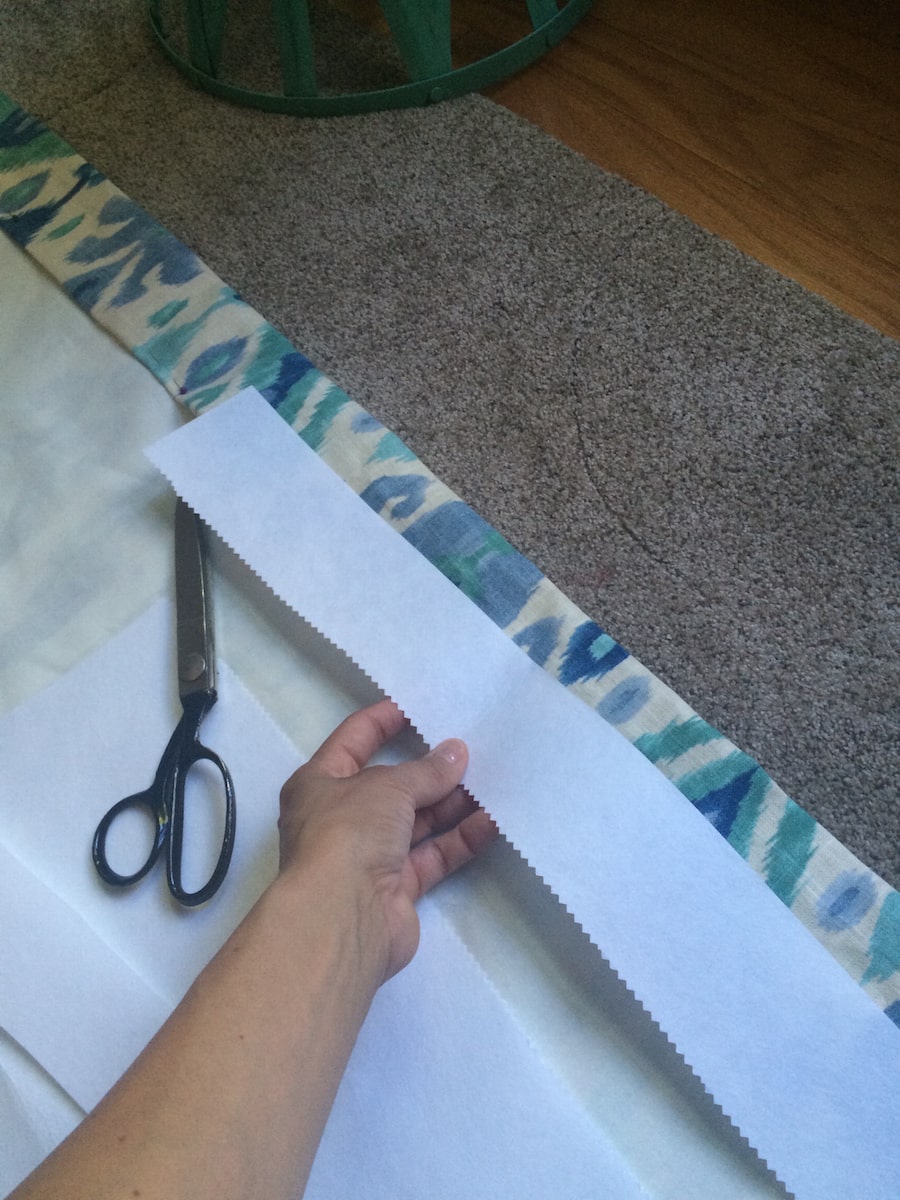
STEP 6: Stick in a Heavy-Weight Interfacing to the Top
If you don’t add a thick interfacing to the top, your curtains will droop more than Aunt Gertrude’s face. HA!
Here, I cut pieces of interfacing to stick inside. I recommend you get the iron-on interfacing that makes it easier to stay in place!
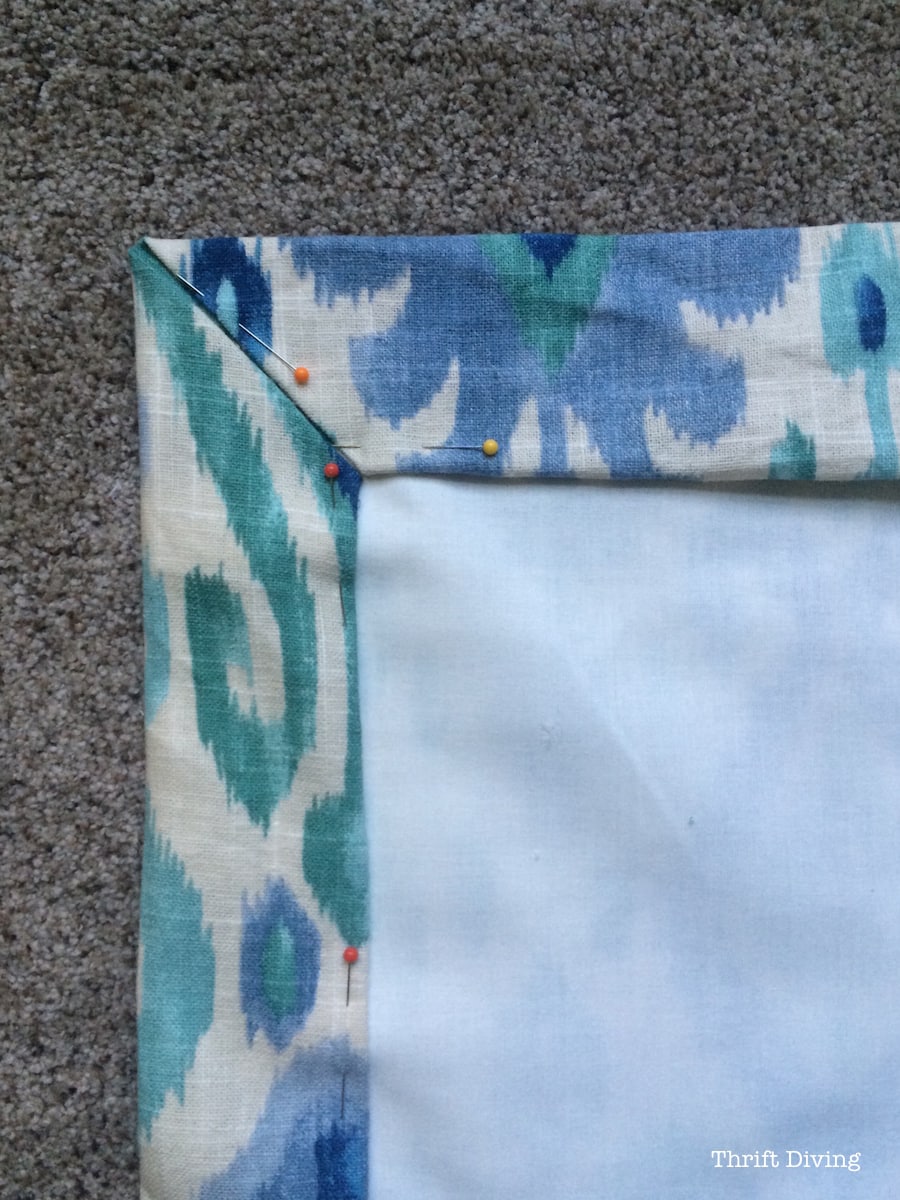
STEP 7: Tuck the Lining Fabric In
Once you’ve stuck in the interfacing, tuck in and pin your lining under your curtain fabric, like this.
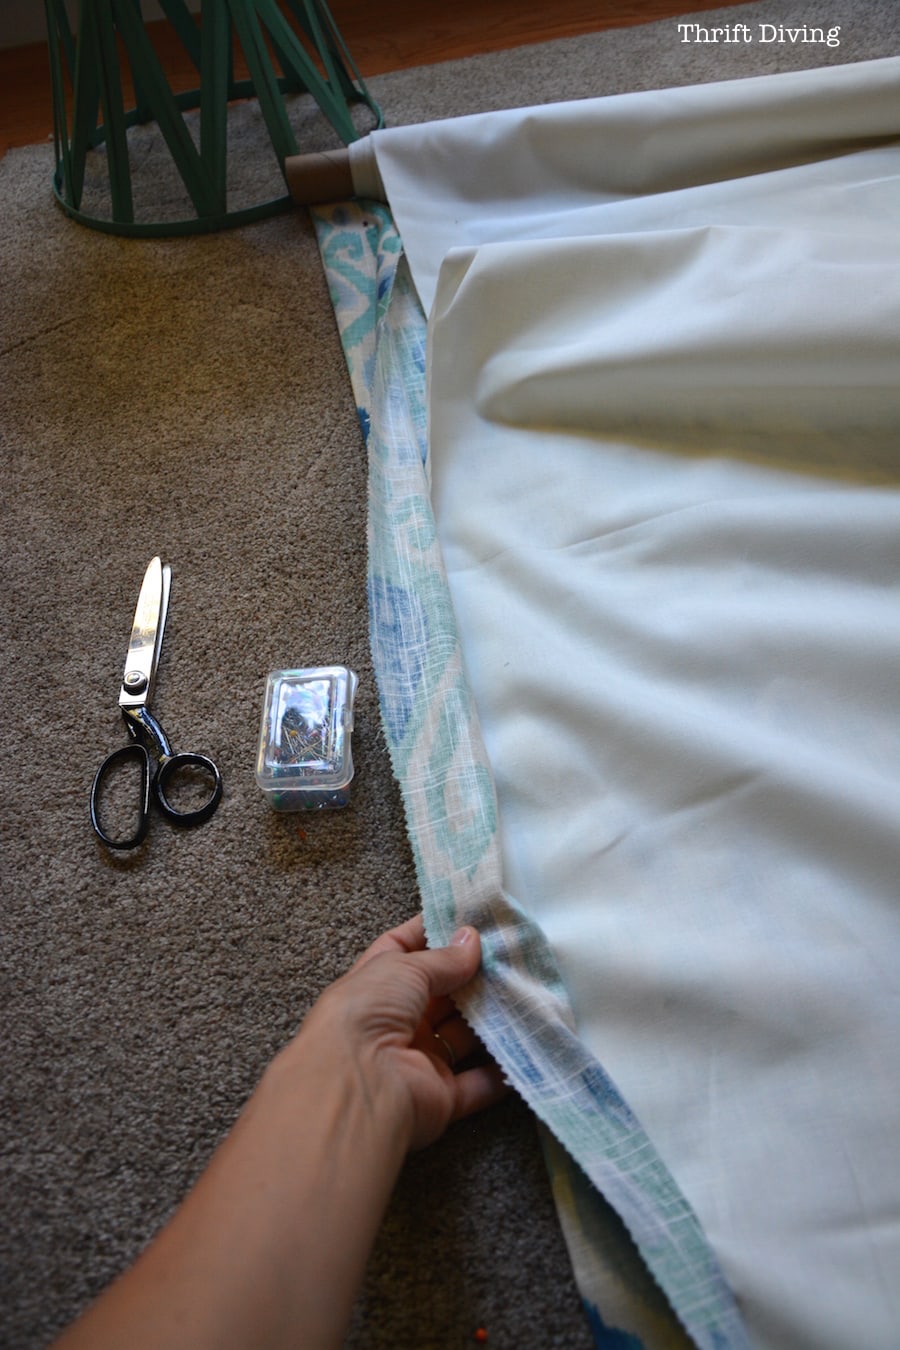
You’ll also turn under the raw edges about 1/2″.
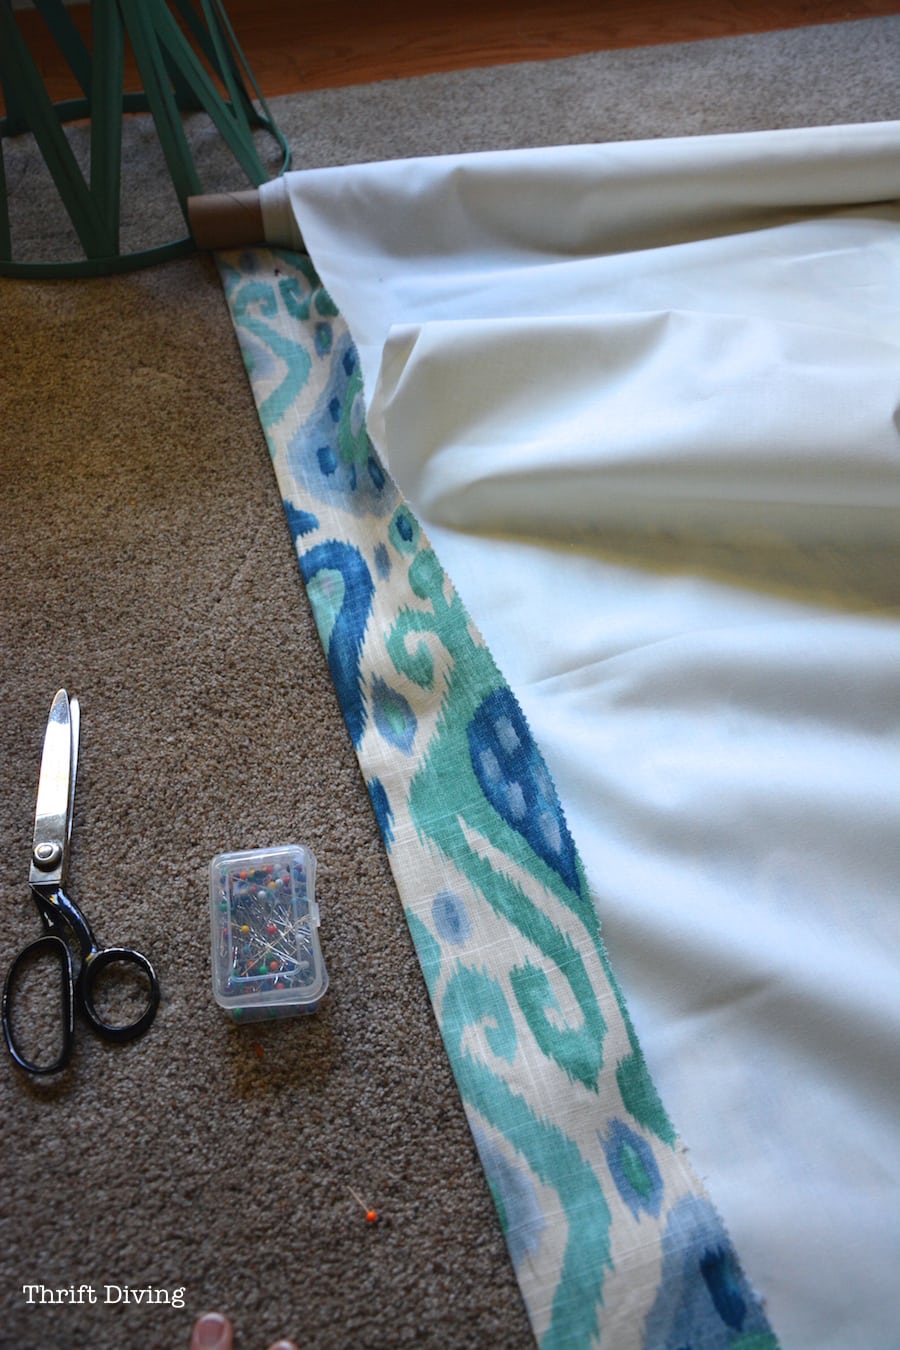
You should be left with clean edges like this, with lining tucked inside.
These are my favorite kind of corners: mitered corners!
They’re actually super easy to create. Watch this video to see how it’s done.
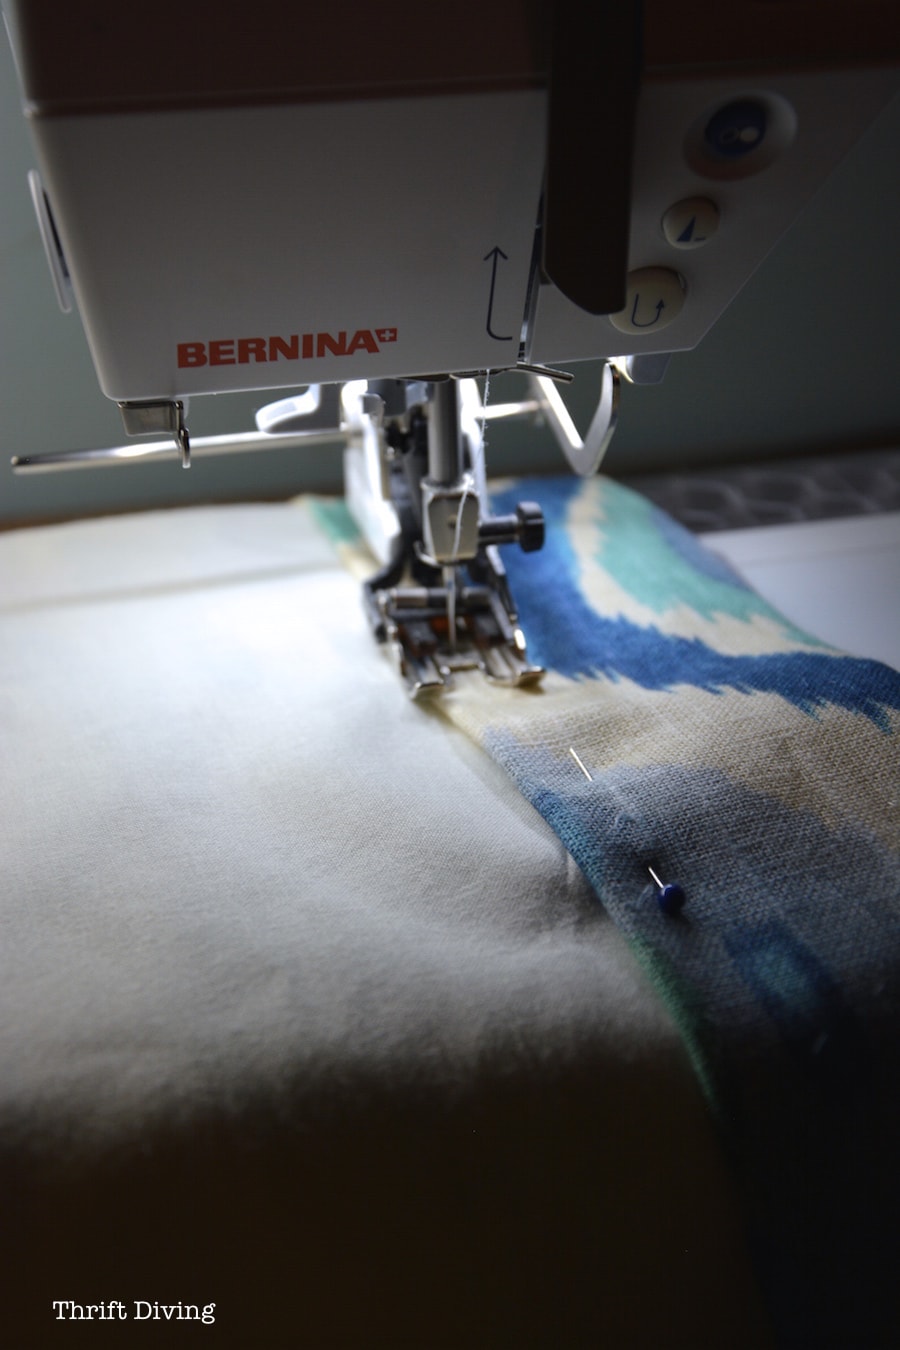
STEP 8: Sew the Lining In Place
Next, you’re going to sew right on top, locking in the seams AND the lining along the top and sides. BUT…….1. Don’t sew the bottom hem until you have test-fit your curtains to the window, and 2. Don’t sew the lining to the bottom of the curtains.
Test-fit your curtains so that you can get the exact length you want (remember we added in extra fabric to the top and bottom?)
Also, leave the hemmed lining free-flowing so it moves again the curtains and doesn’t get gathered and bunch up.
I like to sew about 3/8″ from the edge, but it’s your preference!
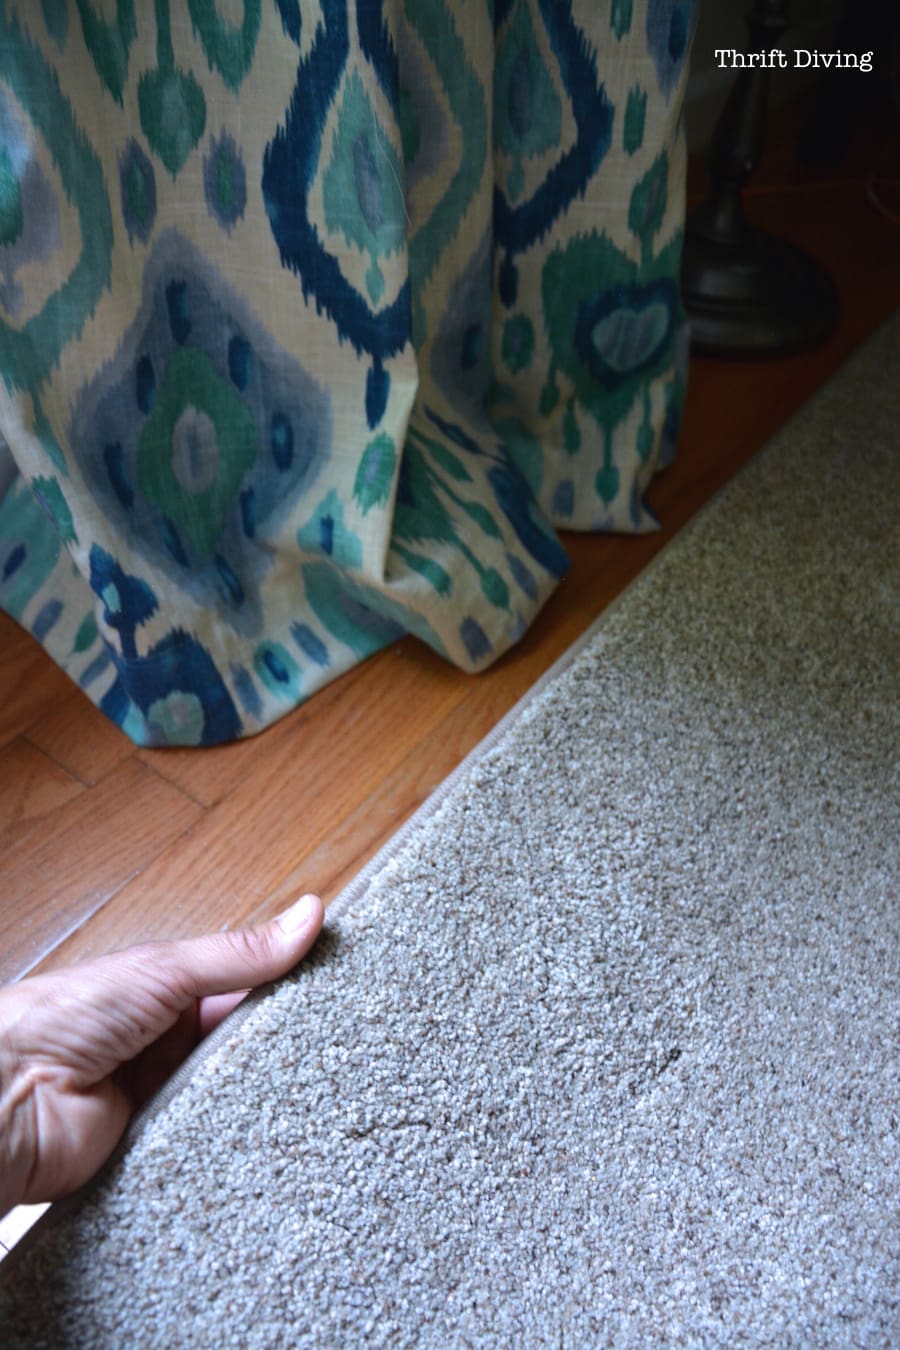
To Pool or Not to Pool?
That is the question….
It’s your preference. I like to pool my curtains about a couple inches past the floor, to keep out drafts. But you can also have them just graze the floor. I love that clean look.
You can also have them just touch the edge of the window sill. (I don’t like that look). But it’s your choice!
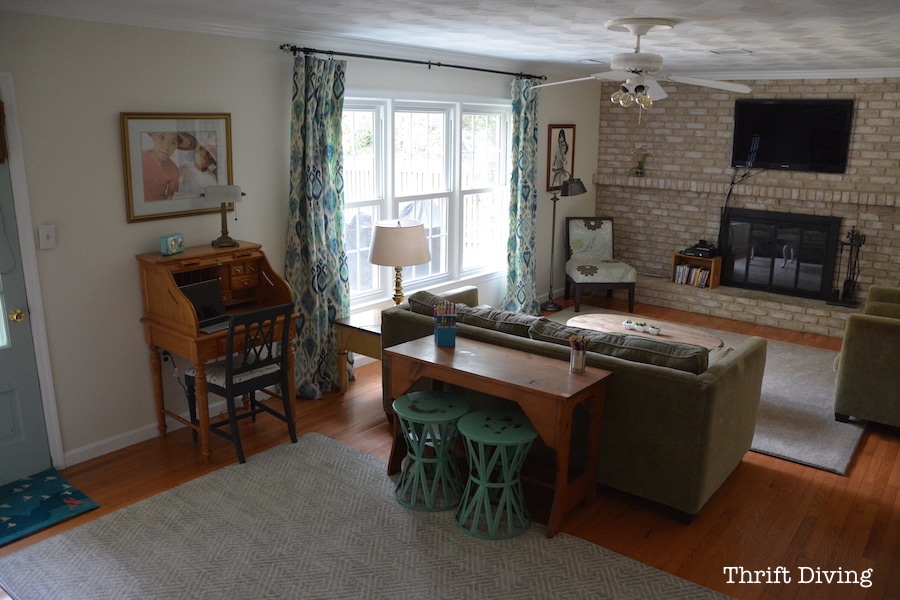
STEP 9: Press Out the Wrinkles and Hang Your New Cute Curtains!
So funny that I tell you to press out the wrinkles when my curtains are sooo wrinkled. HA! I was just too lazy to iron before taking this pic, so you’ll just have to overlook that part. LOL
Every pair of curtains I made, I prefer the look of just using curtain clips. But you could easily have left a sewn or Heat ‘n Bonded a pocket at the top to allow the rod to go through. Just depends on your style. But the basic premise for curtains are all the same.
The curtains look great in my cozy family room that I made over recently!!
Liked this project? Pin it for later! Thanks so much!!
![]()
But it’s that easy, guys!
So have you ever tried to sew cute DIY curtains??

Download the 5 freebies!

Thrift Diving inspires women to decorate, improve, and maintain their home themselves...using paint, power tools, and thrift stores! Use these 5 printables, checklists, and ebooks to get started!


Hi, Serena! I love your blog, & specifically your tutorials. 💗 Your friendly, down to earth commentary is lovely. I appreciate your inclusion of mistakes and redos, so much!!! It definitely helps this beginning sewer and home improvement DIYer feel more able to tackle anything I dream up or find on here. Thank you, sincerely. 🥰
Very pretty curtains! 😊
Great tutorial for lined curtains! The fabric is beautiful. I agree on cutting off the selvage edges. If you are concerned about raveling, trim raw edges (not enclosed in a hem) with pinking shears, the zig zag edge won’t ravel near as much. Bed sheets and shower curtains are definitely good sources of inexpensive fabric, and the advantage is the width, much wider than store bought fabric so less sewing. You can also take advantage of hems that are already there, depending on size of curtains. Another source of pretty fabric is tablecloths! I see pretty ones at outlet type stores like Ross, TJ Max, Tuesday Morning, etc. for great prices. I especially love the indoor/outdoor fabric ones that are made of polyester. They come in beautiful prints and the colors are bright and don’t fade. I made my kitchen bay window curtains years ago and they still look beautiful!
Yes, great idea on the bedsheets and tablecloth!! 🙂 Thanks for the suggestions, Vicki! 🙂
Yes! Lovely tips, thank you!