How to Install Garage Door Screen: Frame Assemble – PART 3/4
This tutorial (PART 3 and 4) on how to install garage door screen is sponsored by Maryland Screens.
In Part 2 of this series on installing a garage door screen kit yourself, I showed you how to assemble the garage door screen tracks, which was pretty simple. In this Part 3, I’ll be sharing step-by-step how to assemble the steel frame that comes in the kit.
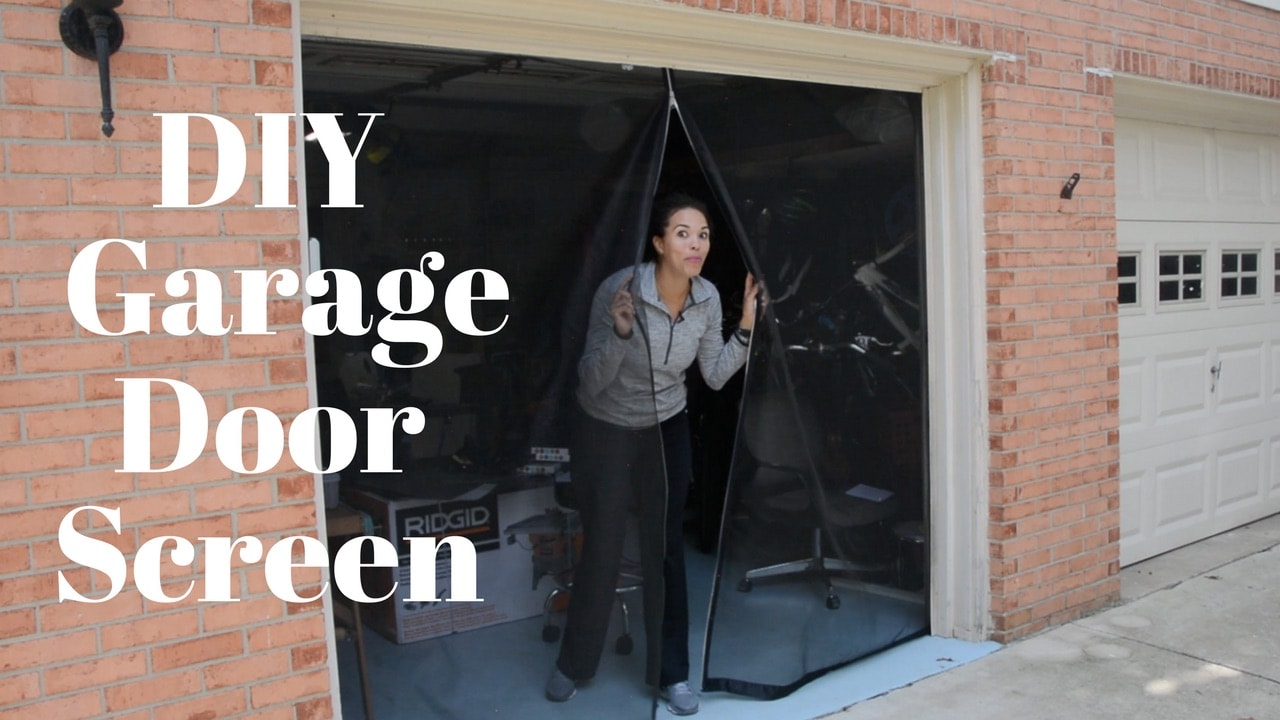
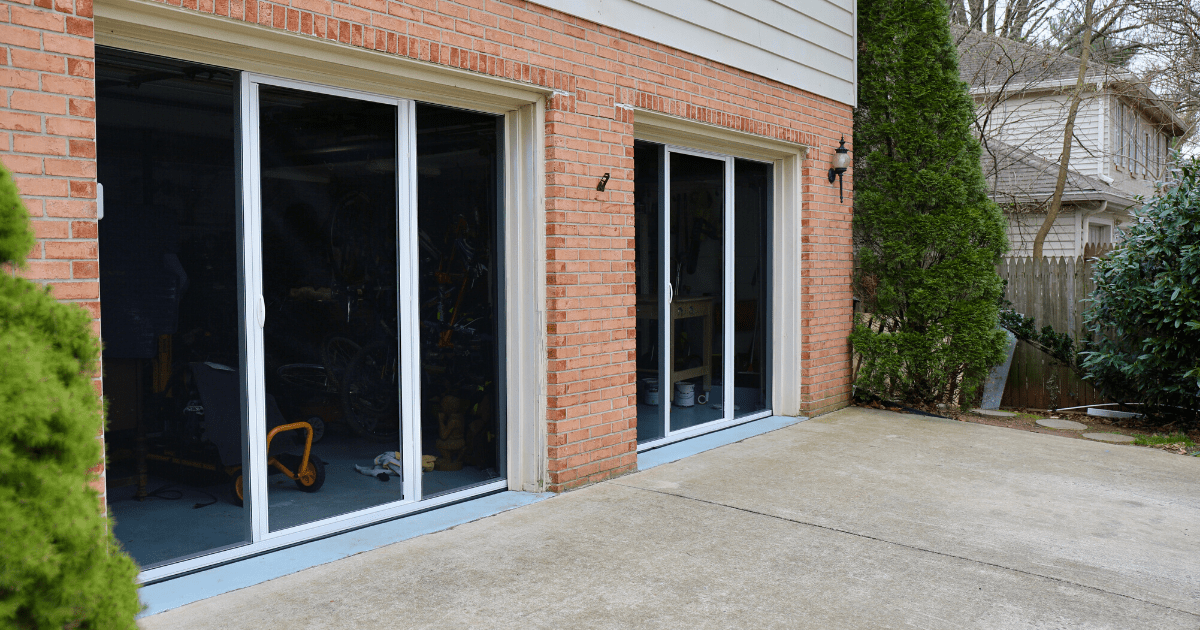
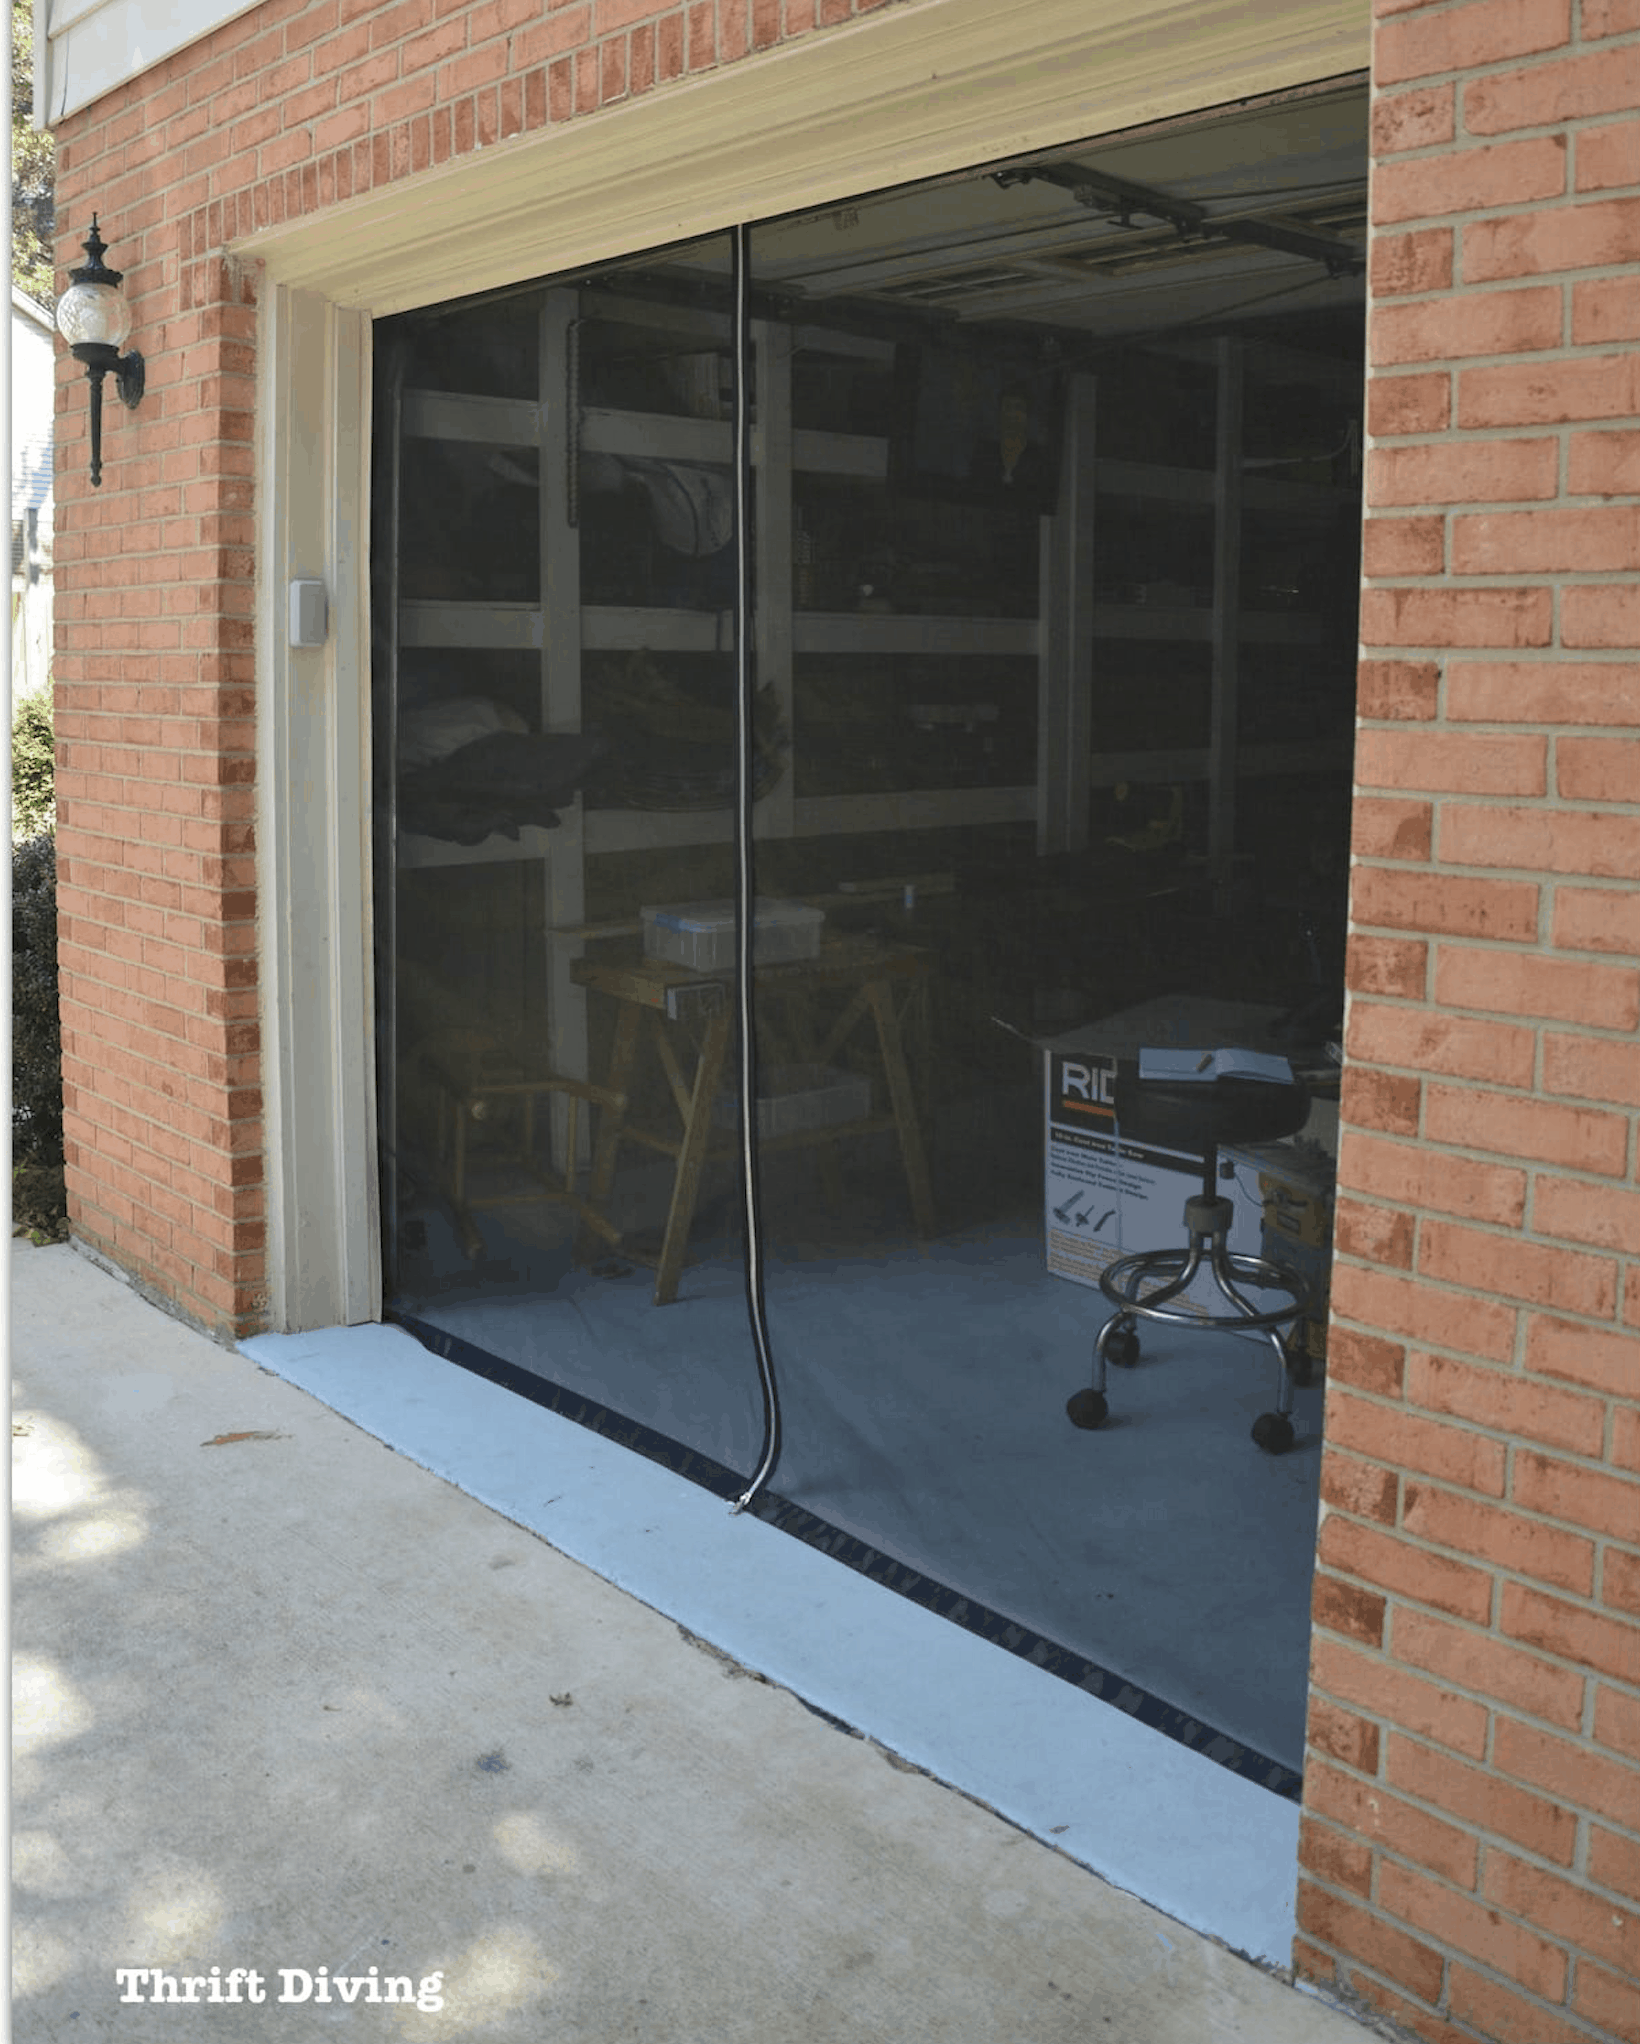
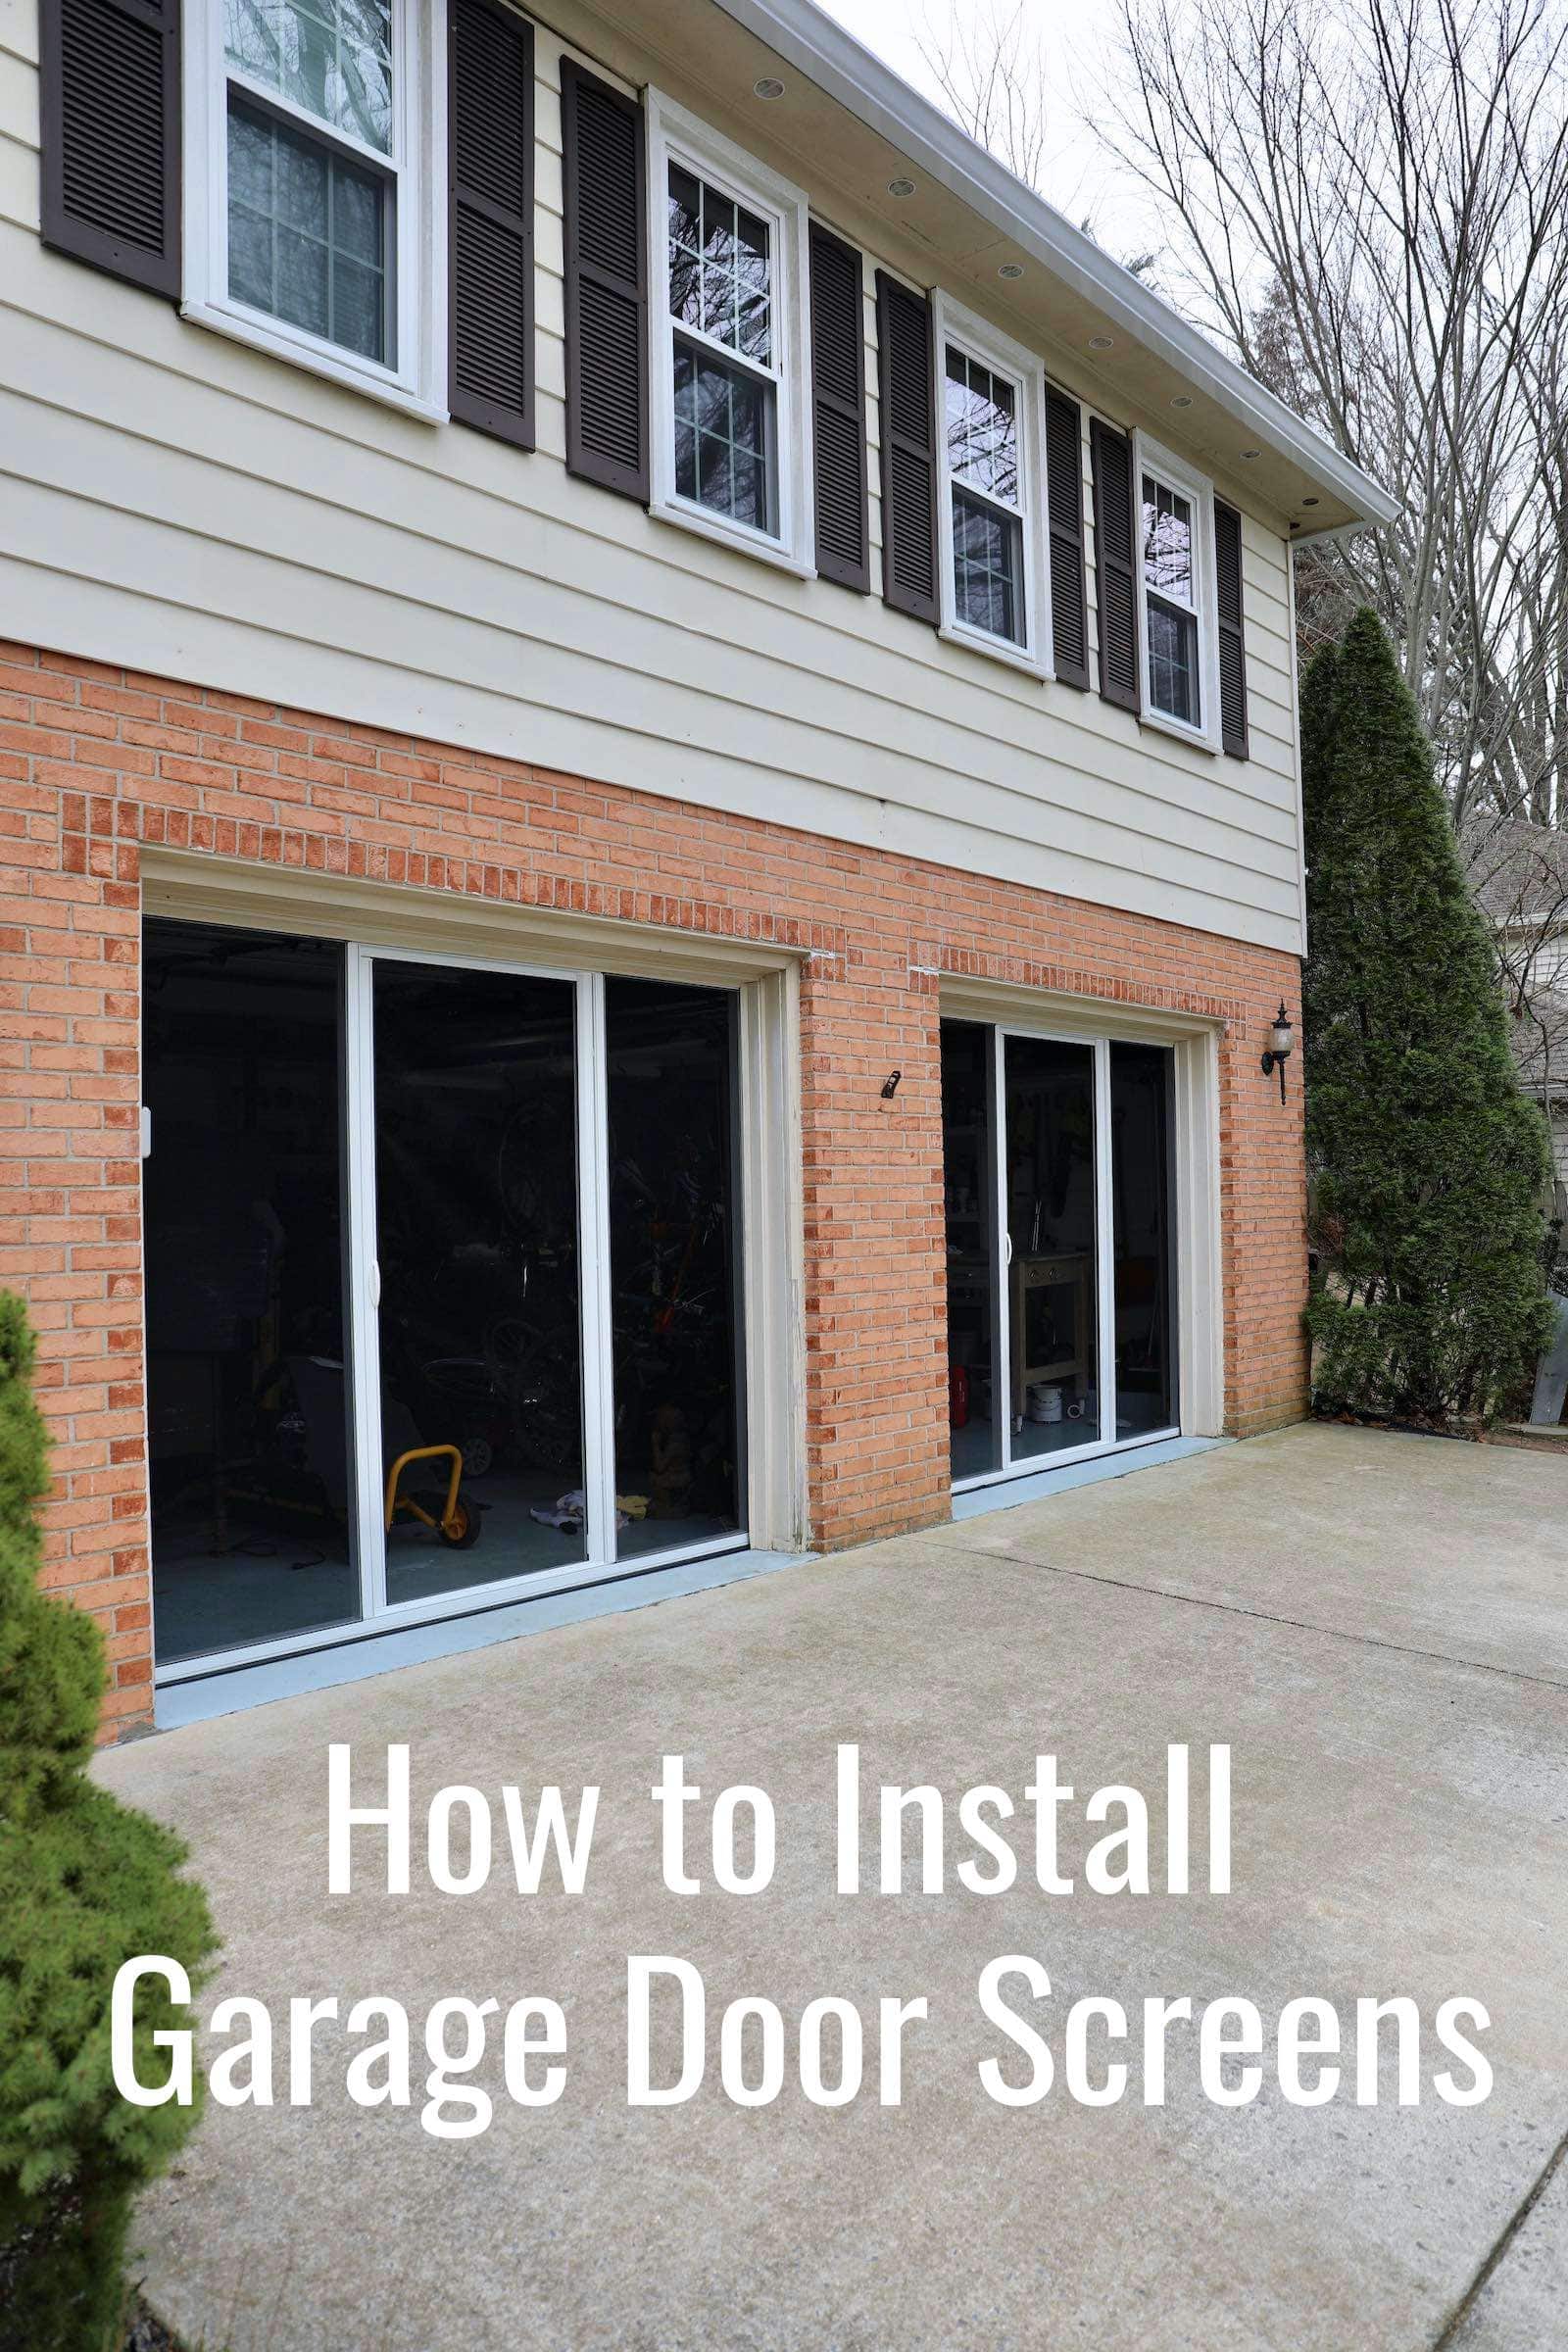
Here’s a reminder of what my garage door screen looked like before. While the garage door screen looked amazing and performed well, after a couple of years, the screen began to slightly tear from the wear and tear of run-ins with the lawn mower and other lawn tools that brushed against the unzipped screen when moving things in and out of the garage. Remember: this DIY garage screen screen was held in place simply with Velcro and had been hand-sewing with my sewing machine!
Mike Rose, however, owner of Maryland Screens, a full-service garage screen installation company located here in Maryland, reached out and asked if he could teach me how to install a garage door screen. If he could teach me how to install this non-motorized screen made out of a metal frame, then I could teach you how to install one. He would ship the garage door screen kit to you from Maryland Screens and these following instructions would walk you through how to install your very own screen. It looks amazing!
Click hear to order your own screen kit from Maryland Screens. Use code: ThriftDiving90 at checkout!
AFTER!

Let’s keep this tutorial going with PART 3!
Watch PART 3 of 5: How to Install a Garage Door Screen
Click here to subscribe to my YouTube channel!
Now that you’ve watched the project, here’s step-by-step instructions on prepping the garage door frame!
How to Install a Garage Door Screen: Prepping the Garage Door Frame
In the second of the three boxes that will arrive on your doorstep, you’ll find 4 metal pieces of garage door frame that will ride along the tracks that you just assembled in Part 2. The track is unbelievably strong and will last for years to come (unlike the DIY garage screen I made with my own two hands, which started tearing after a couple seasons).
I ordered my screen in white, but it also comes in brown or black. There are quite a few steps involved in getting this screen assembled quickly and efficiently, so let’s walk through each of the steps.
And remember: If you want to order your own garage door screen to install at home yourself, you can order it here through Maryland Screens.
STEP 1: Open the box with the garage door frame.
- You’ll get 6 pieces: a top and bottom piece, 2 sides, and 2 center supports that go in the middle of the frame.
- Set aside those 2 center frame pieces. You don’t need them immediately. (Be sure to add content on how to identify them).
- Longer frame members are the horizontals.
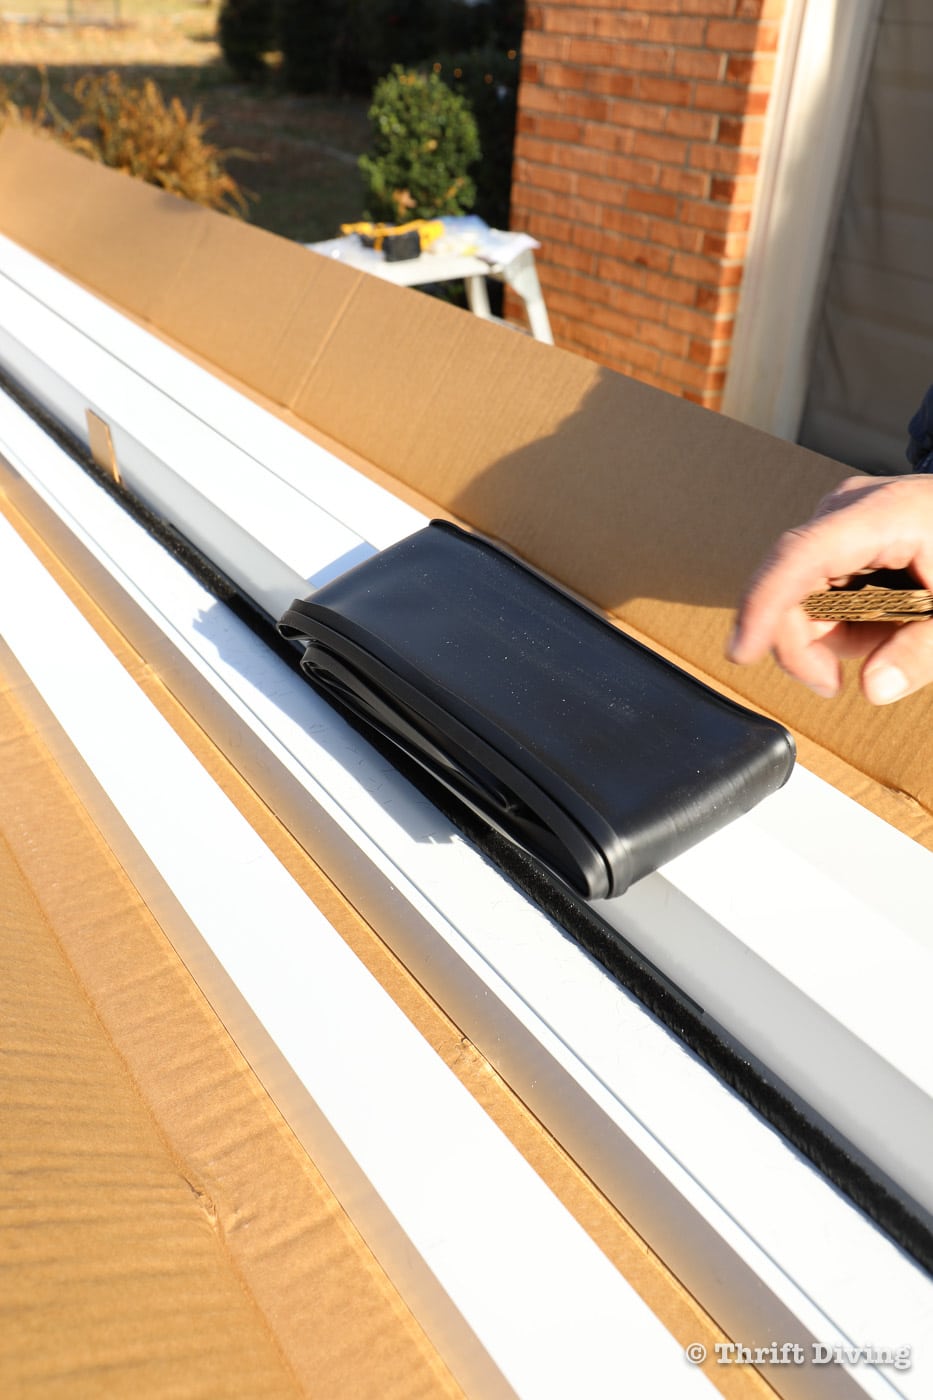
STEP 2: Set the rubber piece in the sun or inside to warm up.
It’s easier to install.
STEP 3: Orientate your pieces in this order.
- Face the side vertical pieces opposites to each other to make installation easier.
- Of the horizontal pieces, there is a top and a bottom (the one with the fuzzy brush seal will be going against the door at the top).
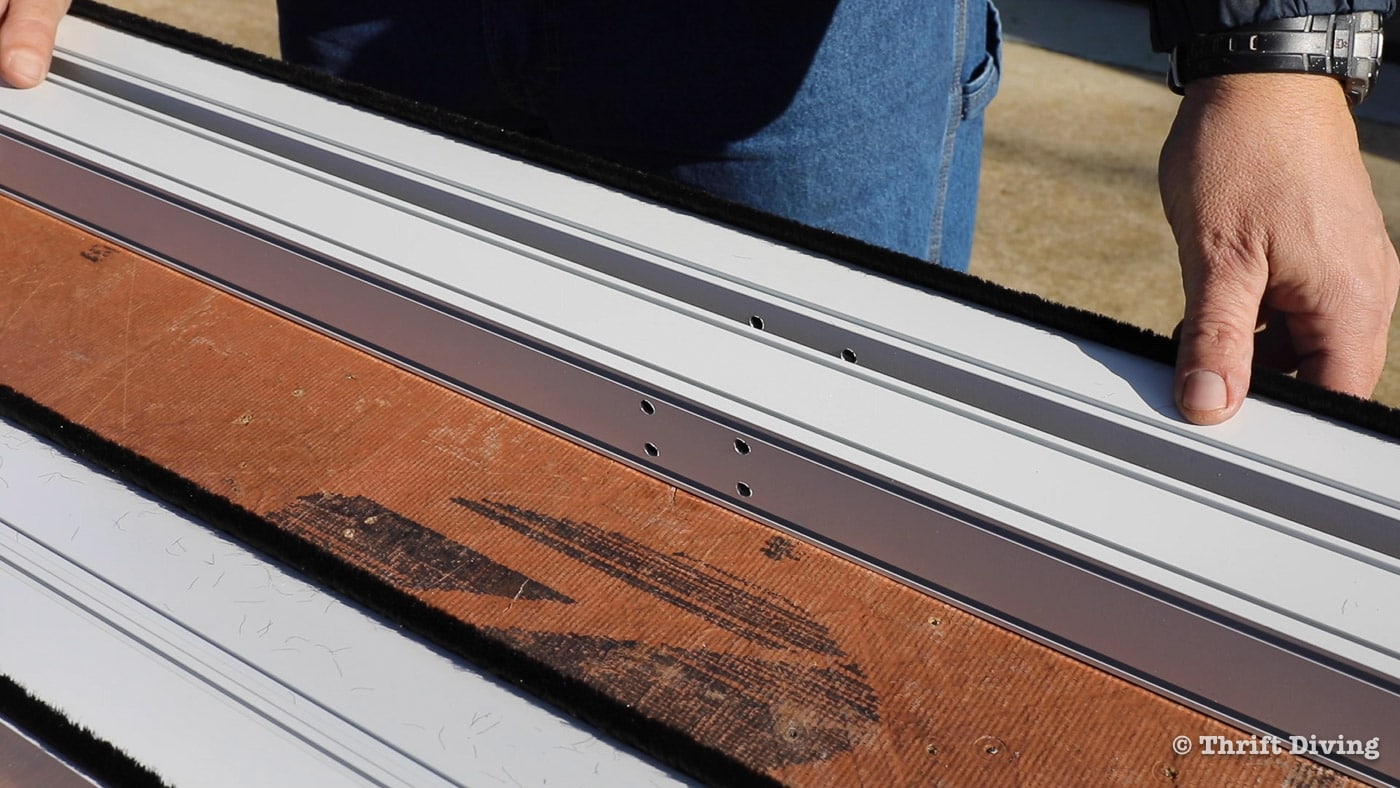
- Set up the horizontal frame pieces so that face with the smooth holes is facing together, and a smooth side is down, yet the holed groove side is facing the side. This is where the rubber seal will be slide into place.
STEP 4: Trim the pieces of fuzzy brush seal.
- On shorter pieces, line up the felt evenly on one side, then trim the excess from the other side.
- On the longer horizontal pieces, pull back the felt 1/2″ and then trim evenly on the opposite side. This will make each size 1/4″ short which you will see later why this is done.
STEP 5: Open the hardware that contains the long screws, brackets, and black rubber end caps and photo eye shield.
STEP 6: Insert and lightly secure the metal backer plates inside the horizontal holes on each end (there will be 4 total).
- Sometimes little metal burrs might make the backer plates not want to lay flat. Just knock them off.
- Don’t even finger tighten. Just turn a few times to hold them in place.
STEP 7: Open and assemble the magnets, then slide onto horizontal top piece.
- Screw down the magnets into place.
- Now set aside the horizontal frame pieces.
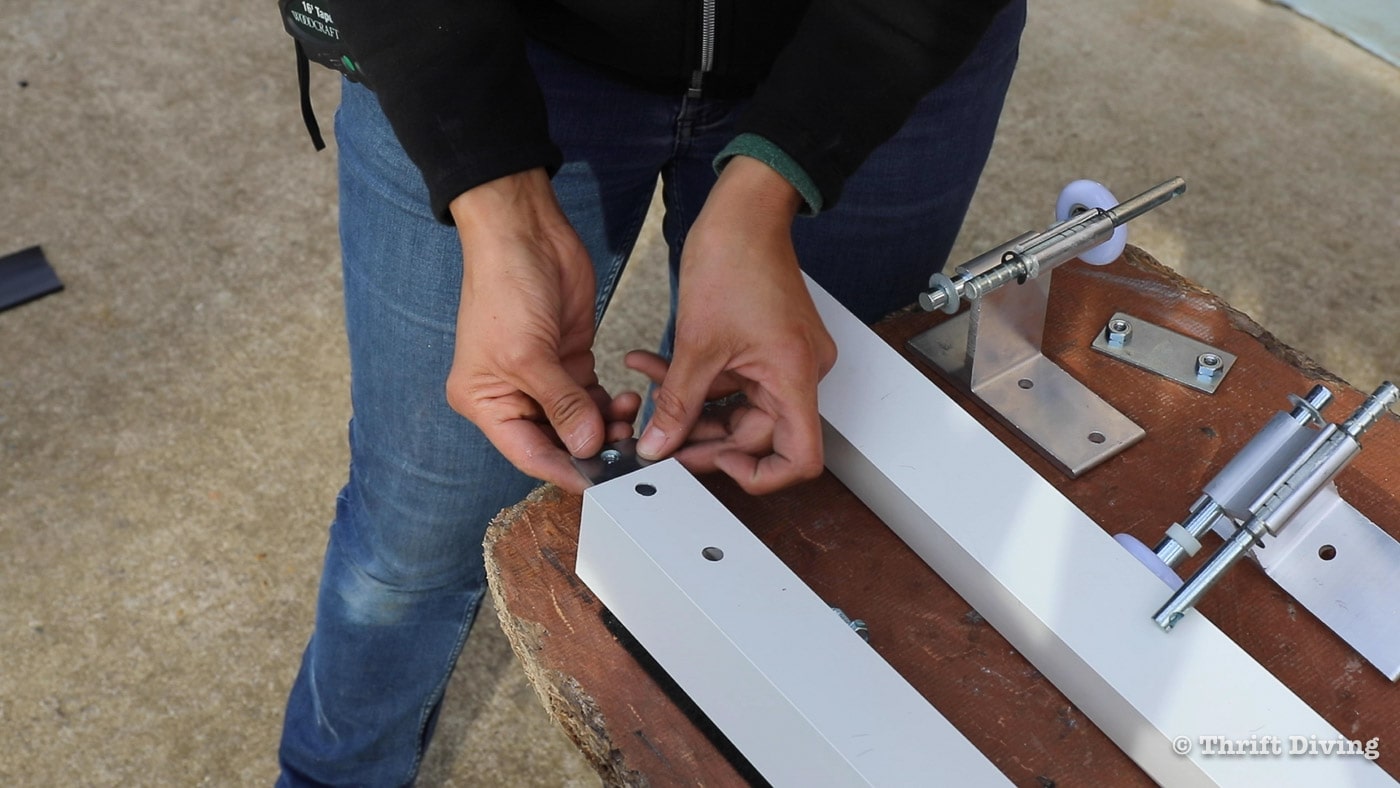
STEP 8: Mounting the rolling wheels to the ends of the vertical frames.
- Flip the vertical frames pieces over to the smooth side with the holes.
- You must decide which size will be top and which will be bottom.
- Wheels go to the outside, which will be the same side as the fuzzy brush seal.
- Insert backer plates again and attach wheels with bolts, making sure they’re hanging over the edge.
- Sometimes little metal burrs might make the backer plates not want to lay flat. Just knock them off.
- Finger tighten only.
STEP 9: Attach the stickers.
- Long one goes at the top.
- 2 smaller ones goes at the bottom, about 4″ from the wheel.
- Yellow “STEP” ones are optional.
- All the extra pieces, just hold on to them. You’ll need them.
STEP 10: Insert the photo eye shield at the BOTTOM of one vertical frame wheel.
- This prevents your garage door opener from closing the garage door when the frame is pulled down and into place.
- Insert it on the side that doesn’t have the wheel.
- Be sure it is aligned.
How to Assemble the Garage Door Screen Frame
Now that all the prep work has been done on the garage door frame pieces, it’s time to start putting it all together! You’ll need all those extra pieces so just keep them nearby.
Watch Part 4 of 5: How to Install a Garage Door Screen
STEP 1: Set up your sawhorses or benches.
- You’ll need 4 of them.
- Flat side up first.
- Measure the length of your vertical side struts first so you know how far apart to set the sawhorses with the horizontal frames on them.
- Space the horizontal top and bottom struts apart the distance of the side struts.
- Place the horizontals and place them on the sawhorse. Be sure to pick them up in pairs so that you don’t get the top and bottom mixed up. Be sure that you set them up in the right position. Have the fuzzy brush seal DOWN.
STEP 2: Take measurements to make sure it’s even.
STEP 3: Set the vertical side struts in place and secure with a bolt.
Be sure that the fuzzy brush seal is to the outside of the frame and that the loose wheels with movement go at the top of the frame.
Remember those backer plates we loosely secured on the horizontal struts? We’ll be inserting the bolt into those backer plates and that will secure the sides to the top and bottom.
Make sure that the felt isn’t sticking out of the top.
Make sure the holes line up. If they don’t, use the step bit to open up the holes a little if needed, or adjust the bracket. You can also use a 5/16th drill bit to open up the hole a bit.
STEP 4: Thread a long screw into each of the 2 straps.
STEP 5: On the bottom of the frame, insert a long screw into bottom of the frame.
This helps hold up the middle support frame piece.
STEP 6: Insert 4 screws into the top of the frame, with the last screw being the screw threaded with the black strap.
STEP 7: Insert the rest of the screws into the bottom of the frame. Finger tighten only.
STEP 8: Tighten all the wheel bolts with an impact driver with a 7/16 ratchet wrench with a box end.
STEP 9: Tighten all the center bolts, including the screwed threaded with the black strap.
We’re using a 5/16” extended impact socket. A standard 5/16” socket or any impact socket will also work.
STEP 10: Install the rubber bumper on the bottom.
First, spray it with the rubber spray stuff so it can slide in easily. May need two people to install it.
STEP 11: Trim the rubber bumper flush and install the black cap covers.
Cut off the excess rubber bumper from one side, pull it back, lie it flat, and tap on a black end cap cover with a mallet.
STEP 12: Cover the other corners with their cover caps.
Be careful not to pinch the fuzzy brush seal with the caps, otherwise you may have to loosen up the frame to free them from being pinched.
STEP 13: Flip the screen over.
It’s not heavy, just awkward, so be careful not to bump into anything. Get a helper if you can. You’ll need to make sure none of the fuzzy brush seal has been pinch, and then you’ll install the little small pieces of fuzzy brush seal around the unsealed edges of the door frame.
How to Install the Screen
The most tricky part of this installation is getting the screen installed straight and tight.
STEP 1: Unfold the screen.
There will be 2 pieces of scree. You’ll need screen clips for this part which you’ll have to order. Make sure that the edge of the screen is aligned with the inside edge of the black fuzzy brush seal and that it’s even.
STEP 2: Place your screen lock clips.
If you want to get great results, there’s a pattern to how you should install the screen. You have to have screen locking clips, which don’t come with the kit. You’ll have to order them separately from Maryland Screens when you place the order for your screen. Here is the pattern you should follow:
- Always start in one corner along the top and place a locking clip 2″ from the corner.
- Place the next clip 2″ from the other side of that corner.
- Along the top, pull the screen a bit and then place another clip 2″ from the other corner.
- Next, place a clip in the middle along the top.
- Along the long side, pull tight and place another clip halfway down the screen.
- Place another clip in between those clips.
It’s normal to have high and low spots.
STEP 3: Pre-Roll the Groove with the Spline Tool
Insert spline with the curved side up, and using a back-roll technique: pull the screen edge a little tight, back-roll a little bit about 4″ while leaving the spline tool in the groove, lay the spline in the track, give it a little stretch, then roll back into the rubber. Be careful not to cut your screen.
If you need to readjust, just lightly pull your screen and pop out the spline. Never try to pull the spline out by its tail.
TIP: If you order a screen with a pet screen or a privacy screen, it’s thicker fabric so you have to use this screening technique or else you’ll get bubbles. You may not get it perfect, but keep trying!
STEP 4: Cut the Spline at the Edge With a Utility Knife
STEP 5: Cut off the excess with a utility knife.
Now that all of the assembling of the frame has been doing, including the screening of the frame, it’s time to move on to the next part of the garage door installation process: installing the garage door screen, which is PART 5 in this How to Install a Garage Door Screen Kit series!
PART 1: Measurement and Prep Work
PART 2: Assembling the Garage Screen Tracks
PART 3 and 4: Prepping and Assembling the Garage Screen Frame
PART 5: Installing the Garage Door Screen Frame
![]()
Click here to SAVE this tutorial series on Pinterest!

Download the 5 freebies!

Thrift Diving inspires women to decorate, improve, and maintain their home themselves...using paint, power tools, and thrift stores! Use these 5 printables, checklists, and ebooks to get started!