BEFORE & AFTER: Colorful Home Office Makeover!
This home office makeover was sponsored by ArrowToolGroup.com.
We all have that one room or space in our home that becomes a catch-all for everything, right? It’s the spare room that should be a home office, guest room, or craft area. Instead, it’s the place where everything eventually lands that either has no organized “home” (i.e. you don’t know where it truly belongs in your house), or you simply don’t want to deal with it right now.
Well, for my friend, this was her spare room that was supposed to be a home office, but quite honestly, the room was unusable; there was stuff everywhere; the carpet was in bad condition, there was no organization, and the room just needed a complete overhaul.
BEFORE

I asked if she would be interested in participating in making over her spare bedroom into a beautiful home office, with the help of Arrow Tool Group (which just launched a new line of hand tools, office supplies, and a whole new site where you can buy these tools and more at ArrowToolGroup.com).
She had no hesitation and jumped at the opportunity immediately!
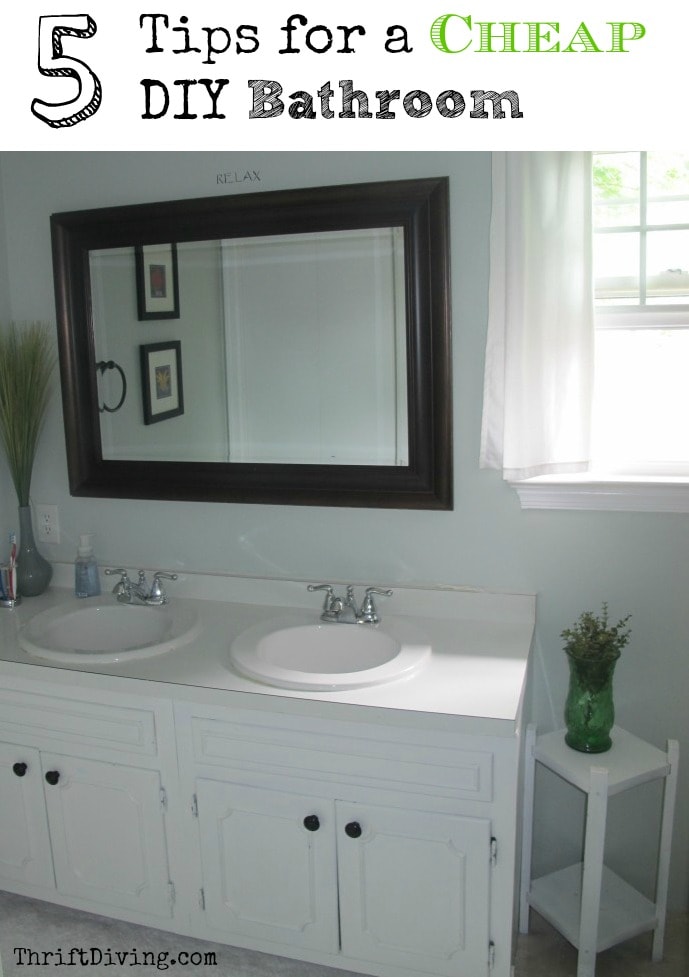
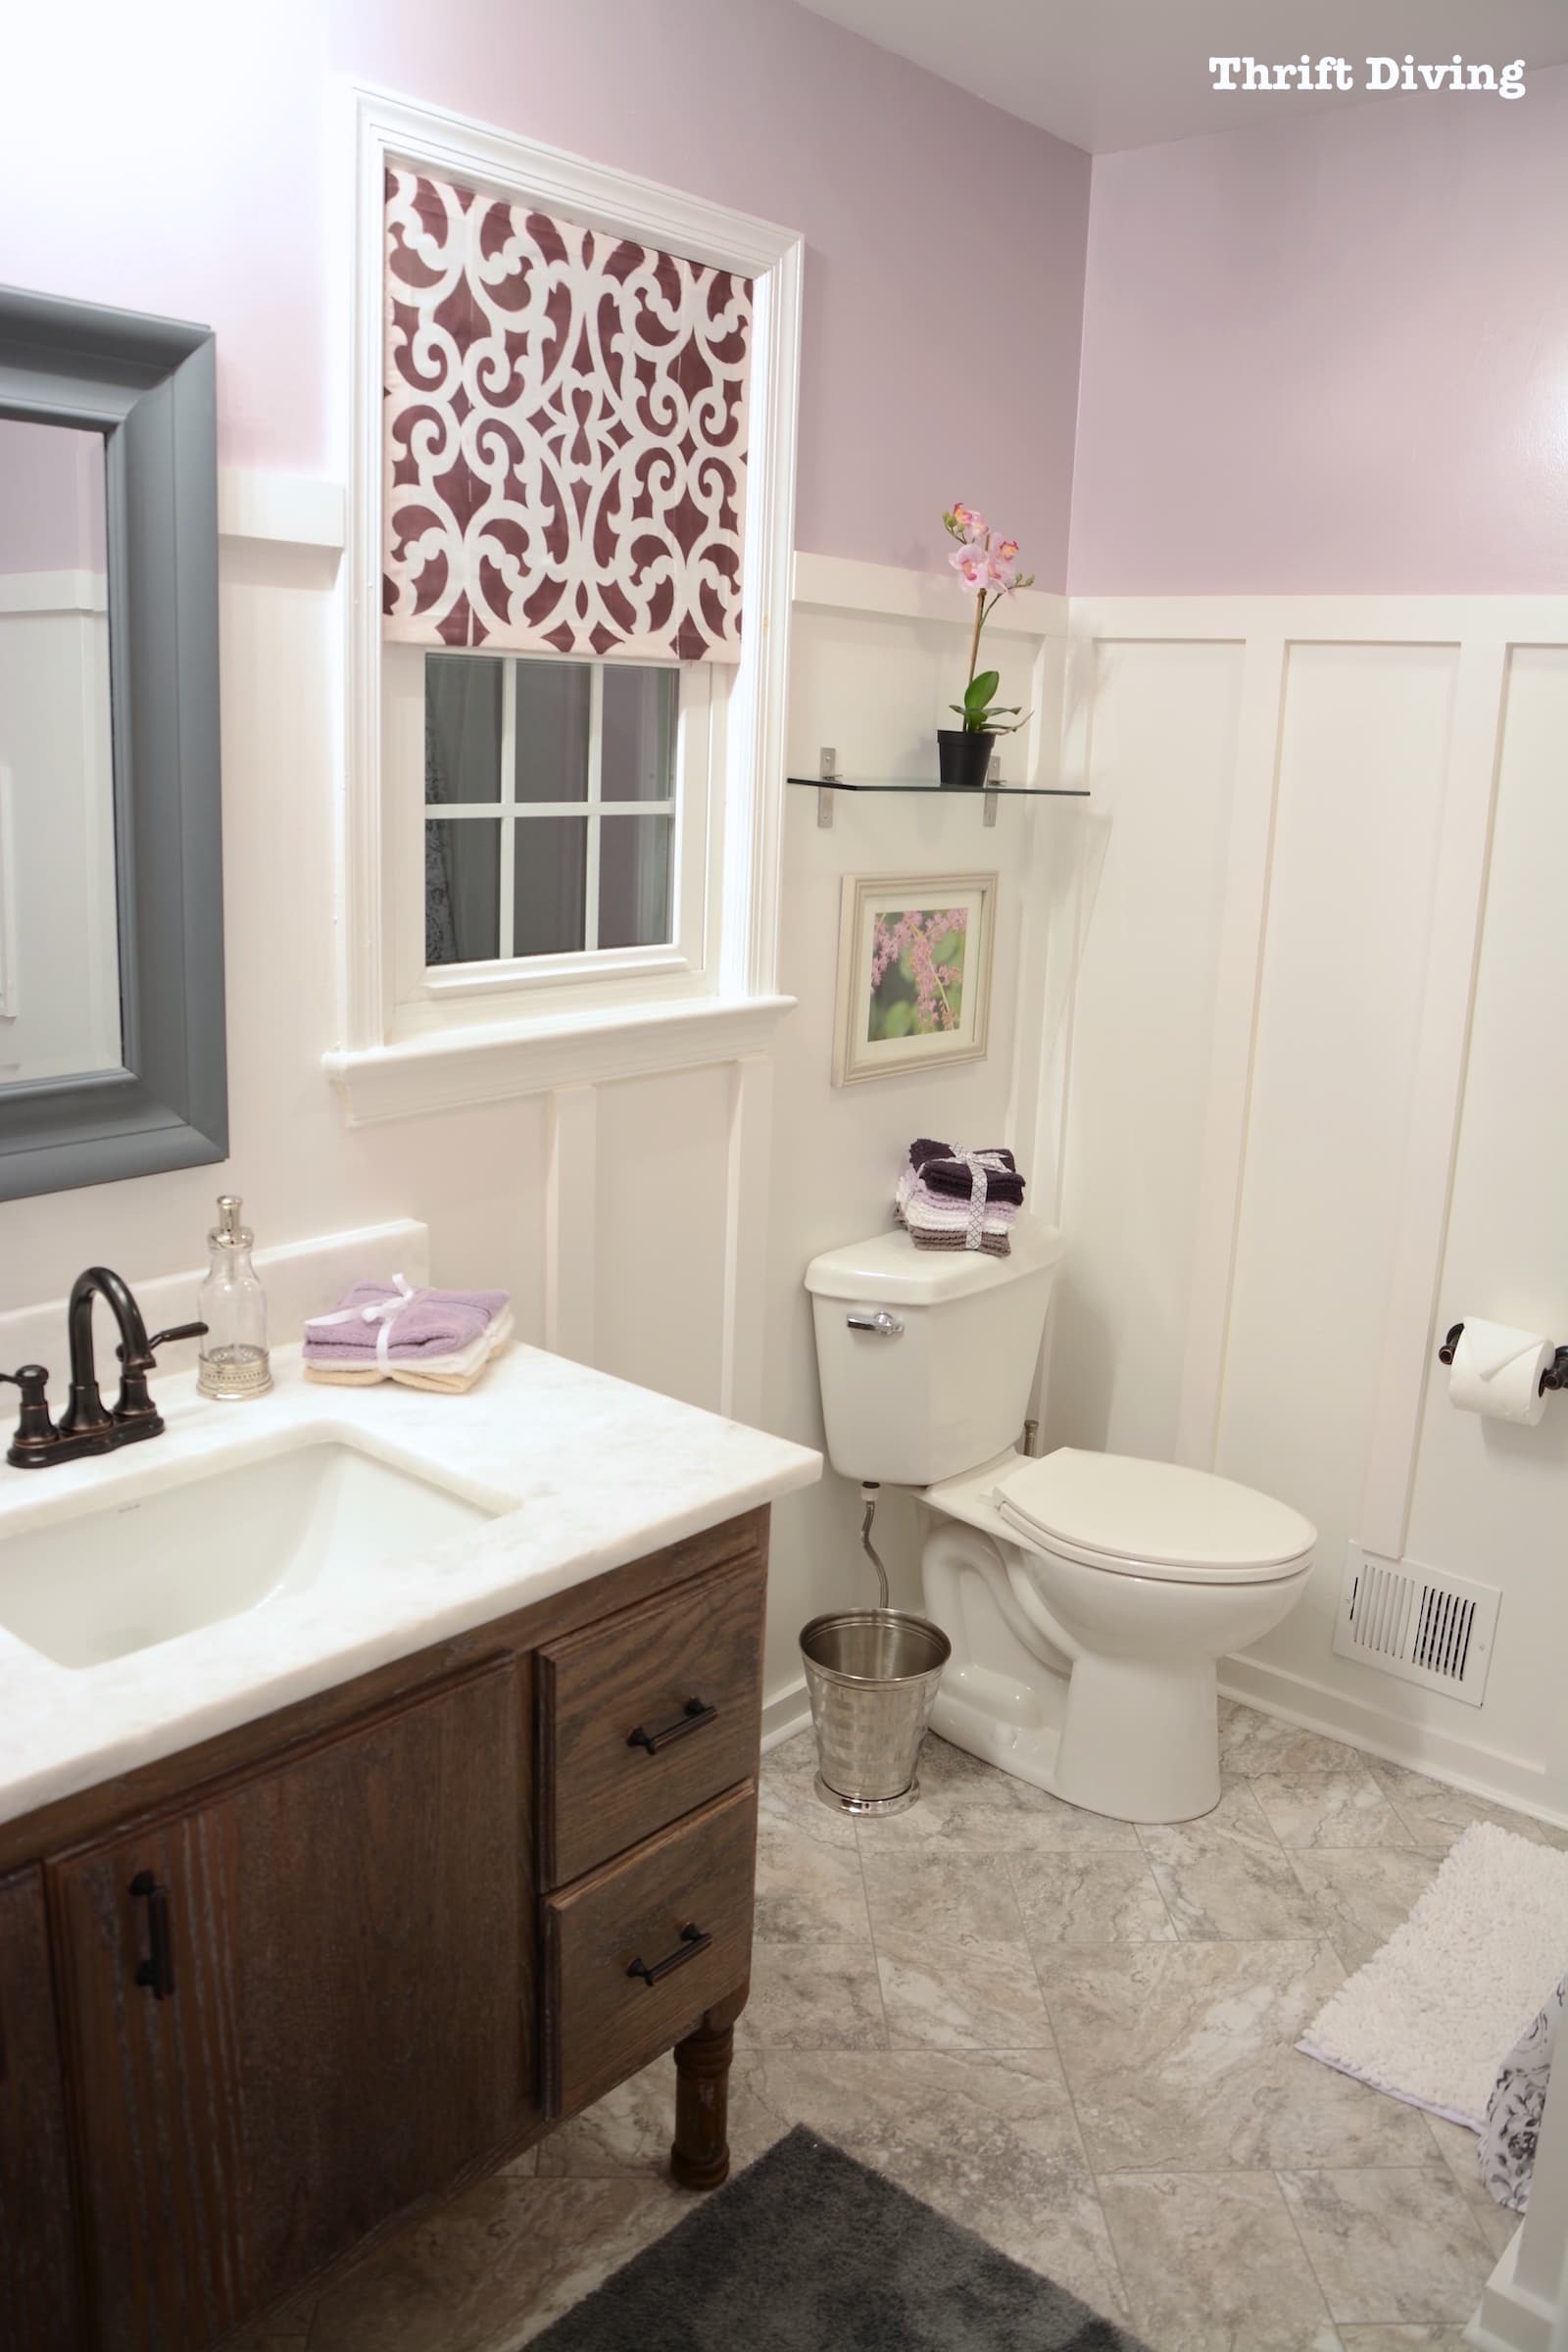
But if you’ve been following Thrift Diving for awhile, you might remember that when I began helping her make over other rooms in her home last year (see her 90’s Bathroom Makeover: BEFORE & AFTER and Pink & Dark Green Bedroom Makeover), her attitude about a room makeover was far from optimistic.
She believed that creating a home that she loved would cost thousands of dollars. But throughout these makeovers, I have proven to her that a fabulous, comfortable home doesn’t have to break the bank–not when you have paint, tools, and thrift stores or second hand! 🙂

AFTER!
This time around, we jumped in with two feet, feeling more confident, and excited to transform her room into an office space that was not just functional, but a reflection of what she was and what she liked. And I was happy to help pull it off! Can you believe this is the same room?!


This colorful home office makeover looks incredible!

And thanks to Arrow Tool Group, my friend’s new home office is outfitted with all the newest Arrow office supplies that just launched!


Enter the Arrow $1,000 Grand Prize Giveaway & Challenge!
Before we jump into the room makeover, I want to invite you to enter the Arrow $1,000 Fall Overhaul giveaway! One lucky winner is going to win the grand prize valued at $1,000 – a $500 VISA gift card and a $500 Arrow gift card to use at ArrowToolGroup.com. There will be 29 additional winners that will win a $100 Arrow gift card to use at ArrowToolGroup.com. (See the complete rules here).
![]()
I also want you to join me for my 30-Day “Fall Overhaul” Challenge! Pick one room, one project, or one space in your home and commit to making over the space with me from September 1st to September 30th! By entering the challenge and doing the challenge tasks, you’ll get more entries into the giveaway and you’ll feel the pride of finishing a project of your own! Learn more about the challenge here!

I can’t wait for you to join me for 30 days and 30 prizes, with one lucky $1,000 winner!
![]()
Tools & Materials for a Home Office Makeover
To complete this home office makeover, I teamed up with Arrow, which provided all of the hand tools I’d need to make it happen. As I mentioned, Arrow just released a whole line of hand tools (and office supplies), which we used for this project (and which you can now buy directly from ArrowToolGroup.com).
![]()
I did so many projects for this home office, so it feels impossible to list everything, but this makeover couldn’t have been done without these most essential tools and materials!
- Arrow Hand Tools (utility knife, tape measure, pliers, scissors, etc). (Use coupon code THRIFTDIVING15 to save 15%)
- Arrow 5-in-1 stapler electric staple gun (available corded or cordless)
- Sherwin Williams Nifty Turquoise
- JT121 fine wire staples (use the 3/8 in fine wire staples)
- Crypton Henry Arroyo velvet – HouseFabric.com
So let’s walk through the transformation of this home office! If you’d like to watch the transformation, check out the video on my YouTube channel.
STEP 1: Clearing Out the Entire Room
This is always the hard part of a room makeover: just getting started and figuring out where to put everything in the room so you can paint and make it over! We moved everything out into the third bedroom (which is now the cluttered room in the house!) ;).
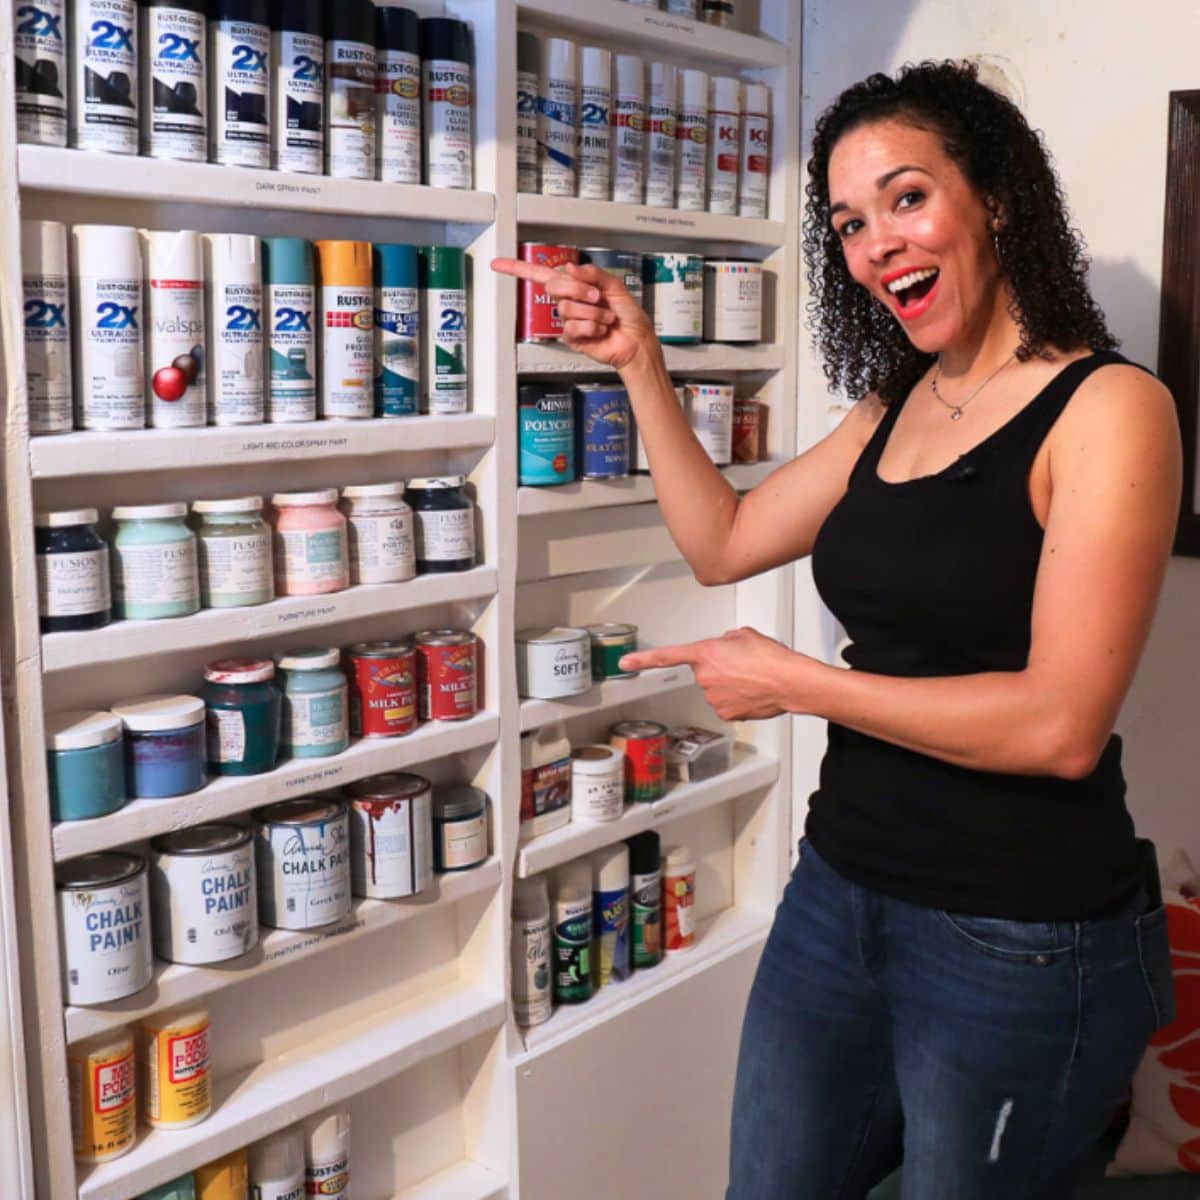
STEP 2: Picking a Vibrant Paint Color
I used to be “scared” of color and painted my home only in soft pastel-y colors. I think it was because I love light so much and I’m afraid that any amount of color I add to the walls is going to suck up whatever little bit of sunlight we get.
But I’ve become captivated with rich colors the more I work with them. Teaming up with my friend who loves deep tones gives me “permission” to embrace boldness, without being committed to it in my own home. Seeing it in her home is inspiring, though! This Sherwin Williams Nifty Turquoise is a color for people who love rich tones and aren’t afraid to express themselves.
We added 2 coats to the wall, and for the ceiling and trim, we used a lightened Sherwin Williams Refreshed.

Turquoise and pink look soooo good together. The Gala Pink was the inspiration for the pop of color we were looking for, for the home office chair we were going to reupholster!

STEP 3: Removing the Old Carpeting
If you’ve got beautiful wood floors underneath, there’s no reason to have carpet (rugs, yes; carpet, no). Wood floors are easier to keep clean.
We knew that my friend had pretty parquet wood floors underneath that were in great condition. So we used our utility knife to slice the carpet in two, making it easier to roll up and carry out in sections. Wear a dust mask, though! Removing carpet–especially old carpet!–can be a dusty, dirty job.
![]()

When removing old carpet, you’ll need a few tools in your toolbox:
- Pliers make it easy to grip the staples that were used for tacking down the carpet padding that was underneath the carpet.
- Needle nose pliers can grab the smallest parts of staples, so have a pair of them on hand, too.
- A hammer and pry bar are needed to remove the tacking strip along the perimeter of the room. Be careful! It’s very sharp!
Make sure all staples and tacks have been removed. You don’t want any toes to stumble upon something sharp you overlooked!


STEP 4: Hitting the Thrift Store & Facebook Marketplace!
I love, love, love thrift stores, salvage shops, and now….I’m a total fan of Facebook Marketplace, since several of the pieces for her home office came from Marketplace.
These office chairs came from a salvage shop–amazingly, there were 2 of them! While they were stinky and dirty, their modern design and clean lines wouldn’t allow us to walk away. They were perfect!
They were a bit overpriced at $75, but we wanted them both. I was going to reupholster both of them–one for her, and one for me, matching.

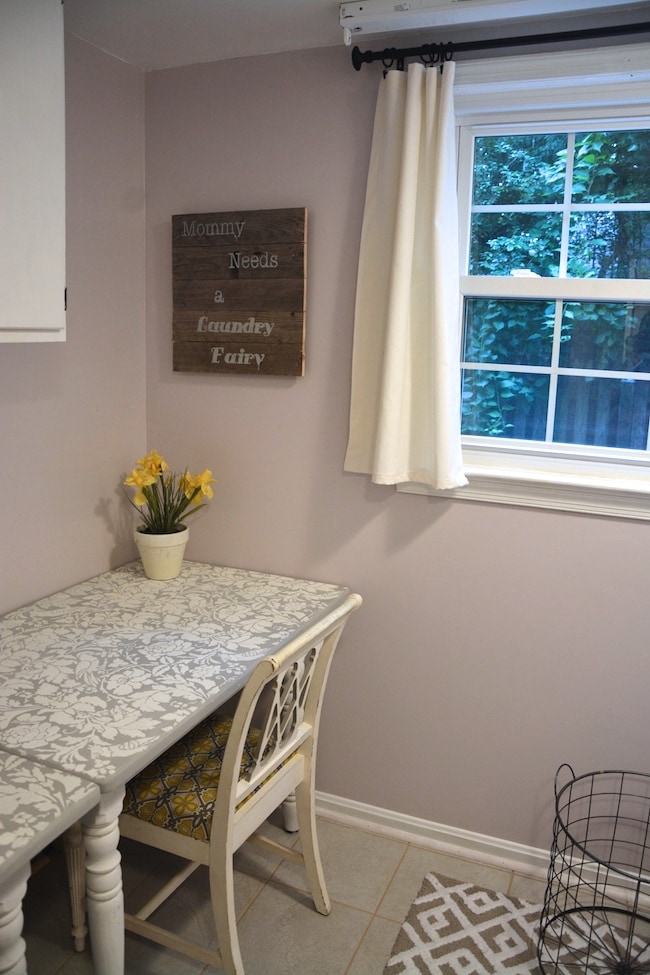
BEFORE
I don’t think this picture does this “BEFORE” any justice, because you can’t see just how dirty this chair was.

AFTER!
Afterwards, the chair was vibrant! I used Crypton Henry Arroyo velvet from HouseFabric.com. I had used Crypton velvet before when I reupholstered those gorgeous, deep purple velvet dining room chairs, so I knew how awesome (and waterproof!) this fabric truly is. This color was a fun compliment to the deep turquoise. This fabric was the “it” factor this home office needed.


What’s great about Crypton fabric is that it’s waterproof. I literally did a test by spilling my coffee on a sample of fabric and it didn’t even seep into the fabric!
The liquid simply beaded up and allowed me to just towel it off with a microfiber towel. How cool is that?! It’s my “go-to”fabric from House Fabric for any upholstery project that needs to be water-proof, pet-proof, and kid-proof (or really clumsy humans, in general–ahem–like me!).

For the full step-by-step of how I reupholstered the office chair, you can watch the entire makeover on YouTube.

However, I wanted to share a few upholstery tips you’ll want to keep in mind when reupholstering your own chair!
- Have the right tools. I loved using this Arrow 5-in-1 electric stapler because it has similar power to using a stapler and compressor, only, this doesn’t require a compressor (and even comes as a cordless option). It can shoot fine wire staples (JT21), but also handles heavy-duty T50 staples, brad nails, and even rounded staples for light-duty electric work. It’s just a solid tool that I recommend having in your DIY toolbox if you’re looking to save money by combining several tools into one.

- Always remove the old fabric gently. You’ll want this as a pattern for cutting out the new fabric. I recommend adding an extra 1″ to 2″ to the amount of fabric you cut out so you’ve got extra fabric to grasp and pull when reupholstering.

- Take lots of pictures and videos before you start. I know it’s tempting to start deconstructing the chair immediately, but you’ll want to remember how the chair was reupholstered; it’s easy to forget the steps!
- Staple in the center and pull towards the corners. If you only learn one thing about upholstering, it’s that you should always find the center of your fabric and the center of your chair, stapling in the center, and pulling towards the corners for a smooth, wrinkle-free fit.

And as amazing as thrift stores are, Facebook Marketplace is one of my most favorite places to shop now! It’s easy to search for what I’m looking for, and the prices are reasonable. Sometimes, you can find things even more affordably on Marketplace!
I found this $20 Marketplace desk which was the exact style we were looking for, at the price-point that fit our $500 budget! It wasn’t the best quality, but I knew with some paint and a new wooden top, it would be just what we wanted.

With a bit of silver spray paint, and real wood for the top, it would look expensive, even though it didn’t cost much. Thankfully, I just happened to have a piece of leftover red oak plywood from an old project, which was the exact size I needed for this desk! (I mean….the luck of that, right??). This cheap laminated top needed to be replaced.

AFTER!
I don’t think I could have asked for a prettier outcome for this red oak! I layered a Java Gel stain and an Ebony stain, with two coats of water-based top coat. The grain is incredible!

BEFORE
I couldn’t believe my luck when I saw this 24″x36″ glass poster frame for $10 Habitat for Humanity ReStore! It was in pristine condition, and–hello!–with glass. Framing doesn’t get much more affordable than that.

AFTER
My friend purchased a poster of the beautiful black woman on Etsy, which was the chef’s kiss for this wall and nearly a perfect fit for this aluminum glass poster frame (trimming it slightly)!
She purchased the corner tripod lamp online (since I couldn’t find the exact thrifted version she envisioned). The glass coffee table we found on Marketplace for only $25!
The 6’x9′ rug was a steal online for only $85!
And last but definitely not least, the small love seat was found on Marketplace for $100 (retails for about $300).

The desk lamp came from the ReStore, as well, for $27 (too expensive, but it was exactly what we were looking for).

And sometimes it’s the fun and quirky things you find unexpectedly. This metal chain sculpture caught my eye, for only $4.00 (green ticket sale price) at the Habitat for Humanity ReStore.
BEFORE


AFTER!
What a fun little piece of art to display on my DIY shelves I hung in the home office! I love discovering these little fun quirky items for a few bucks, knowing that there aren’t a million of them sitting on a store shelf. That’s the beauty of thrift diving. Someone likely made this by hand. (at least, I would like to think so).

STEP 5: Getting Crafty!
While I love thrift stores and Marketplace, sometimes you have to make things, too, which I love to do! There were several projects in this room that required me to break out the crafting tools and skills, like the pillows, DIY shelving, and a large DIY canvas!
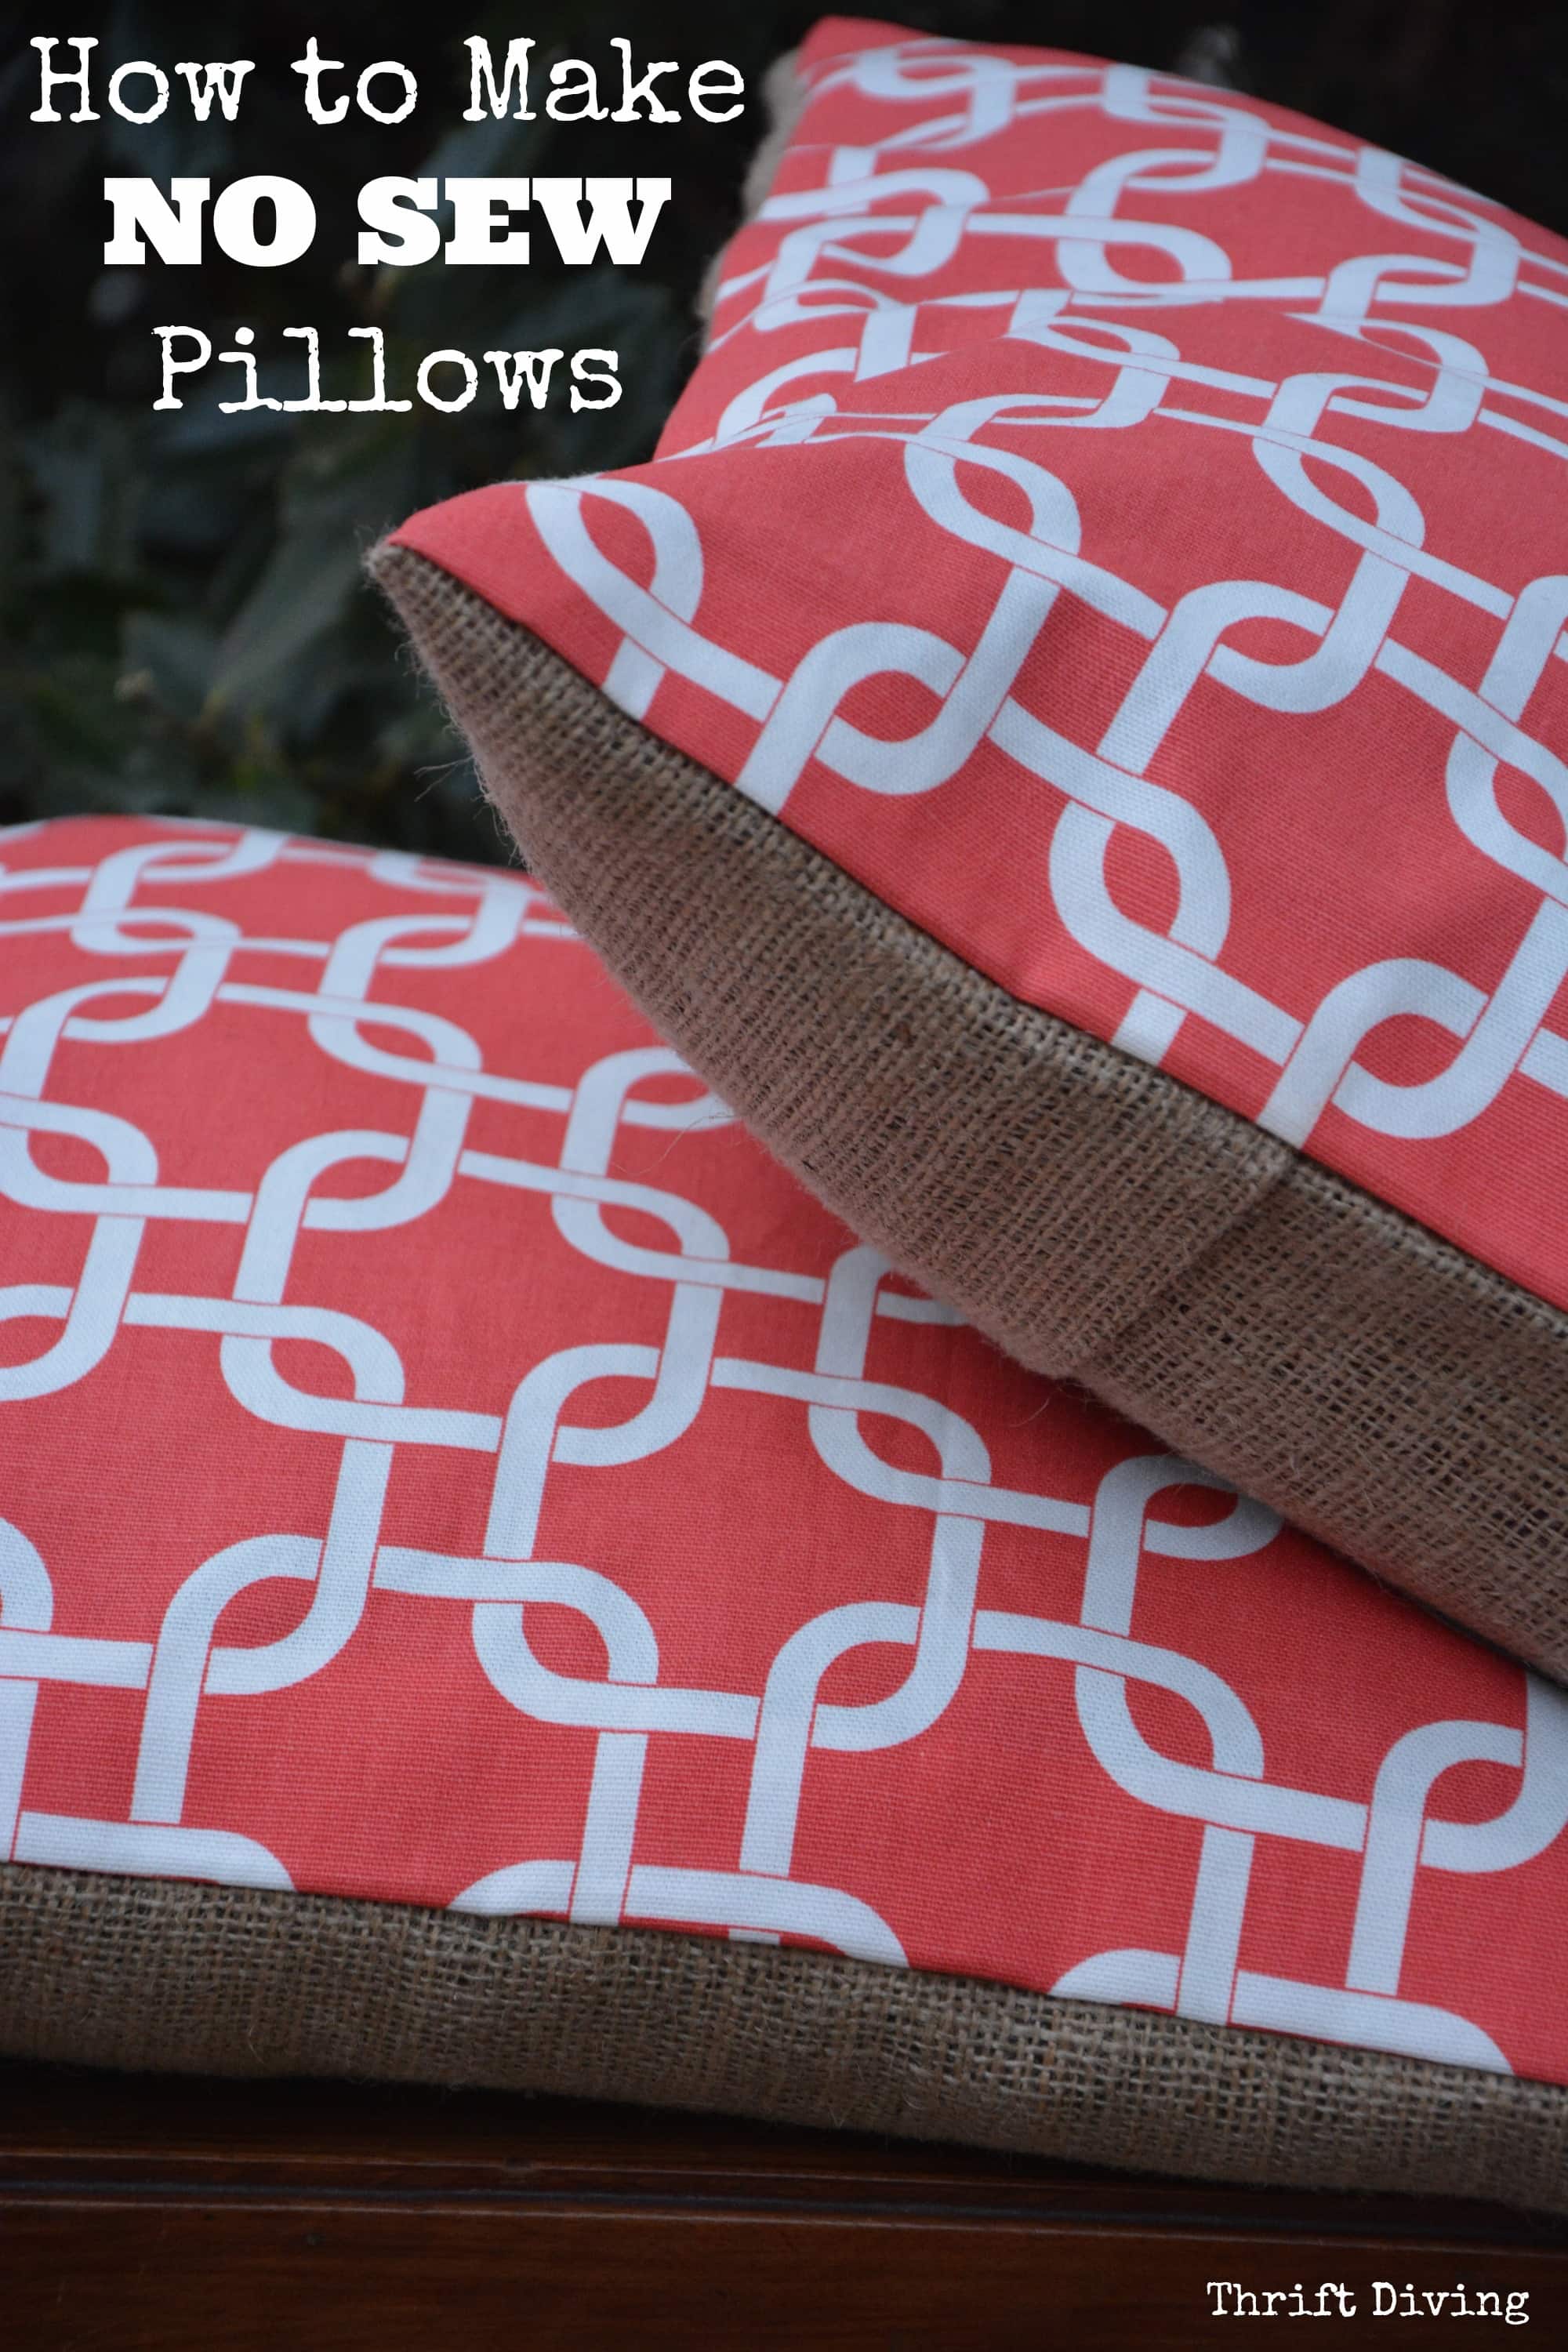
Making DIY Pillows
Pillow forms are so expensive! Thankfully, my friend had a couple of old pillows that we could cut up and use the pillow forms to make new pillows.
I used my favorite new scissors by Arrow to carefully cut the fabric to make a pattern.
BEFORE


AFTER!
The pillows really complimented the colors in the art work, too. (She purchased the black pillow). If you don’t know how to sew, here is my tutorial on how to make No-Sew DIY Pillow Covers), by the way.

Hiding the Computer Clutter
My friend’s home office had ugly cables and wires from her router and modem. Those couldn’t be moved from the corner, but I could sure hide them!
I used scrap wood to make a black box with a cut-out in the back so that the computer stuff could be hidden out of sight. I guess you can call it a “plant stand” with hidden storage underneath. 🙂 I got my 13-year-old to help me paint it.


AFTER
In the corner, the router and modem are now hidden under the “plant stand.” I just wish we could have hidden the wires, but we didn’t think of that part. HA!

Making a Large DIY Canvas
Buying art for your walls is expensive. And sometimes you can’t find what you’re looking for second-hand. In those times, consider making your own DIY canvas.
This is the first time I attempted a project like this, but I was pleased how it had turned out for a “first attempt” at a new project.
I used 1″x3″ pine boards, measured and cut them for a 4-ft x 5-ft frame, and then used my Arrow T50 stapler, with heavy-duty T50 staples and L-brackets, to make a sturdy canvas frame.


Similar to how you reupholster furniture, I started with a staple in the center (north and south), pulled tight towards the sides and staple (east and west), and then pulled the canvas towards the corners, stapling it into space, folding the corners neatly. I hoped there would be no wrinkles.


We created a collage of my friend’s face after blowing up an image that I photographed of her years ago. (See here for instructions on how to blow up an image that you can use for your own DIY canvas), then used Mod Podge decoupage to glue and seal it down.

We love how it turned out!

The last thing needed was to hang the custom-sized bamboo blind, which was provided by WinCurtain. It fits the window perfectly and is good quality! I think I’m going to order some for my own home; that’s how much I liked them. 🙂

So How Much Did This Home Office Cost?
Our budget was $500, but we ended up spending about $700 total. Nearly everything in the room was thrifted or DIY’ed, with the exception of the 6’x9′ rug, the black pillow, the blinds, and the specific style of a tripod lamp that my friend wanted (since I couldn’t find what she wanted on Marketplace).
I’m so excited about how well the project turned out! I’m so thankful to my friend for allowing me to work with her on this project, and for putting up with me for about 30 days. 🙂 She’s ecstatic about her space and the artwork!


Enter the $1,000 Arrow “Fall Overhaul” Giveaway + Challenge!
Are you feeling inspired??! I’d love for you to join me for our $1,000 Arrow “Fall Overhaul” Giveaway and 30-Day Challenge! Pick one room, one project, or one space in your home and commit to making over the space with me from September 1st to September 30th! By entering the challenge and doing the challenge tasks, you’ll get more entries into the giveaway and you’ll feel the pride of finishing a project of your own! Learn more about the challenge here!
![]()


Download the 5 freebies!

Thrift Diving inspires women to decorate, improve, and maintain their home themselves...using paint, power tools, and thrift stores! Use these 5 printables, checklists, and ebooks to get started!