How to Make a DIY Movie Projector For Your Smartphone
Since stumbling upon a tutorial for a DIY movie projector using a shoebox, I’ve been fascinated with the idea. But I didn’t like how ugly they looked. And would you really want to invite people over and pull out a taped-up shoebox? LOL
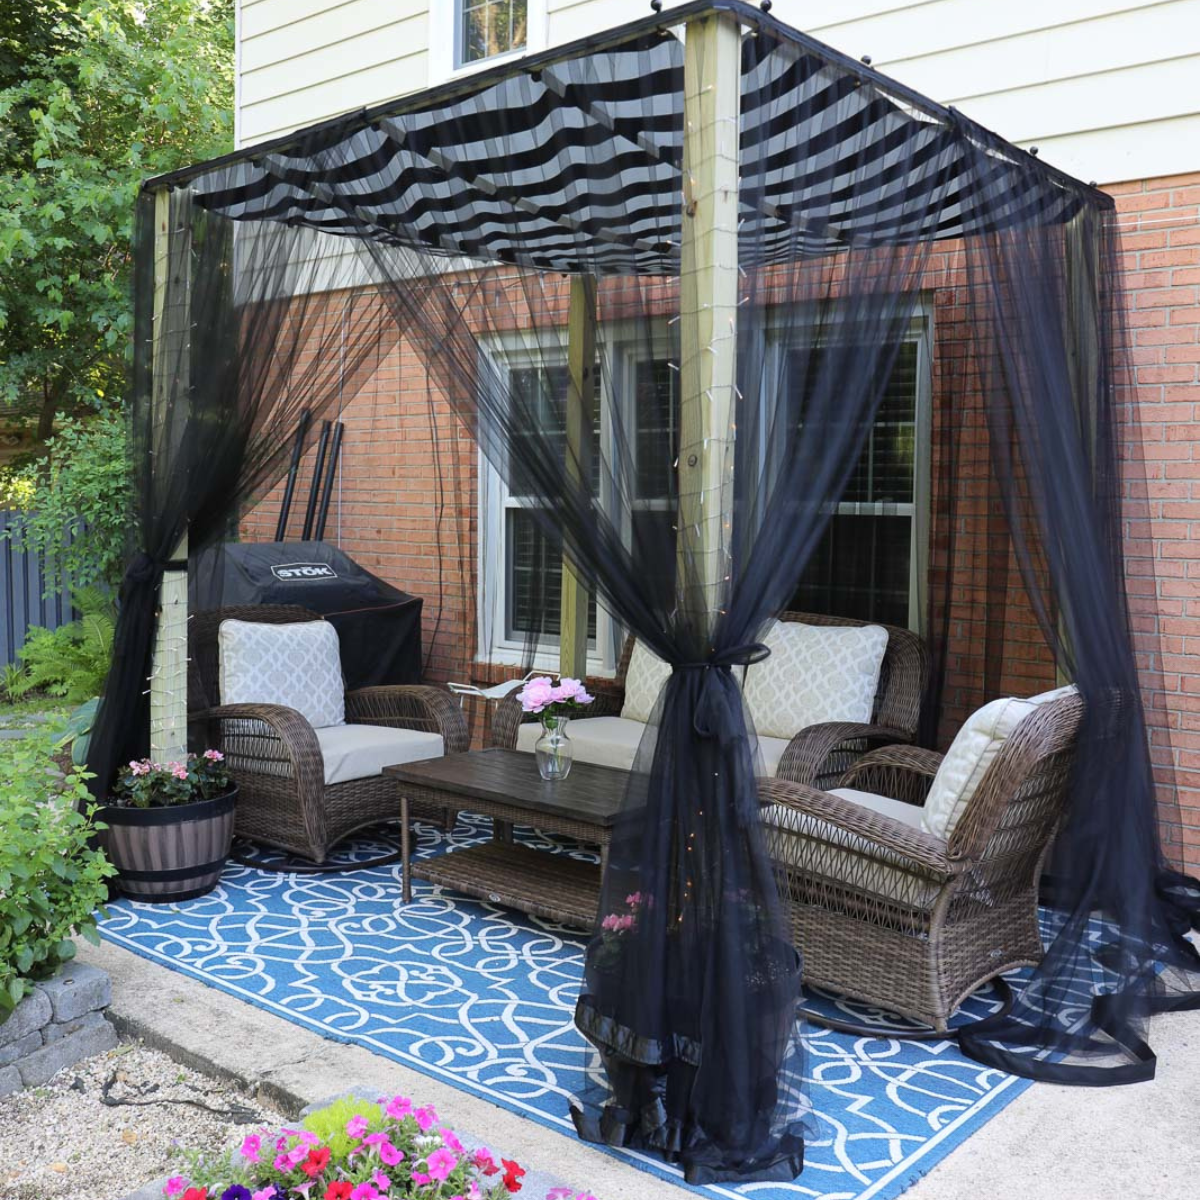
But it wasn’t until I completed my patio makeover that the idea started tormenting me again because OUTDOOR MOVIE NIGHT finally seemed like a possibility!
Every month Wendi has a Power Tools Challenge and every month I say I’m going to participate, but then totally flake out. This month, however, I knew I wanted to make this. And of course, we were restricted to using only ONE BOARD.
Okay.
I can do this.
And I totally just did.
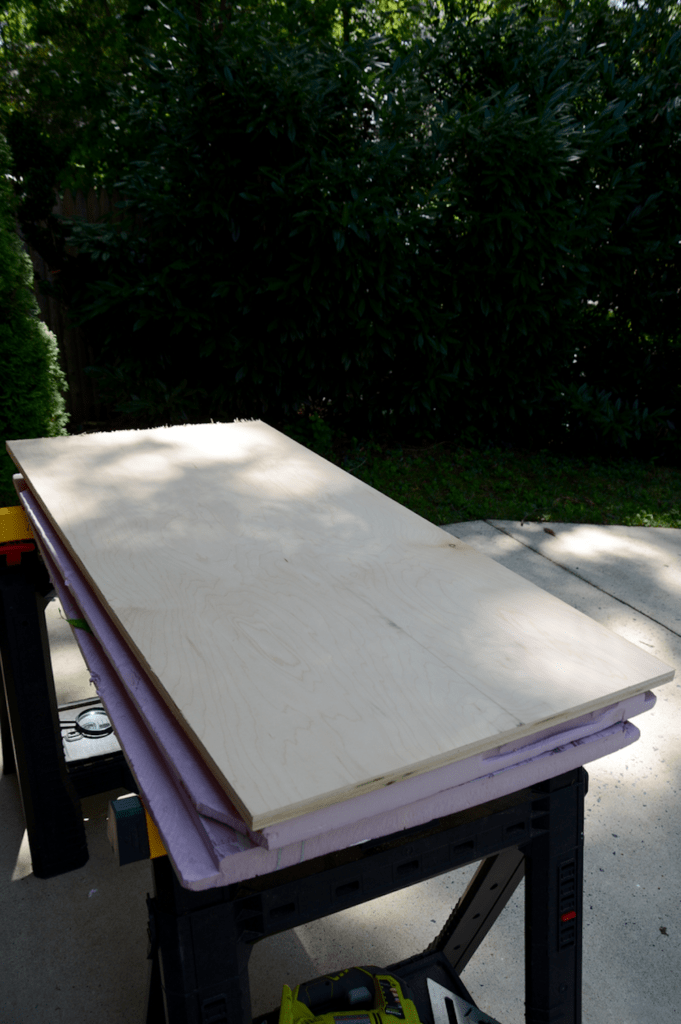
I started with this piece of 2′ x 4′ birch plywood that I just happen to have sitting in my garage from another project. It only cost me about $12 from The Home Depot because it was part of a larger 4′ x 8′ sheet of birch plywood that was cut into 4 pieces when I bought it last month.
I was making this on the fly so I didn’t know what measurements I would need. You’ll have to figure out your own measurements, too, because I think it depends on the strength of the magnifying glass. For the one that I used from the Dollar Tree, I had to make my DIY movie projector longer than a standard shoebox in order for it to focus properly.
Here’s how I did it!
Materials for Making a DIY Movie Project
- 2′ x 4′ birch plywood
- $1.00 Magnifying glass from The Dollar Tree
- Small handsaw (for cutting off the magnifying glass handle)
- Jigsaw and power drill for cutting out the space for the magnifying glass
- Miter saw or circular saw for cutting your wood
- Tape measure & pencil
- Empire square for each straight lines
- Glossy black paint for the inside of the DIY movie projector
- Stencils (optional)
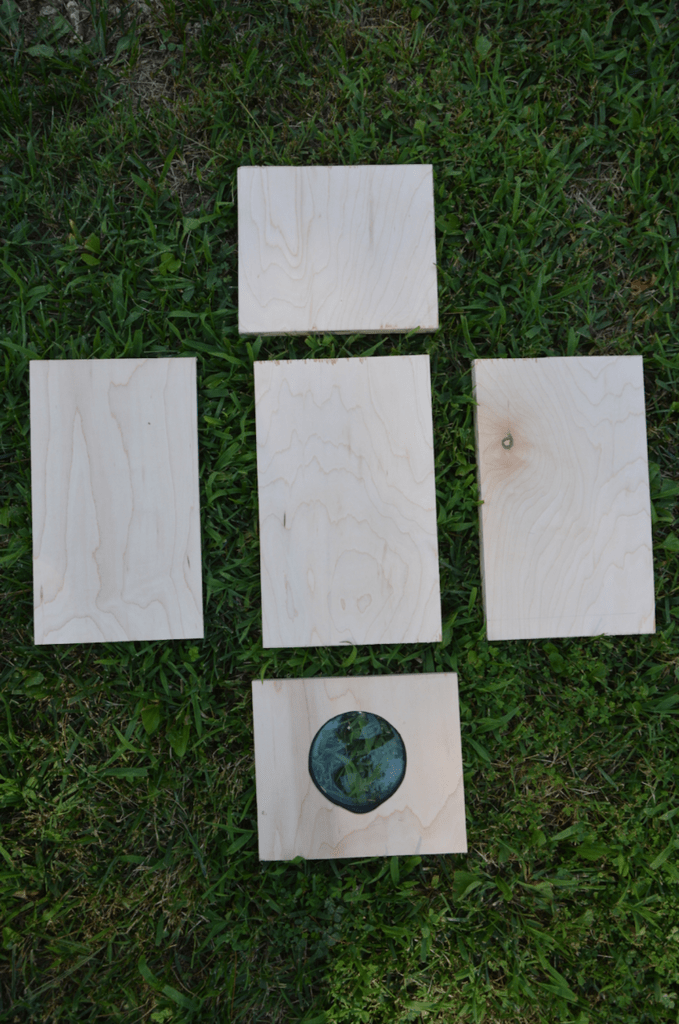
STEP 1: Grab a 2′ x 4′ board.
I ended up using the whole thing, surprisingly!
Home Depot sells 2′ x 4′ boards by themselves, but they’re more expensive at about $20 or so. My advice would be to have them cut down a larger 4′ x 8′ board, which is $50, but overall, you get more pieces for cheaper!
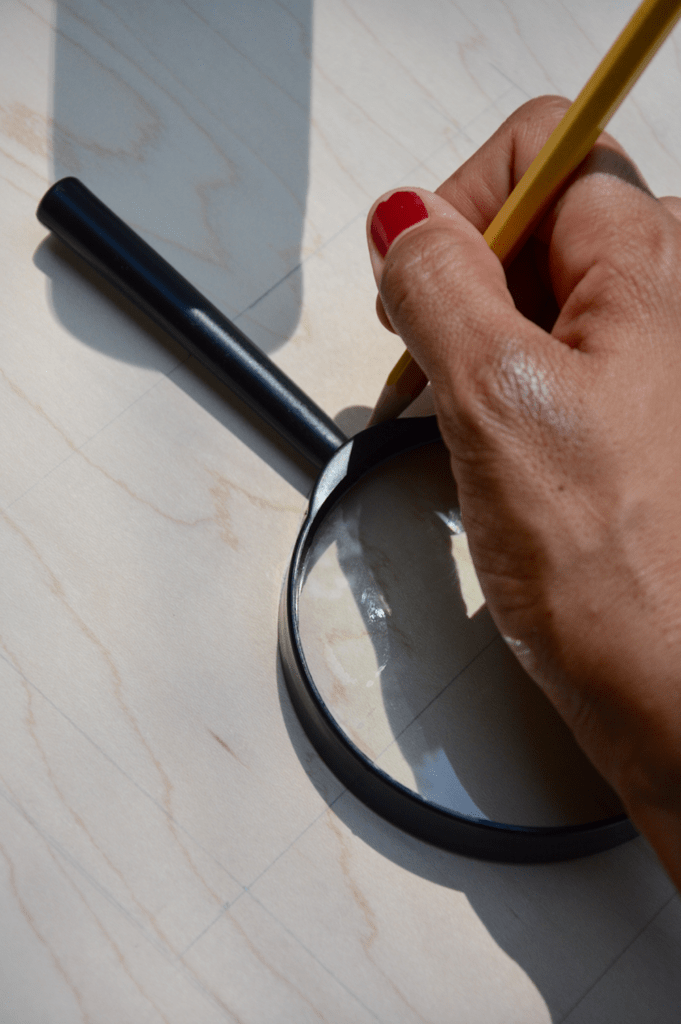
STEP 2: Measure the front, and trace the magnifying glass.
Decide how big you want it and then measure, draw lines, and cut.
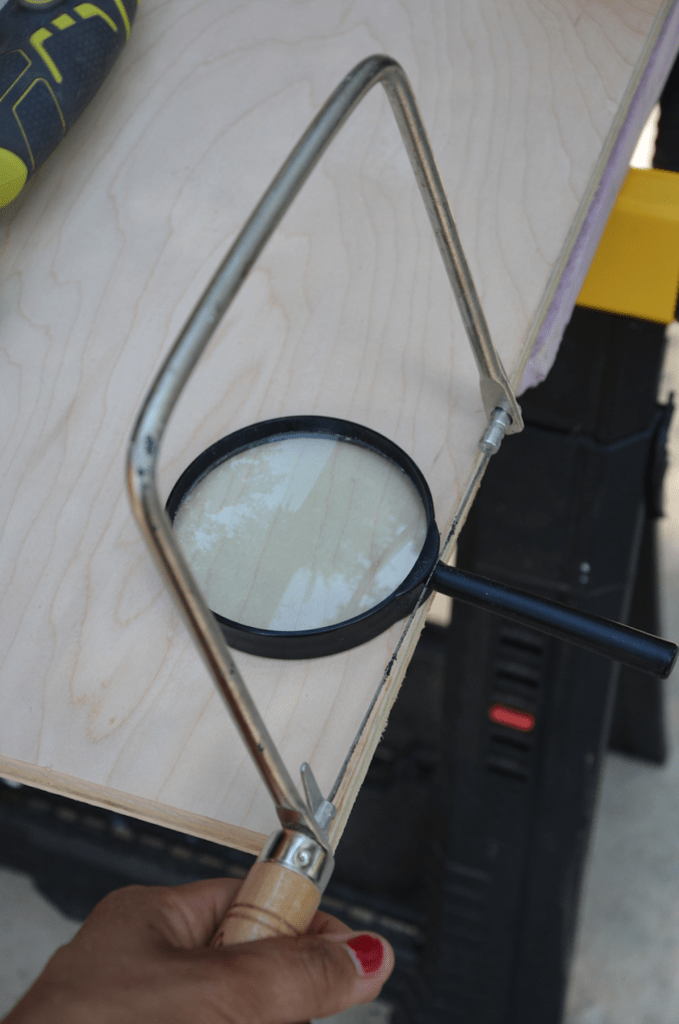
STEP 3: Cut the handle off of the magnifying glass.
You could have cut the handle off first before tracing. Doesn’t matter. 🙂
But this is where a little hand-held hacksaw comes in handy and is easy to do.
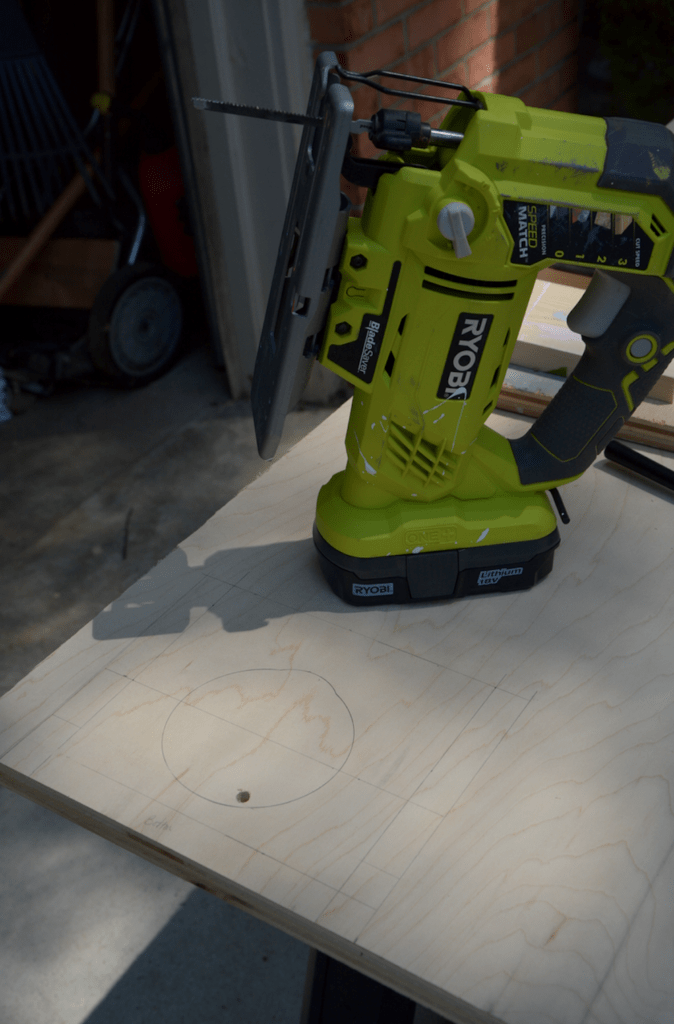
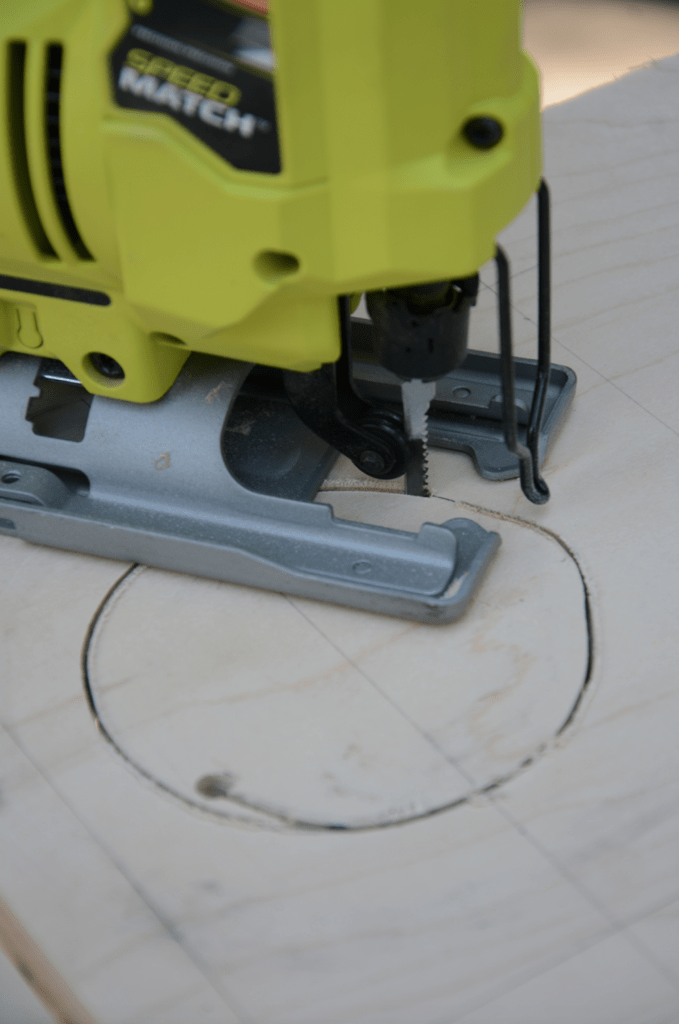
STEP 4: Begin cutting out the magnifying glass.
Here you can see that I’ve got the lines drawn for the size of the front that I want it to be (just about 7 inches).It’s best to cut it out when it’s a solid piece of wood because it’s more sound and easier to cut.
And it’s best to cut it out when it’s a solid piece of wood because it’s more sound and easier to cut.
When cutting out circles, you need to drill a hole first so that the blade can get in there and start cutting. 🙂
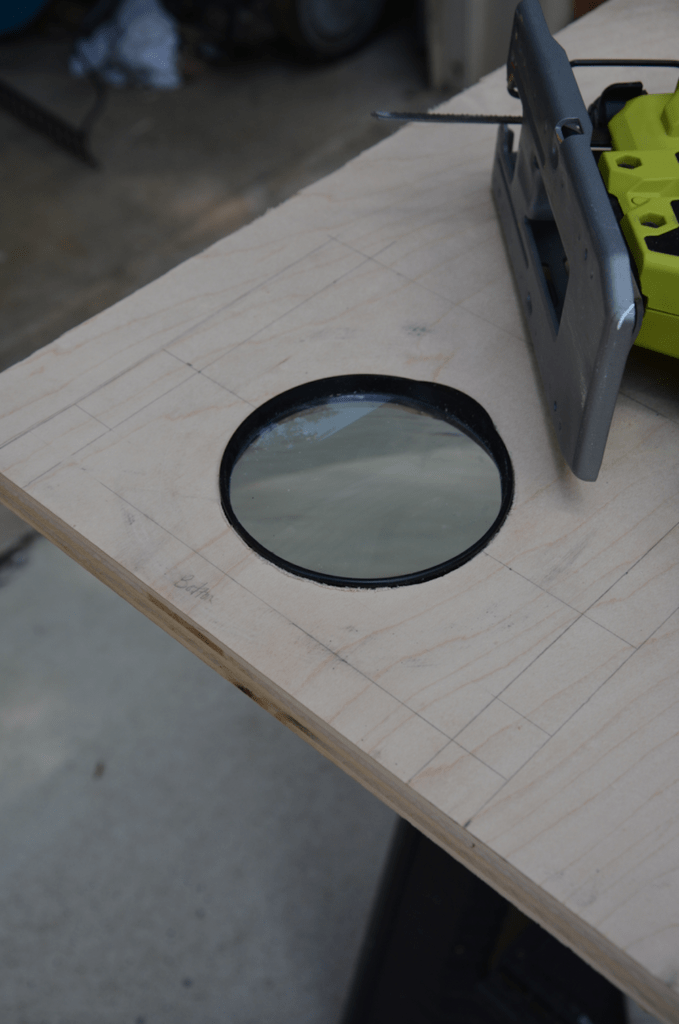
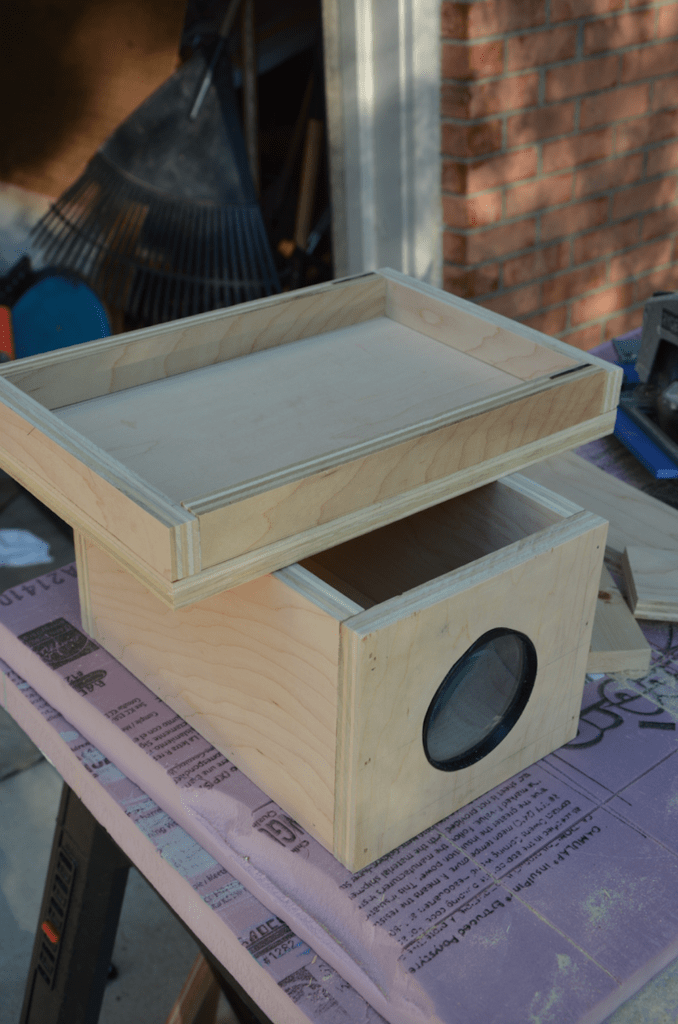
Once the hole was cut out, I tested the magnifying glass in there.
You might have to clean up the edges so it fits. Just don’t cut it too wide or else it won’t fit and light will escape!
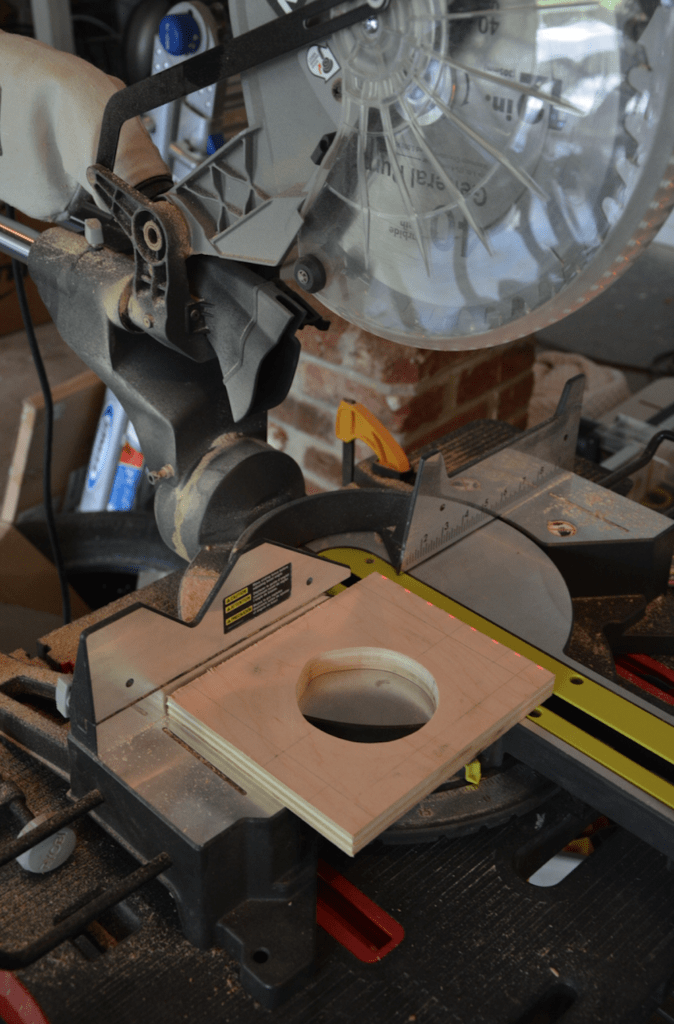
After the glass was tested and fitted, then I cut the rest of the front part of the DIY movie projector using my miter saw.
STEP 5: Measure and cut the other pieces.
You’ll also need two sides, a bottom, and a back.
But before you cut it out, I highly recommend you test to see how long you’ll need it. Try using a shoe box just to see how long your DIY movie projector box will need to be before you cut out the other pieces. Take note of these measurements.
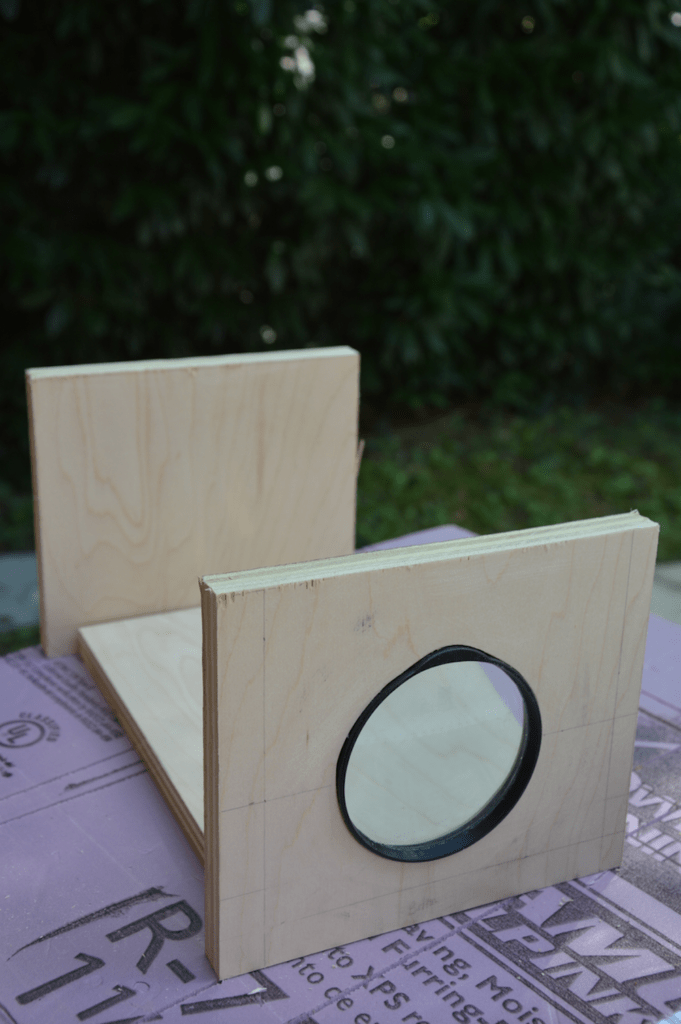
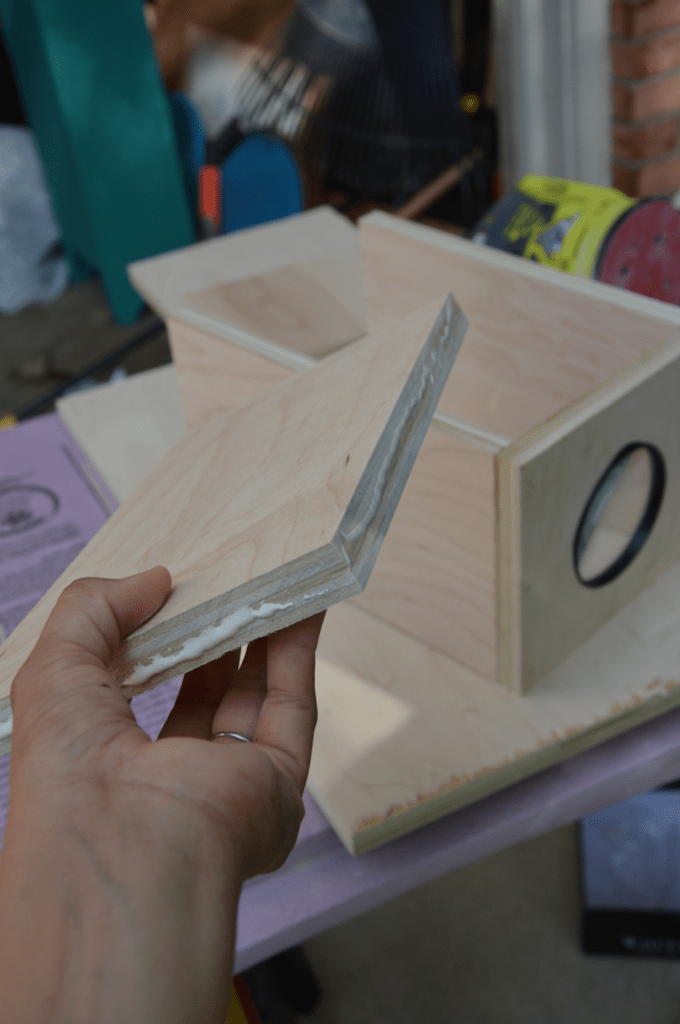
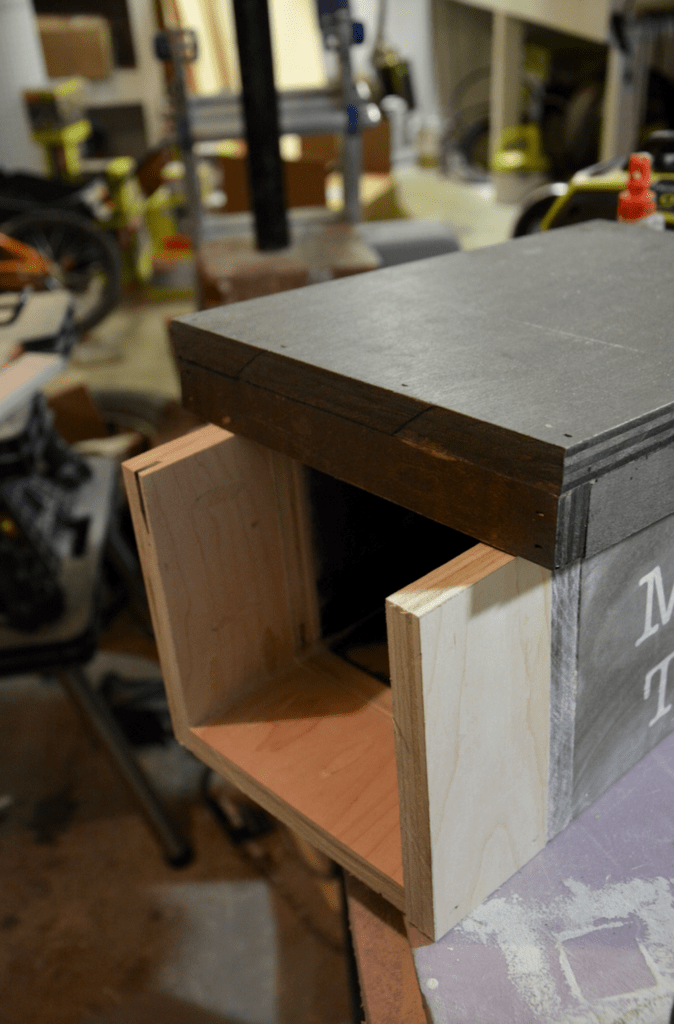
STEP 6: Glue and nail together.
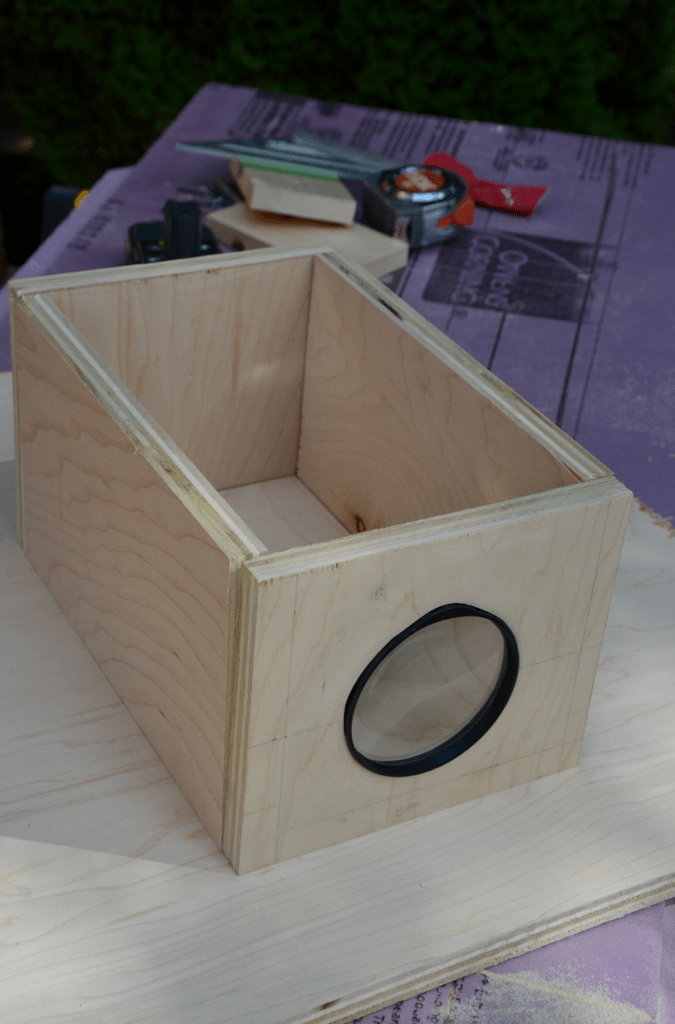
STEP 7: Make a lid.
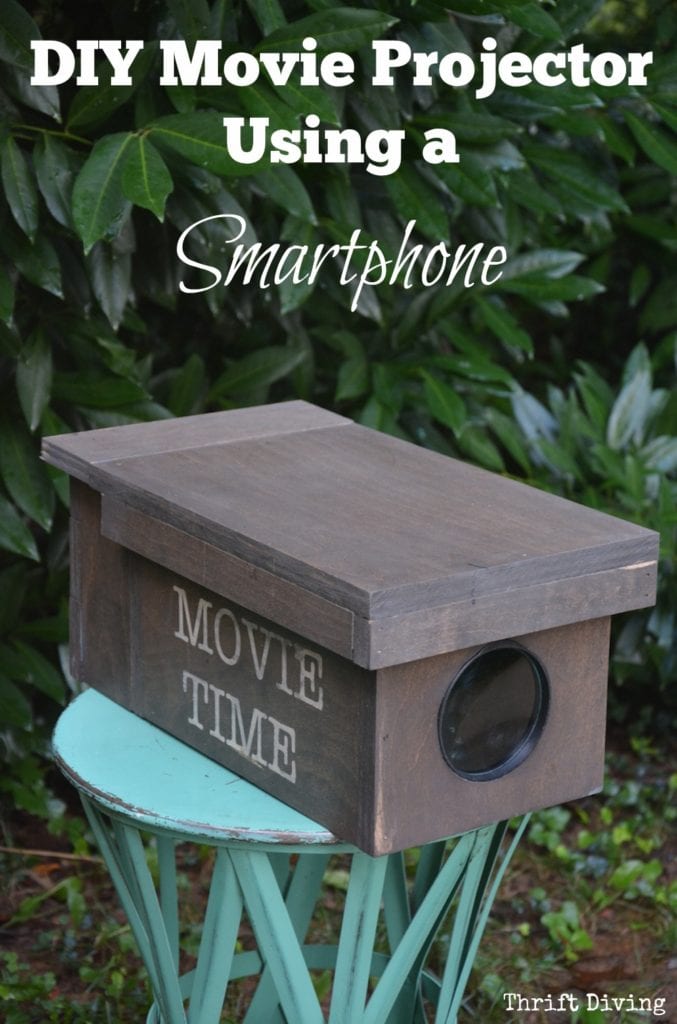
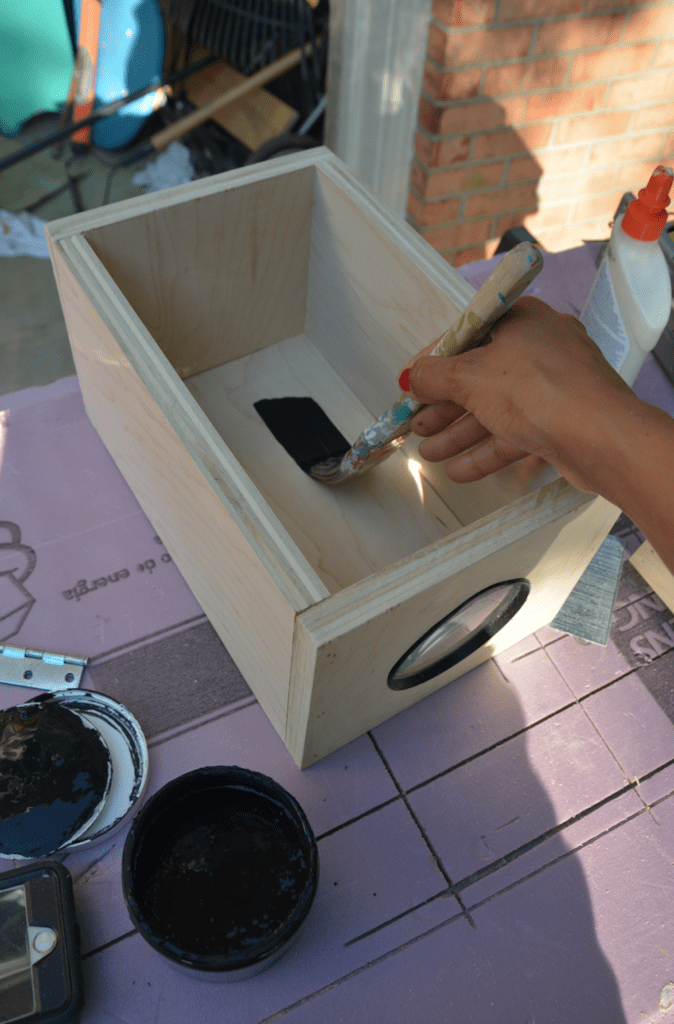
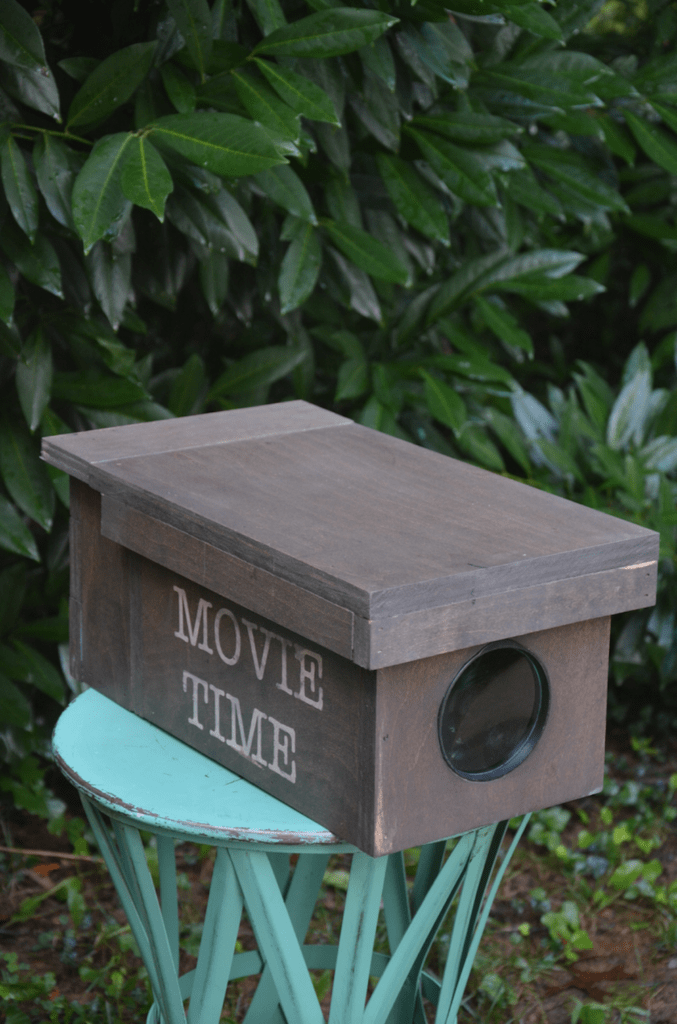
STEP 8: Paint and stain it.
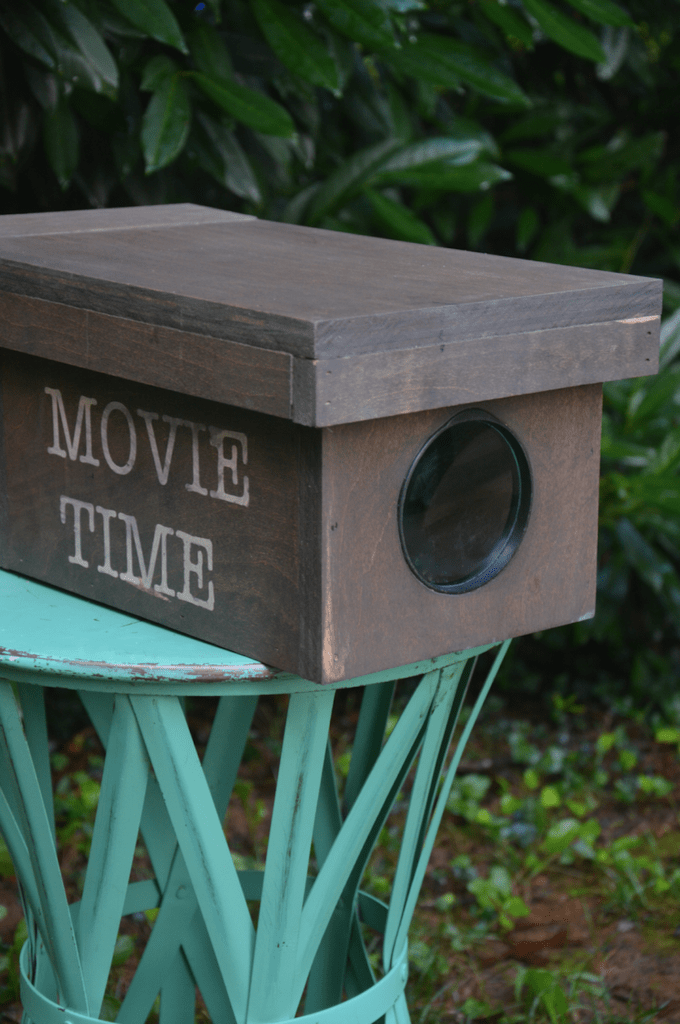
I used black paint inside to keep it dark, and I used stain for the outside, and added some stencils that stay “Movie Time”!
STEP 9: Test It Out!
Soooo….this is where I failed. I didn’t do earlier testing to see how long to make the body. And of course, it totally failed on me! It actually needed to be longer.
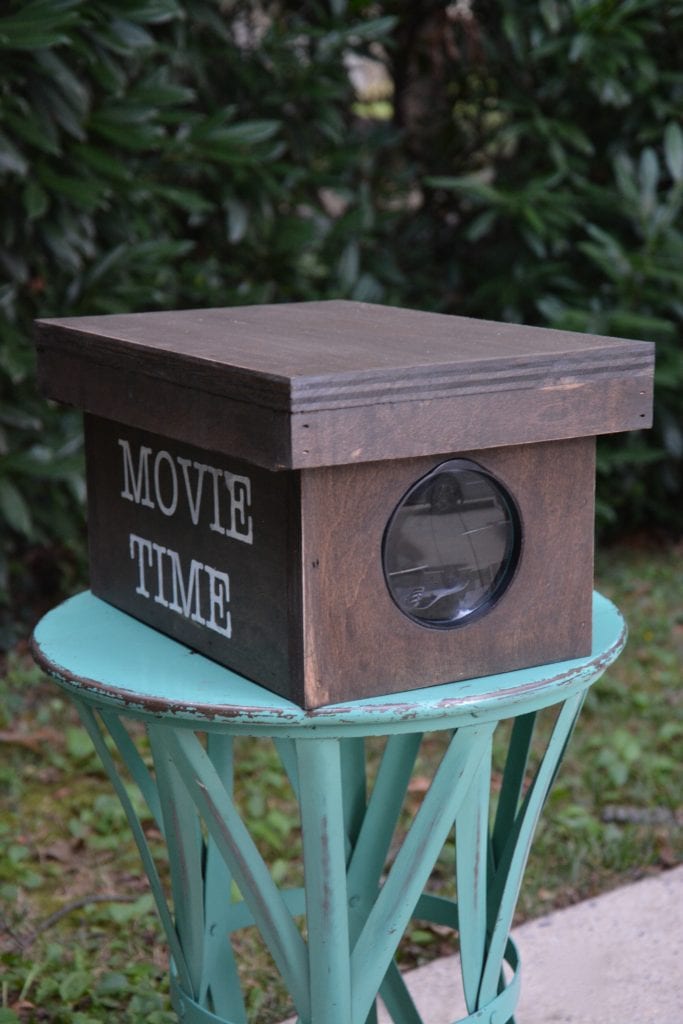
Here’s what it looked like when I was done.
Pretty cool, right?
Well, the body wasn’t long enough for the picture to be seen clearly on the old vintage movie screen I bought at the thrift store.
Darn it!
Back to the drawing board…
So I had to scrounge up some scrap boards from my 2′ x 4′ (I was not going to cheat and use extra boards! LOL).
I created extra space on the back.
But as you can see, the lid was too short.
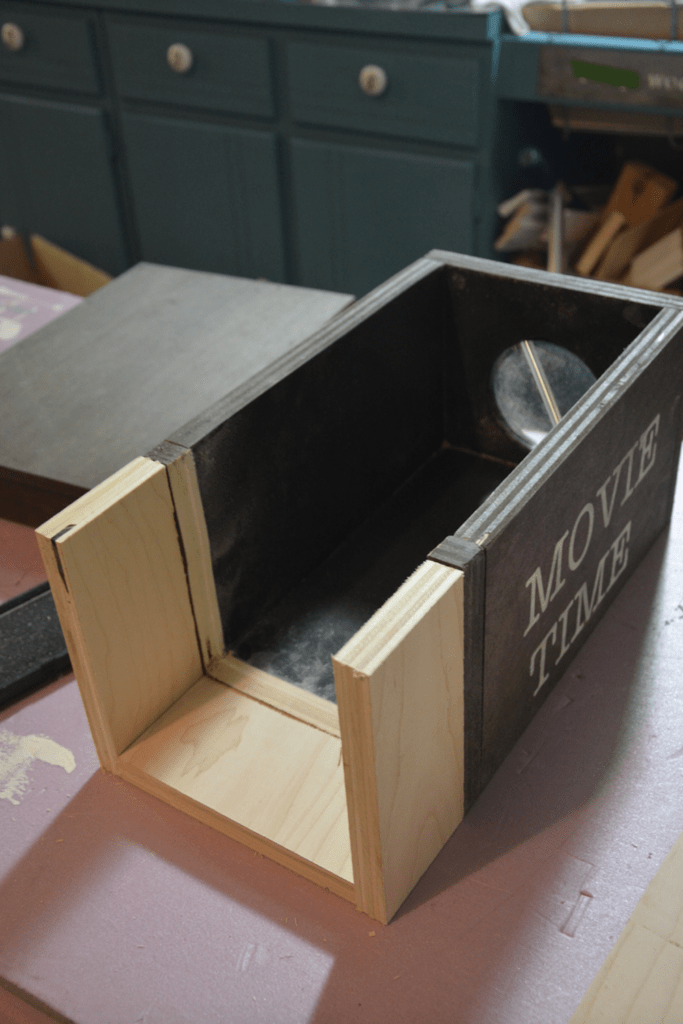
After a long time, when all was said and done, I had what was a piece-mealed DIY movie projector!
LOL
But the good news–IT WORKS!! 🙂
Here are tips to make sure it works
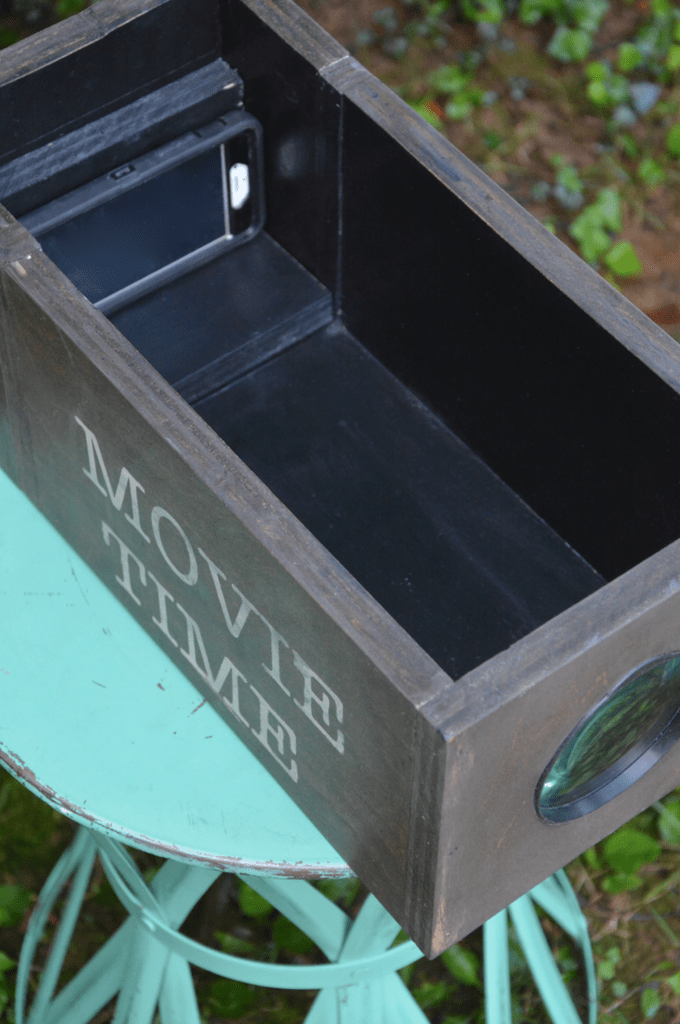
TIP #1: Have a couple pieces of extra wood inside to hold your phone, and use sticky Velcro or some other way to keep your phone standing up.Make sure you LOCK your screen rotation
TIP #2: Make sure you LOCK your screen rotation, and you must have the movies on your smartphone flipped upside down. When the image hits the magnifying glass, it will turn the picture right-side-up onto your white sheet, wall, or movie screen.
TIP #3: Once you’ve figure out how far away your phone needs to be in order for it to be seen clearly, walk yourself and the projector back and forth until it focuses on the screen.
Voila!!
A DIY movie projector for about $15!
I think it looks much nicer than an old DIY shoebox movie projector. Don’t you? 🙂
I consider this my practice one. The next one will not be restricted to gluing random scrap pieces of ONE BOARD together. HAHA! And it would be more colorful, maybe with stencils!
But this isn’t bad for a first try!
Don’t you want to go make one now? 🙂

Go See Everyone Else’s Projects!

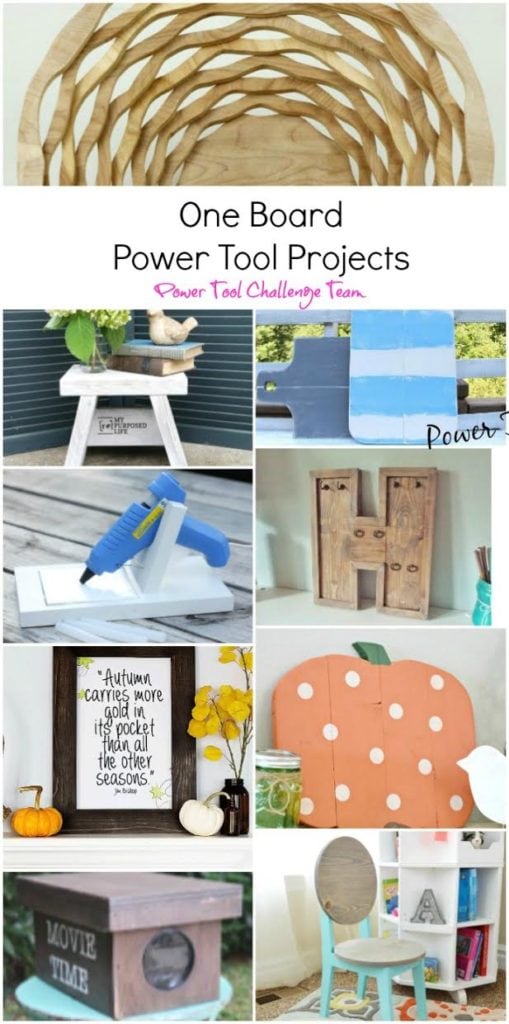
Scroll Saw Wooden Basket by Kim Six Fix
Easy DIY Picture Frames by Domestically Speaking
DIY Wood Letter Jewelry Hanger by Designs By Studio C
Circle Back Kids Chair Plans by Her Tool Belt
Easy Wood Pumpkin Cutout by H2OBungalow
DIY Pizza Bread Board by Refresh Restyle
Small Step Stool by My Repurposed Life
DIY Glue Gun Holder by Virginia Sweet Pea
DIY Wooden Movie Projector by Thrift Diving

Dishing It & Digging It Link Party
Download the 5 freebies!

Thrift Diving inspires women to decorate, improve, and maintain their home themselves...using paint, power tools, and thrift stores! Use these 5 printables, checklists, and ebooks to get started!
Oh my gosh! You are so creative. My son law does outside movies, I will have to show him.
How fun is this! So easy and inexpensive for loads of backyard fun – love it. Pinned to share 🙂
That is so cute! I would come over and watch movies through a shoe box. Your wooden creation is charming though. I love the way you made it work when the box was a teensy bit short. Well done.
Awwww….thanks, Alys! You’re right–good friends wouldn’t mind looking at movies through a shoebox. LOL! 🙂 I’m hoping to paint the screen of the vintage projector screen I have found, because it’s a bit dingy. And hopefully, it will work well for outdoors! I will keep you posted!
if at first we don’t succeed….
happy to see you stuck with it Serena! I guess to hear the movie, you might need speakers?
sounds like a fun night with the kids later in the fall.
gail
Ahhh….great observation, Gail! Yes, you would need Bluetooth speakers, too. 🙂 I’ve got an awesome RYOBI Radio and the RYOBI Stereo, so I’d be using that! 🙂
This is an awesome project! I’ve seen the shoe box ones but haven’t taken the time to read exactly how to make one. Your wooden one is way better and when you invite your friends and their kids over to watch a movie, they all are going to be seriously impressed.
Thanks, Paula! I consider this my “practice” one. Now that I get the gist of it, I think I’d like to make another one without having to piece together scraps from just ONE board! LOL.
Hey Serena! This is seriously such a cute project! I love the aged look you gave it and the stencil was a great choice. I love all your projects, but it’s unique ones like these that impress me! Keep it up girl! You are doing great!
That is so cool! What a fun family night idea.
What a cool project, I need to try it out! The kids would love it.
Clever! You come up with the best projects!
Wow! I had no idea you could make one of these! Our neighbors show movies outdoor in the early summer and it’s so much fun! Love that I can do this too for a few dollars! My grown kids will have a blast when they visit and we do family movie night in the backyard!