Tell everyone you loved this post! :)
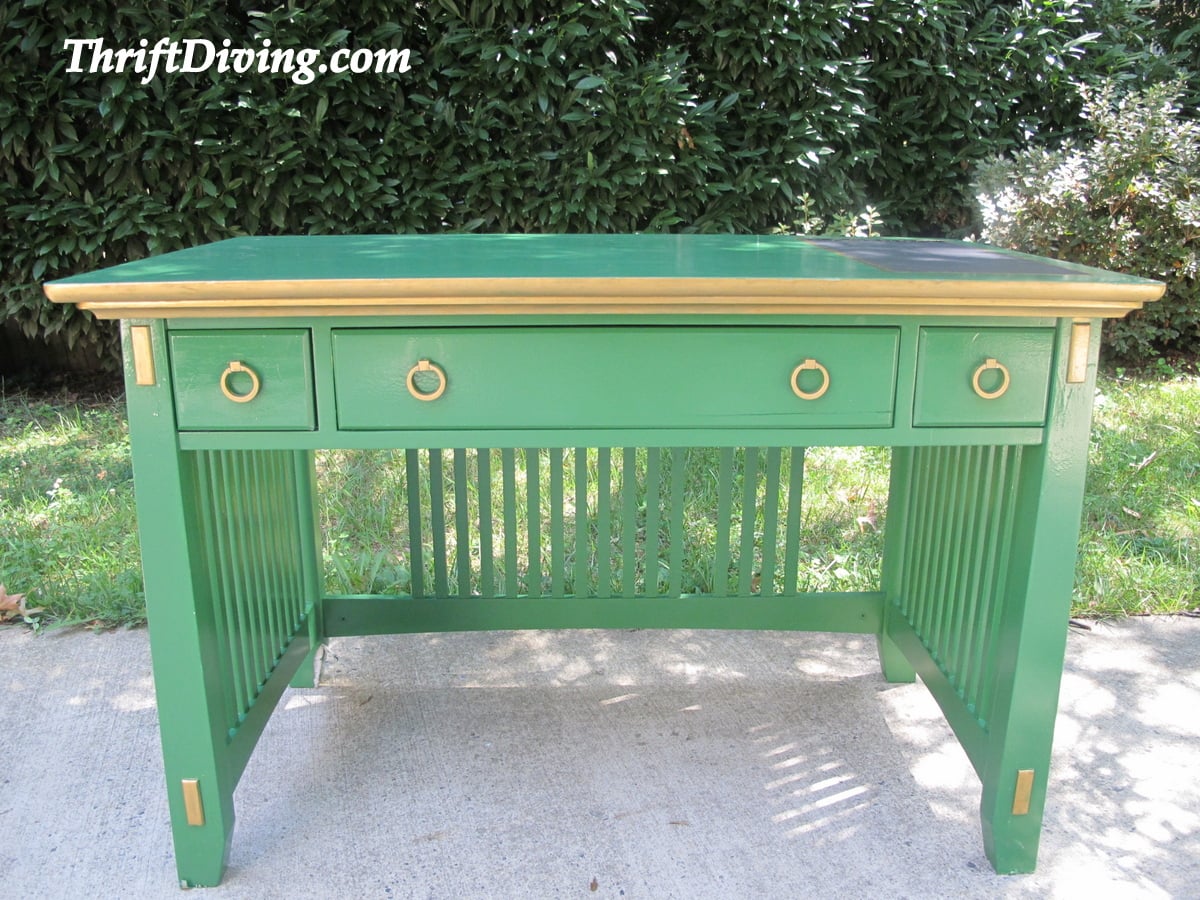
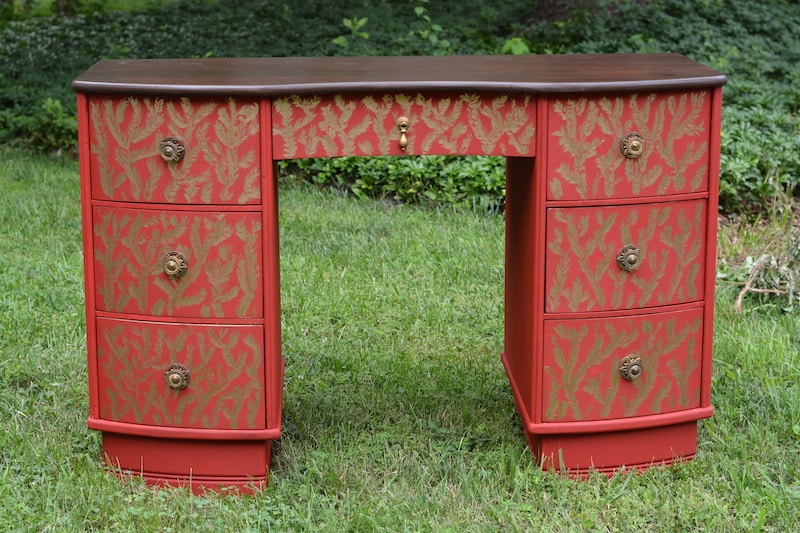
When I told my husband I wanted to do an office desk makeover for him, with a chalkboard “notepad” or agenda on the right-hand side of the desk, he looked at me like I was crazy. “Why not just use paper? Just paint the whole top and forget about it!” How about a simple “thanks, baby”? LOL
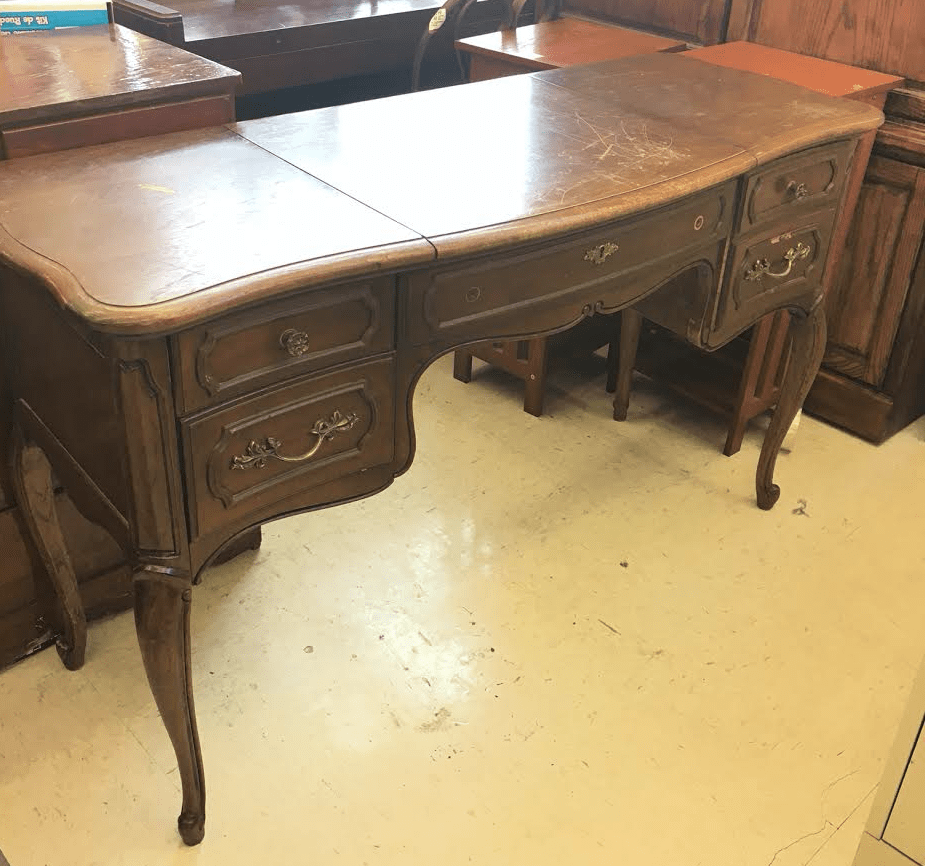
For about $12, it was hard to pass up!

I knew with some paint, it could be amazing! And I had seen something similar to it on Pinterest and thought it was pretty cool. So even if he thought I was crazy, I knew it could be a winner.
How to Create Your Own Office Desk Makeover
Materials
Update: In hindsight, I should have used furniture paint (like chalk-based paint) or made my own DIY chalk paint so that I didn’t have to sand or prime, and so the paint would have stuck better. Over time, while my husband used this desk in his office, the paint became worn and “gummy,” despite me using a clear poly top-coat. So I recommend
using a paint made specifically for furniture or finding a good DIY chalk paint recipe that can give you better results.
STEP 1: Pick the Right Paint
Paint makes all the difference in the world! Pick the wrong paint, and you’ve got problems down the road (I’m speaking from experience!).
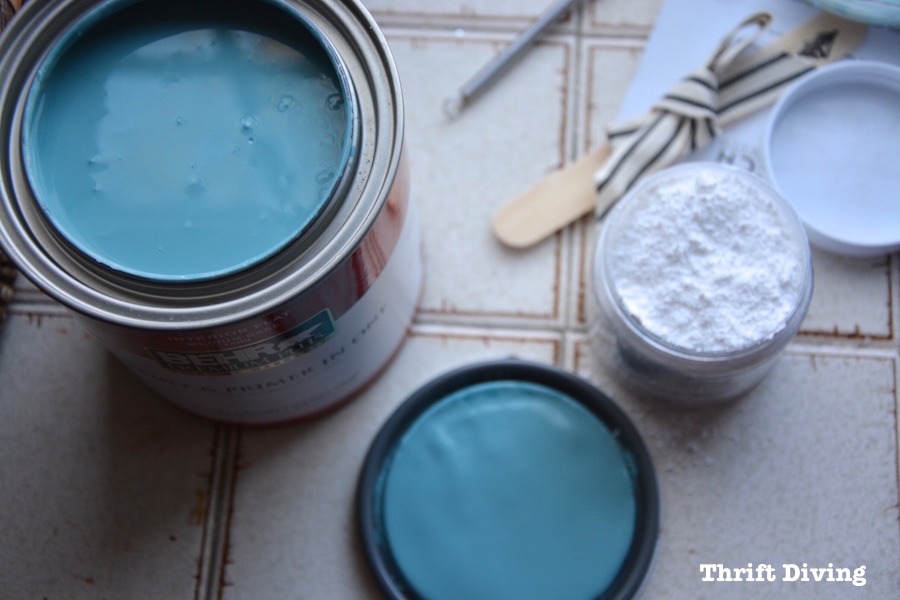
Use one of these 12 chalk-based paints or find a DIY chalk paint recipe using Plaster of Paris or sanded grout if you decide to use regular latex paint.
STEP 2: Sand and Prime–Then Paint
If you’re using a chalk-based paint, you won’t necessarily have to sand, as long as your furniture is in good condition and not all bumpy and “jacked” up. I did have to sand and prime mine since I was using the regular latex paint.
STEP 3: Paint It
Sometimes I like to use
my paint sprayer for projects, especially if they have intricate details. This desk had the wooden slats on the sides and back, and the paint sprayer made it really easy to use.
I love Frog Tape, so you should use that. It’s less likely to tear or to peel off your paint. But make sure the paint is dry before doing this part.
Tape off the section you want to make your chalkboard. Then use the chalkboard spray to spray two coats to that area.
Just a little tip: Be sure you want the chalkboard in the area you’ve selected because you’ll be using your mouse and will probably have some papers on your desk. Make the chalkboard part in an area that won’t be covered up! 🙂
STEP 4: Add Some Rub ‘n Buff to the Edges
I loooove the way gold Rub ‘n Buff accents edges of furniture!
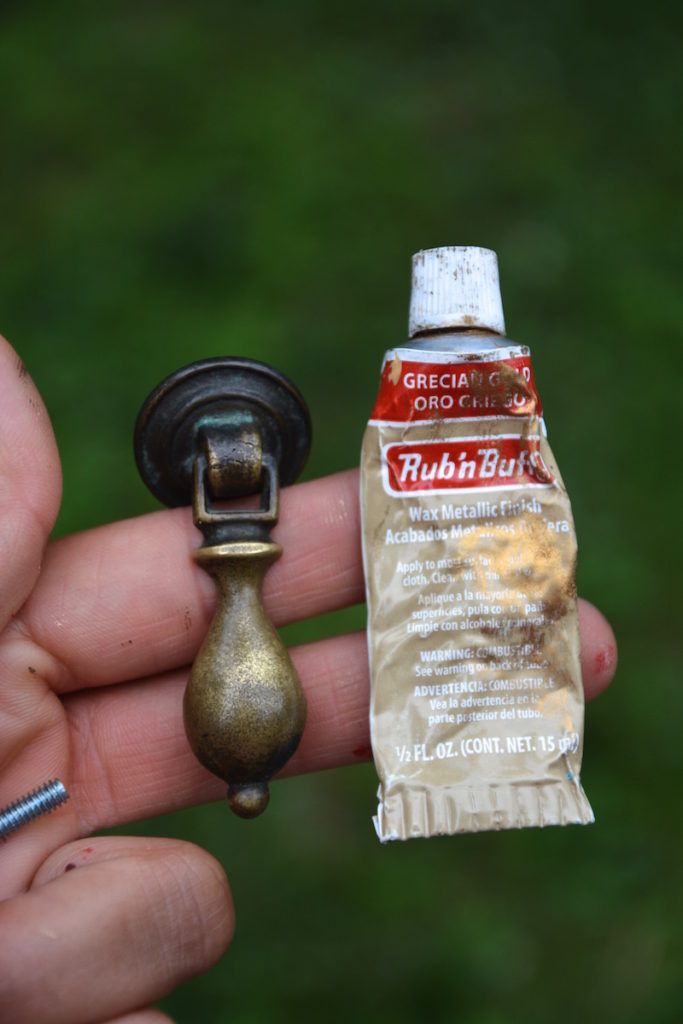
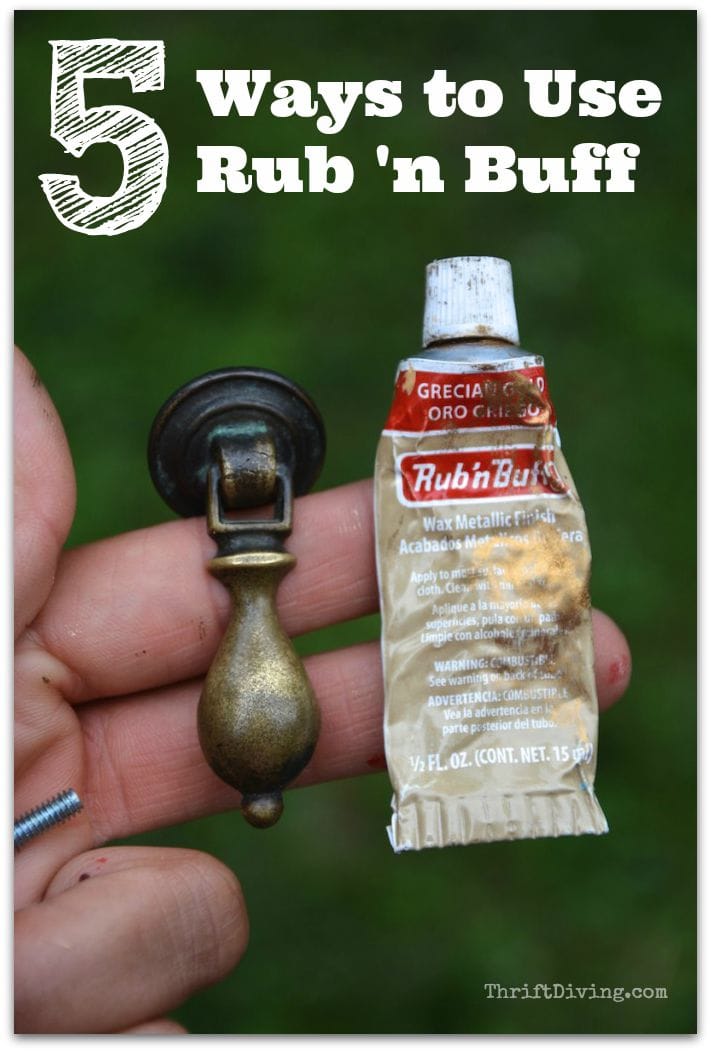
There are at least 5 ways to use Rub ‘n Buff, like on tarnished hardware and pulls.

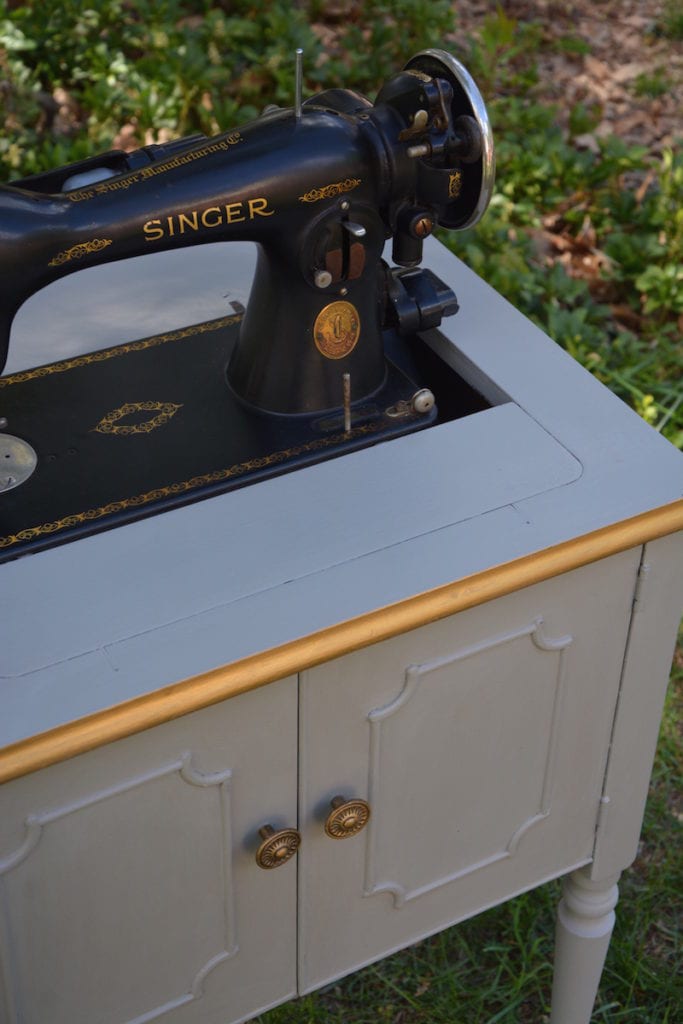
But another cool way is on the edge of furniture. That’s what I did to this sewing cabinet makeover, and it looked great!
I pretty much did the same thing with this office desk makeover, too!
Just apply it with a rag, being careful not to get it on areas where you don’t want it to be. Use painter’s tape if you have to.
You can buy Rub ‘n Buff for only a few dollars and get it in about 20 colors. Pretty cool stuff.
STEP 5: Add Stickers to the Chalkboard Area
surprisingly well, and they are inexpensive! I got gold ones to match the gold Rub N’ Buff, and
after I applied them, I put a coat of the polyurethane on top of the stickers to protect them from prying little fingers (ahem–my children, LOL).
STEP 6: Add Two Coats of Poly
I like using the water-based
Minwax Polycrylics because it’s easy to clean. I want to run my brush under water and soap when I’m done–quick, simple cleanups, you know? My only tip here is to make sure that you don’t use Polycrylics on top of the light-colored paint. Even though it’s supposed to be non-yellowing, it does still turn whites yellow. So use it only on top of the darker paint.
Good luck in making over your own desk! 🙂
Tell everyone you loved this post! :)




I have been unable to get the pictures to come up, is it me?
This desk is GORGEOUS!