My $5.00 Thrifted Coffee Table Makeover
The last time I showed you my coffee table in my family room, it was quite…um… “au-natural.”
Yeah, that’s a good word for it.
Or we could say it was a “hot mess”!
I showed you how it usually looks: with empty dishes, spills, and crumbs, with a lackluster sofa photo-bombing in the background (ugh…don’t judge).
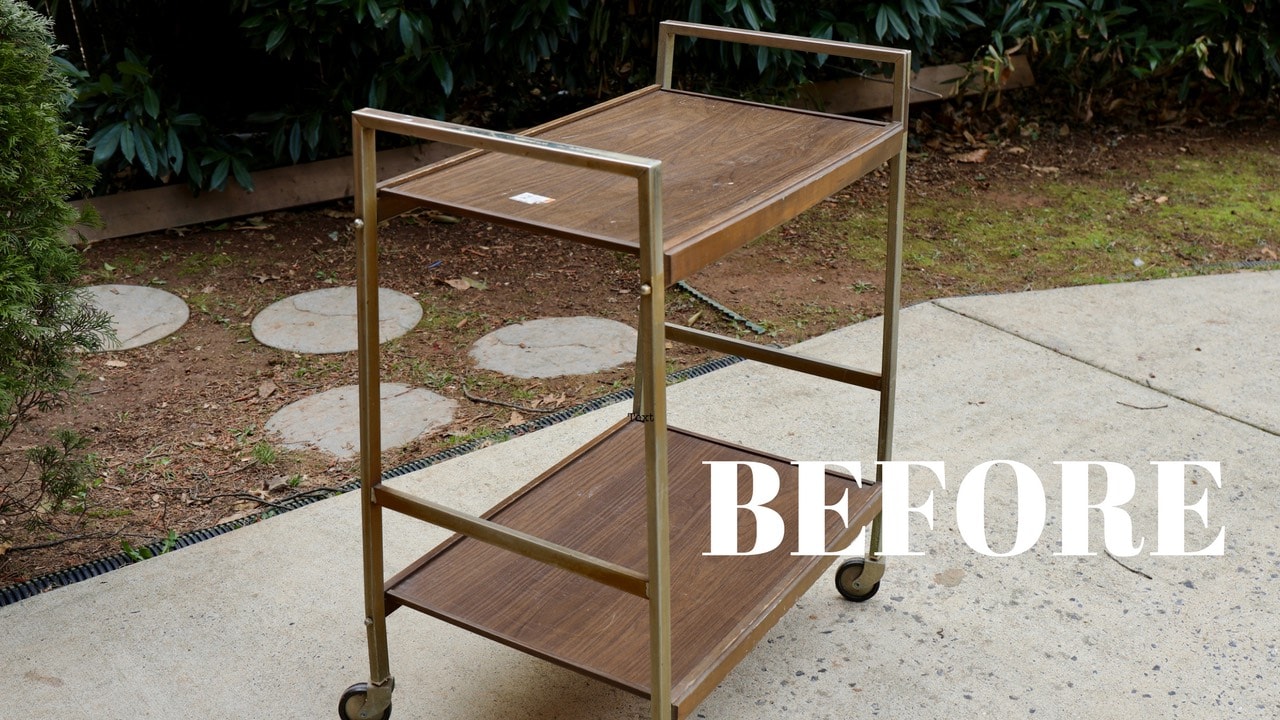
I had found it a this coffee table a couple years ago from a thrift store for only $5.00!
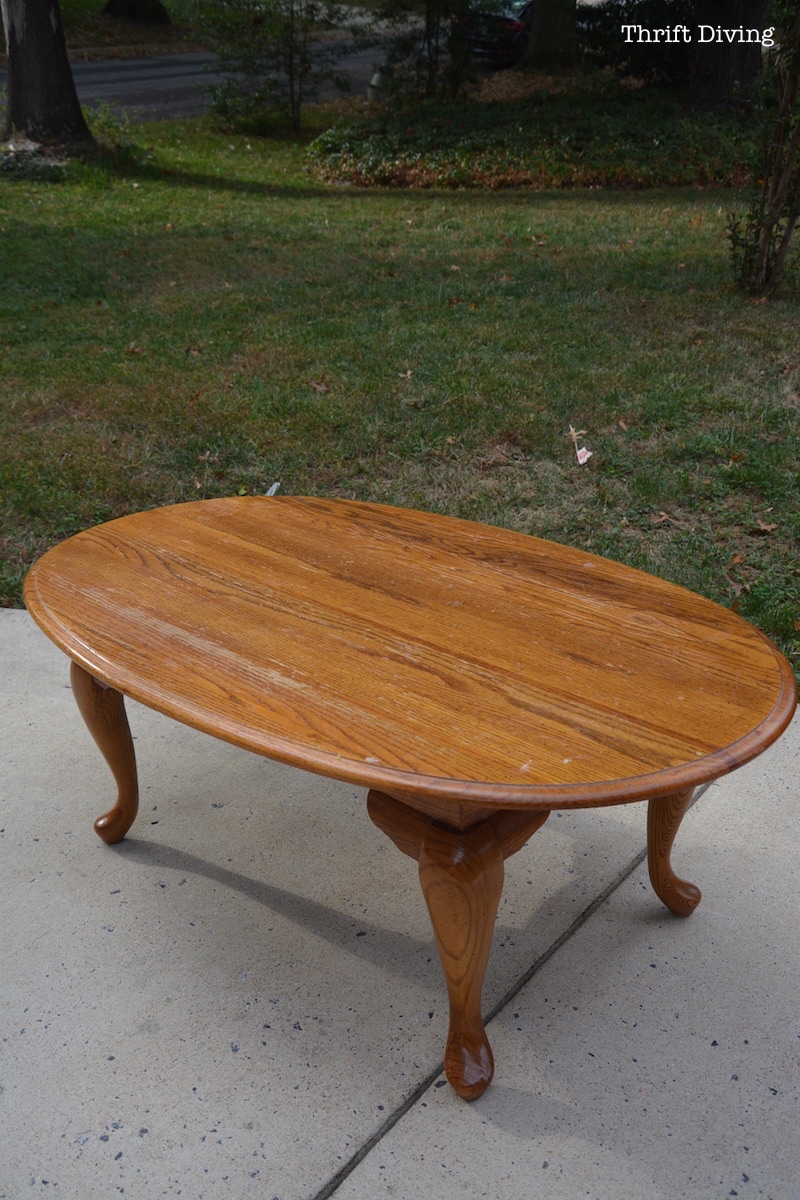
BEFORE
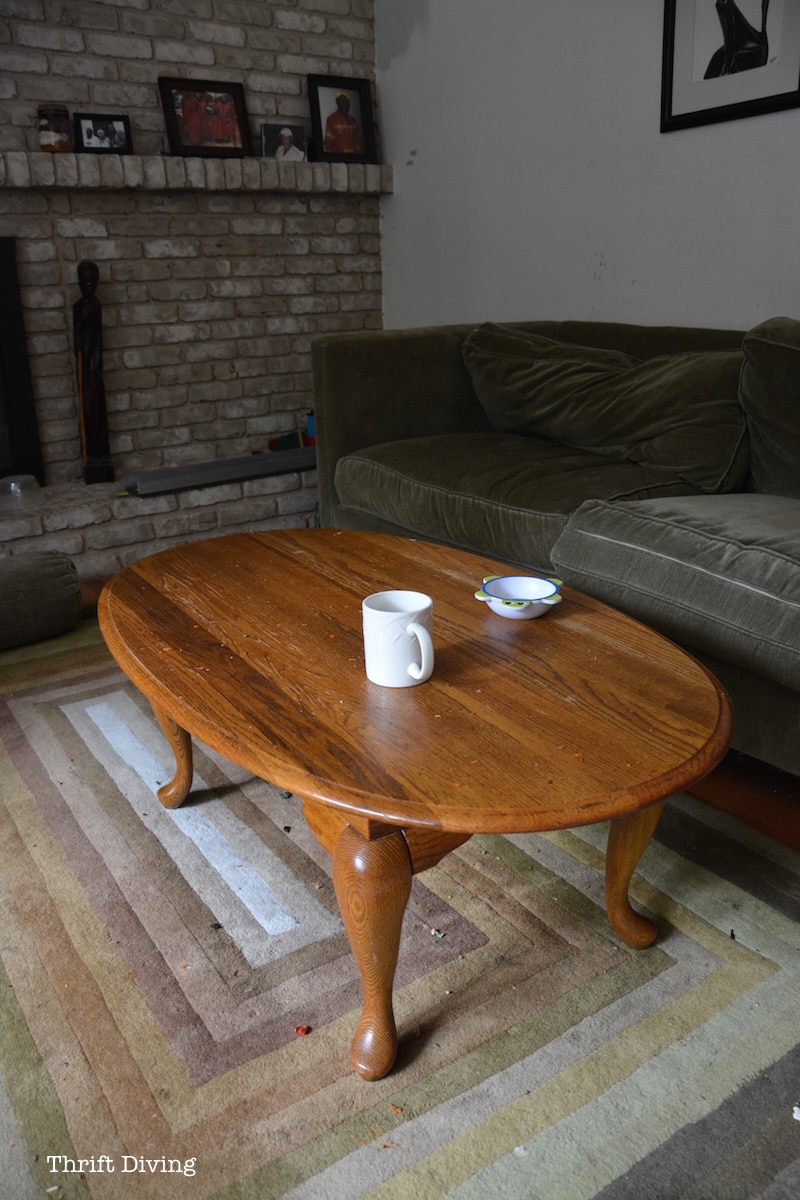
It wasn’t necessarily my “style” but for $5.00, how could I pass that up??
It served its purpose: feet, cups, remotes, morning cereal, and evening dinners in front of the TV with my family gathered around it.
BEFORE
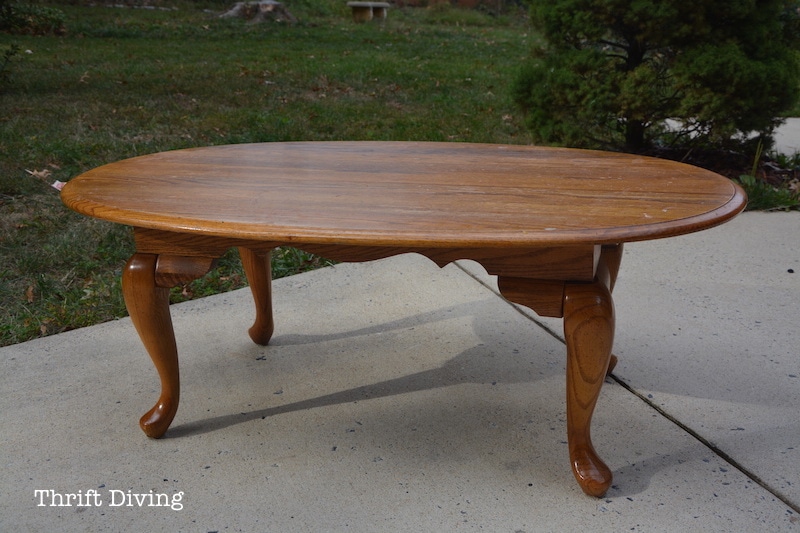
Now that I’m finishing up my family room for my 30-Day September Makeover (stay tuned–all of the room makeover “AFTERS” are coming!), I wanted to give this coffee table a little “clean up” with some new stain and painted legs.
After all the cereal spills and crusted over food, it quickly became worn out. And that’s okay. I can’t even buy a burrito for $5.00! Who cares if we ruined a $5.00 coffee table anyhow?? LOL
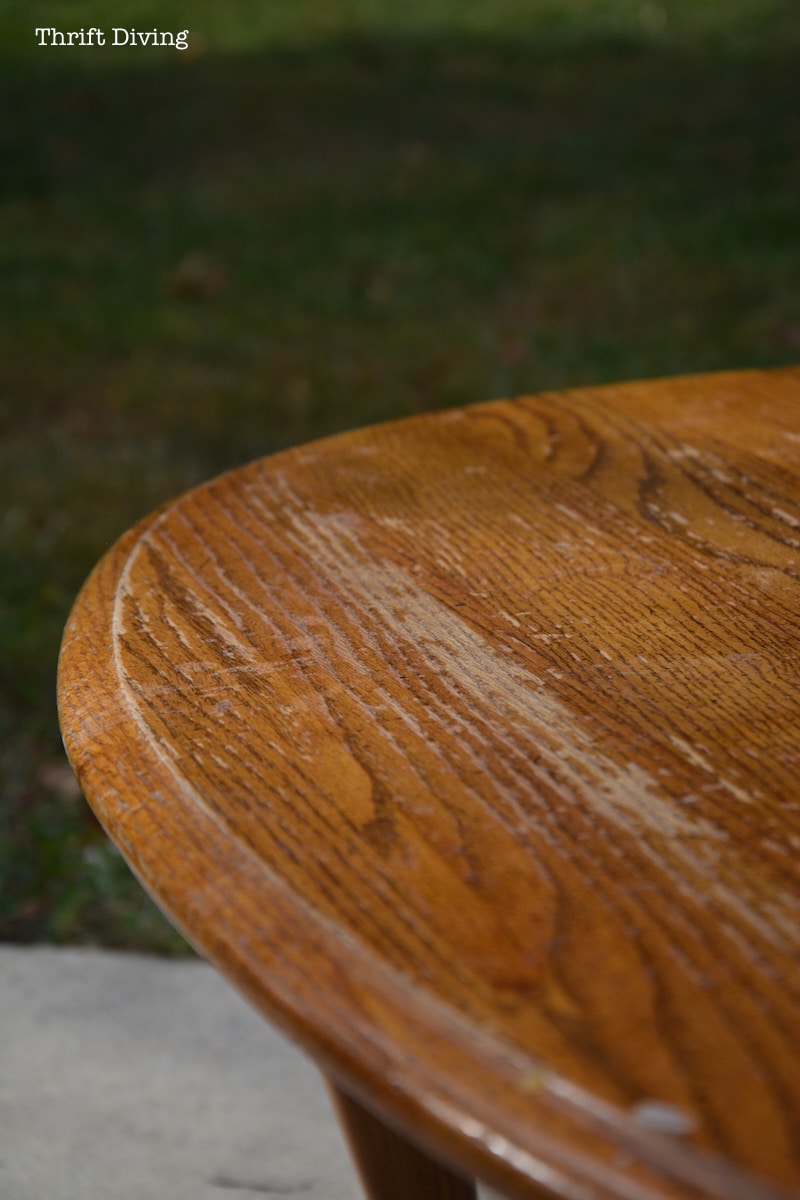
All of the varnish on top started to chip, and I was never a fan of the color of the wood, anyhow.
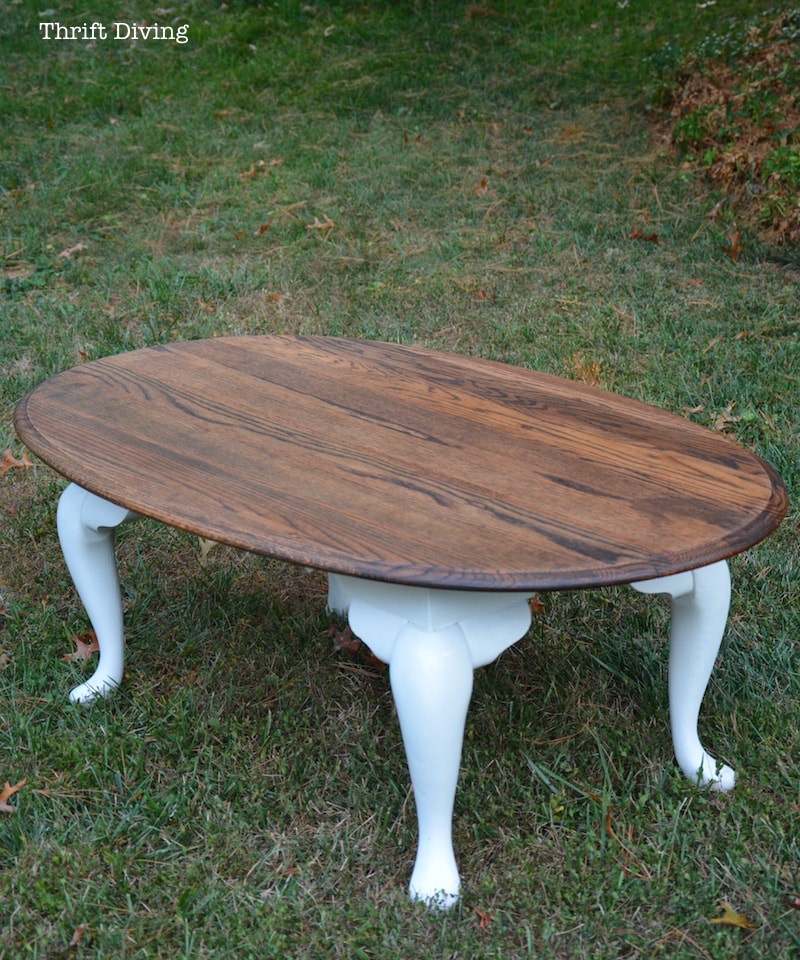
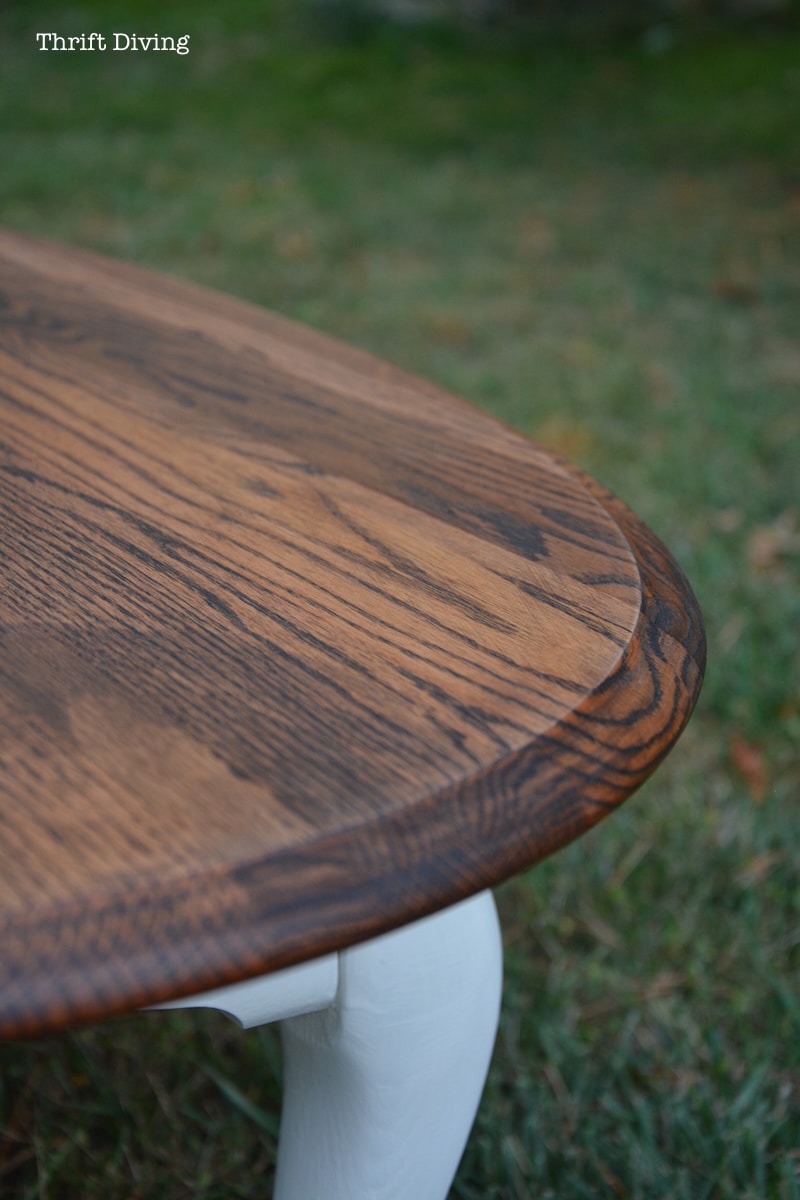
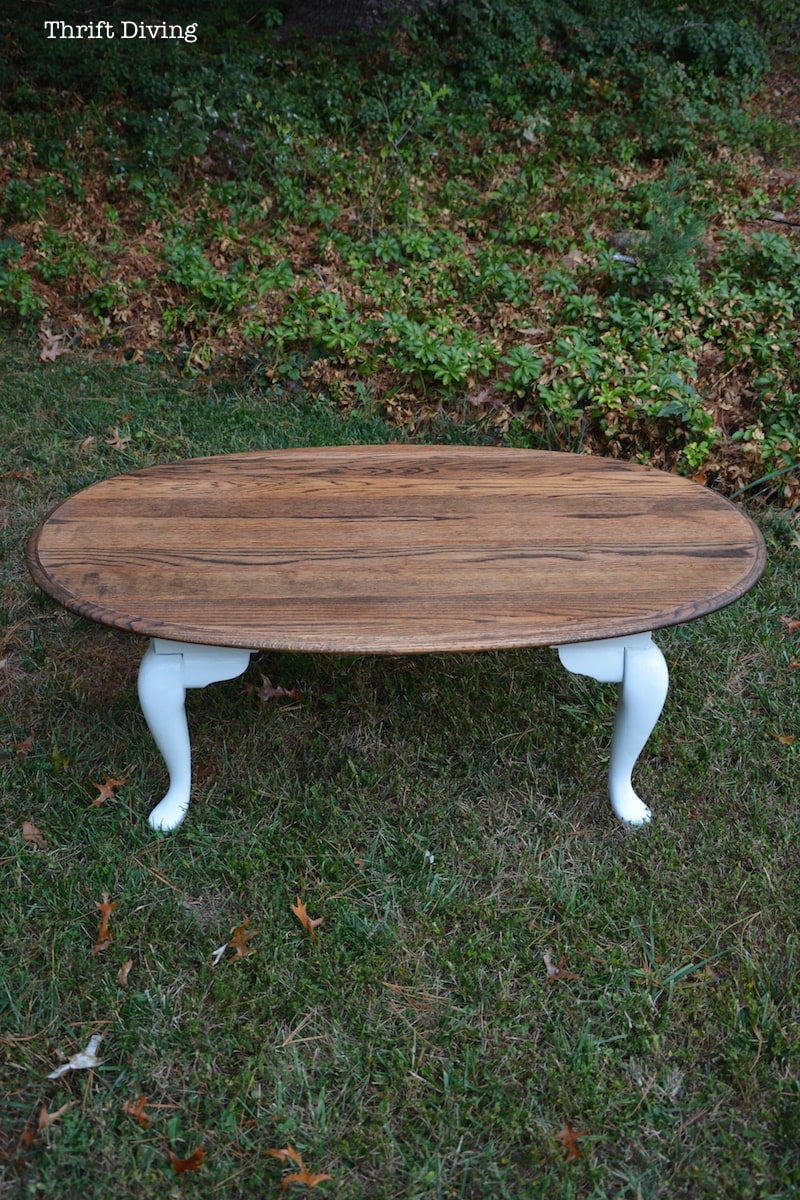
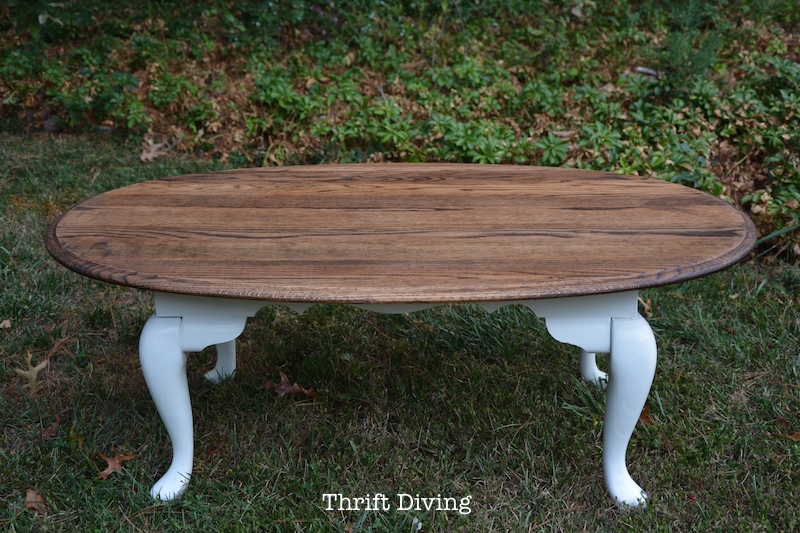
But after making it over this past weekend, this is how it looks now!
AFTER!
One of my awesome readers emailed me about another project I did and pointed out that I really shouldn’t be using an orbital sander to sand my projects because it’ll leave the swirly marks.
And even though I saw those marks and knew that, they were never so noticeable that it ruined my projects.
But she was right.
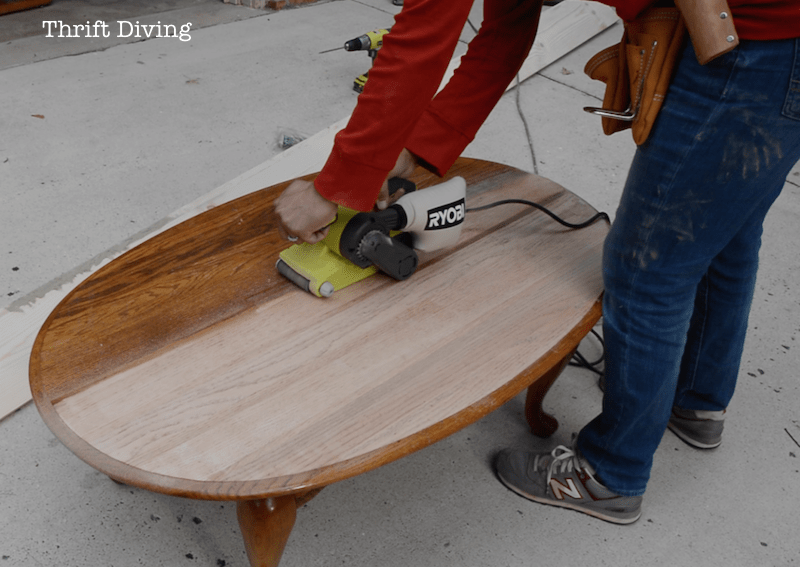
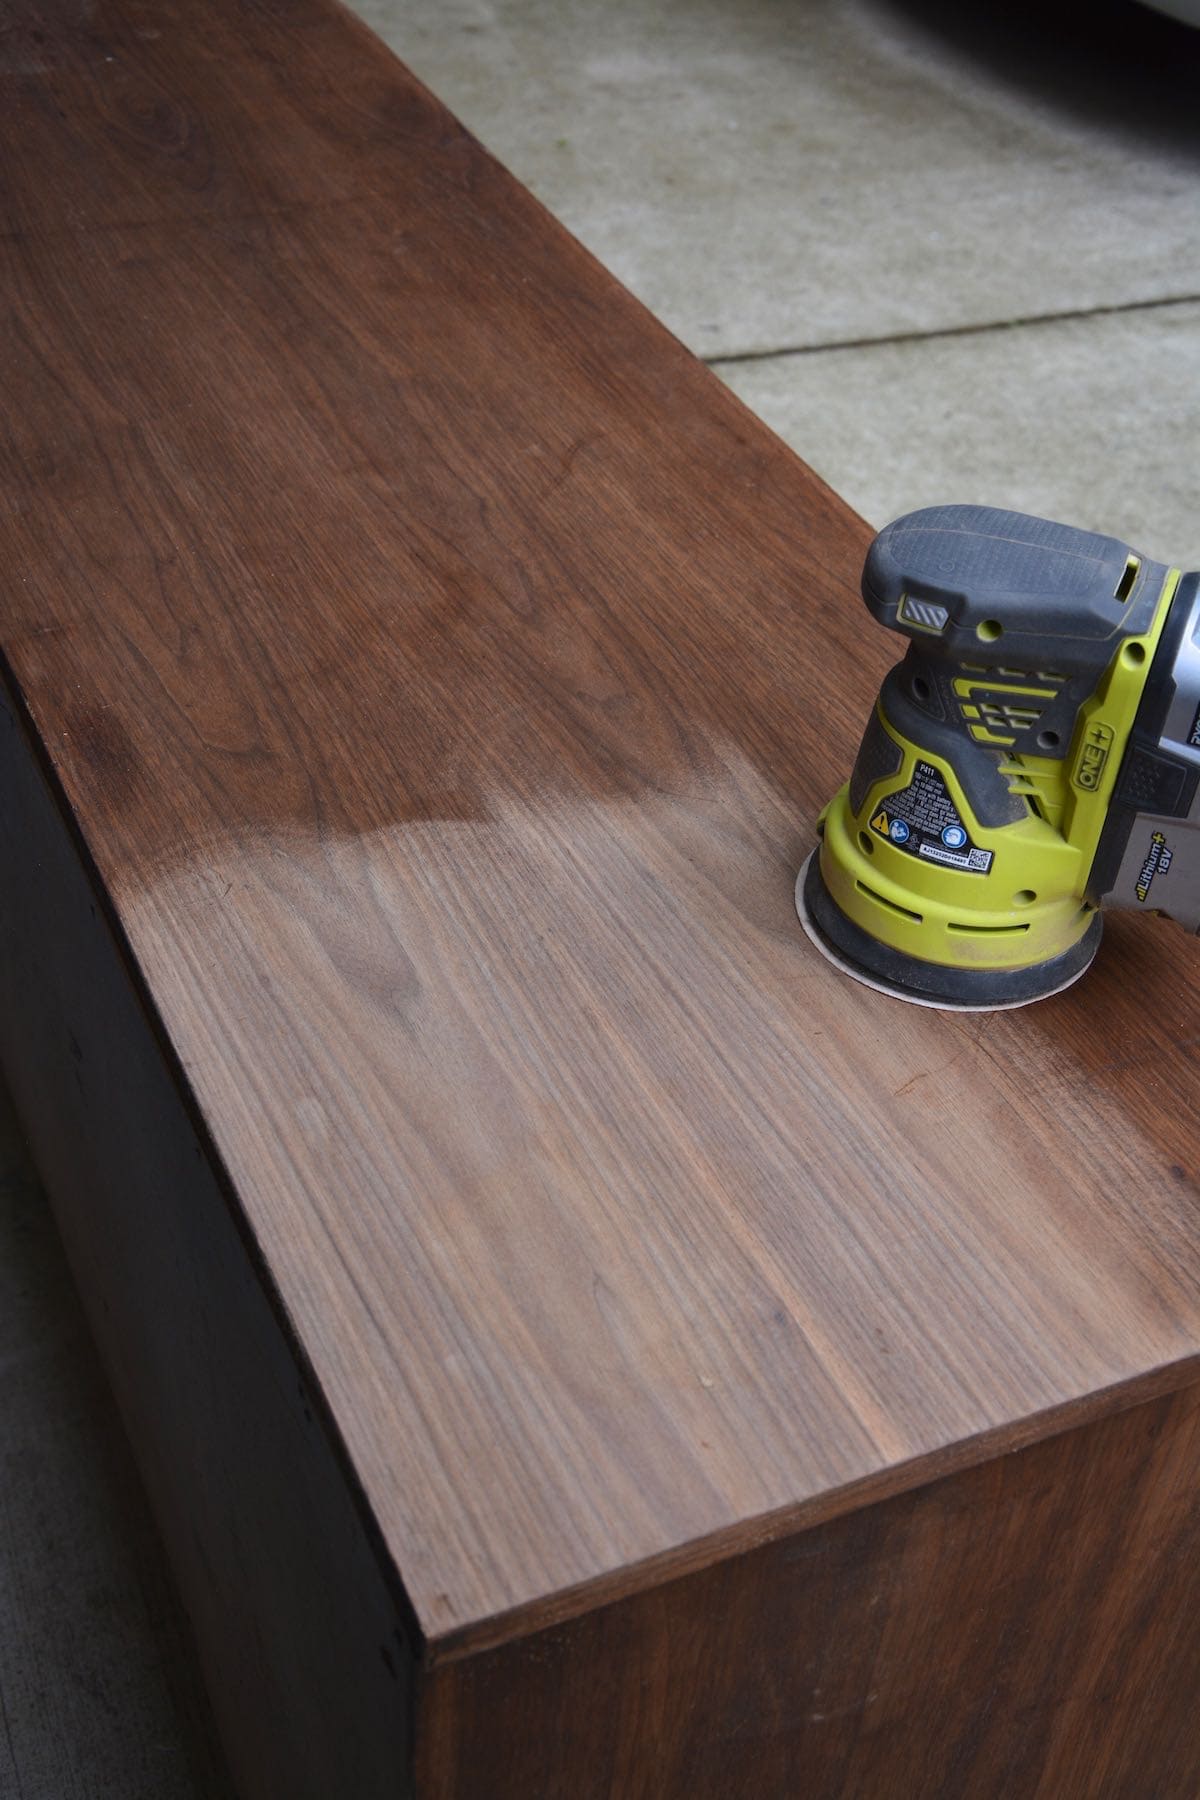
You really should use a belt sander when stripping a top like this, going in the direction of the wood.
So I took her advice to heart, asked RYOBI (with whom I partner) to send me one of their awesome belt sanders (they’re really affordable at $50), and got to work.
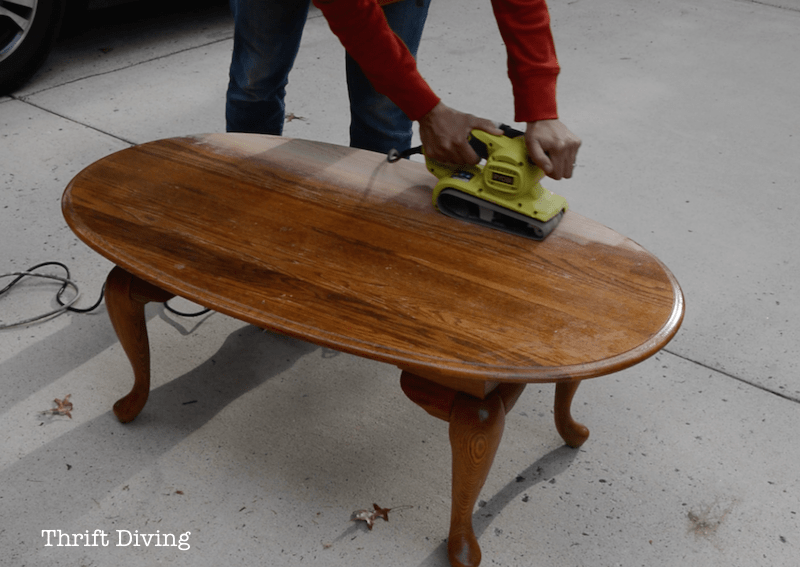
This was actually my first time using a belt sander simply because I had never owned one.
It’s one of those tools that is easy to use, but you must hold on tight, because that baby grips the wood so closely that it feels like it wants to get away from you.
Just hold on tight, and keep passing it over the wood to strip off the wood.
I don’t recall the grit of sandpaper I used, but it was a medium grit.
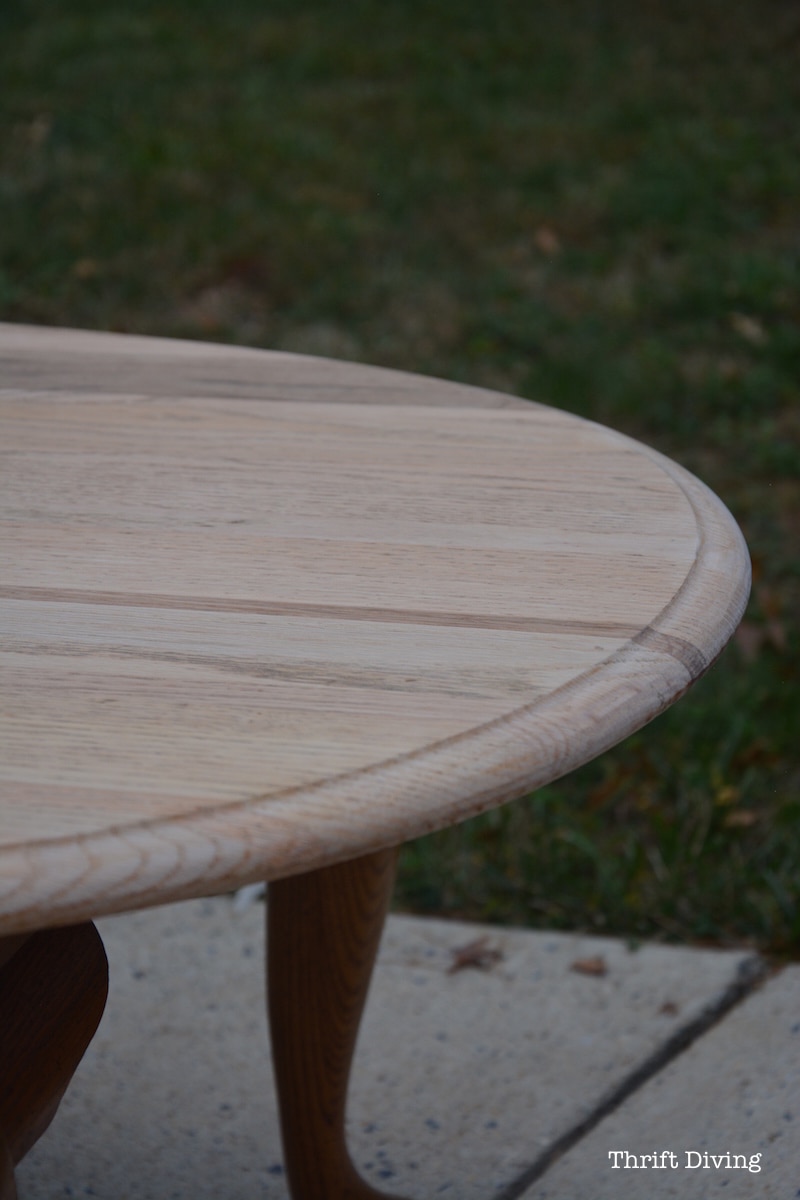
And we sure do your final sanding with fine sand paper so that it smooths out any roughness left by the medium grit sandpaper. I did this step by hand with 220 grit fine sandpaper (not pictured).
The wood was gorgeous when I was done!
And this is another area that I need to brush up on: learning to identify different types of wood.
I have no idea what this is–oak, maybe? Does anyone know?
How do you tell the difference? What are the characteristics between different types of wood?
I’m an idiot when it comes to that.
I wanted a darker top and white legs.
I chose Minwax Early American for the base stain, and planned to layer it with a darker stain on top.
I didn’t expect it to look exactly like the old stain, but that’s what started to happen! LOL
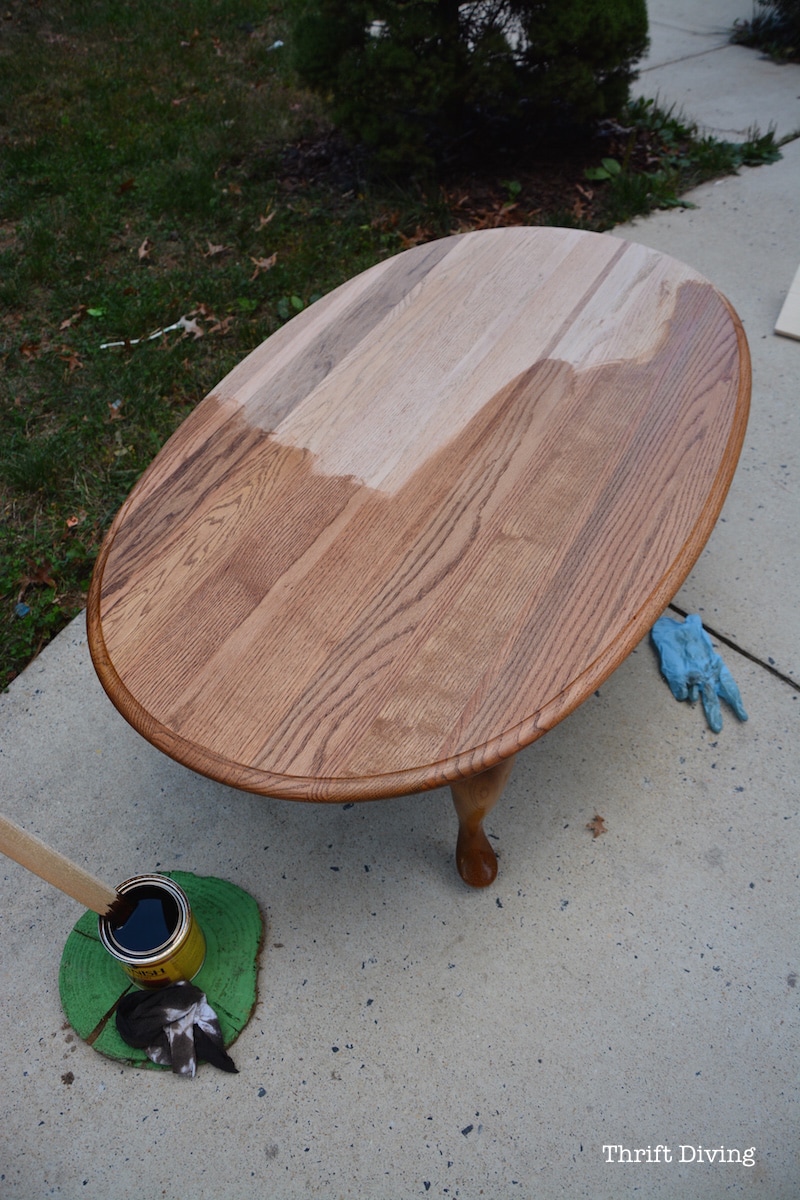
So I kept layering coat after coat of darker stain until I got the shade closer to where I wanted it to be.
I believe I used Minwax Jacobean color on top of the Early American color.
I’m sure I was doing it all wrong. I know I was probably supposed to lightly sand in between.
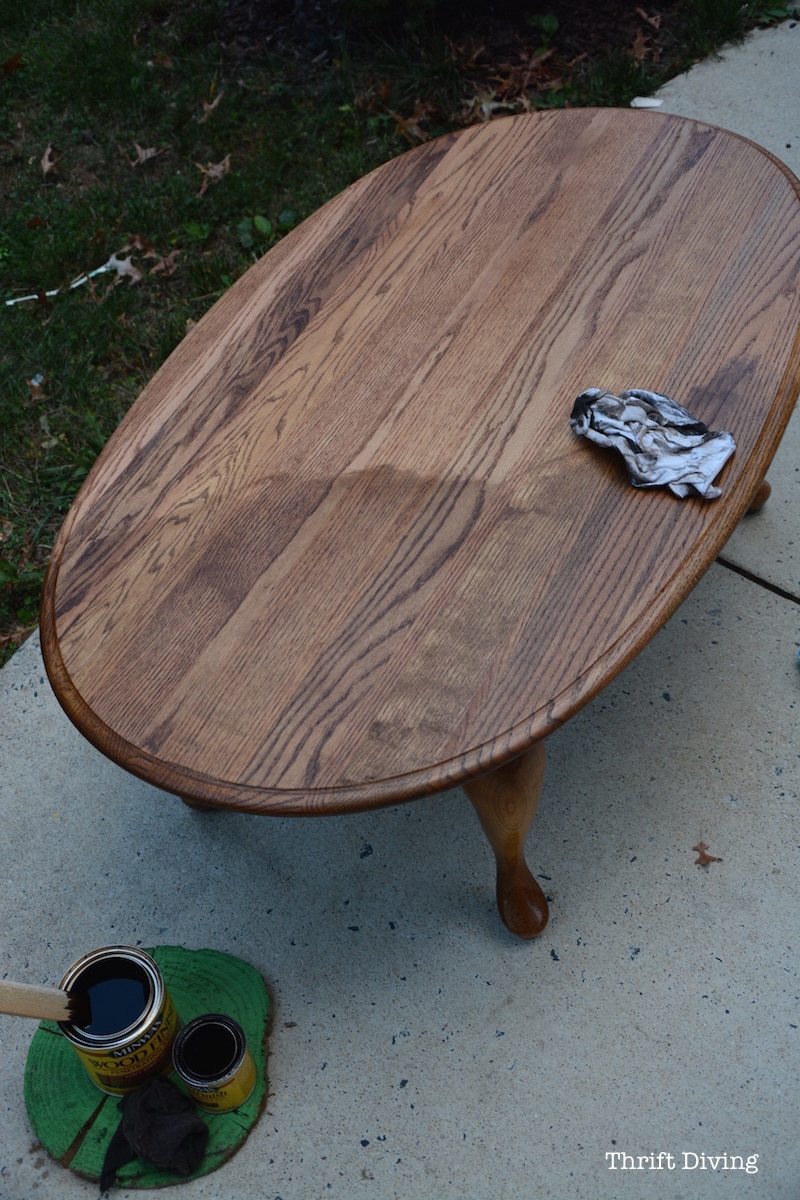
The result was really pretty!
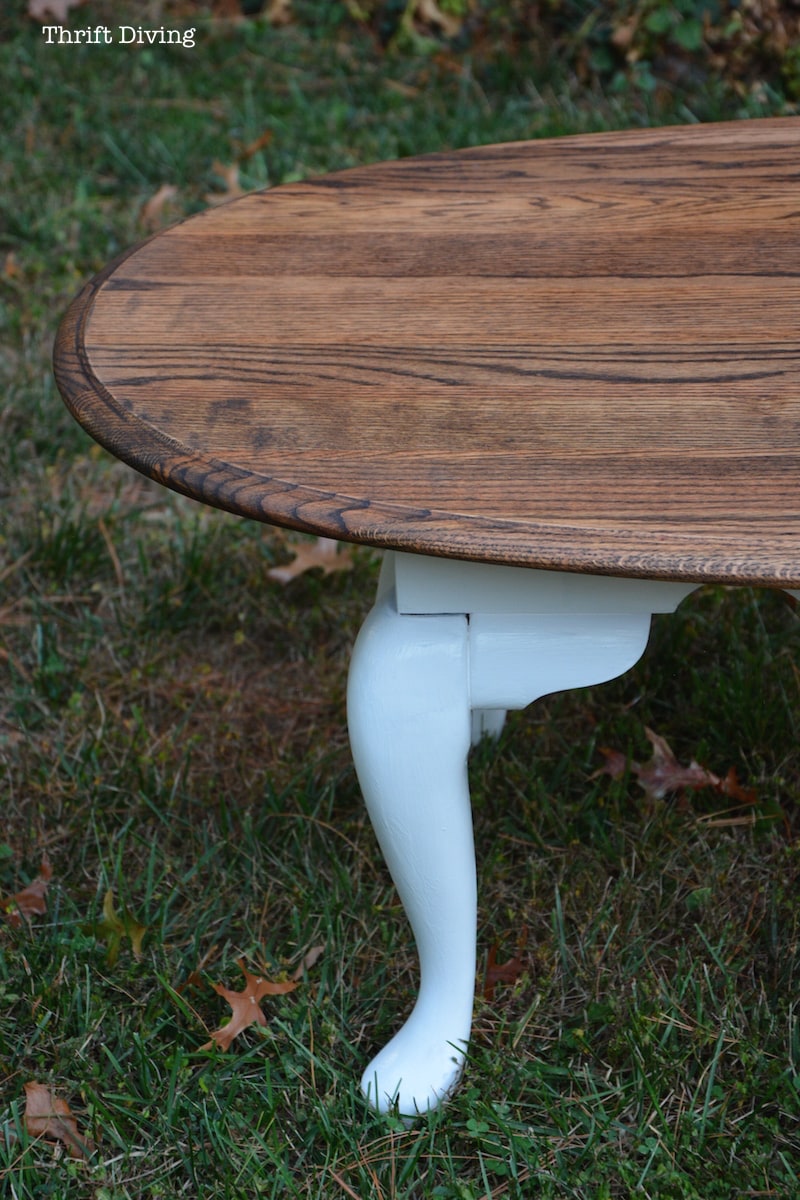
It looks really dark in this picture, but I had sanded it lightly, and put a few coats of Miss Mustard Seed furniture wax on top (which I really love because it smells much better than the Annie Sloan clear wax!!).
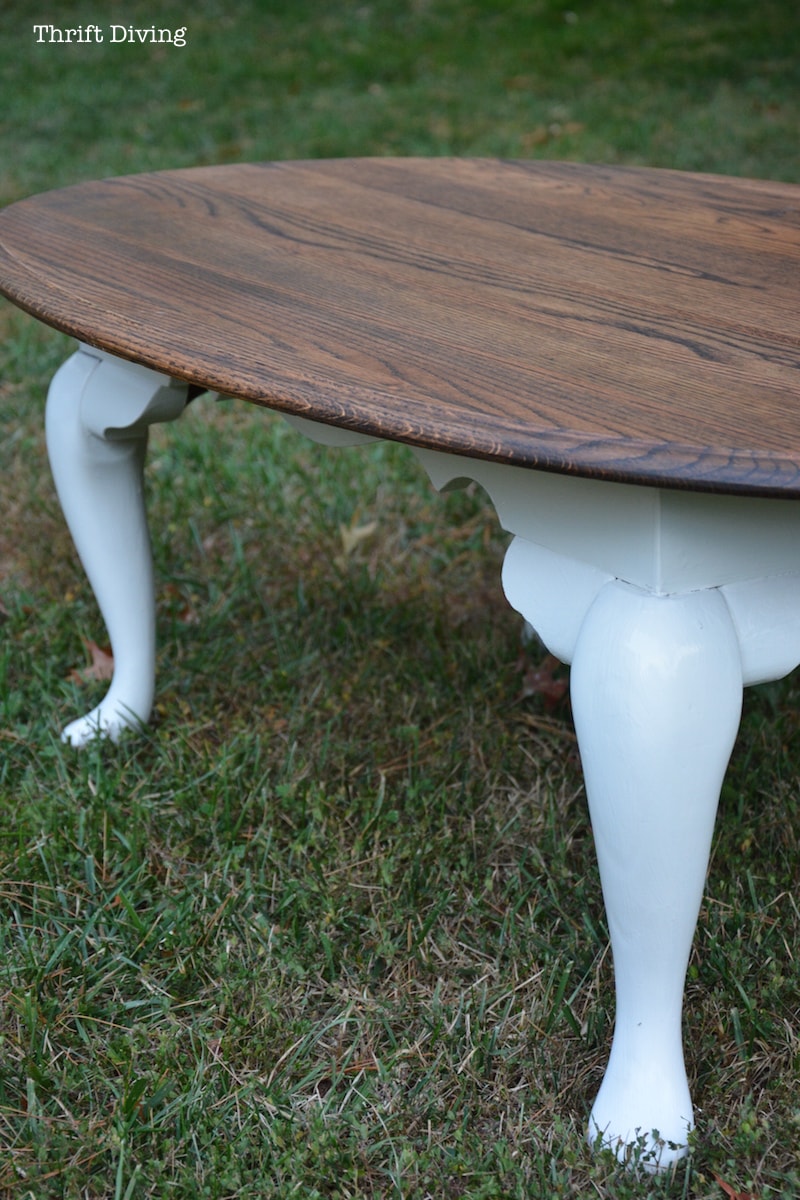
And I painted the legs with Annie Sloan Pure White chalk paint. I tried to mix in some CoCo chalk paint so it wasn’t so “white” but it still came out pretty white. But I think I like it this way, anyhow.
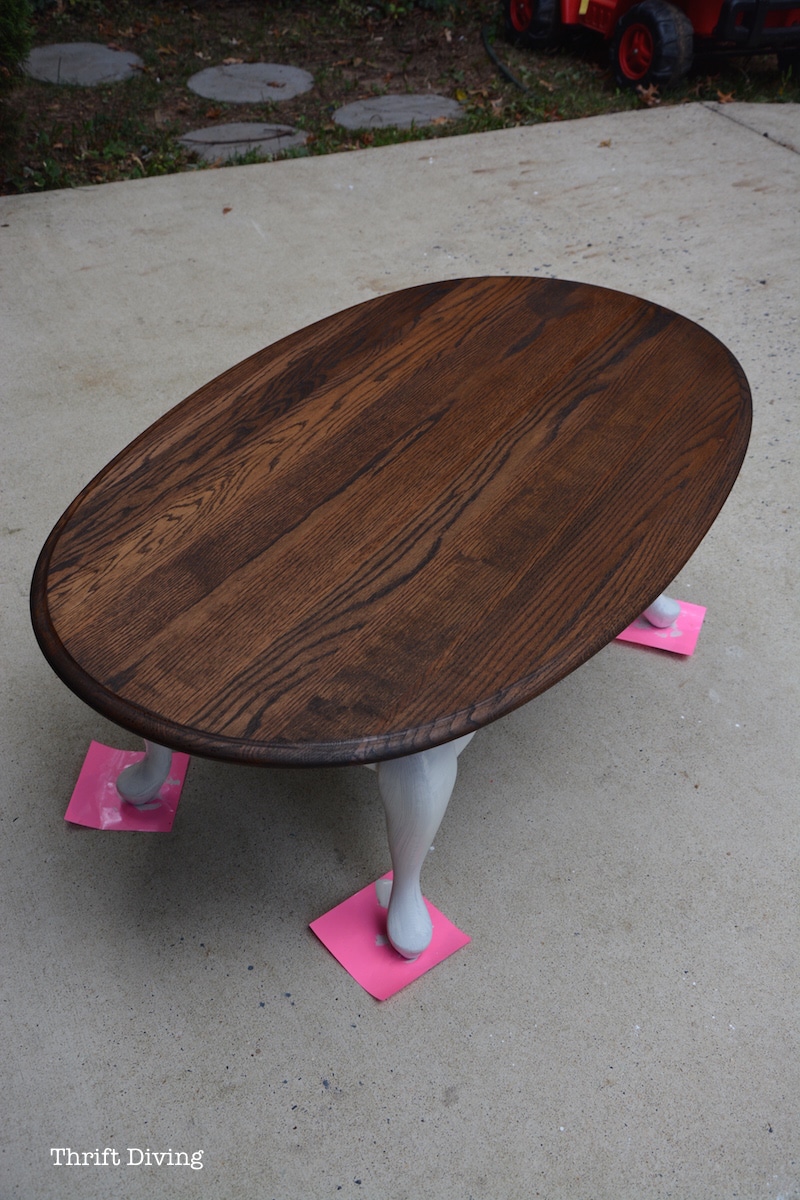
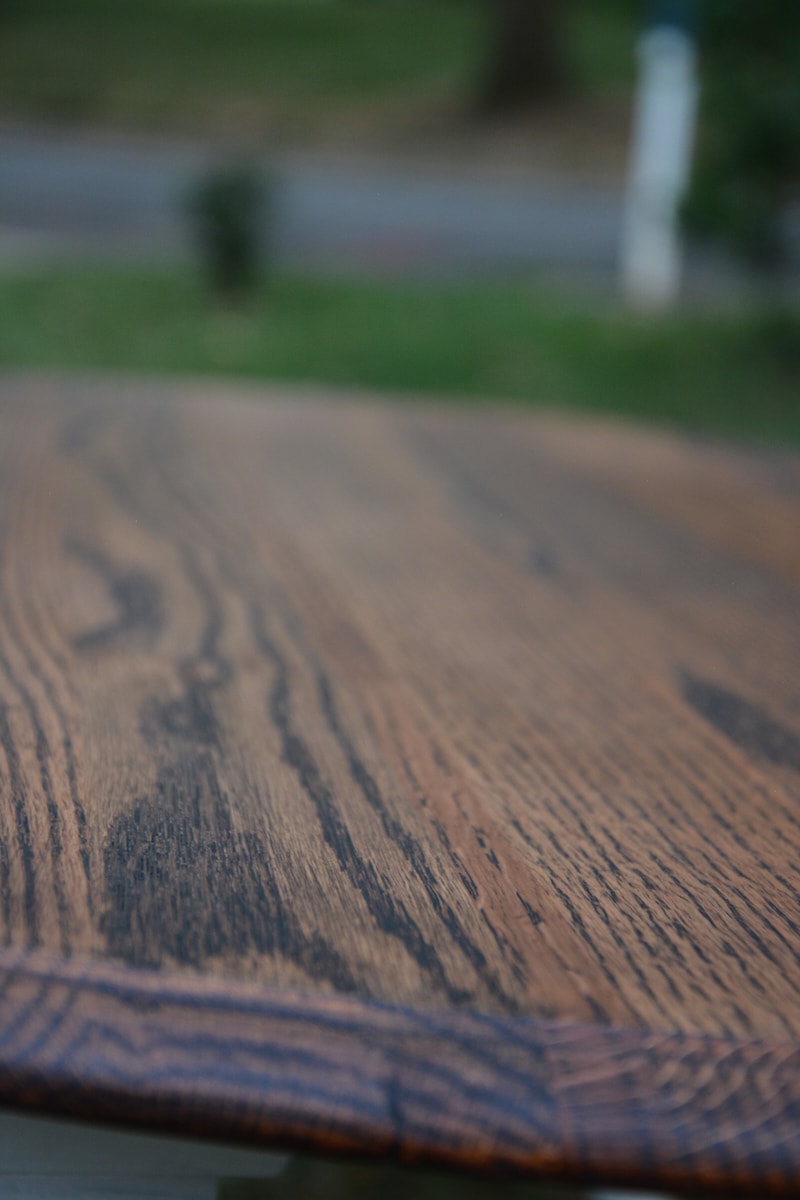
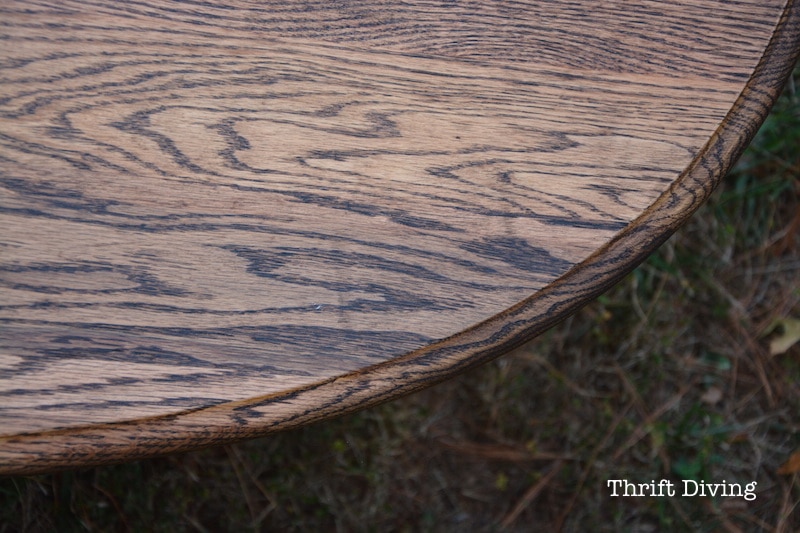
I did, however, end up with a big ‘ole black mark on top. I couldn’t figure out what went wrong in my sanding.
See it there on this end?
I’m half afraid to attempt to sand that section out and re-stain it. So I’ll be leaving it there. 🙂 I’ll just make like it was purely intentional. Oooh….yeaaaahhh…..all planned, baby!
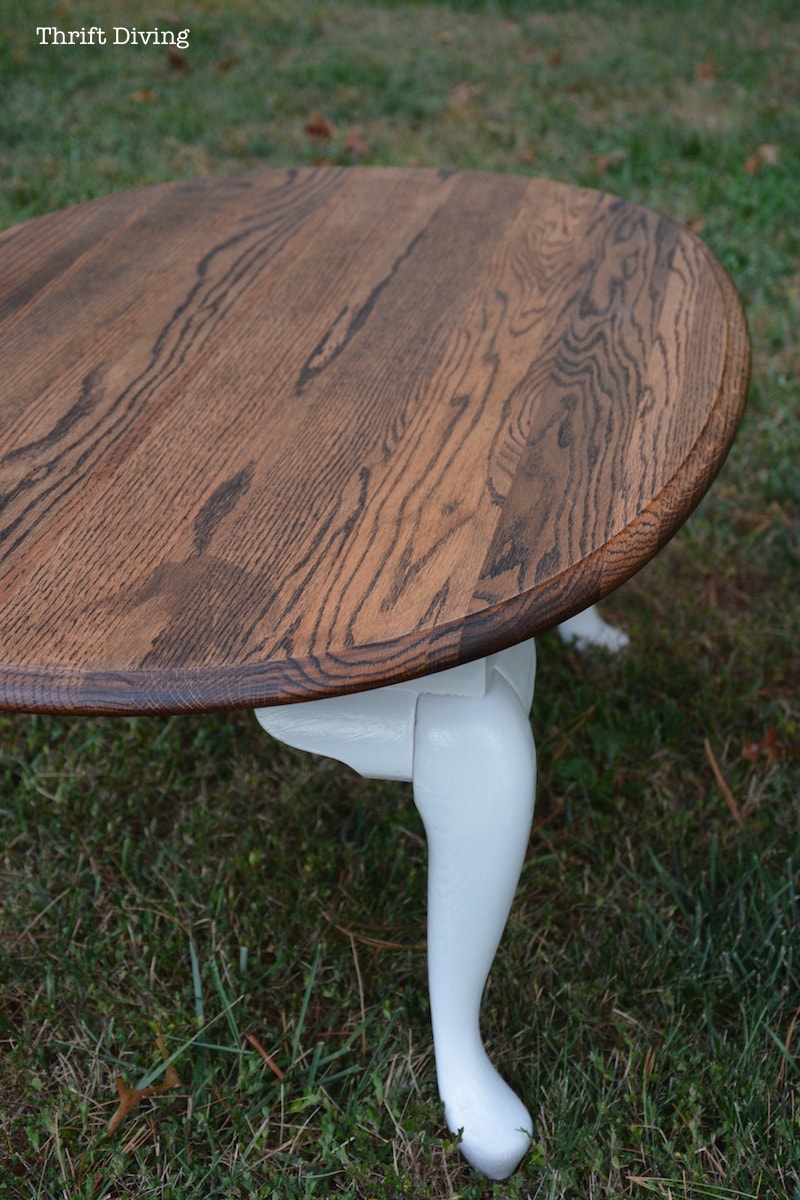
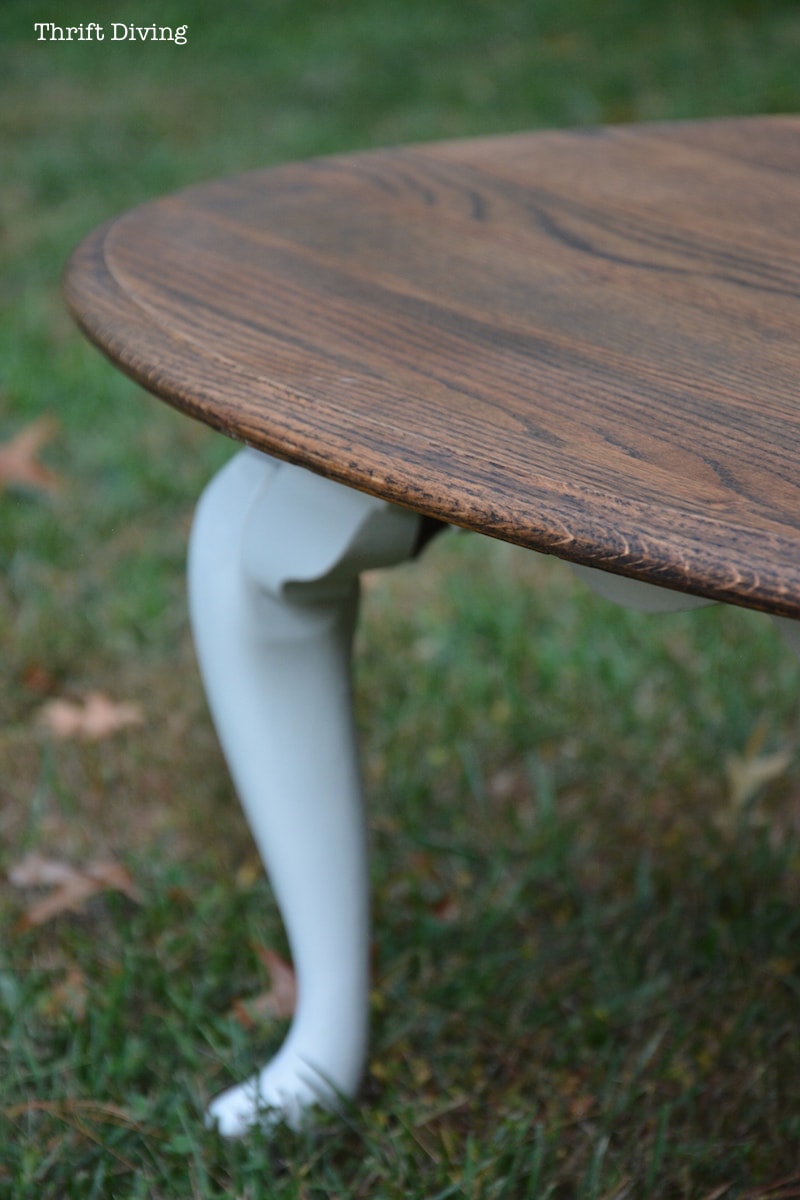
The grain of the wood looks awesome! I’ve really been loving the look of wood lately.
I still say it’s okay to paint wood if you want to! No harm in that! But the look of fresh stain is so refreshing to see, too!
Later this month I’m planning to build my very own coffee table with built-in storage. Woo hoo! So this coffee table will probably go in my basement that I made over earlier this year.
The paint was literally still WET when I took these pictures, too!
I was heading out on a flight early the next morning and wanted to show you this project while I was gone. Thus, the wet paint you see here! HA! I hadn’t even sanded or waxed the legs yet. Now that’s gangsta-style blogging! LOL. I’ll put the finishing touches when I get home.
So here’s another look at my chipped $5.00 coffee table from the thrift store.
Yes, it’s mismatched from my very modern sofa, but you know what??
It’s furniture. No one is going to stone me for having an eclectic house!
BEFORE

All they’ll see if they come over to my house is a nicely stained coffee table with pretty white legs, and they’ll say, “Oh, wow! What a nice coffee table you’ve got there!”
AFTER!
And I’ll gush about how cheap it is! 🙂
(Do you gush about your cheap furniture, too, when guests come over?! I can’t help myself!!).
So have you ever made over a piece of furniture and ran into unexpected outcomes and decided to just “roll with it,” too? Leave a comment and let’s chat about it!

Download the 5 freebies!

Thrift Diving inspires women to decorate, improve, and maintain their home themselves...using paint, power tools, and thrift stores! Use these 5 printables, checklists, and ebooks to get started!

gosh your makeover is fantastic!! my mother has that exact coffee table… maybe ill give it a try and give her living room a little face lift! great job again!
Bought a sander it’s orbital.i haven’t gotten any swirlies .whats that?
Serena,
I love your table looks fabulous! I don’t get swirlies with my orbital sander.
I didn’t read all the comments, but I hope someone helped with the dark spot.
gail
Serena,
I refinished a coffee table just like this (except it was that awful dark shiny finish). I use the exact same refinish that you used, white legs, stained top. I, too, was so pleased with the result. I removed the table top finish with a heat gun, easy on the ears but not on the lungs. Sold it in my tiny shop.
That table looks great! Probably very sturdy – it is Oak after all. It will last till the boys are grown and happily survive any abuse healthy boys can give it. Then, you can pass it on to someone who sees it’s value. Minwax has brochures that show how stain looks on the wood that is supposed to match.
I also tell people endlessly how inexpensively I find my stuff while they admire what I’ve done! On and on they go about how different and great my stuff looks.I just smile… OK I’m a show off! I really love the fact that you are not like most other “furniture stylists” who act like everything they do is always perfect They imply that nothing they work on is EVER even slightly off. Well- I’m here to tell everyone that NOTHING is perfect. Life is a learning experience that only ends when we stop breathing. Since I only do this stuff for my own pleasure, I feel no need to go crazy chasing perfection. I always do my best and if I don’t like my makeover I’ll re do it till I do. I do some of my best work on furniture and some of my worst work on my own walls. Sometimes I have more paint on me then on whatever I’m painting ! But- I LOVE changing things so that they make me happy. After all, isn’t that the point of re doing things to begin with; finding something inexpensive or free and turning it into something you love!
Ditto everything that Mintchip said, and said so well.
Love the coffee table. Love that you, Serena, make mistakes, talk about them, tell how you fix them, or live with the mistakes.
I like stained wood with painted parts – very appealing. I’ve seen some gorgeous dressers done with this method. I took a class years ago, where we were taught to sand with the grain, and to use steel wool between coats of the stain, again going with the grain. You end up with a lovely, smooth surface if you take the time. The sealer we used – Deft – we did the same thing with the steel wool between coats. I think yours turned out great!
I love it as well you really made the wood grain stand out, looking forward to seeing what you do next 🙂
That table looks better than anything else you could have done. Obviously, you need to like the shape to begin with. It’s a cool oval. My taste in particular, which is different than most, is very Modern or Mid Century. I like straight lines.
This may make it more difficult to find items out there. Anyway, love your work!
Love the after. Don’t love the pic of you standing bent over at the waist sanding. Give those knees a good flex, gal.
Love the table. I was told by a fellow to never ever use an orbital sander on good wood. If you do it has to be all hand sanded to remove the marks. You always sand in the direction of the grain. The belt sander did a beautiful job and I bet with a lot less work? That dark mark could be an imperfection in the wood or something spilled on the table in it’s former life. I didn’t even notice it until you showed it.. Do you not use a protective Varathane clear coating on your staining?