The Makeover of the Juliana Dresser
I’m going to go ahead and admit that THIS vintage dresser makeover was the hardest furniture makeover project I have ever done.
EVER.
In retrospect, I can honestly say I learned a lot working on this piece and wouldn’t change the experience!
(Nothing like a project to kick you in the butt to make you grow your DIY skills, huh?)
Enter: the Juliana Dresser….
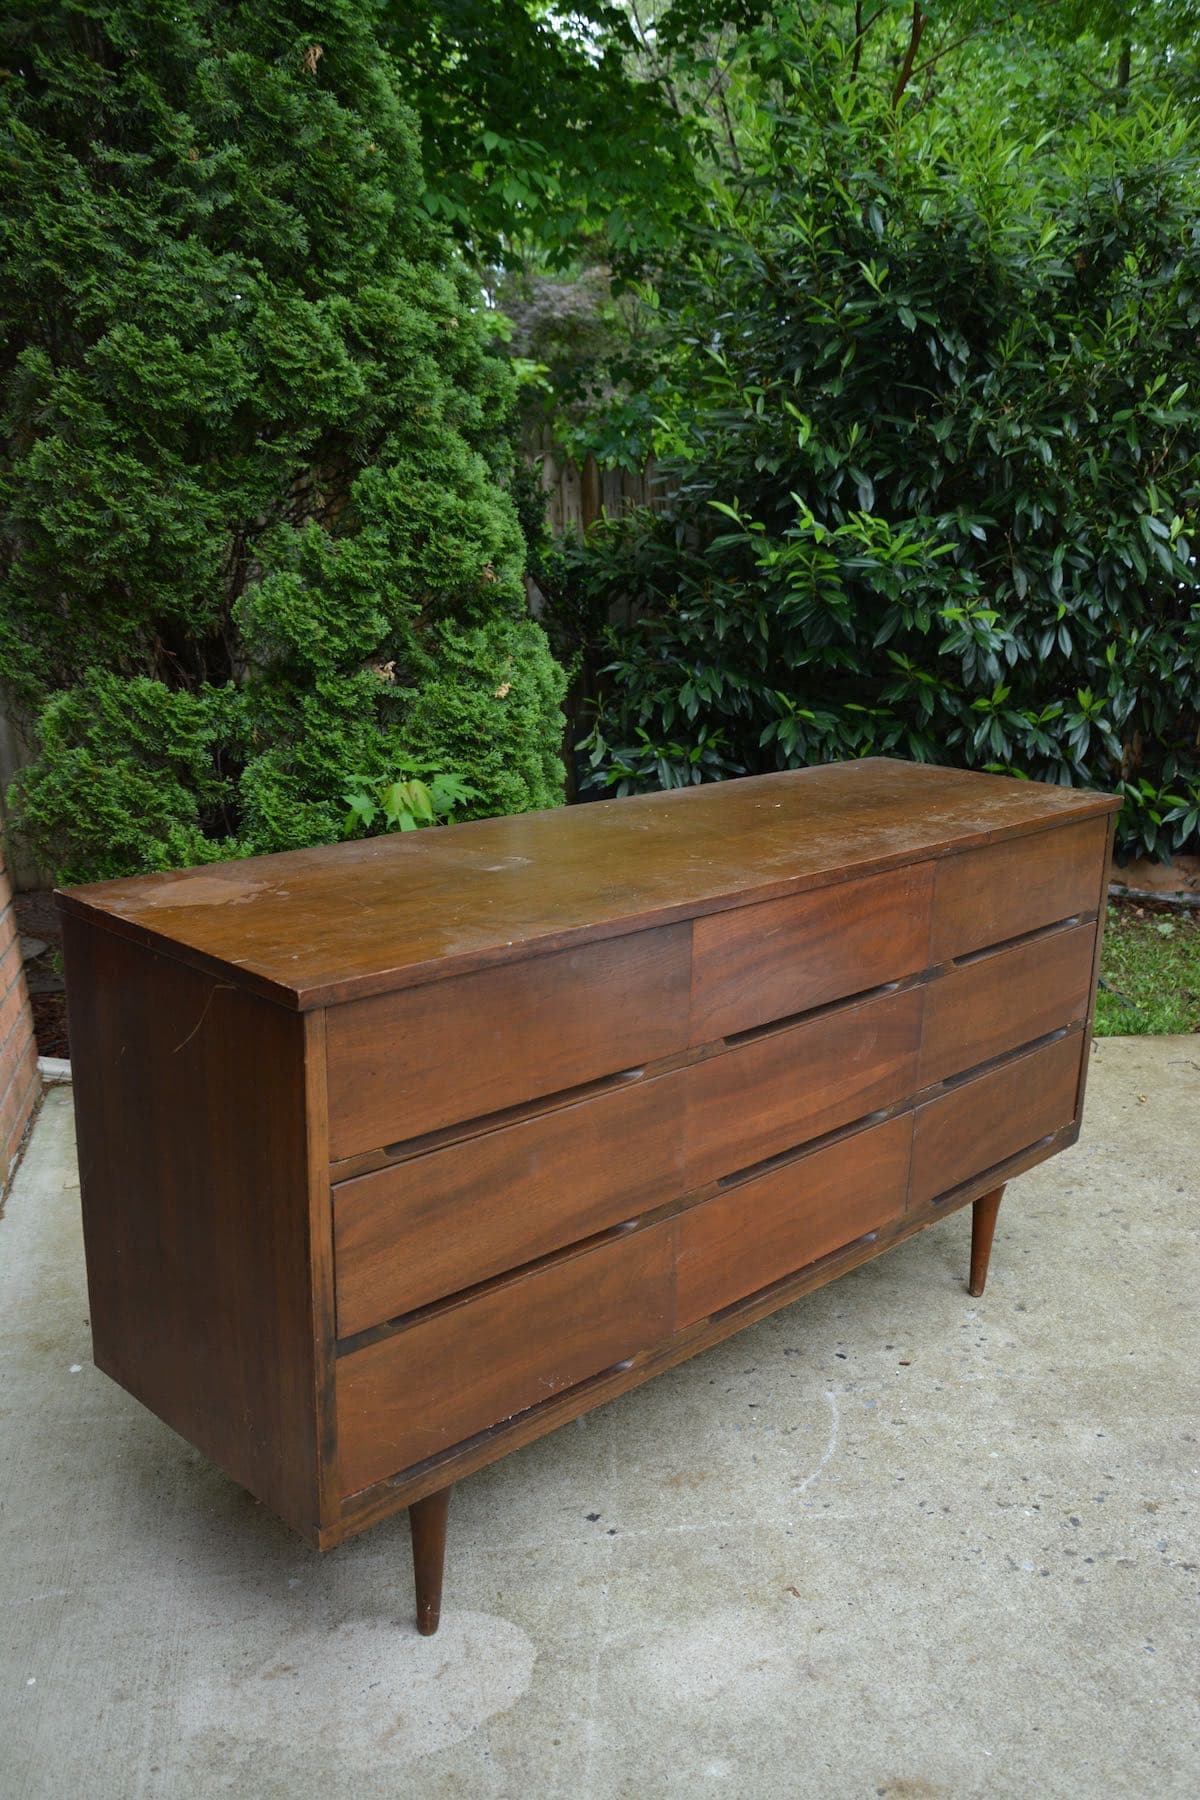
BEFORE – Vintage Dresser Makeover

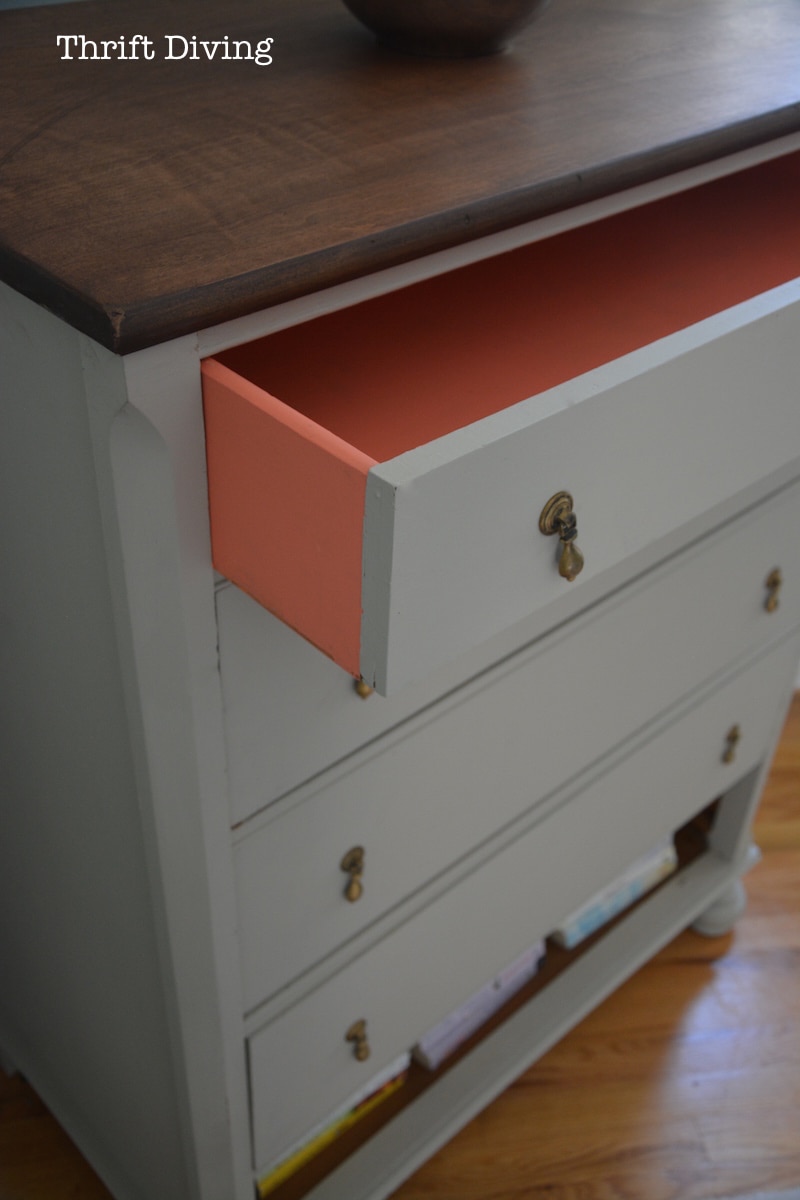
AFTER – Vintage Dresser Makeover

My First Custom Vintage Dresser Makeover
I have never liked the idea of doing custom paint jobs for people. I’ve always had this fear that they’ll expect one thing and then I would deliver another. It feels more freeing to just paint something and then if people like it, they like it…if they don’t, they don’t. But custom furniture makeovers like this dresser makeover, it’s more personal and the expectations are higher, I think.
Juliana reached out to me after a mutual acquaintance told her about my furniture refinishing skillz. She had this dresser that was her mom’s when she was a kid and wanted something fresh to jazz it up, for her guest bedroom in her new house. In its “before” state, it didn’t go with her decor, and plus, the top was badly “pocked” with indentations, along with discoloration.

It’s funny because when I picked it up from her, Juliana was like, “So, you’re going to have to do a lot of sanding, huh?” Instantly I told her, “Nah….The type of paint I use doesn’t require sanding!” I said this like I knew what I was talking about. I mean, chalk paint rocks, right?? No sanding! YAY!
Au contraire mon frere….
I hadn’t looked too closely at the dresser upon pick up (duh!) until I pulled the dresser out of my garage when I was ready to get started on it.
OH MY….
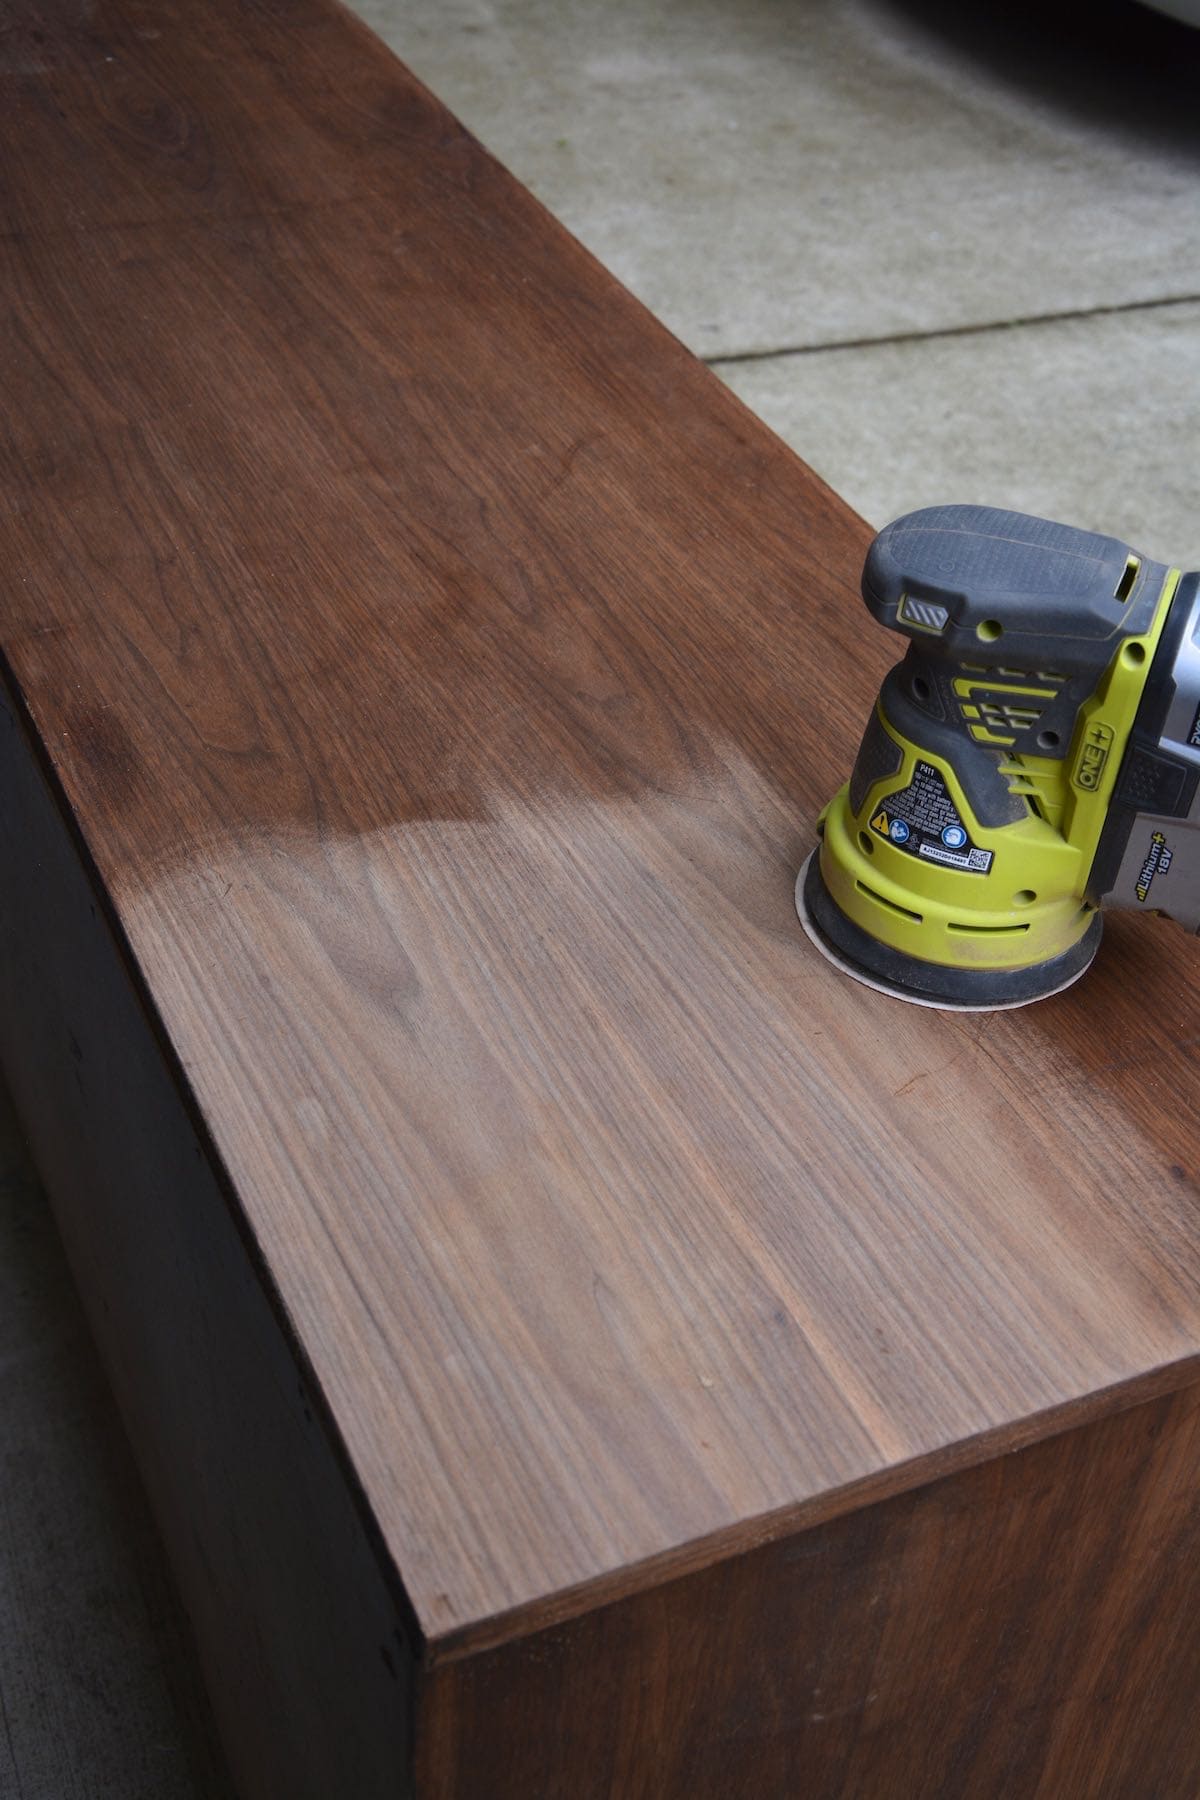
So I grabbed my orbital sander and spent the next 2.5 hours sanding down to the bones:

(I’ve got a budding photographer in my 2-year old who took this pic)
I couldn’t get over how amazing it looked and felt after sanding! It was worth the extra effort!

Some parts, like the back, were in very poor condition, but I didn’t sand that. After all, who looks at the back, right??

Freshly sanded and ready for paint:

The reason I sanded the whole thing is that Juliana had decided she wanted a white wash finish on the dresser. I’ve seen whitewashes done on pieces that weren’t stripped down the bare wood, and I never liked that look. I figured getting out the discoloration and starting from “scratch” was the best option.

Knock Off Vintage Dresser Makeover??
Another thing I usually don’t do is knock-offs. I just don’t copy someone else’s inspiration because then if it doesn’t look exactly like theirs, then you feel crappy like you failed on the creativity spectrum.
But Juliana fell in love with this Apartment Therapy dresser online and wanted her dresser to look exactly like it.
I figured I would give it a shot. After all, how hard could it be???? {{insert eye roll here}}
She really liked the way that the wood grain was still visible, but with pops of color. Creating this was hard because 1) Annie Sloan decorative chalk paint doesn’t make a color this bright yellow without it looking greenish, and 2) it’s hard to do a wash on the drawers because, in order to get the white so bright, you have to layer on more paint. But layering more paint meant also not being able to see as much of the wood underneath.
I tried custom mixing to match it as best as I could, but I couldn’t ever get it such a pop of yellow. I eventually used a CeCe Caldwell paint, and tried to mix in a little orange, without it looking too “orangey.”
You see my challenges?
I can’t tell you the number of times I mixed and washed and wiped and sweated over trying to match the colors and get the texture right.
Missing Handles??
I removed the existing hardware, in search of something GOLD and more modern.

(I participant in the Amazon Services LLC Associates Program and other affiliate advertising programs designed to provide a means for me to earn fees by linking to Amazon.com and affiliated sites).
And although I had found the Anthropologie handles that Juliana liked, we decided that it would be easier for her to just go to Anthropologie herself and get the handles and add the Rub n’ Buff herself. This is what it looks like when I delivered it to her.
Related: 5 Ways to Use Rub n’ Buff

UPDATE: Juliana sent me pictures of the dresser in her guest room, and I love it! I’m so glad that she was able to use her mom’s old dresser for years to come! 🙂 YAY!!
The handles she picked out were perfect!

Do you like this vintage dresser makeover? Save it for later!
![]()

A Few Other Dresser Makeovers
If you liked this dresser makeover, you might enjoy these, as well!
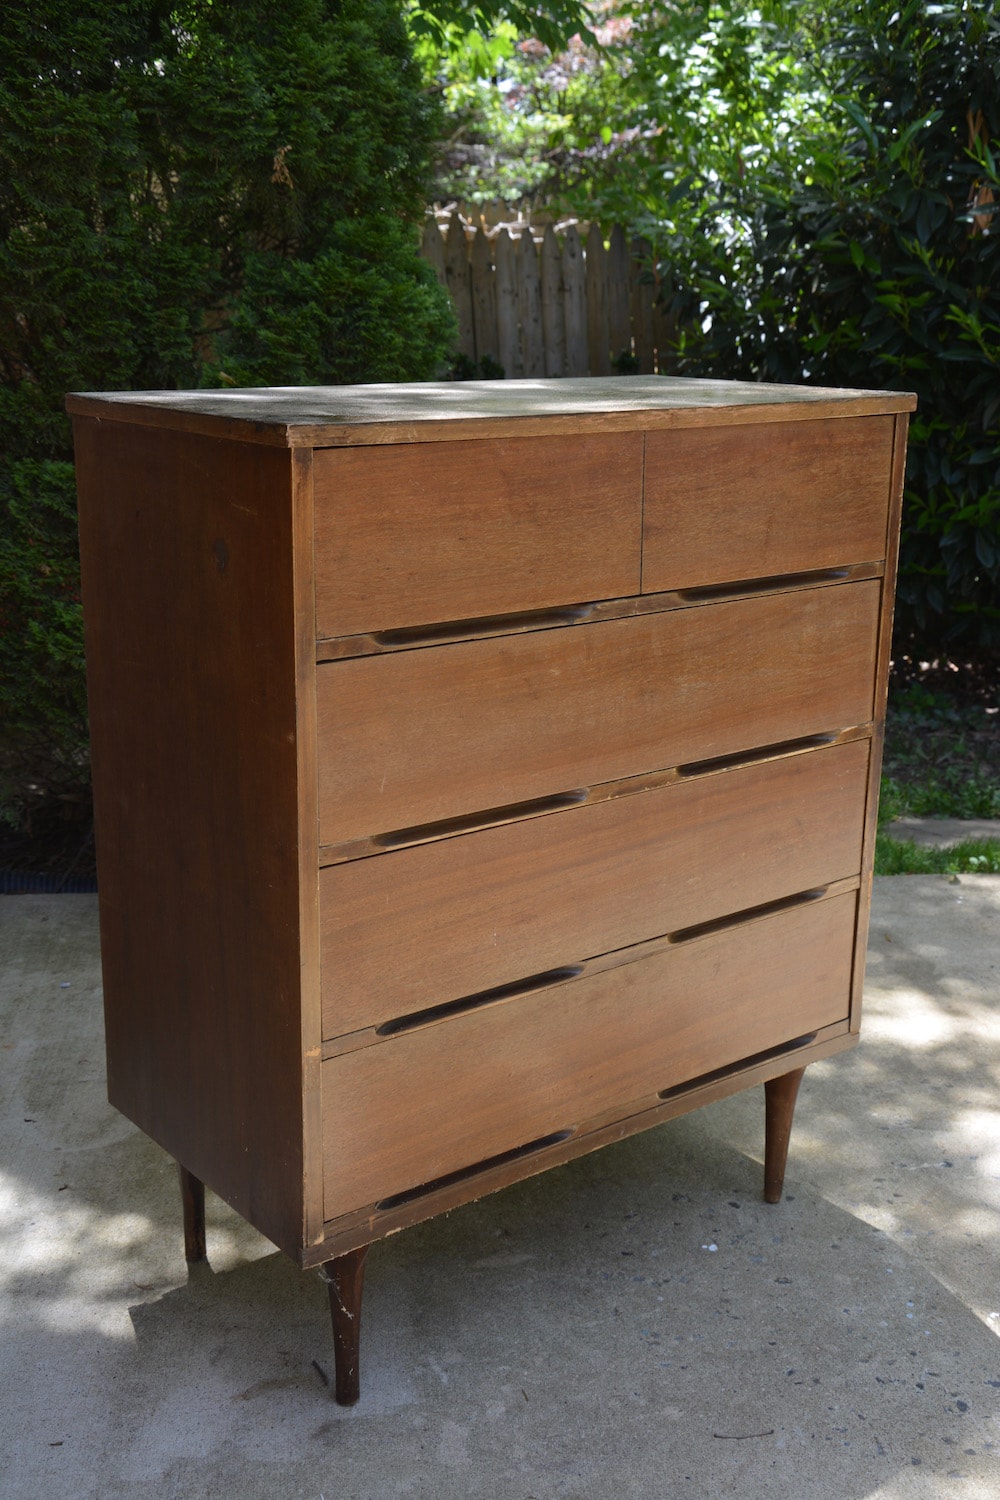
See how this mid-century modern dresser looked after I stripped it down and refinished it back to its original glory!
Hard to believe this French Provincial dresser makeover was only $40 at the thrift store! See how it looked after I was done painting it for my mother-in-law!

I love giving new life to something that you once thought was DONE with its usefulness! 🙂
So what do you think of this 3-toned vintage dresser makeover I did for a client? Have you ever had to overcome a difficult DIY project? Leave a comment below and add to the discussion!

Download the 5 freebies!

Thrift Diving inspires women to decorate, improve, and maintain their home themselves...using paint, power tools, and thrift stores! Use these 5 printables, checklists, and ebooks to get started!

You did a wonderful job! It has a lot of character! And the drawer pulls she put on – those are excellent!
Hi Serena!! I think you did a great job on the client and in-laws makeover! All that sanding looks well worth it to me!! 😀😉