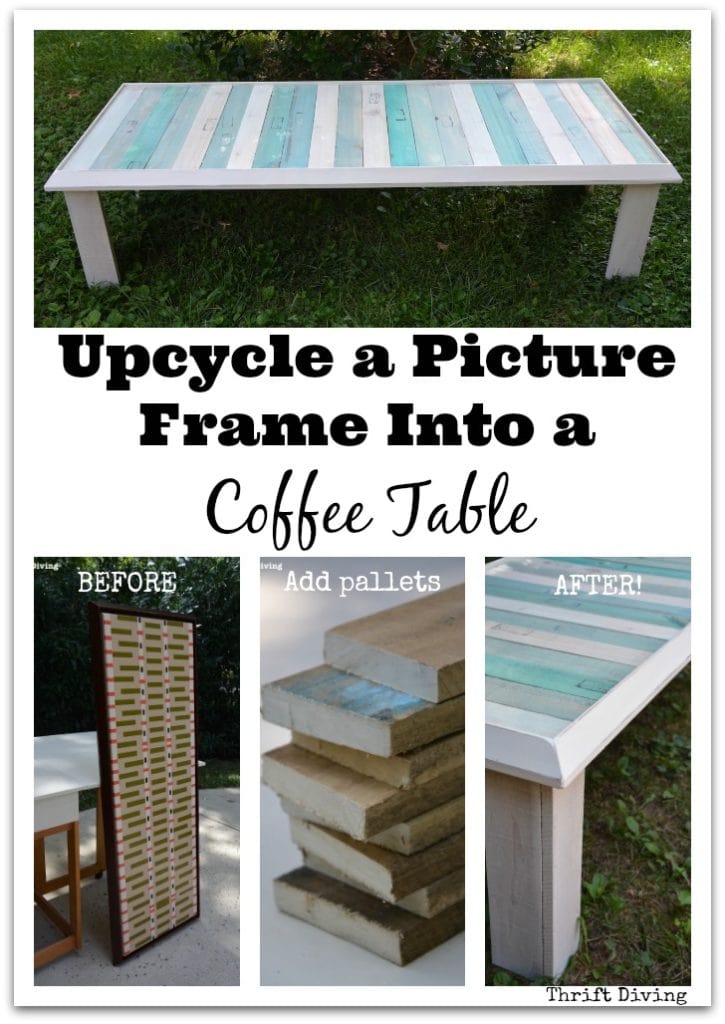
Upcycle a Picture Frame and Pallets Into a DIY Coffee Table
This post brought to you by CORT. The content and opinions expressed below are that of Thrift Diving.
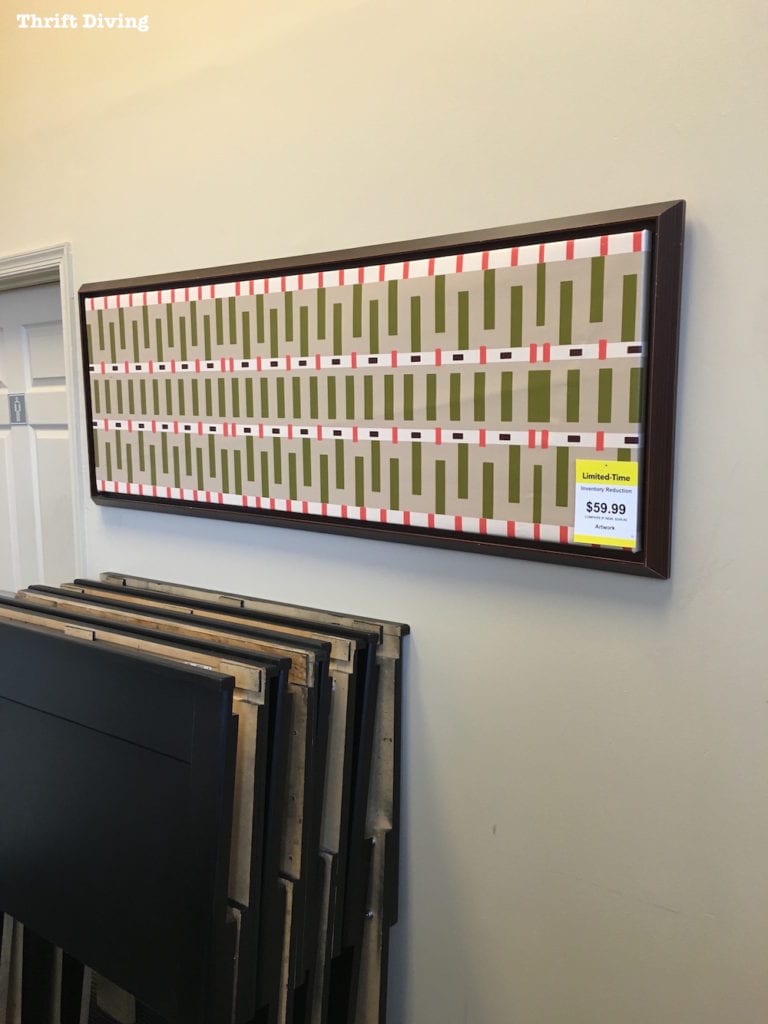
When I found this piece of wall art with a cool picture frame, I had no idea that I was going to upcycle the picture frame into a DIY coffee table with wood pallets.
CORT Clearance Center (which sells affordable, but not cheap,) discount furniture challenged me to visit one of their local stores to find something under 100 bucks and to upcycle it.
I love me a good challenge, don’t you? 😉
Most of their furniture they offer discounts for if you buy sets or “home to go” packages. But I had $100 in my pocket and needed something within that budget.

I had no idea what to expect, but you know I also love me a good upcycle project. 🙂
I had found several pieces of high-quality furniture under $100, but I wanted that something “special” that I would feel in my gut when I saw it. You know it when you see it, right??
I peeked into what looked like a storage area in the back of the store and found this oddly interesting piece of wall art hanging between the Men and Women’s bathroom. HA!
I knew instantly that this was what I was supposed to upcycle!
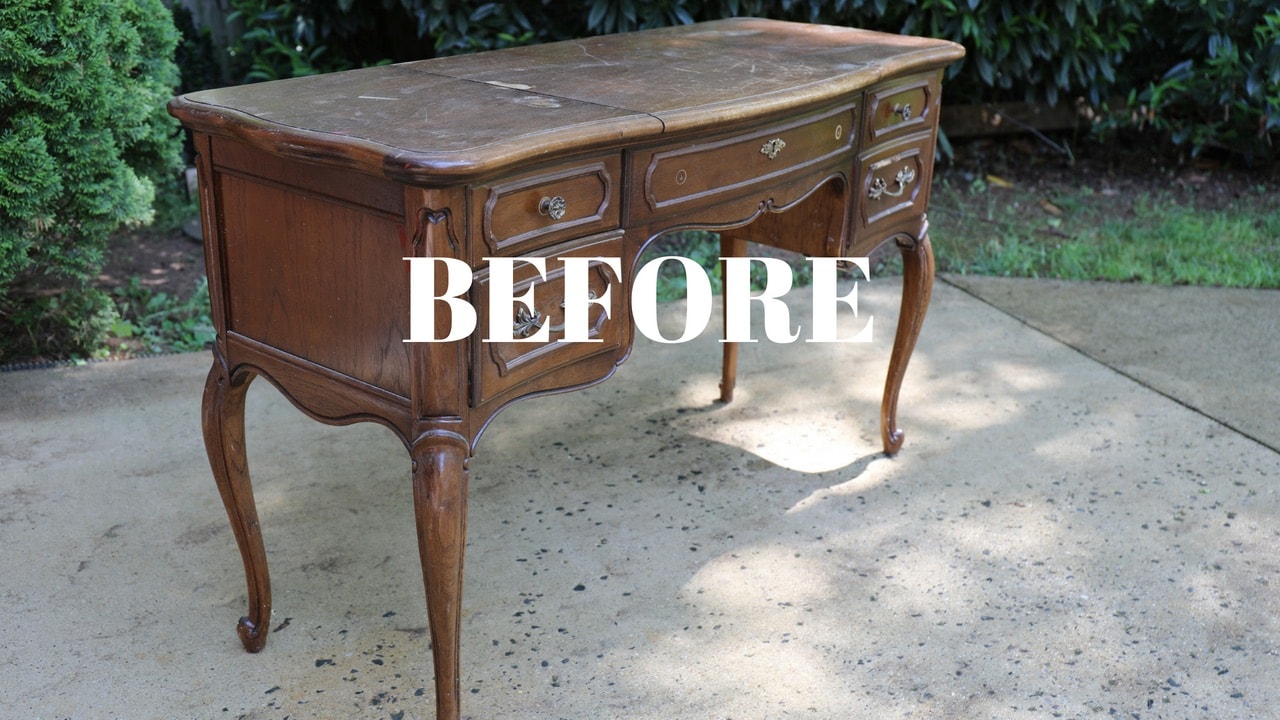
BEFORE
I didn’t know at the time what I was going to turn it into, but like every project I work on, the idea simply strikes.
I thought I would make something for the kids, then realized they’d probably not appreciate it. LOL
So I decided to make an upcycled coffee table for my reading room!
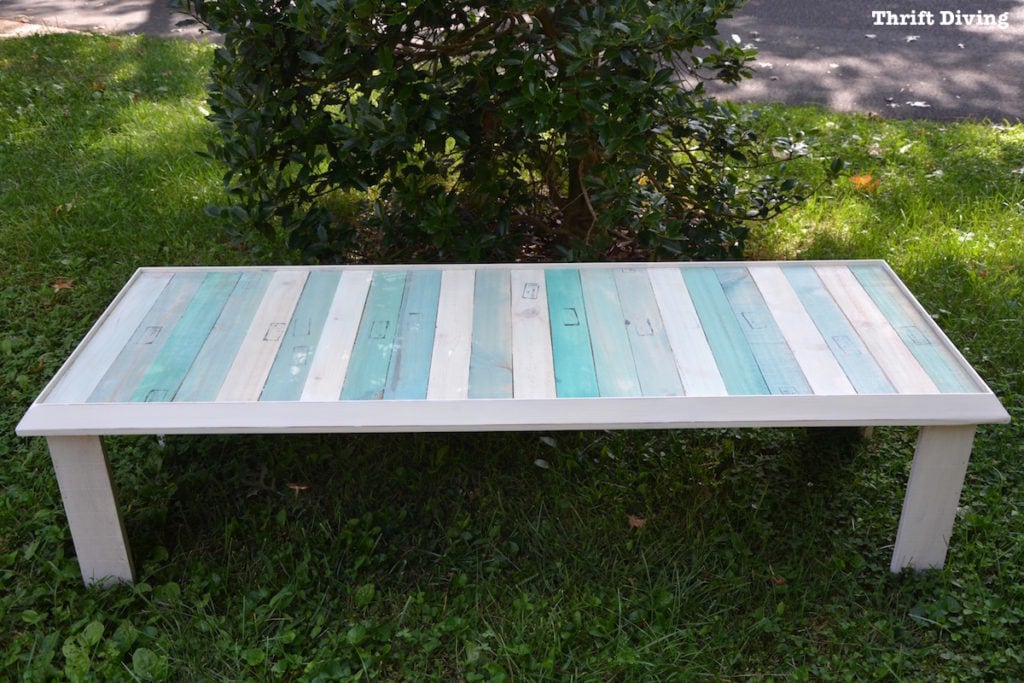
AFTER!
How I Upcycled a Picture Frame and Pallets Into a Coffee Table
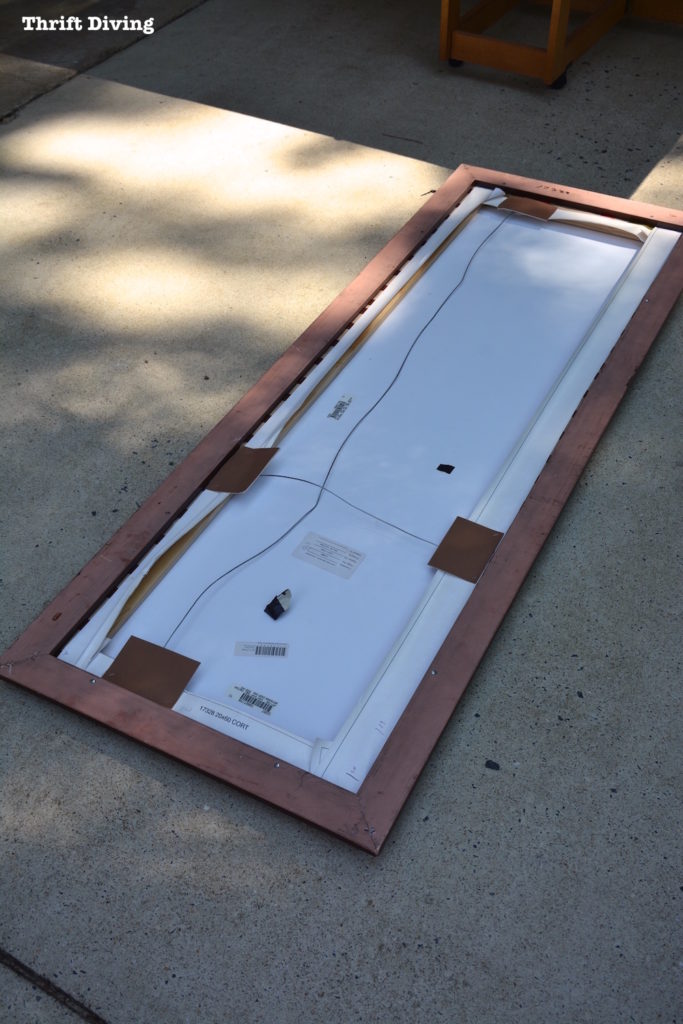
The frame is what attracted me to the art because of it’s size!
The print?–not much my style.
But this was a challenge.
And it was in good condition (CORT Certified: CORT guarantees that if any product is found to be defective within 90 days of buying it, they’ll either repair or replace it. Sweet!).
Thankfully, this piece was ready to be upcycled! No repairs to be fixed!
BEFORE

At first, I thought I was going to leave the framed art with the picture frame intact and just add legs.
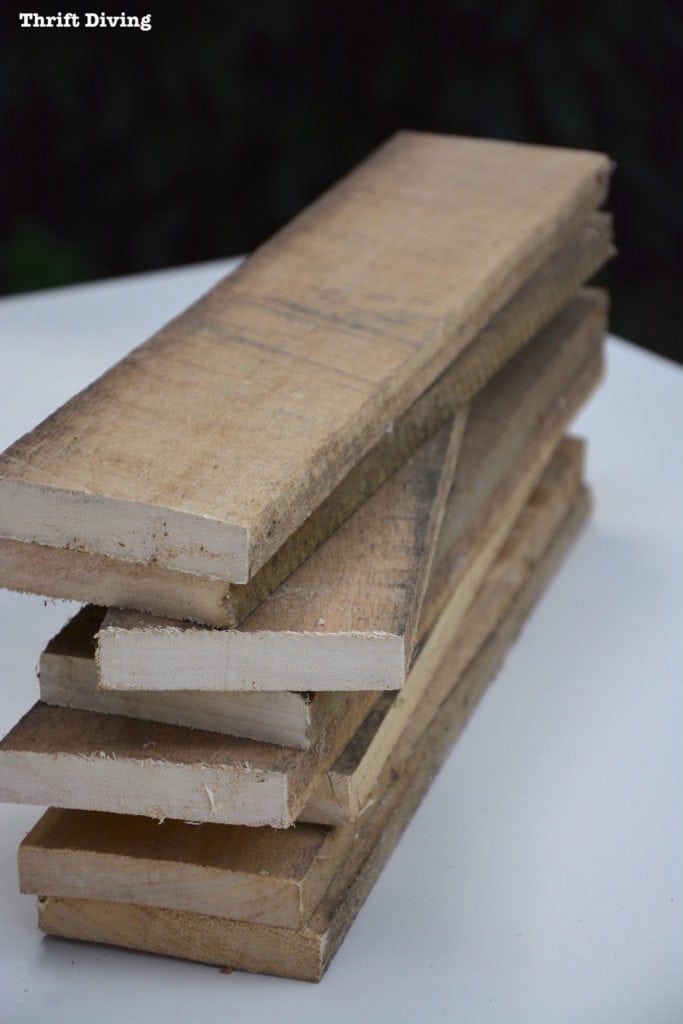
I didn’t want to go and buy wood. Thankfully, I had this old pallet wood that I salvaged a couple months ago and I knew it would come in handy for something.
It was perfect for legs, but since it was all different lengths, I was going to have to trim it down to the match!
Thank God for power tools.
Using my miter saw, I evened out the edges.
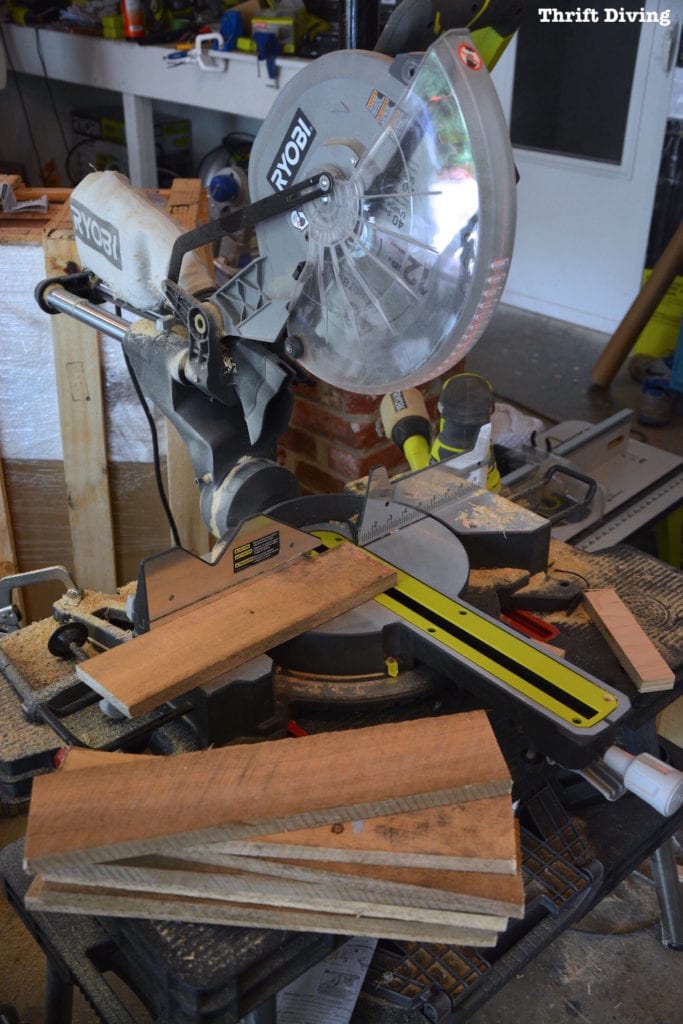
Once I evened out one side of edges…
….I had to even out the other side. Some boards were longer than others and if I was going to upcycle the pallet wood for coffee table legs, they all needed to be the same height.
I just picked the shortest board and then cut them all to match that shortest length.
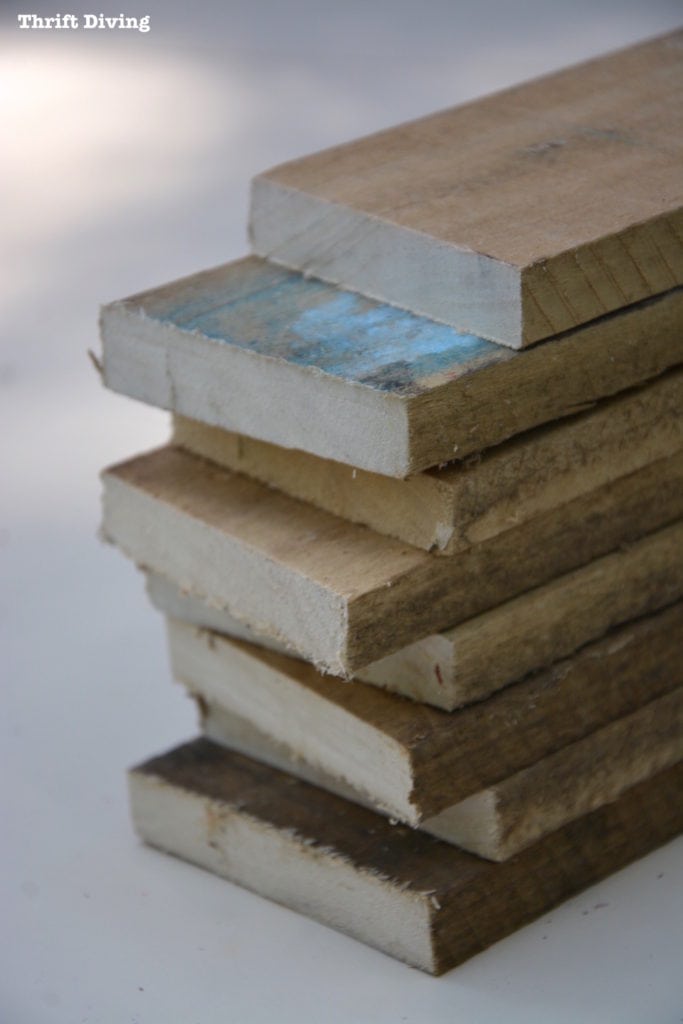
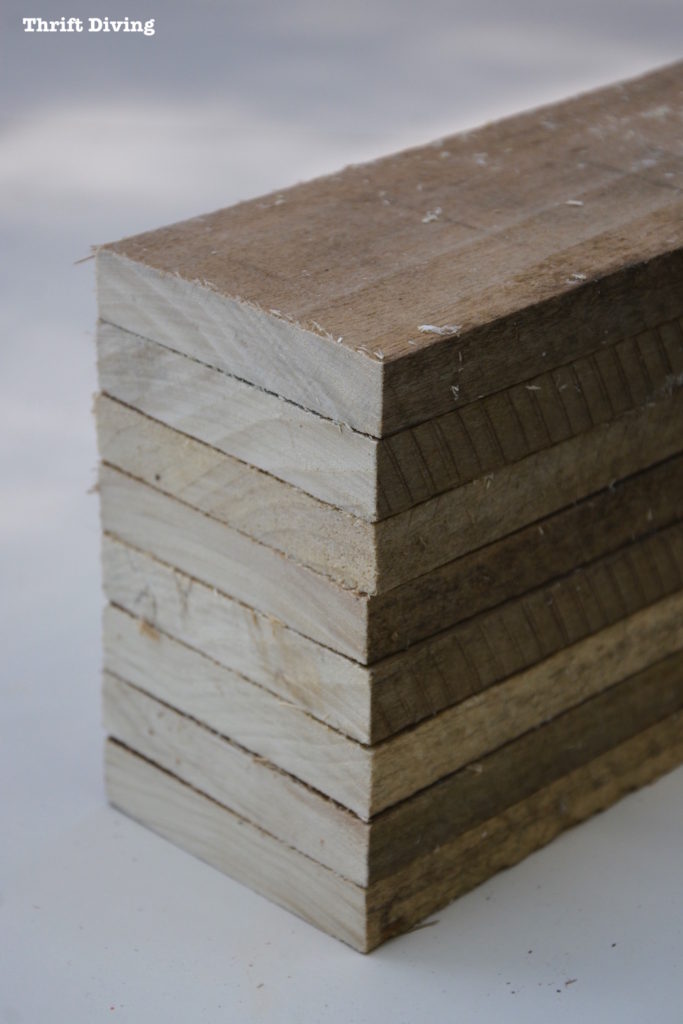
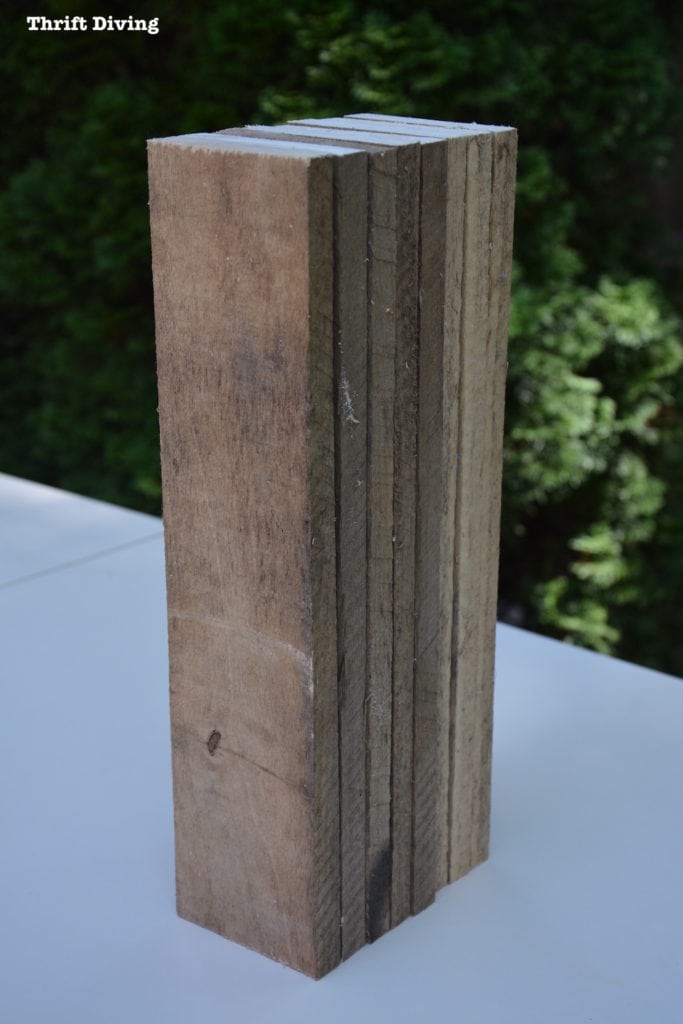
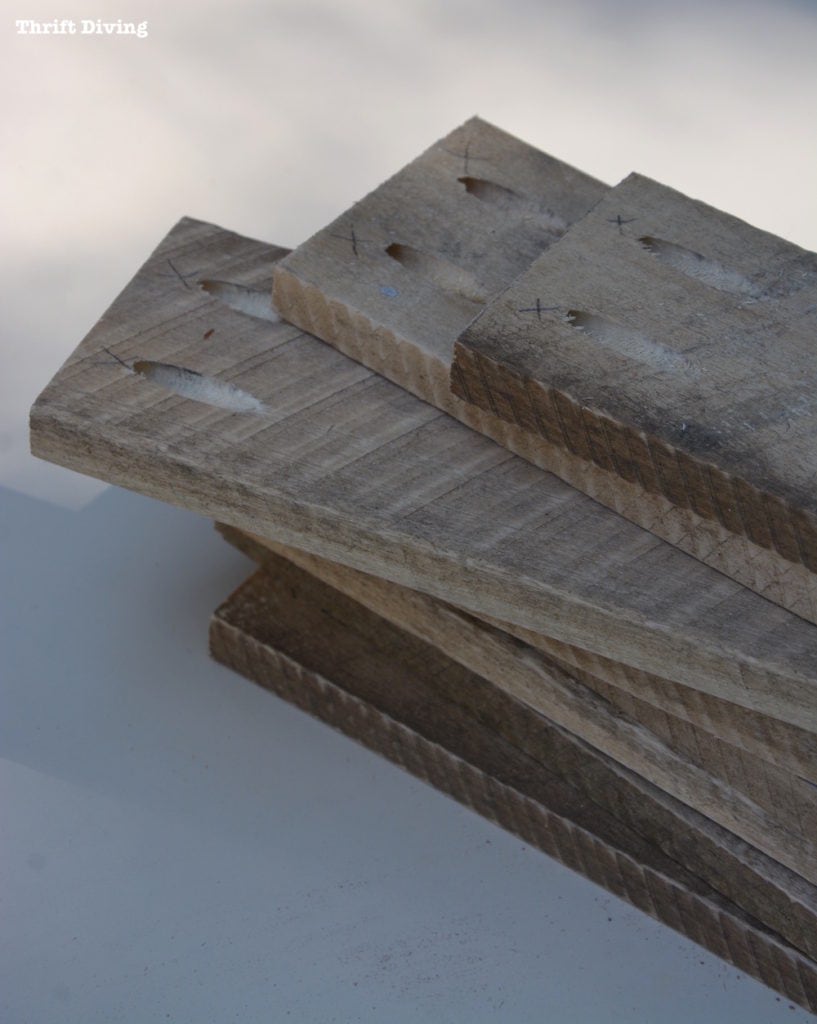
I think they ended up being just over 14″ each. Once all the cuts were made, I had 8 pieces of weathered pallet legs!
Pretty, huh?!
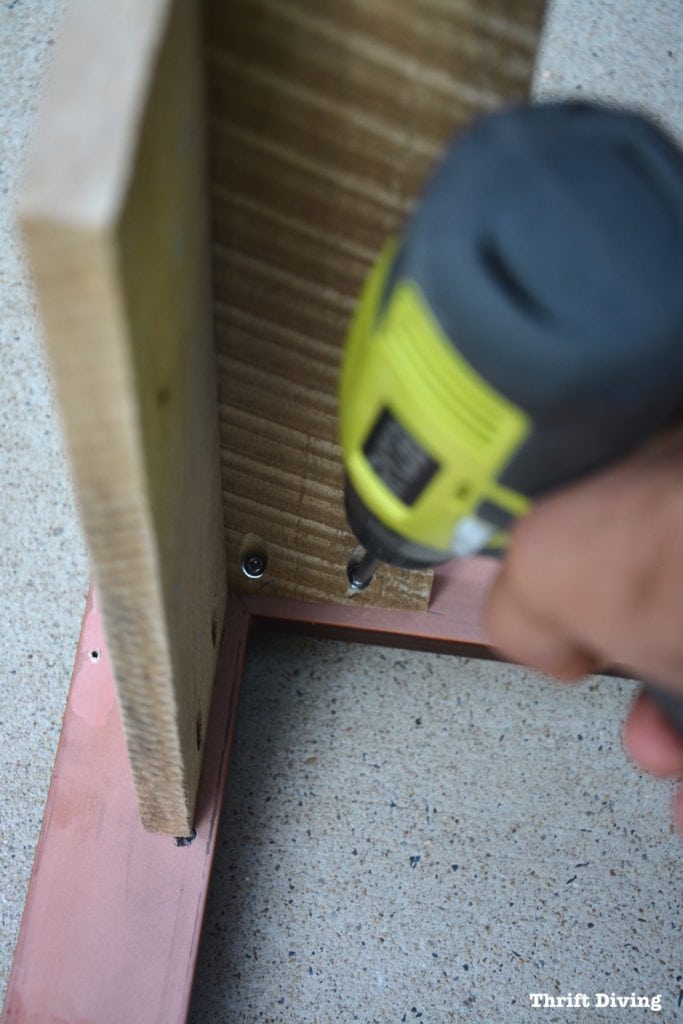
Next, in order to attach these pallet legs to the CORT Furniture picture frame, I needed to make pocket holes with my Kreg jig.
(I keep meaning to do a full tutorial on how to use this jig because, trust me, if you’re upcycling furniture, you need one of these in your life!)
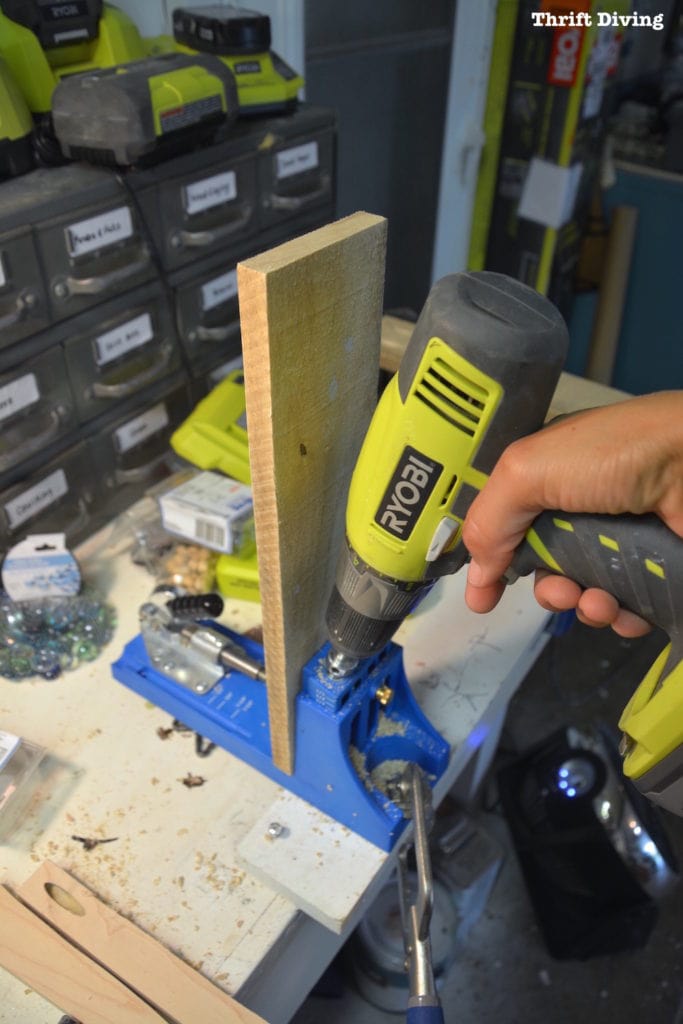
Using only a drill, it’s easy to create pocket holes on wood.
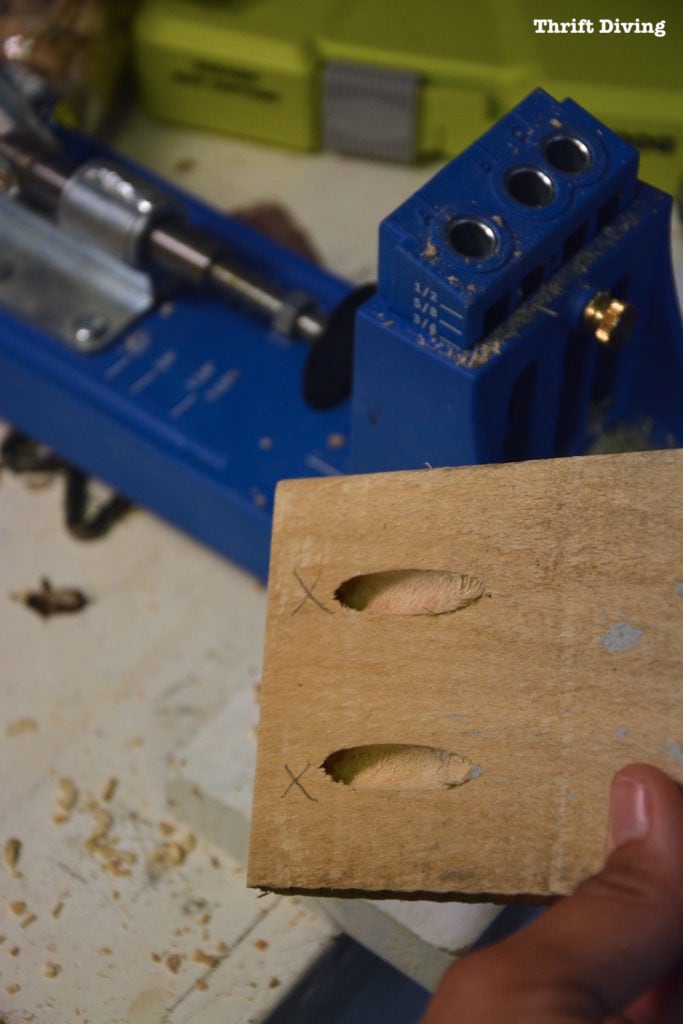
With screws inserted like this, you instantly create a strong joint between two pieces of wood!
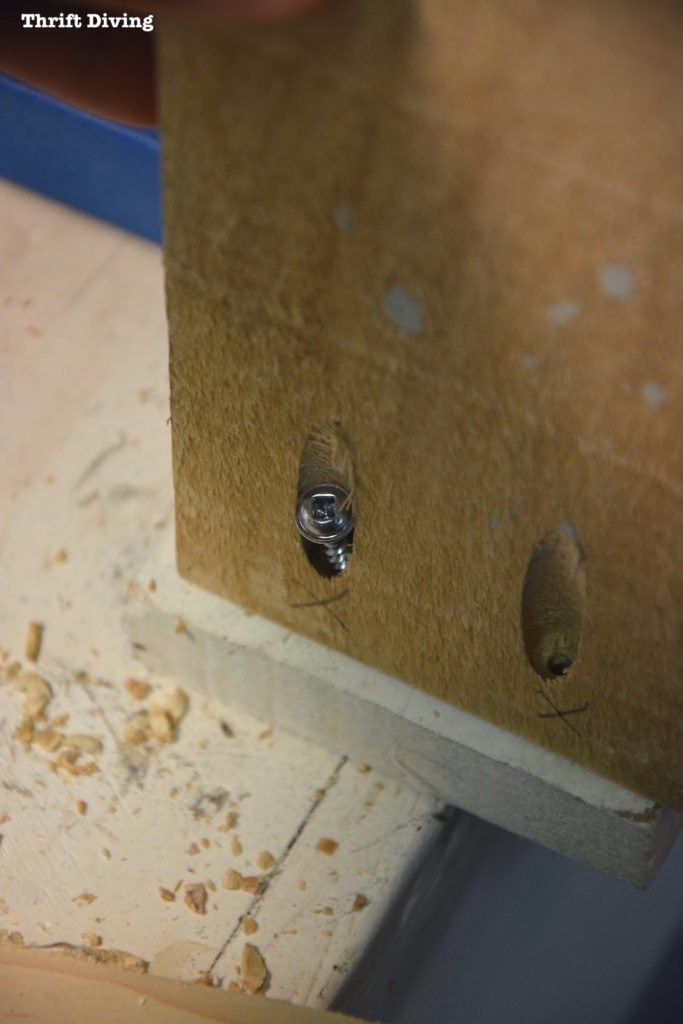
I added pocket holes to all the pallet wood legs.
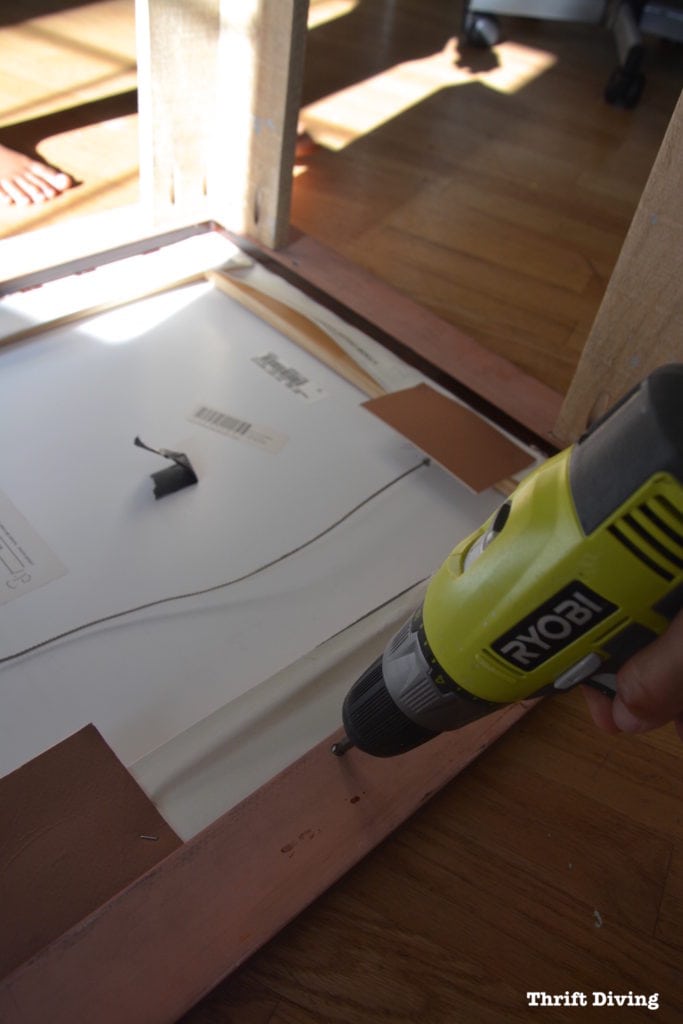
Next, I turned over the picture framed art and added pallet legs.
At first, I thought I would keep the framed art inside (later, I ended up removing it!).
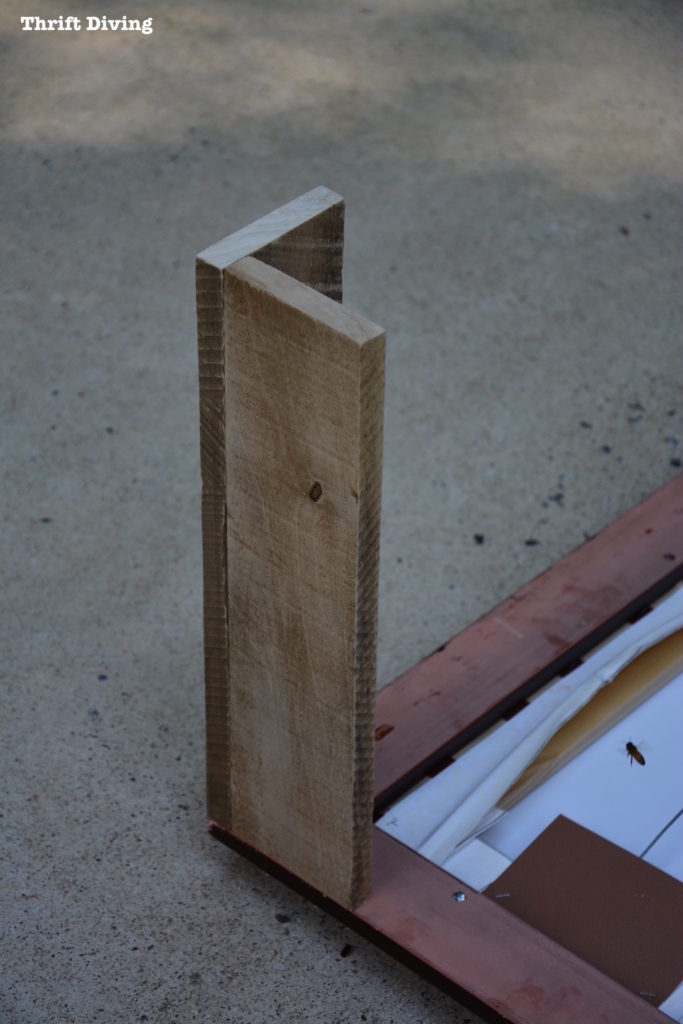
Each leg would be created by adding two pieces of pallet wood at each corner of the frame.
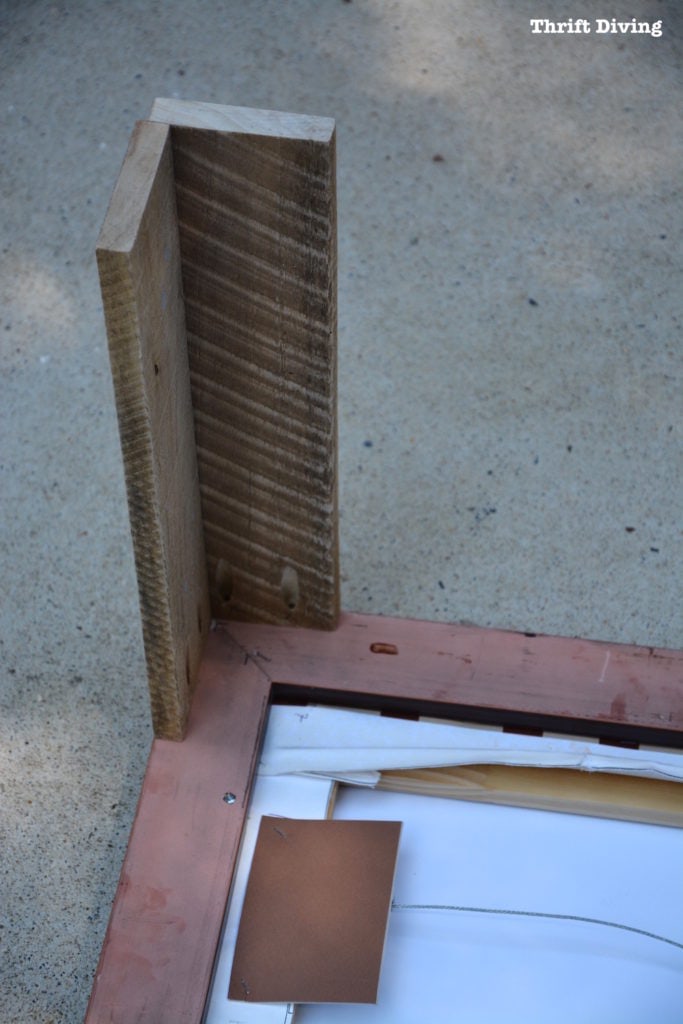
But the frame chipped when I tried to screw on legs, exposing the wooden center. Totally my fault!
I knew I’d have to move the legs in so the screws would have more to grasp onto.
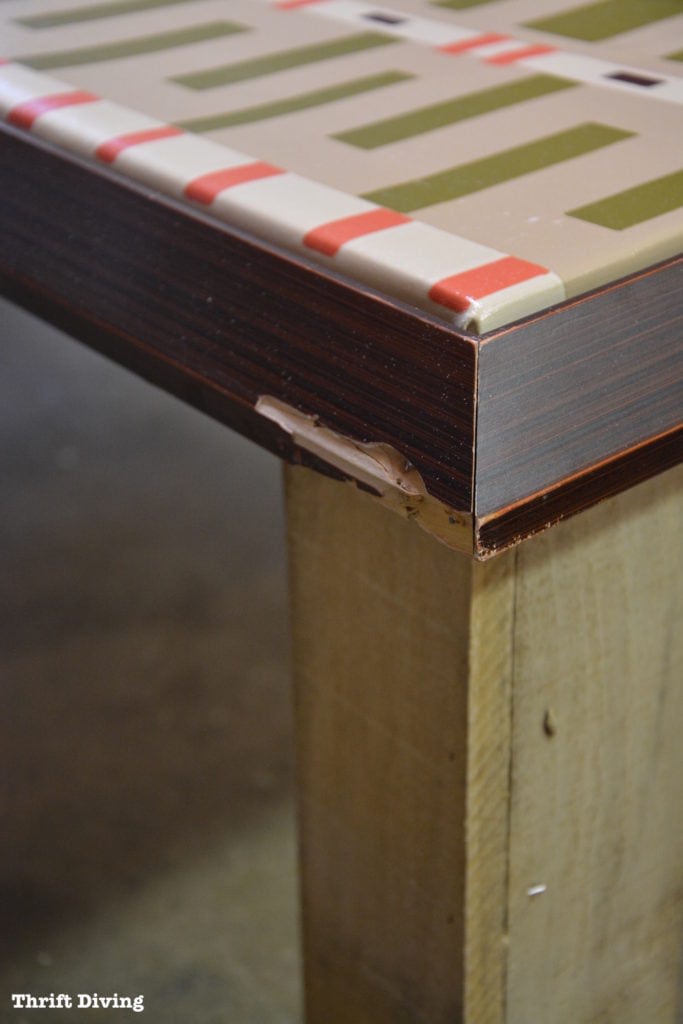
So I moved the legs in, added some wood glue first, then screwed them to the frame.
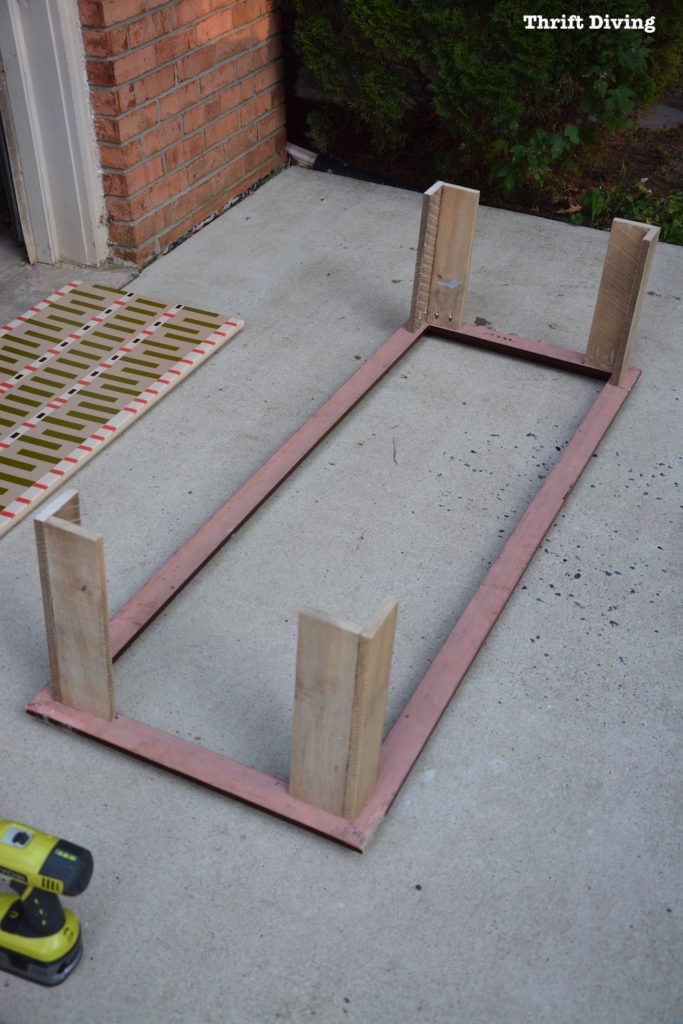
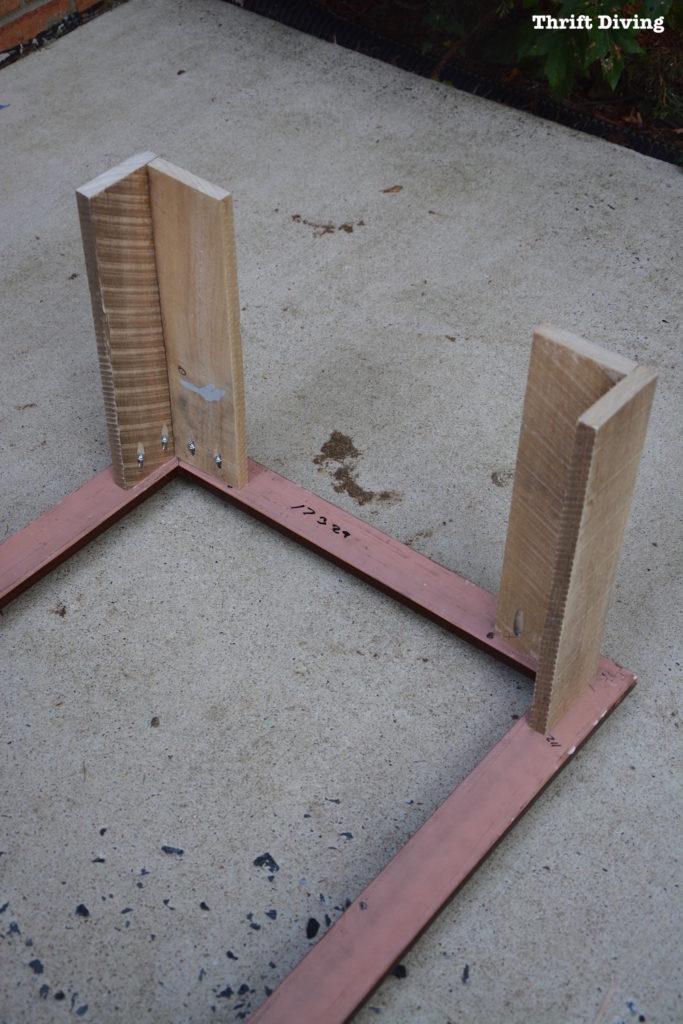
You’ll also need a nailer or a hammer and nails to secure the two boards together to create a right angle.
Yay!
Maybe this will work, after all!
Later, I realized I didn’t want the printed canvas attached, so I unscrewed it from the frame.
This is what the frame looked like with all the legs attached.
Now I had to figure out what to do for the top!
Creating an Upcycled Coffee Table Top
Here’s where this project gets even more interesting! 🙂
So this coming October I’m participating in a Style Challenge. I’m talking pumpkins…door decorations…the works! (I’m so excited about it!).
And some of those ceramic luminaire pumpkins were shipped to me like this, to protect them from breaking:
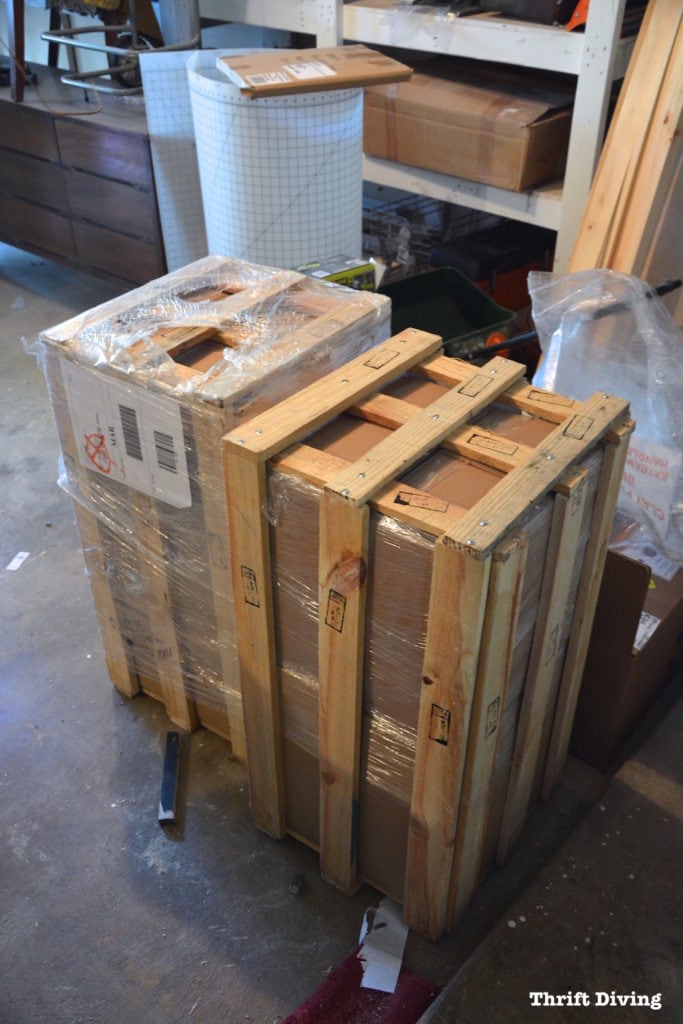
So why let this pallet wood go to waste?!
While I was working on this upcycled coffee table using a picture frame, I realized that the ledge of the picture frame was perfect for laying planks of this other pallet wood from the luminaire pumpkins!
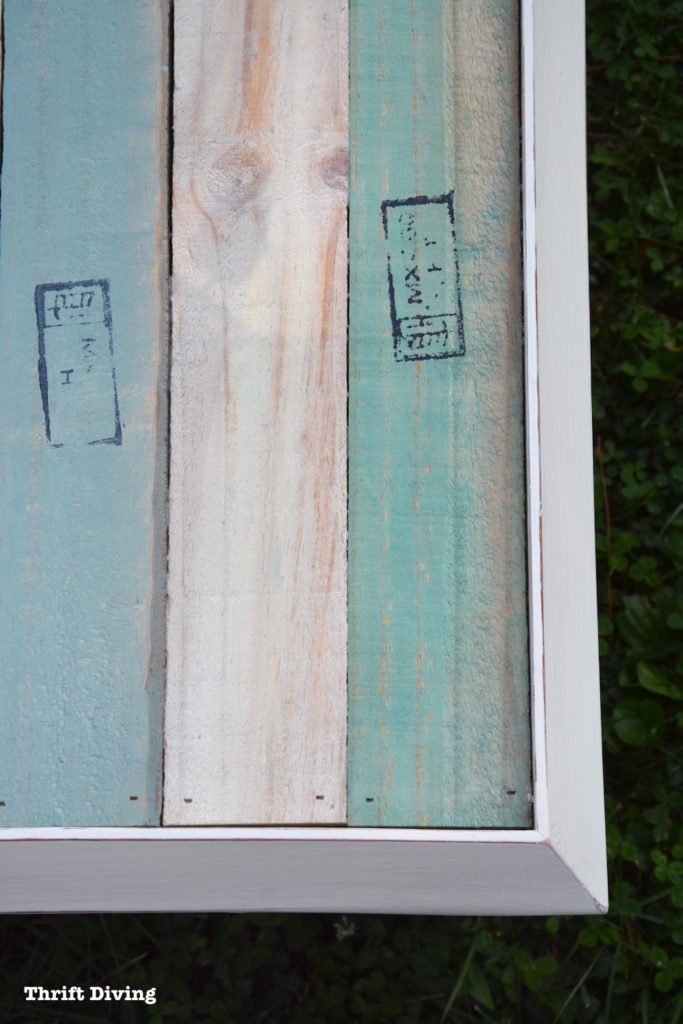
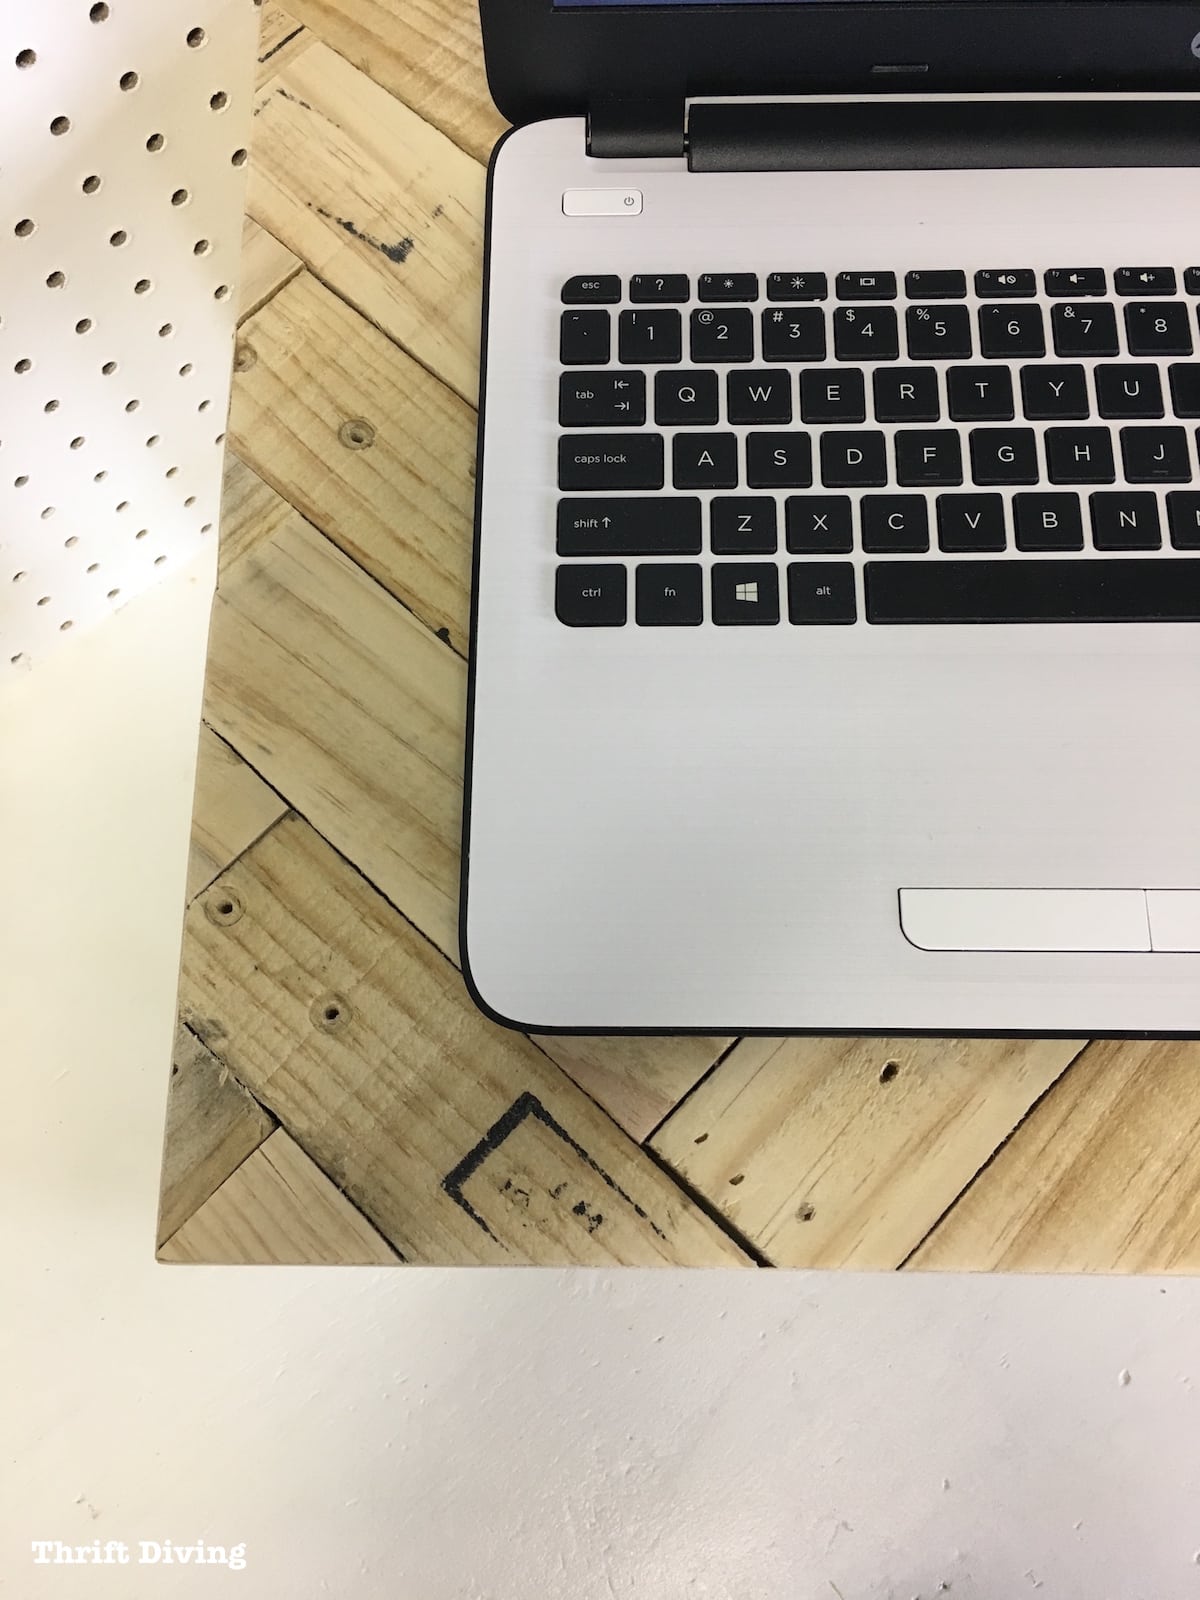
I loved that the shipping pallets have black stamps on them.
I wanted the coffee table to have a rustic look.
This was perfect!
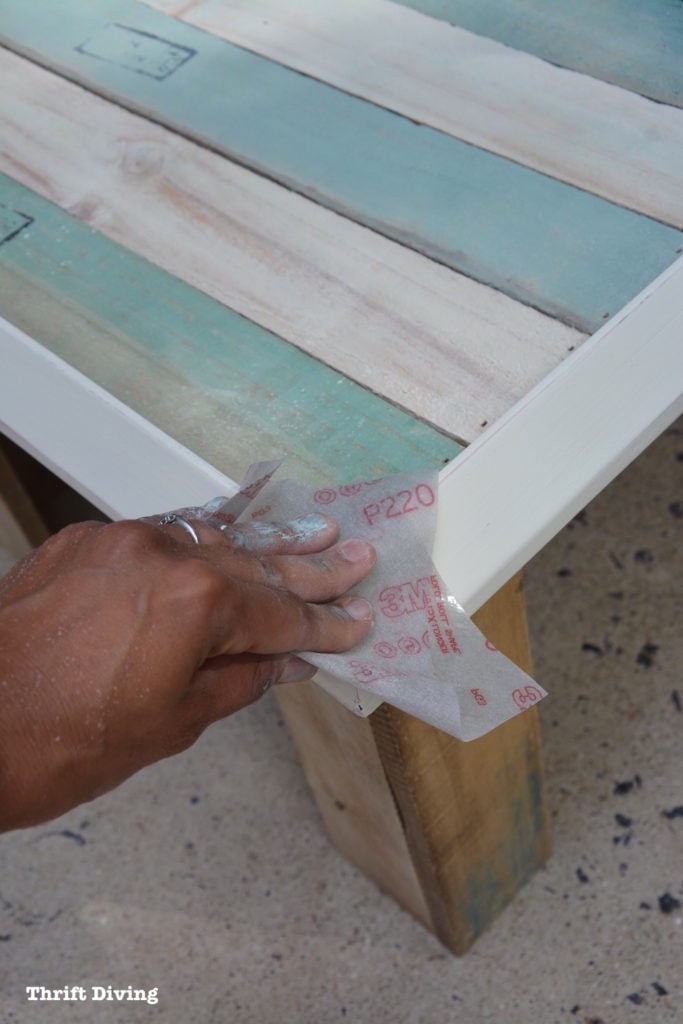
So I cut these down to size in order to fit across the top of the upcycled coffee table.
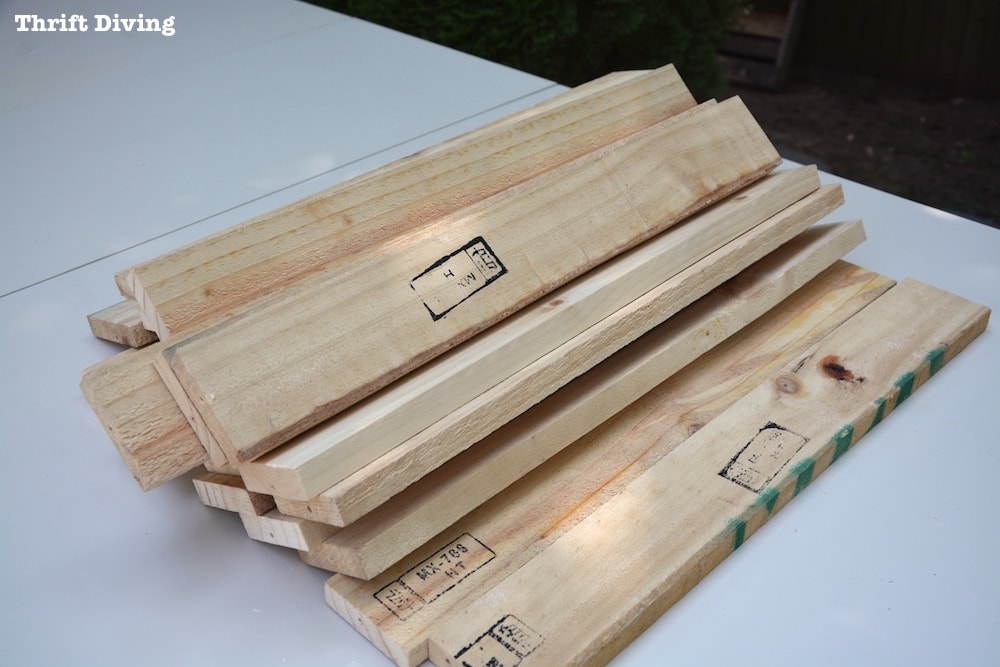
The boards fit perfectly! I was able to fit 24 across nicely. (Be sure to sand down the wood to get rid of splinters).
I had to fix the spots on the picture frame that got damaged.
Wood filler and sanding it smooth always works great.
Chalk paint is awesome so I didn’t have to prime or sand first.
I added two coats of Old White and then let it dry.

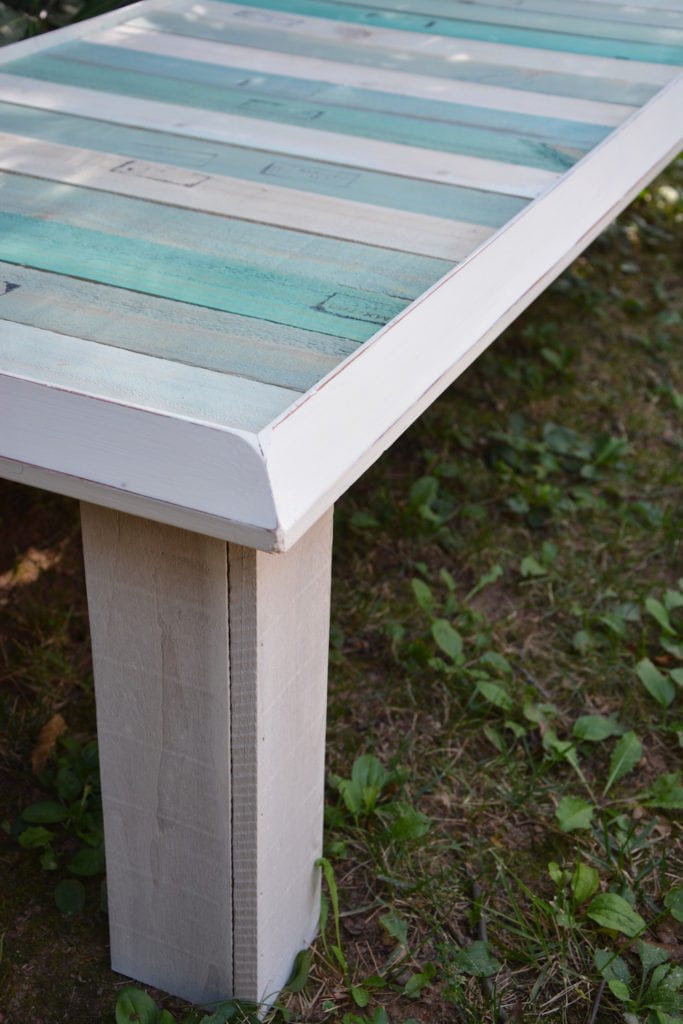
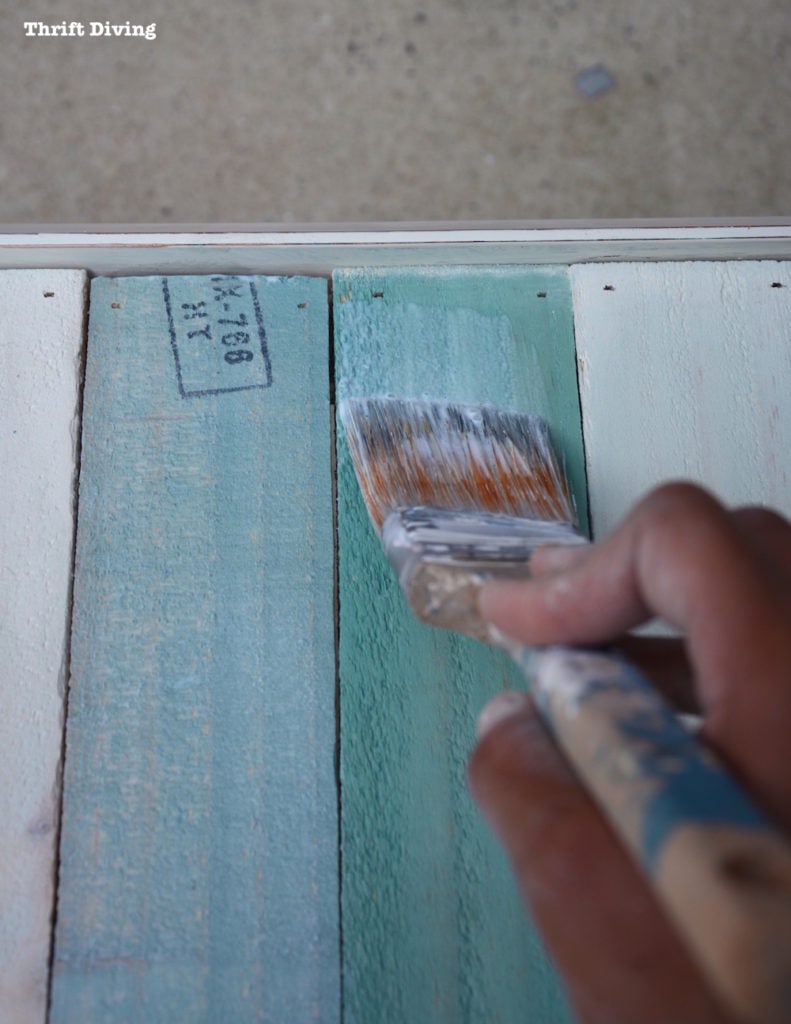
While the paint was drying, I got to work on washing the boards in shades of turquoise.
I wanted to create something really pretty on top, yet keep the rustic vibe going.
So I pulled out my favorite shades of blues, greens, and whites from my paint collection.
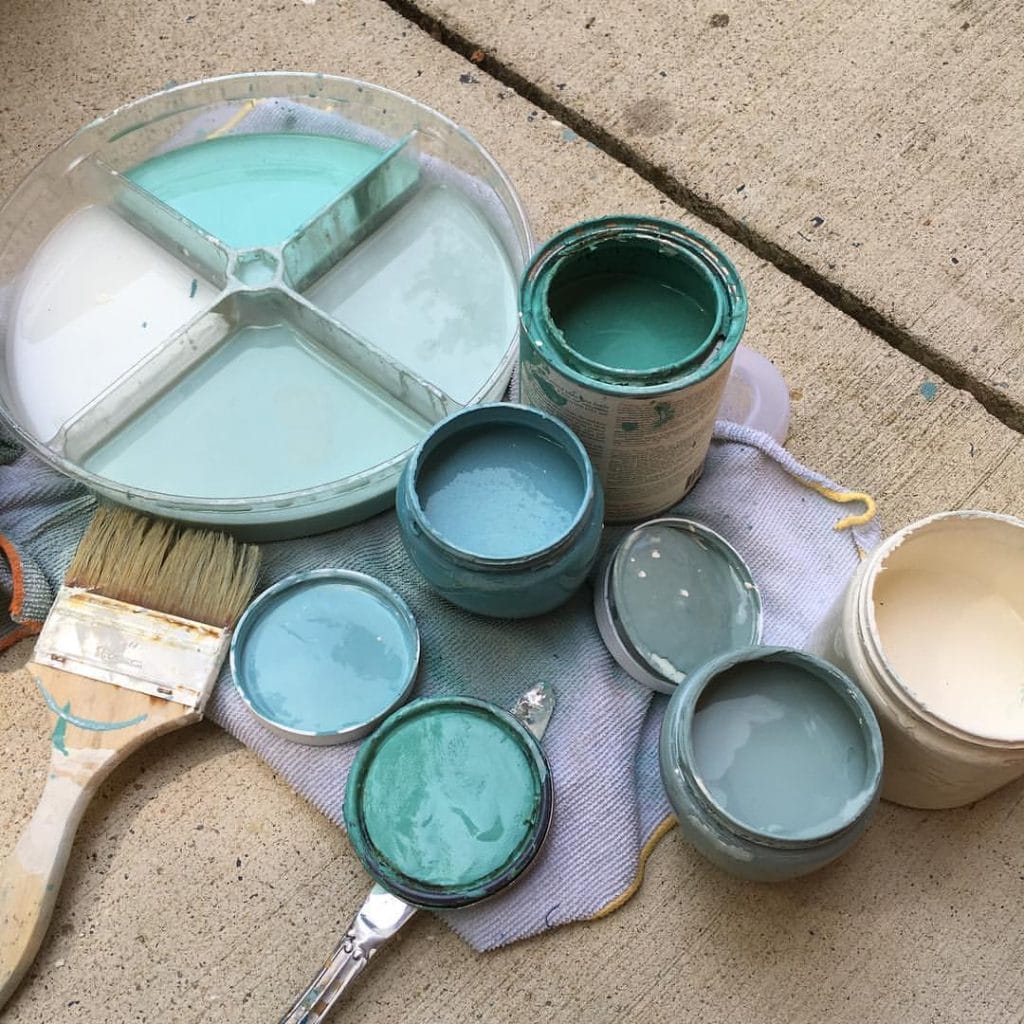
I watered down the paint a little and then used a towel to wipe off the paint immediately after applying it.
Doing this allowed me to still see the black stamp marks on the pallet wood, which is what I wanted.
I alternated colors on the boards.

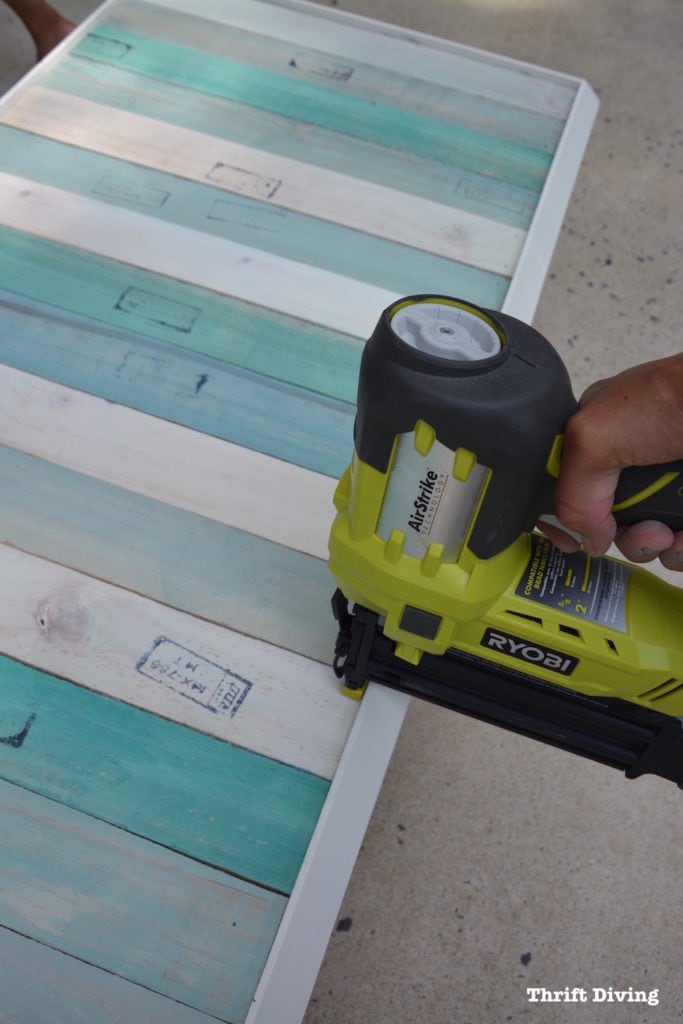
Once the boards were dry, I used my nailer to secure the boards along the edge.
Remember–the picture frame has a nice ledge on which the boards sit. Super easy to nail them in!
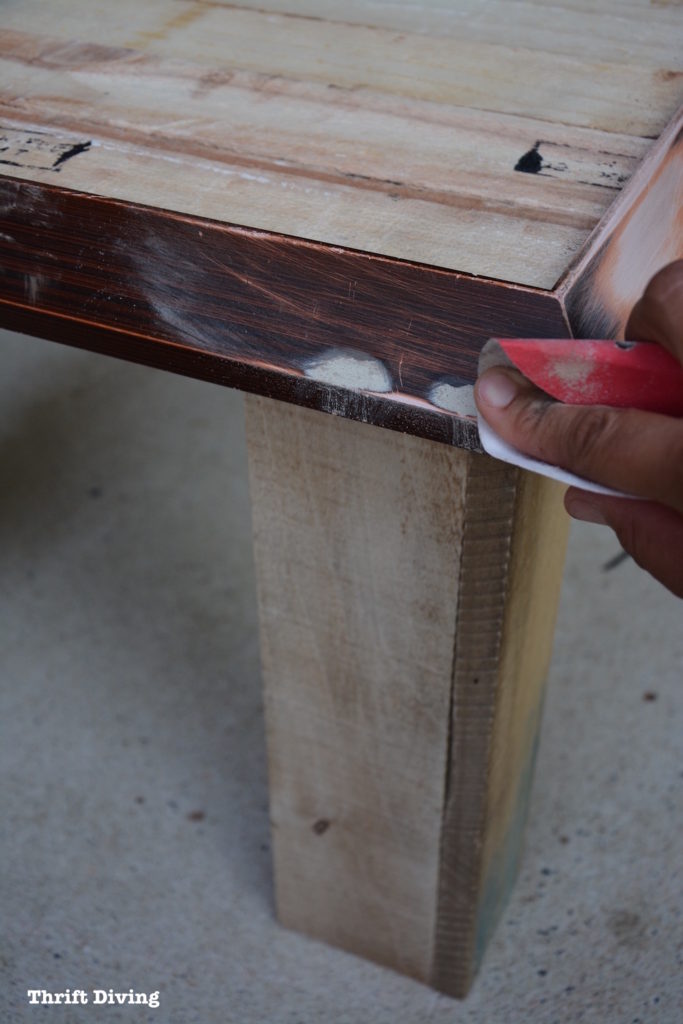
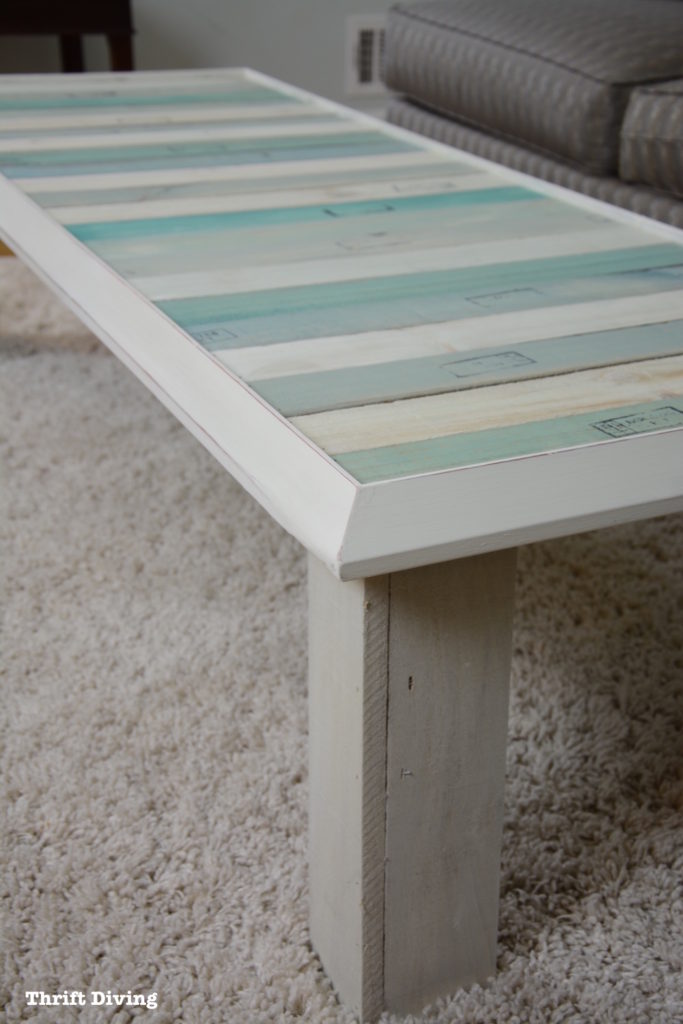
I smoothed out the CORT picture frame and distressed it a little on the edges so the dark frame would seep through.
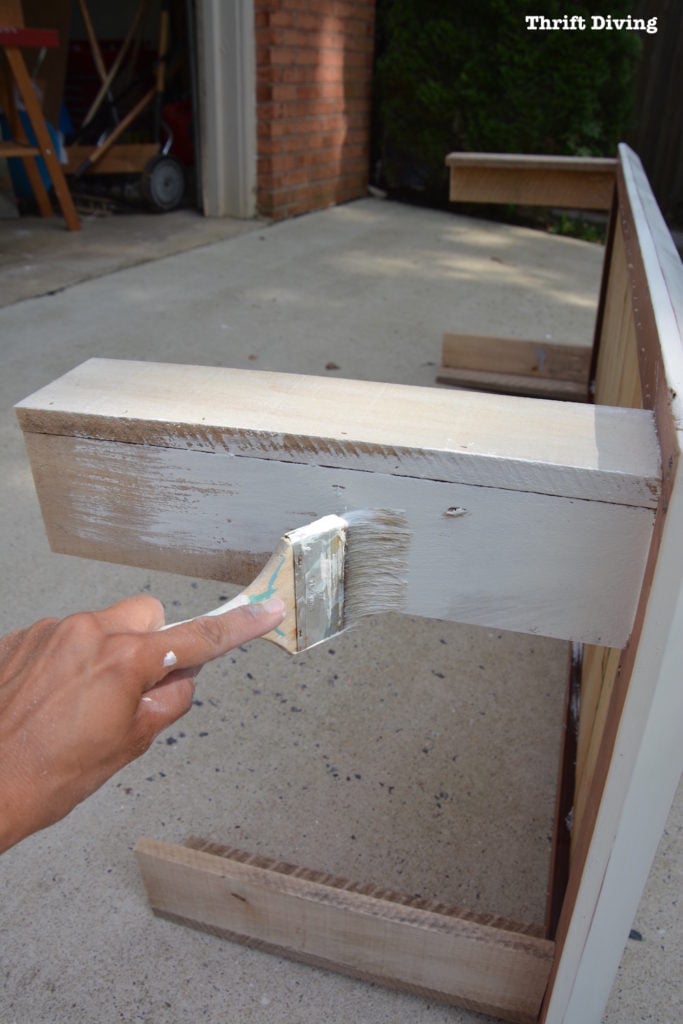
But I realized I couldn’t keep the legs like this. As much as I loved the rustic pallet wood, the legs needed to be lighter.
It just didn’t match with dark wood legs.
So I did the same whitewashing on the legs: wiped on thinned paint, and then wiped off immediately.
And for the last step, I wiped on a polyurethane that I had sitting around, to protect the top.
It goes on milky but dries clear. So don’t freak out! 😉
What Happened to the Print?
Well, you all know how I love creating new wall art out of printed canvases, right?
It’s easy to paint over them with chalk paint and then just create whatever art you want!
That’s what I did here, as well.
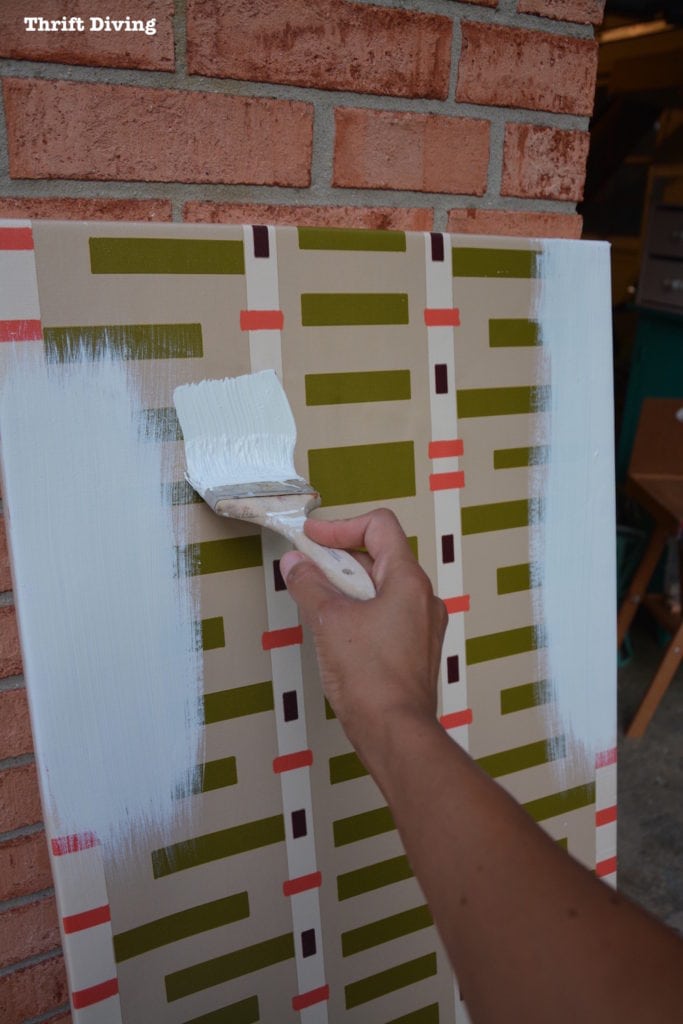
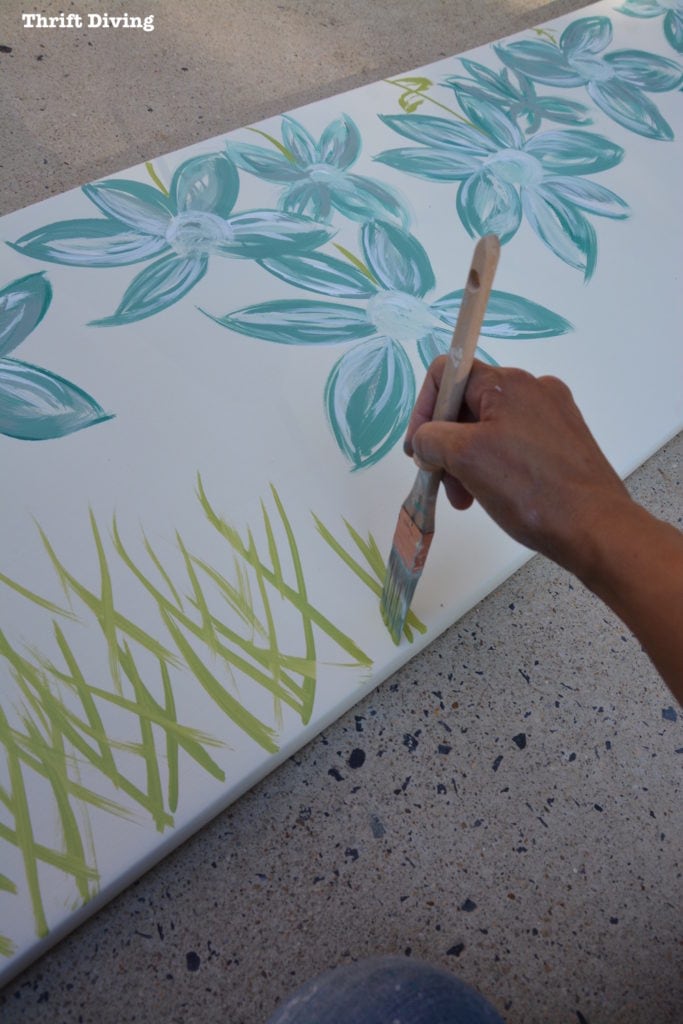
Once the canvas was white, I started free-handing some random flowers.
Neighbors walking couldn’t help but notice my creative session right there in the driveway. LOL
But I didn’t care who saw me. It was fun!

I thought it looked a little juvenile, but having my 10-year-old son tell me, “Mommy, that looks really good!” made me feel like Picasso or something. 😉
So let’s have another look at the BEFORE and AFTER!
BEFORE – As framed wall art
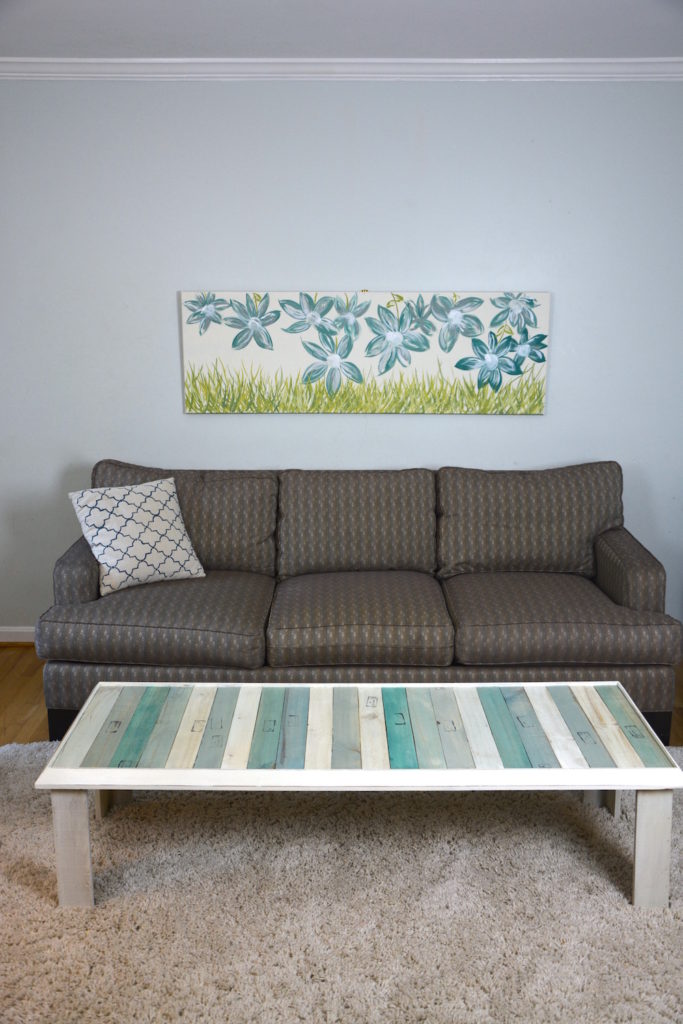
AFTER – As a coffee table!

Where Will I Put My Upcycled Coffee Table and Wall Art?
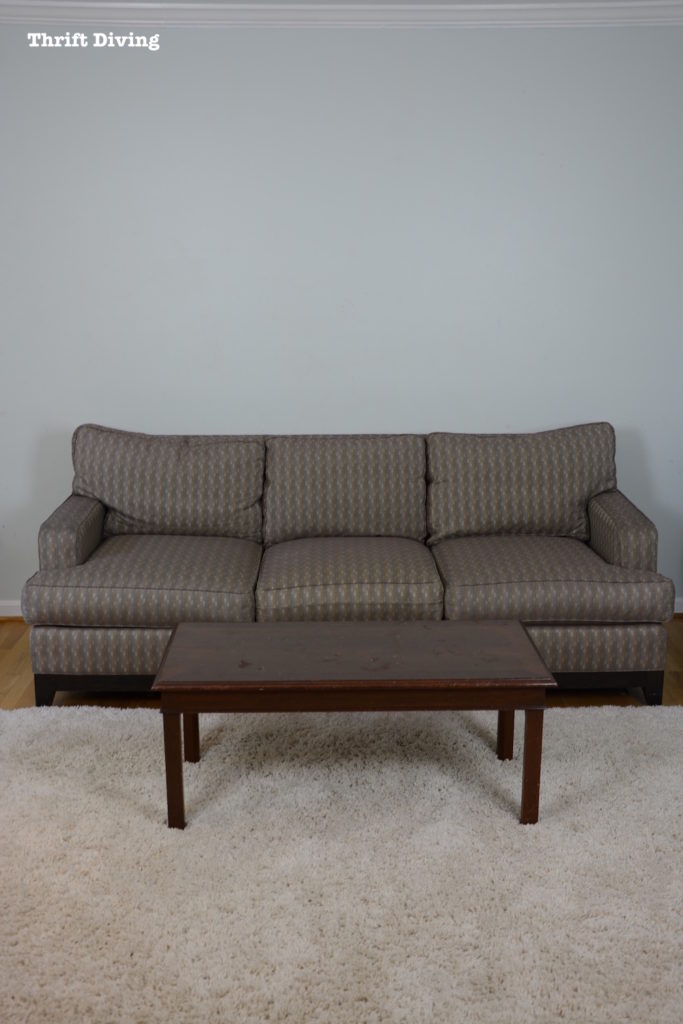
Well, we have a “formal” living room, but my oldest son has his computer in there. I consider it my “reading” room.
There’s an old Ethan Allan sofa I picked up from an estate sale several years ago that needs slipcovered, but it in great condition.
The $10 thrifted coffee table that was in there now was too small and badly scratched up.
BEFORE
IN PROGRESS!
So I’ll likely keep it the upcycled coffee table in here once I slipcover the sofa. I hate the fabric color! Too dark for my taste. LOL
But at least the upcycled coffee table is long enough!
I’ll just have to add a center support because I know the kids will be jumping off of it! 🙂
And that bad boy will crack right down the middle with the weight of three rambunctious little boys!
So what do you think?!?!
Did I pass the upcycle challenge? 😉
Be sure to check out your local clearance center to find awesome pieces for your next upcycle project or home makeover!

Link Party:
Download the 5 freebies!

Thrift Diving inspires women to decorate, improve, and maintain their home themselves...using paint, power tools, and thrift stores! Use these 5 printables, checklists, and ebooks to get started!
Oh my goodness, those turned out great! I was super impressed with just the table and then I saw the painting! I love it!
Tania
This is such a cool upcycle! The coffee table looks wonderful and I love the art work you painted over the old pictur, so beautiful!
Awww….thanks, Keri! So glad you like it! 🙂
the after is amazing !
love the after !!!! gorgeous !
Thank you, Lannie! The shades of turquoise make me smile! 🙂
What a wonderful project and in my favorite colors. Thanks for sharing at Inspiration Galore Project Pty, hope to see you next week. Pinned
Definitely, Fabiola! Thanks for allowing me to share! Thanks for pinning my project, too. I appreciate it!
Very COOL idea!
Love it
Thanks, Carole! So glad you liked my project!
Love the table & the picture! Awesome!!!!!
Thank you, Christine! 🙂