• Home
  • Subscribe
  • YouTube
  • Blog
  • Media
  • Privacy Policy
  • Contact

Thrift Diving Blog

  • About
    • New? Start Here
  • Project Gallery
  • DIY
    • Build It
    • Home Improvement
    • Tips & Tools
    • Productivity
    • Outdoors
  • Thrift Talk
    • Thrift Hauls
    • Thrift Tips
    • Thrifted Clothing
  • Resources
  • Shop

Enter your first name and email and I'll send you 5 DIY freebies! :)

You are here: Home / Room Makeovers / Bedrooms / A 1973 Master Bedroom in Progress

A 1973 Master Bedroom in Progress

Filed Under: Bedrooms | 17 Comments

Love this post? Share it! :)

1shares
  • Share
  • Tweet

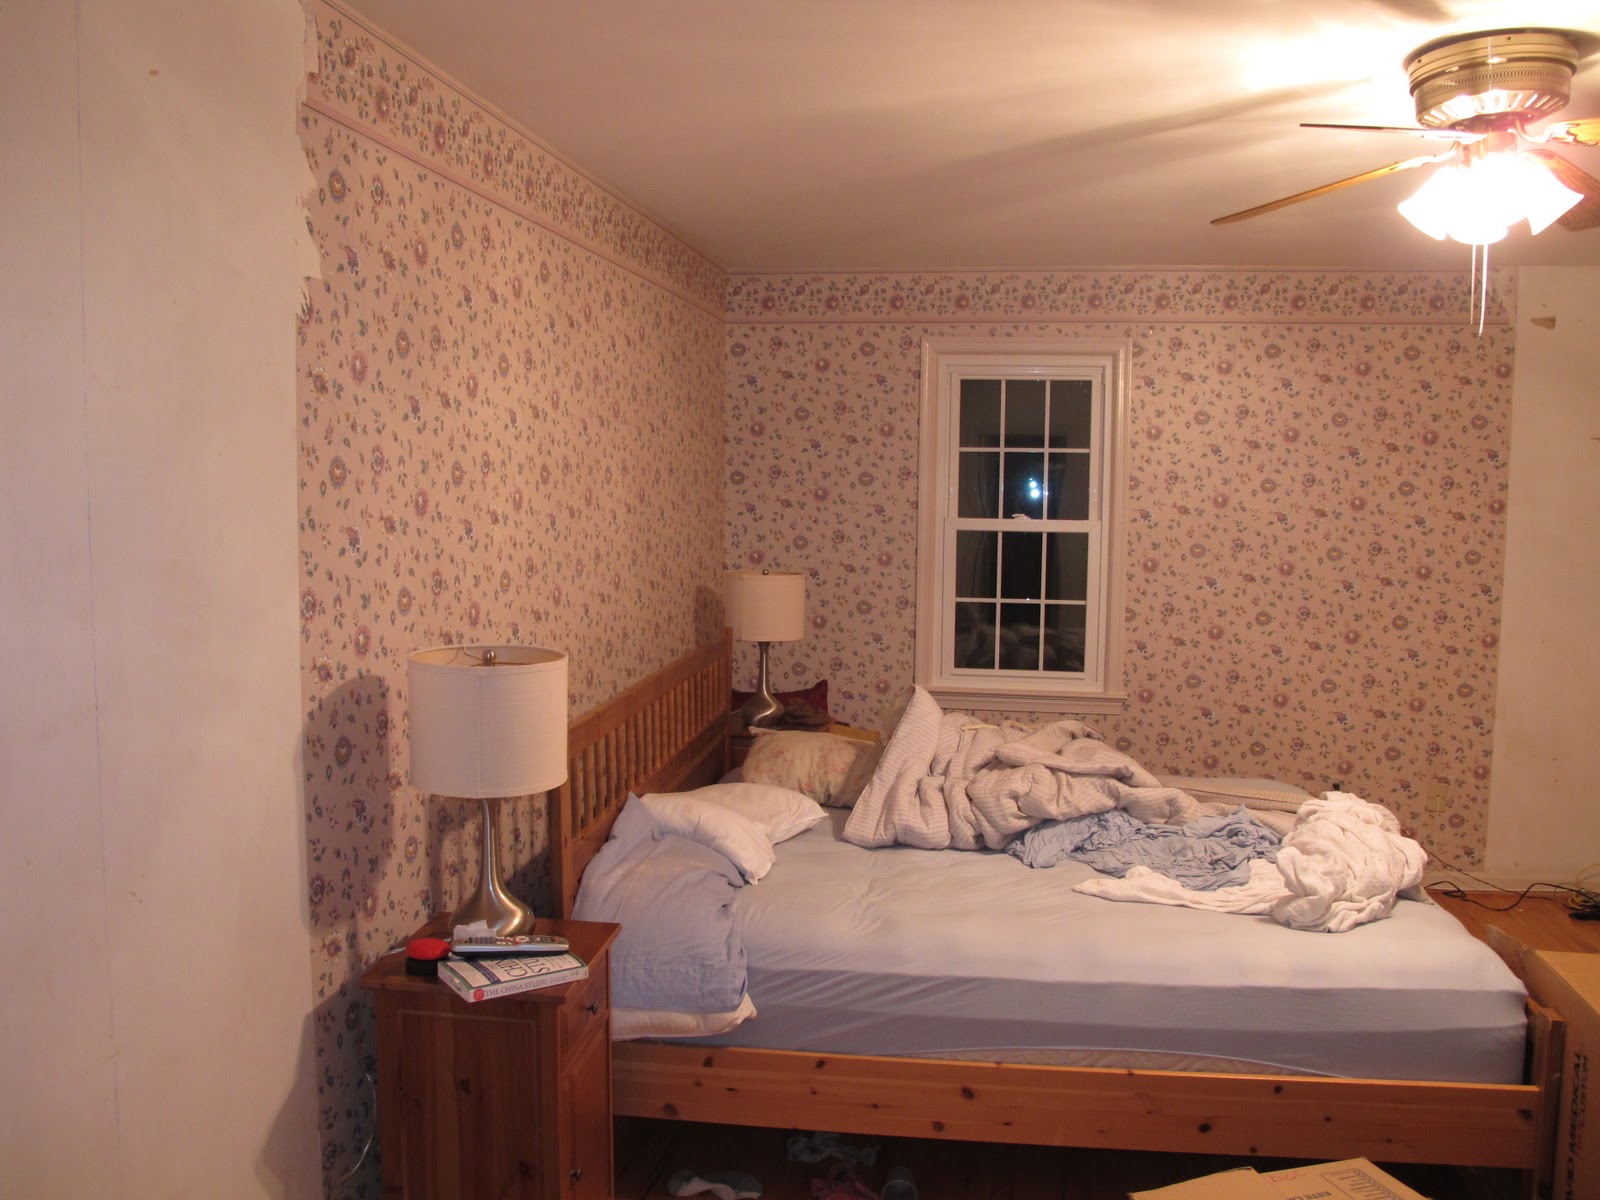
It’s funny how I look back at the “before” pics of my house and see what we started from. I honestly don’t know what it was about this house that made me gasp, “I’ve got to have it!” But I know it wasn’t these pink 70’s drapes!

But somehow, this is the house we chose. It seemed soooo spacious compared to the 2-BR condo we were moving from, and I didn’t let a “little” wallpaper scare me. NOW, of course, if I were to see my house in its original condition, and I had to re-buy it again, I’d probably run away. Far, far away. And I wouldn’t look back. HA!

Then again, this blog wouldn’t be what it is now if it weren’t for this house.

So sometimes nightmares are blessings in disguise, right?? 😉

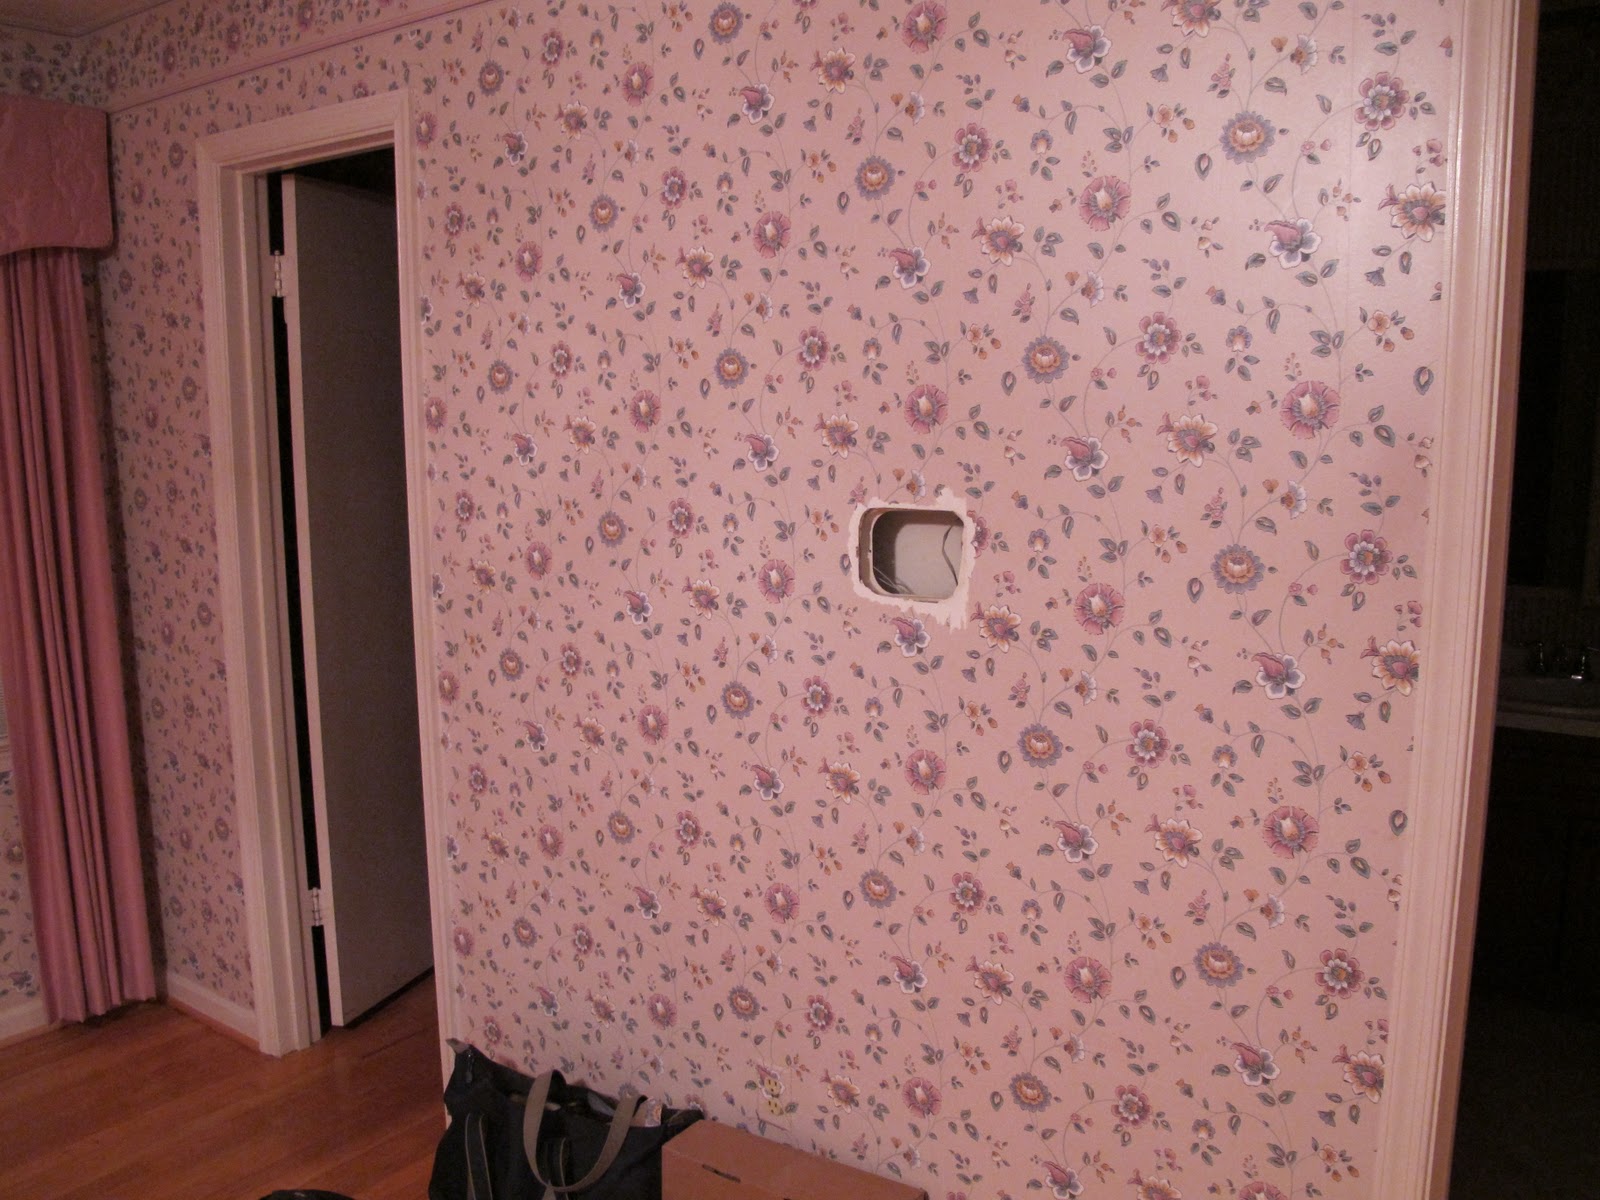
This is how it looked in its before state:

BEFORE

And now, it’s looking much better, but honestly, it doesn’t even look like this. I had stripped the wallpaper off, painted it in ultimate favorite Sherwin Williams Rainwashed, and put up some cheapie Ikea drapes that don’t even touch the floor (faux pax).
Even so, it’s full of sunlight, feels great from a minimalist point of-view, and is pretty spacious!
It doesn’t even look that pretty anymore, though. It actually looks much more bare. I’ve since sold that vintage chair you see, and I haven’t quite figured out what I want to do with that awesome wood table. I do still have the pics and flower vase on the wall. But my bedroom is pretty much vast space.
We’re going to be starting up my 30-Day Room Makeover Challenge in January (you should totally JOIN!), and I can’t decide if I am going to do my bedroom or my family room.
But this pic here, with the exception of a few wall furnishings, this is what my bedroom looks like RIGHT NOW:
 I apologize for the small pics. But I took many of these pics before I even knew I would be blogging about the house. 🙂 I was just trying to document the absolute craziness of what we were dealing with. LOL

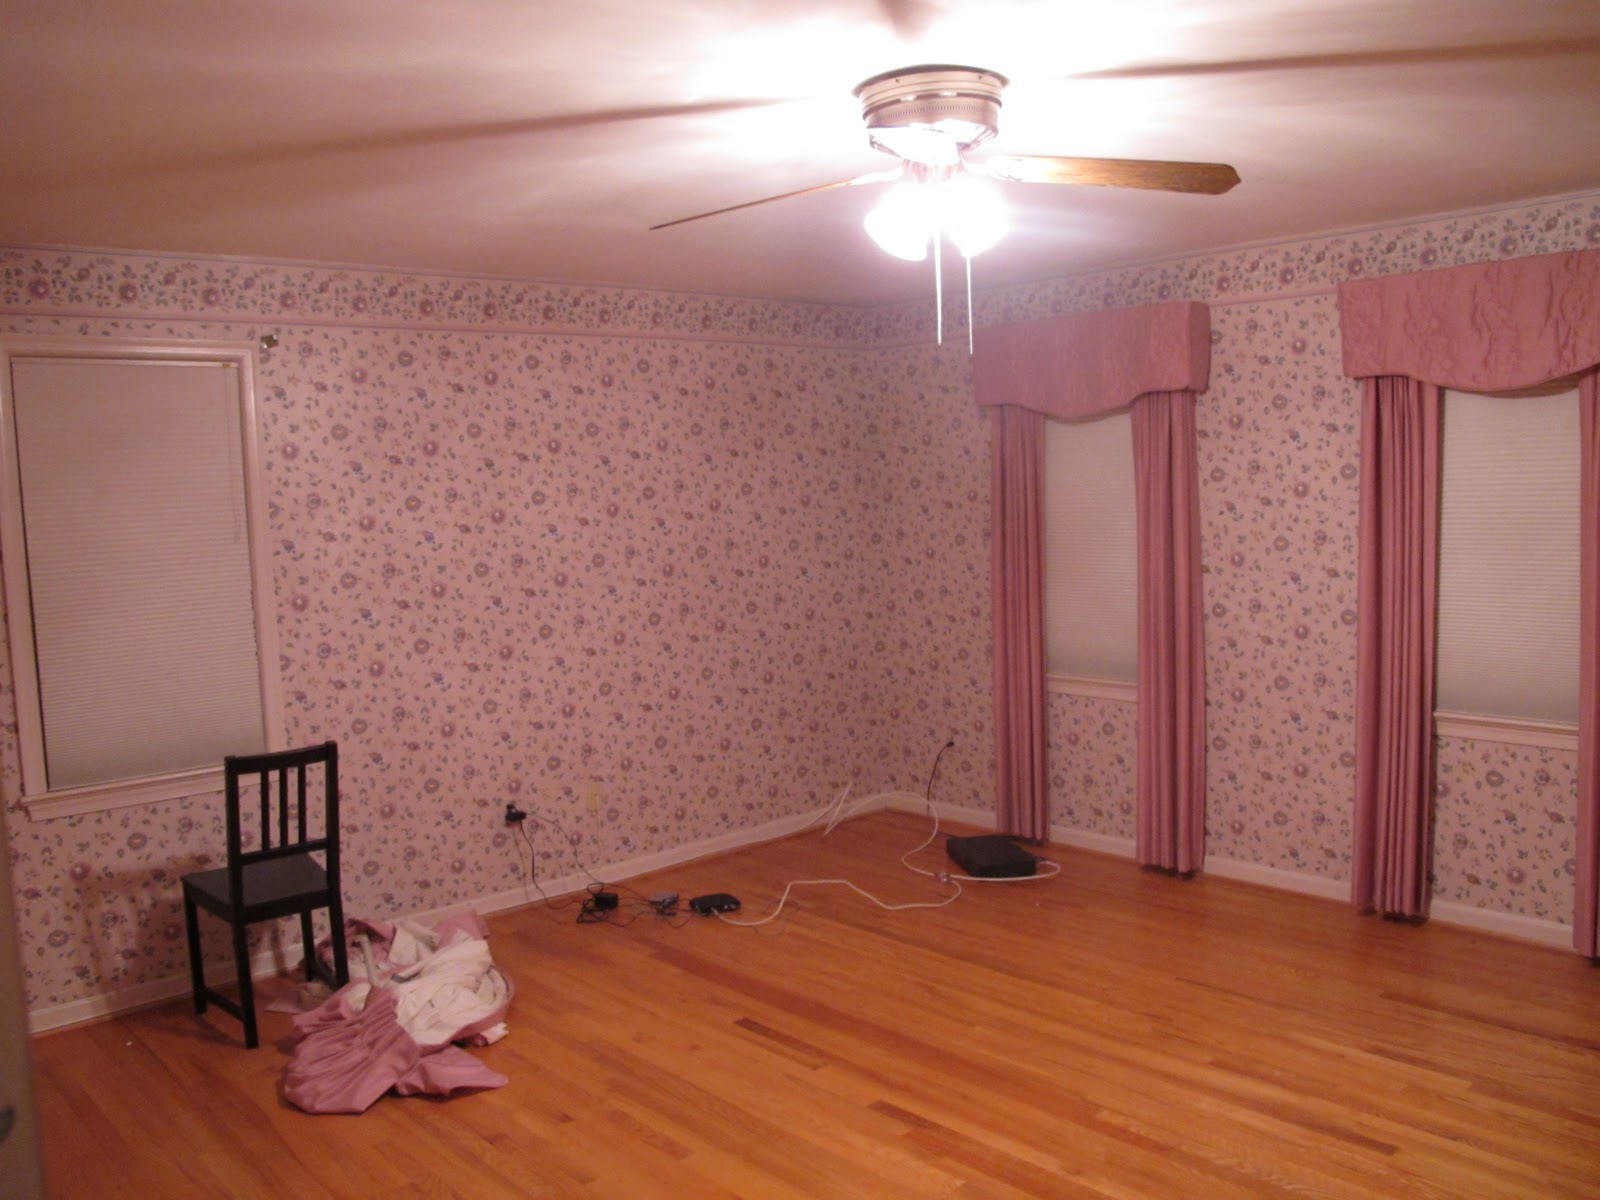
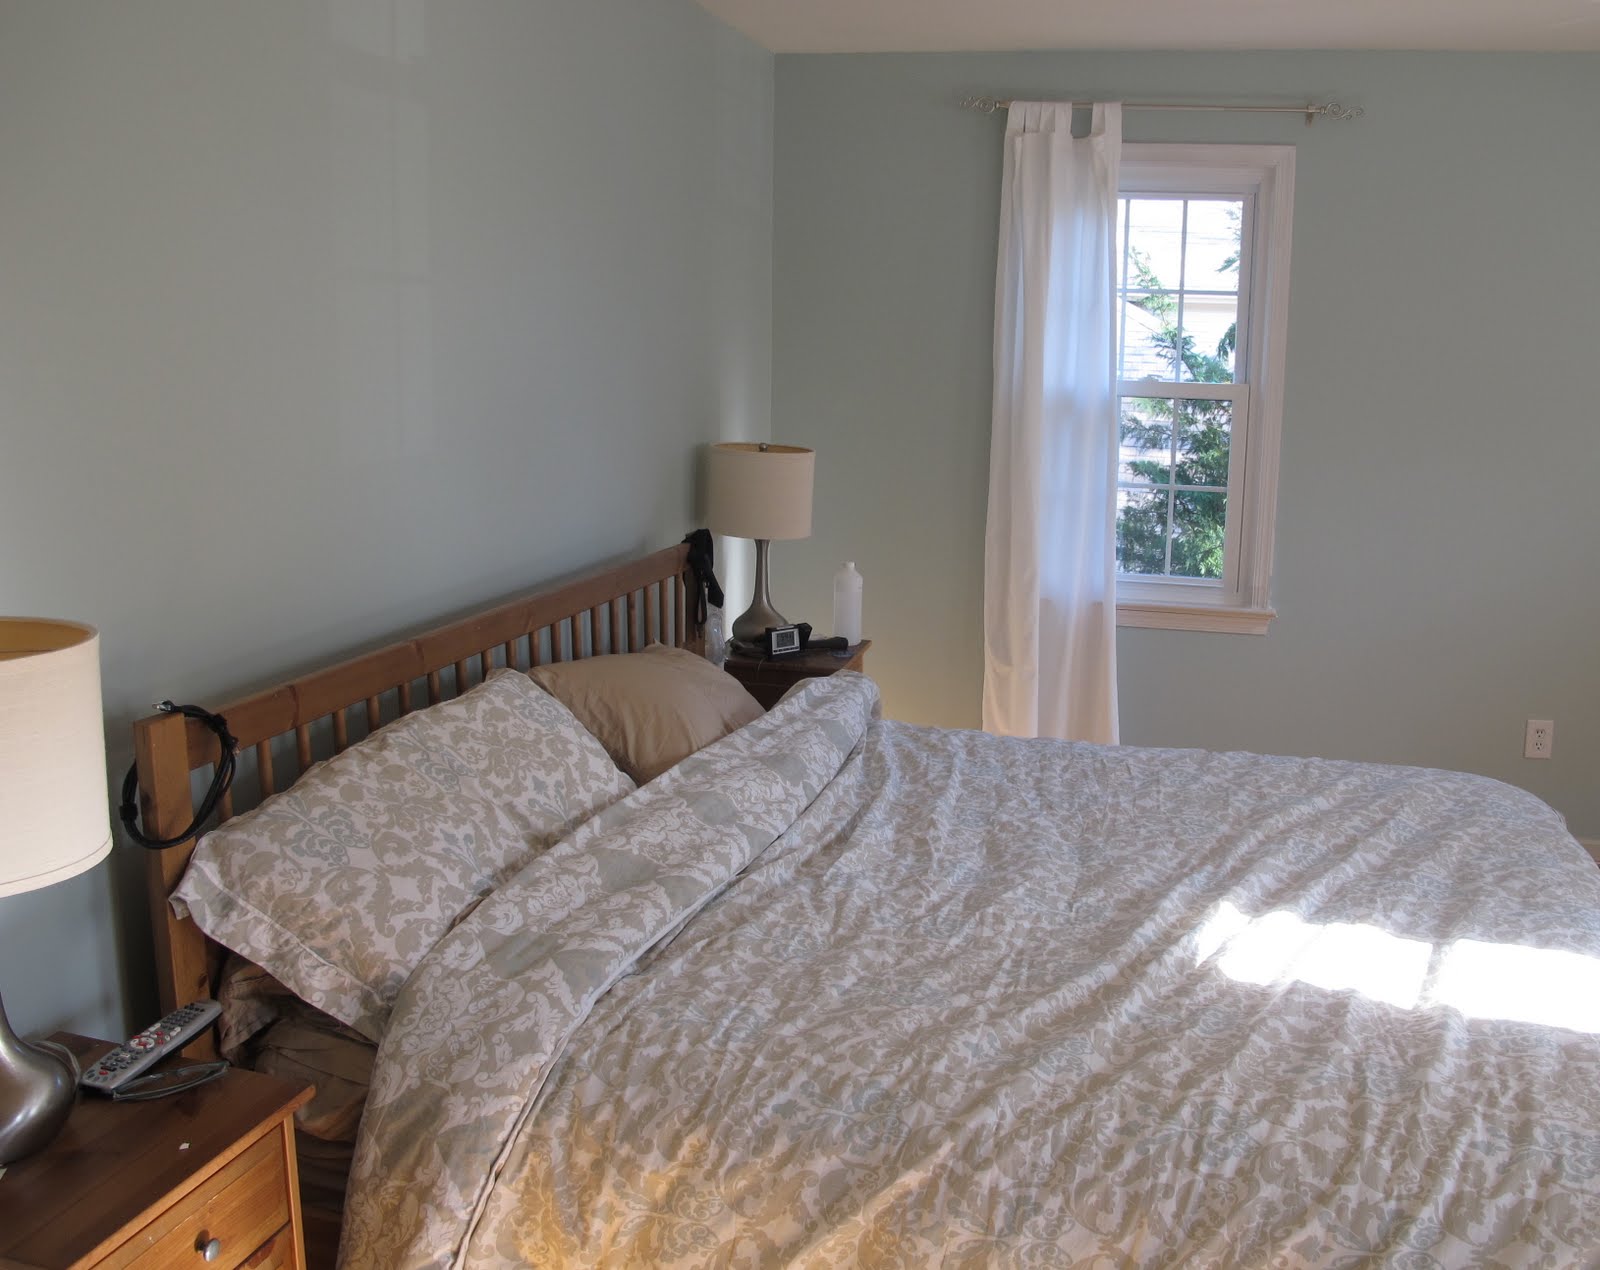
But you have to understand something: when you move into a house that requires so much work, what ends up happening is that you do just enough to “get by” and make the space livable, but it takes a while to get it to a space that feels like a cozy home. You know?

I feel like I’ve flitted from room to room, just doing enough to remove the “ugly” from the previous home owners, but never really decorating. 

That was the reason I started doing my 30-Day Room makeover challenges because it was the only way to light a fire under me, with the support of all of my readers working on their space, too.

As a result, I finished my pretty laundry room makeover and rocked out my navigation-themed kids’ bathroom makeover.

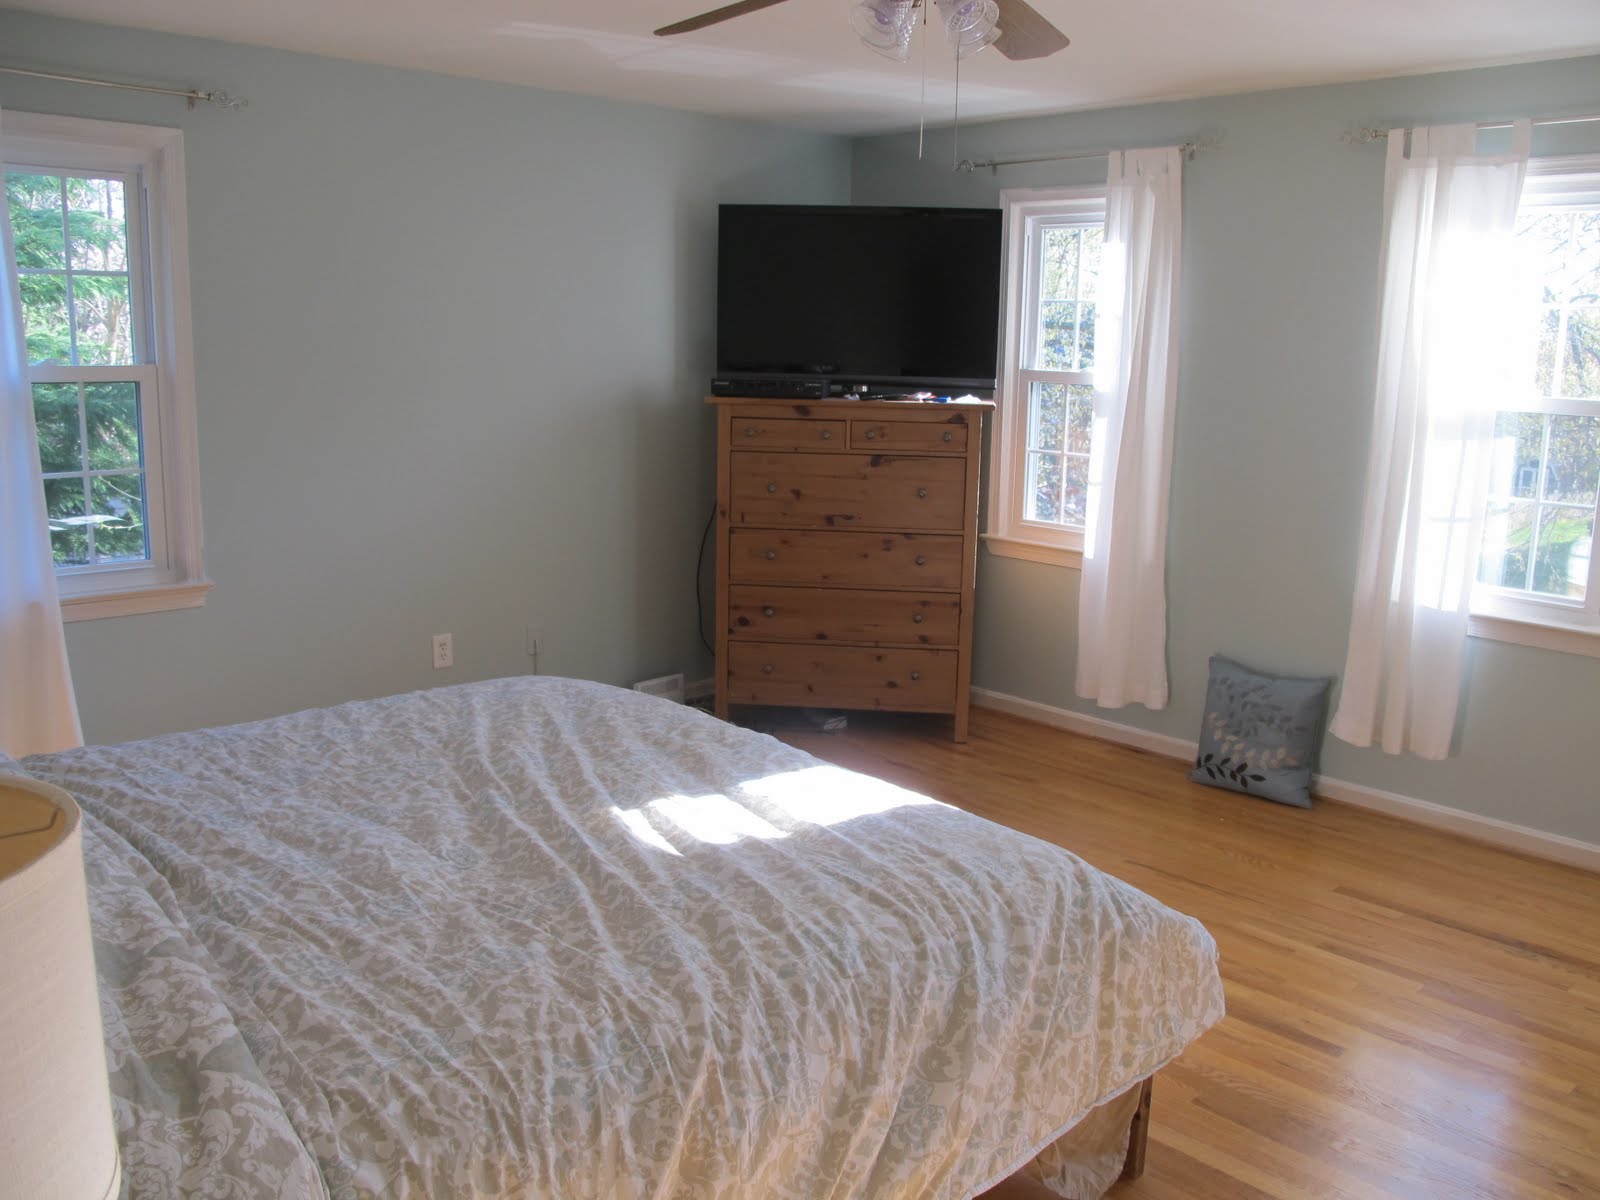
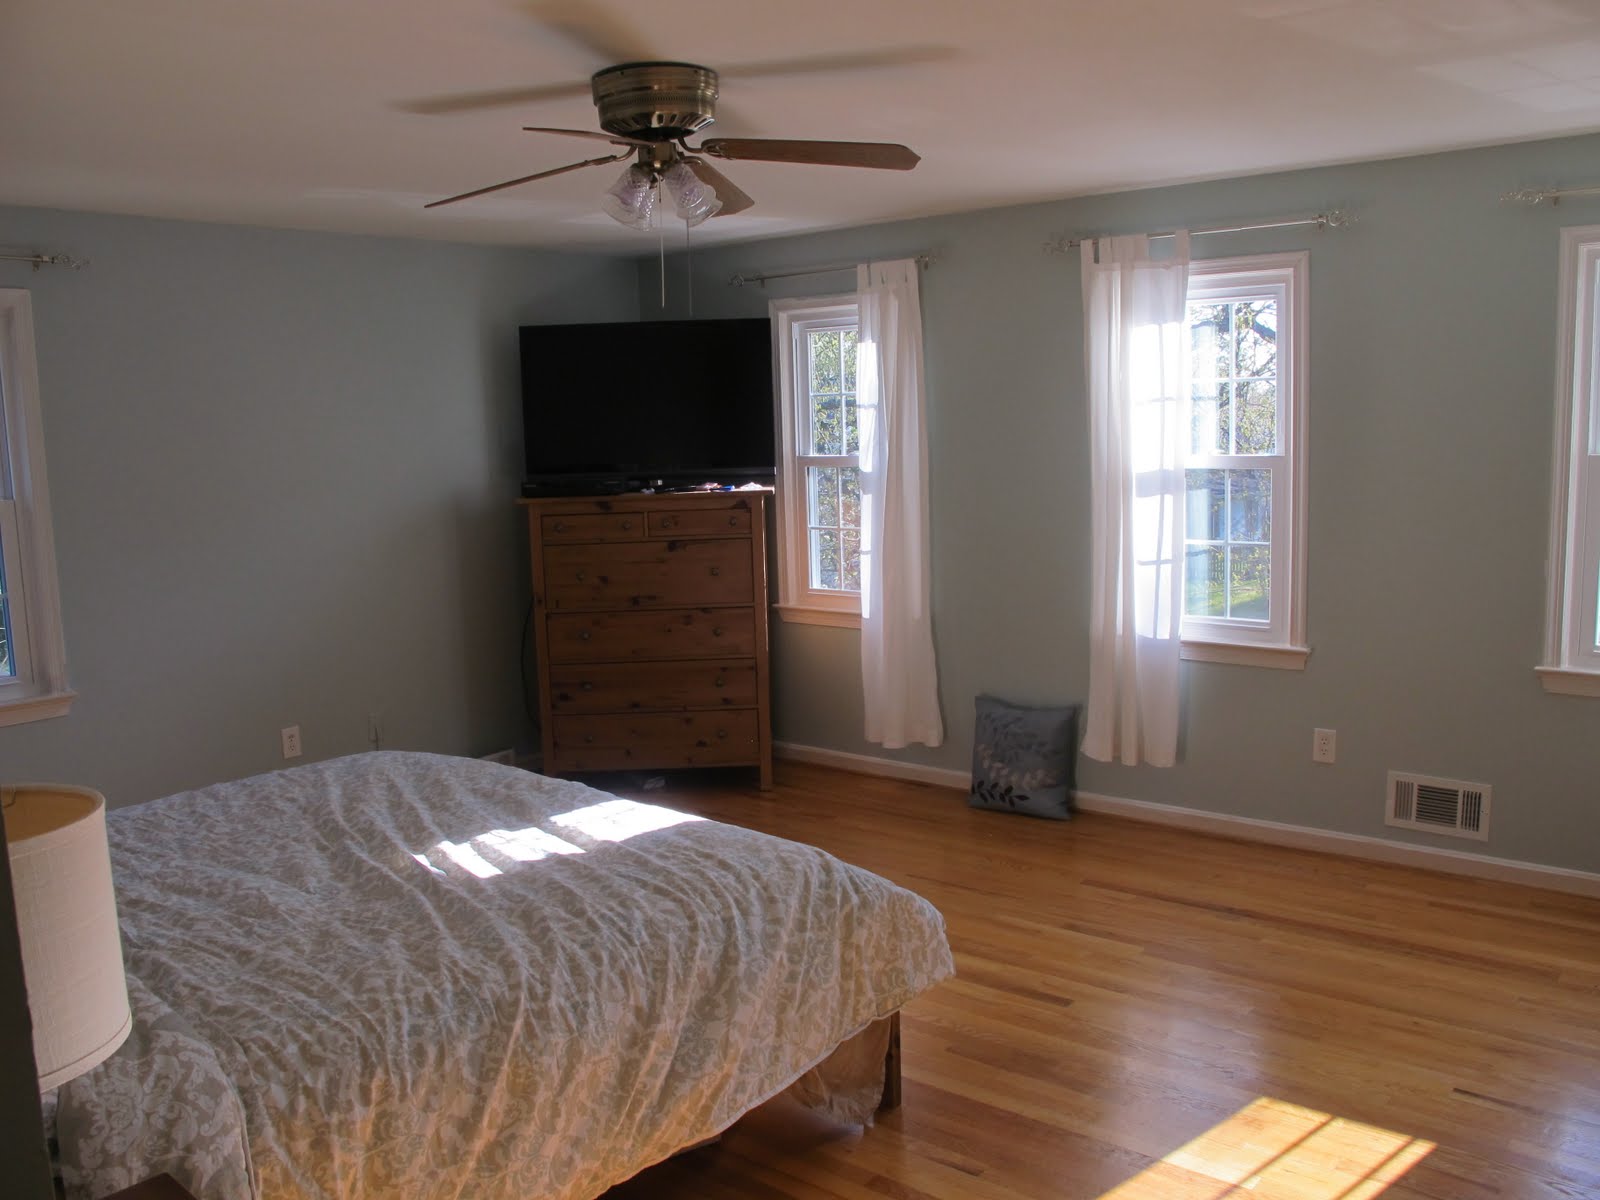
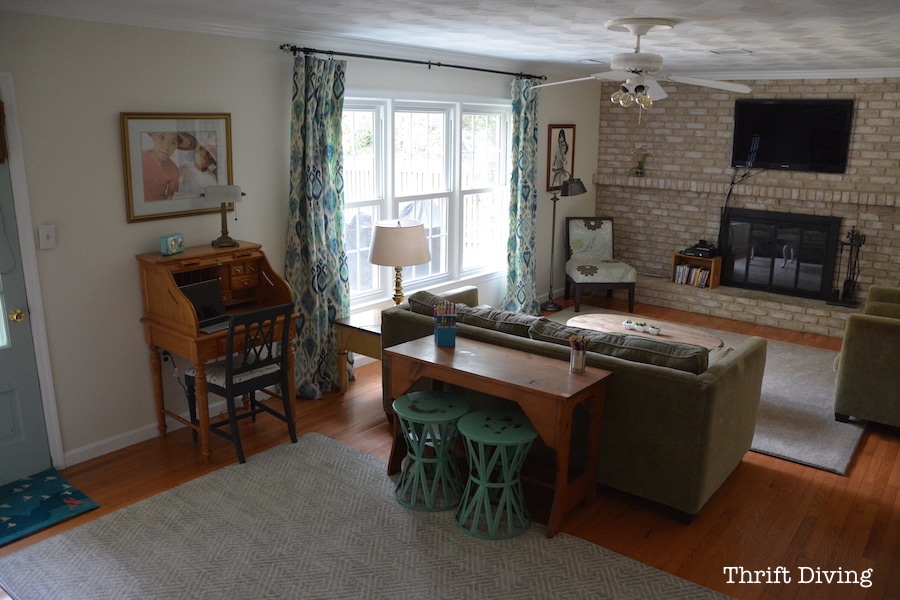
Anyhow…..We have this ginormous TV in our bedroom that we don’t even USE. We got rid of cable about a year and a half ago (see how we did cut the cord), and since that time, it’s just a useless piece of electronics sitting in the corner, taking up space!

There used to be an intercom in the bedroom, but was removed by the previous owners. Nothing that a little dry-wall can’t fill!
All fixed and patched up. Bare…….but patched up 🙂
When we got started with removing the wallpaper, we literally LIVED like this for at least 2 months while we lazily commented how we should “finish taking down the wallpaper.” This definitely wasn’t a weekend project!
The best part of having a bare room is that the kids can run around without knocking stuff over ;). You’ve got to see the light, right?
Not the prettiest site, huh?
Our bed needs a LOT of help. I sort of feel compelled to build a new bed with my own hands. Could I do it? I wouldn’t doubt. I never thought I could remove a toilet, but I did it!!
I can’t wait to  do something creative over the bed, or to even build a new headboard! It will definitely be exciting seeing this room come together!

UPDATE: Click here to see my bedroom makeover!

AFTER!

Wide view of master bedroom with new DIY crown molding by a novice!

Signature

Download the 5 freebies!

Thrift Diving inspires women to decorate, improve, and maintain their home themselves...using paint, power tools, and thrift stores! Use these 5 printables, checklists, and ebooks to get started!

Success! Now check your email to confirm your subscription.

There was an error submitting your subscription. Please try again.

Now go check your email for those freebies! Powered by ConvertKit

Love this post? Share it! :)

1shares
  • Share
  • Tweet
« Ants, ants, ants!!
Yard Sale Chair Makeover BEFORE and AFTER »

Comments

  1. Rita Schneider says

    March 6, 2014 at 3:19 AM

    So glad I found your blog! You are a girl after my own heart! Thrifting is one of the biggest joys in my life. Oh, the many treasures that I have brought home and made over!

    Reply
  2. Maryam says

    October 30, 2013 at 9:45 PM

    Amazing renovation !!! We have a room that looks just like this room (before renovations) and are currently in the process of stripping the wallpaper. How did you strip the wallpaper and how did you paint your walls after … did you use a primer base ? Would love to know more !

    Reply
  3. Maria says

    August 27, 2012 at 1:38 PM

    I love the ‘invisible’ baby crawling along the floor! LOL!

    Reply
  4. Vel Baricuatro-Criste, MD says

    July 13, 2012 at 8:42 PM

    Of course I’m very biased into liking your room becuase we chose similar colors!!!! Check it out here… http://buhayatbahay.blogspot.com/2011/11/flashback-master-bedroom-before-and.html

    removing that wallpaper I bet, was a real ordeal, same thing with me staring at our formerly orange master bedroom! LOL! 🙂

    Reply
« Older Comments

Trackbacks

  1. BEFORE & AFTER: A Thrifted Vintage Chair Makeover! | says:
    October 17, 2013 at 3:39 AM

    […] I’ve got a cozy corner in my master bedroom, which still needs a lot of decorating. It’s been three years and all I’ve been able to […]

    Reply
  2. Sherwin Williams Sea Salt and Rainwashed | says:
    June 14, 2013 at 5:22 AM

    […] used it in my master bedroom  after we removed the very floral wallpaper that was on the walls (blec!), and it’s suuuuch […]

    Reply
  3. Planning a Basement Makeover: PART 1 | Thrift Diving says:
    November 13, 2012 at 12:44 PM

    […] totally smitted with Rainwashed by Sherwin Williams. It’s the same color I used in my master bathroom makeover, and I love it, but I’m a little hesitant to put blue down in the basement because my whole […]

    Reply

Leave a Reply Cancel reply

Your email address will not be published. Required fields are marked *

I’m Serena Appiah (rhymes with IKEA). I think home should be affordable. All you need is paint, power tools and thrift stores. >> READ MORE...

Subscribe and I’ll send you 5 freebies to your inbox! :)

Success! Now check your email to confirm your subscription.

There was an error submitting your subscription. Please try again.

Work With Me

  • Media
  • Advertise
  • Contact Me
  • Privacy Policy

Watch “How To” Tutorials

Enter your name and email and I'll send you 5 DIY freebies! :)

Copyright © 2021 · Genesis Framework · Theme by Restored 316 · Custom Design by Moritz Fine Designs

Copyright © 2021 · Glam Theme on Genesis Framework · WordPress · Log in