BEFORE and AFTER: The Makeover of a Vintage Vanity
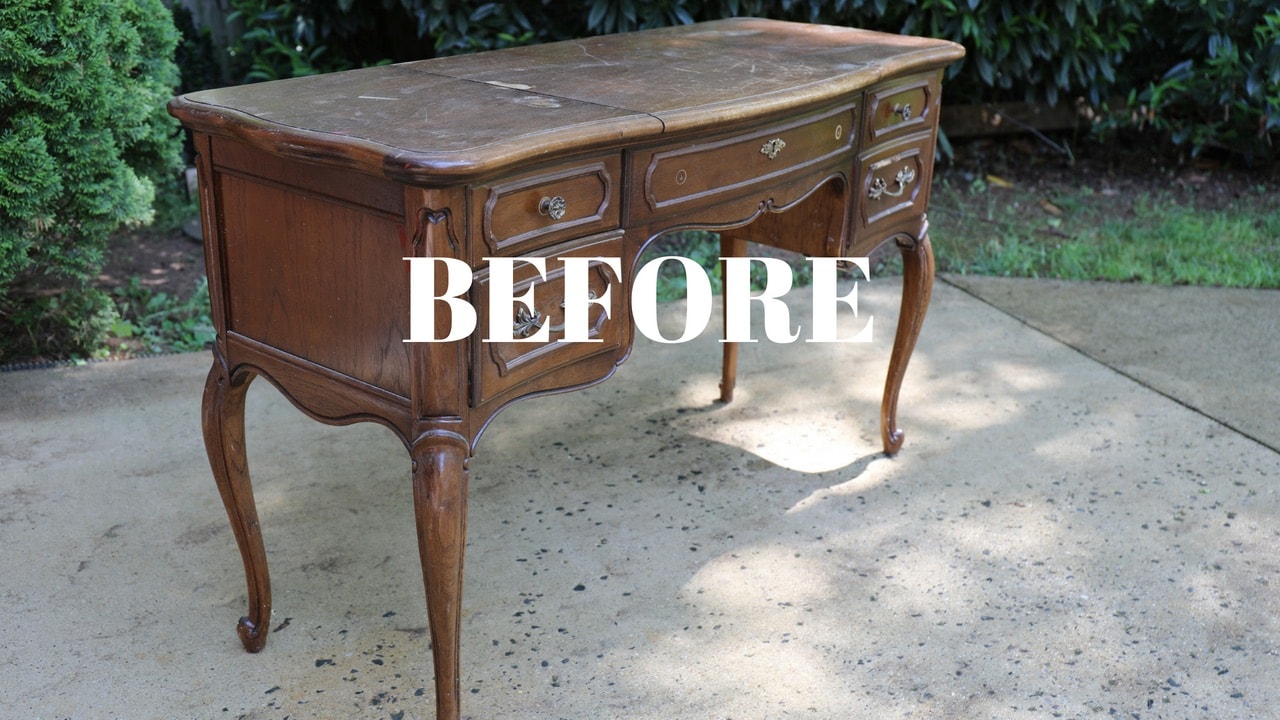
This pretty vintage vanity has been sitting in my garage for over a year. Surprise, surprise. Most things I make over have an excruciating wait time in my garage (a.k.a. “triage”) before figure out what I’m going to do with it, where it’s going to go, and how in the world I’m going to find time to work on it.
But thanks to the Snow Gods that dumped 2 feet of snow on us last week, I’ve had off work for 5 straight days. (READ: ample time to create!). And this baby was ‘a callin’!
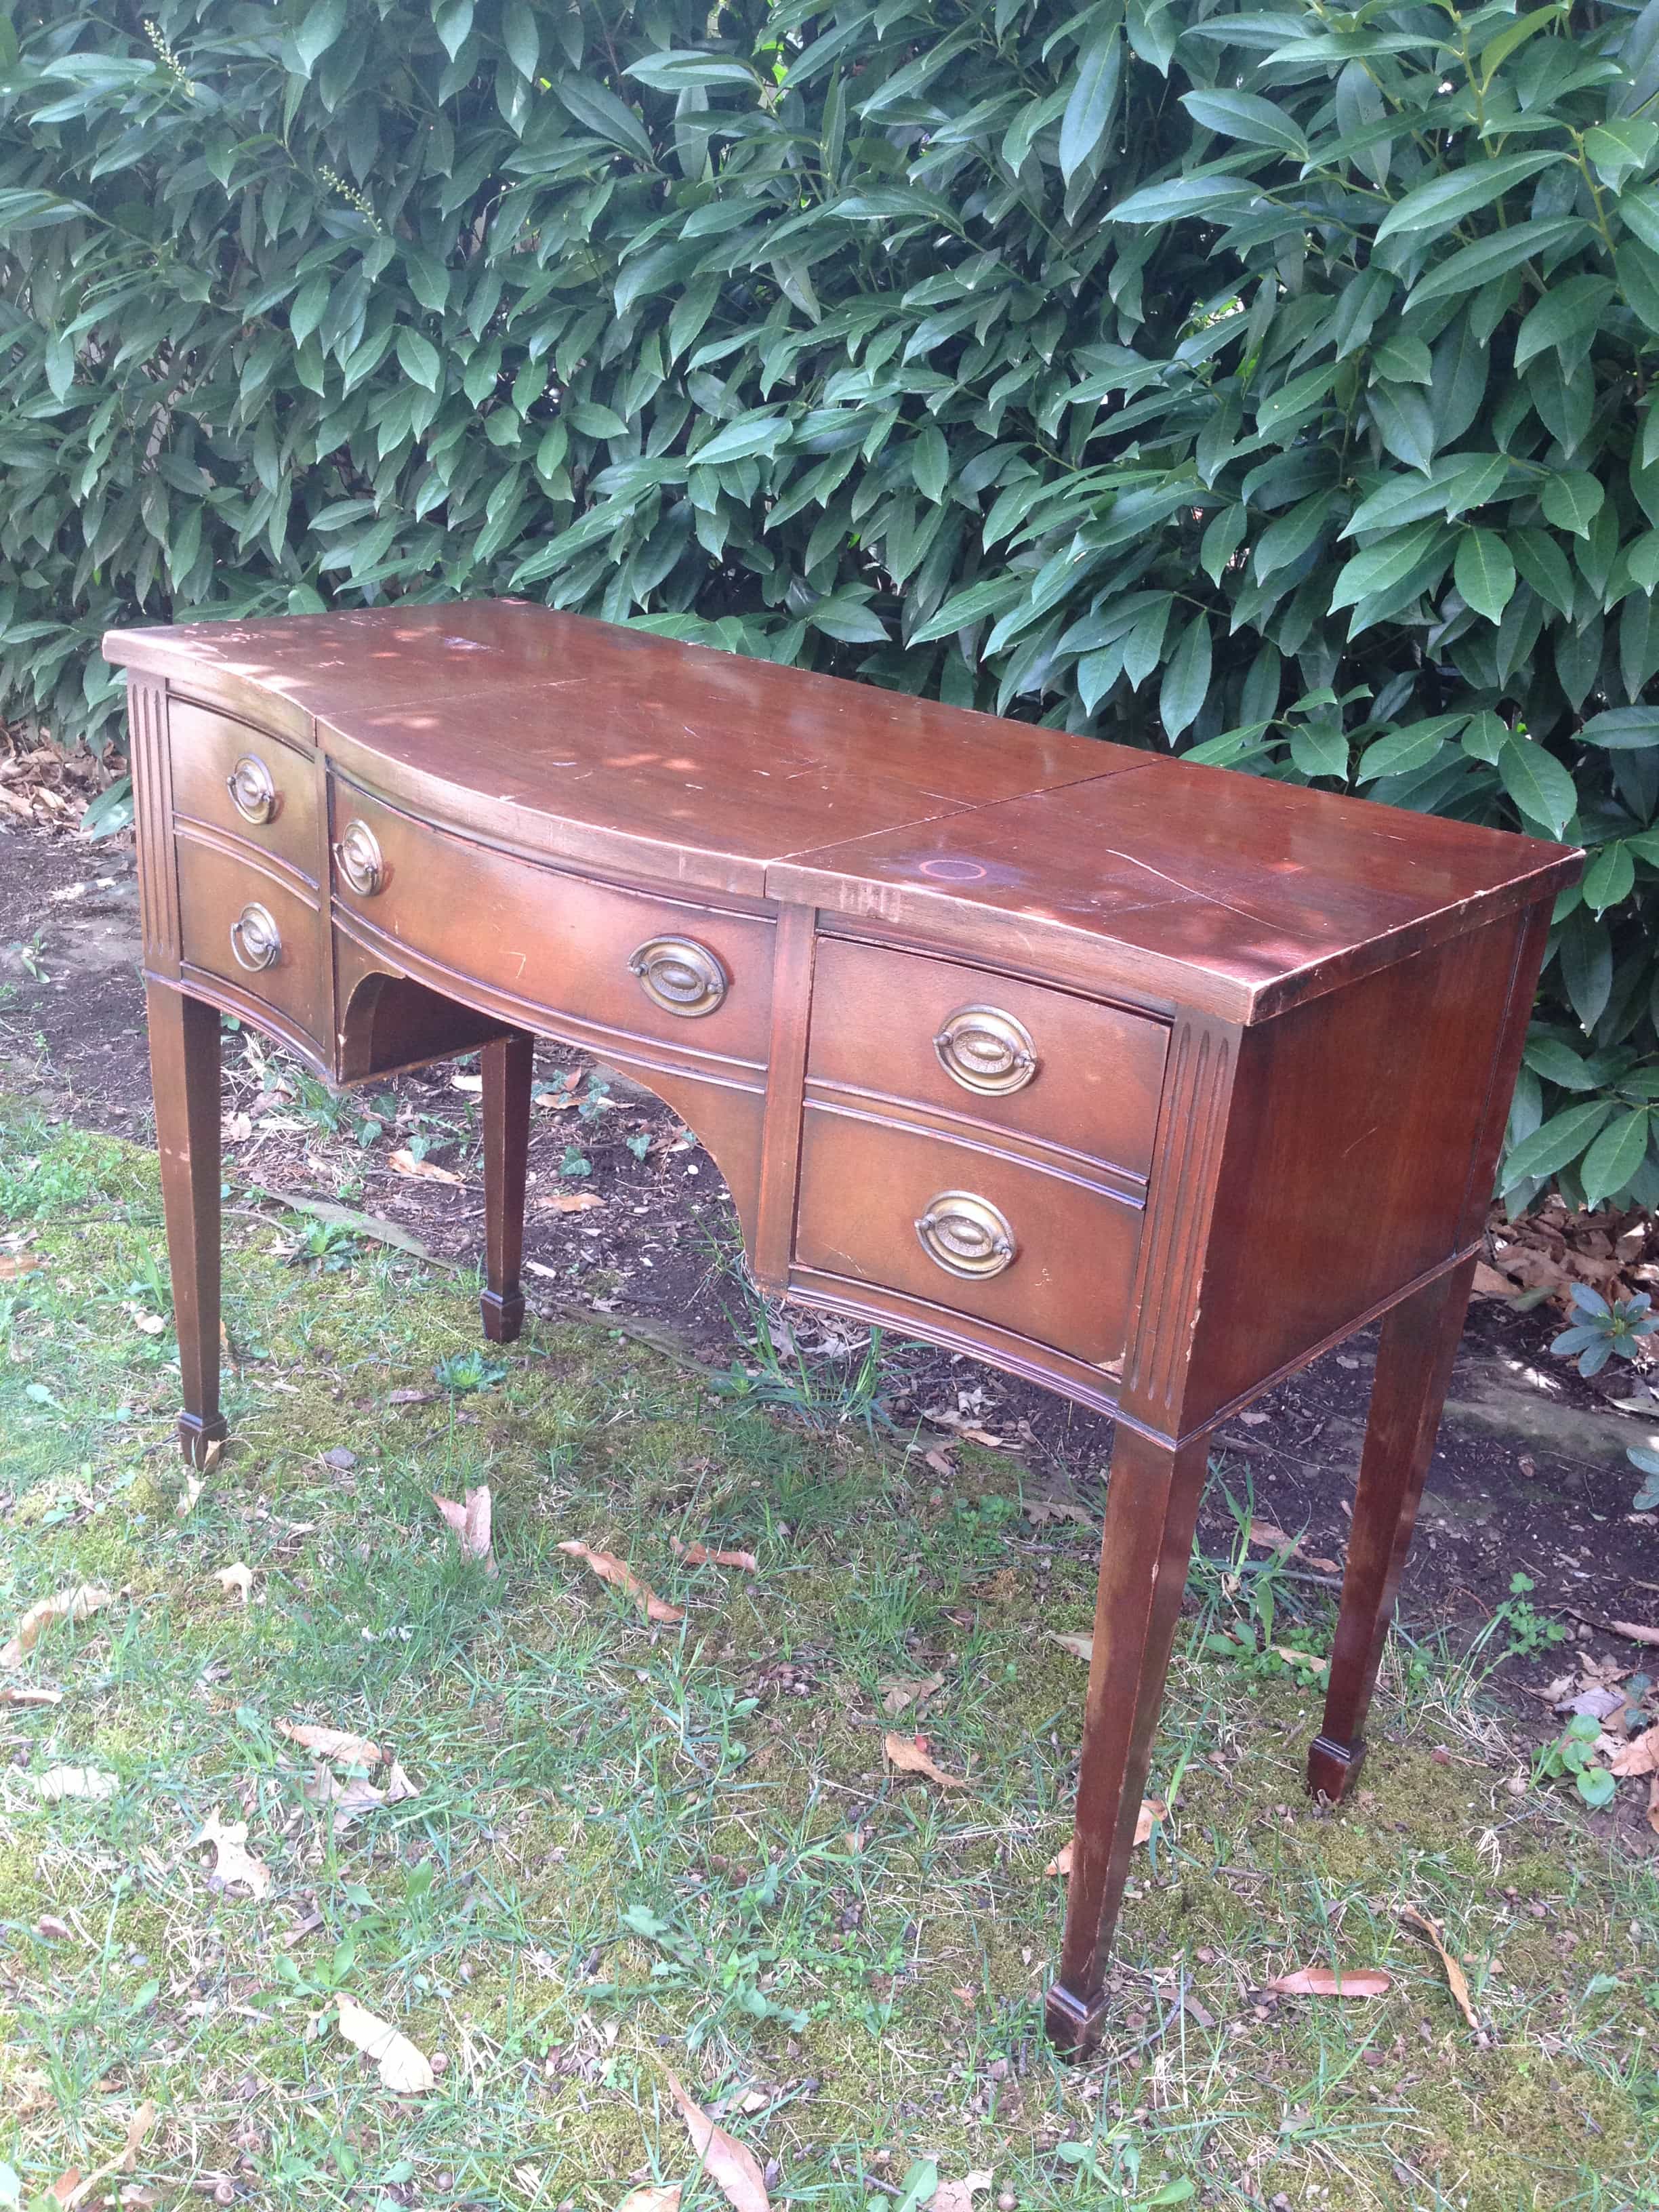
BEFORE
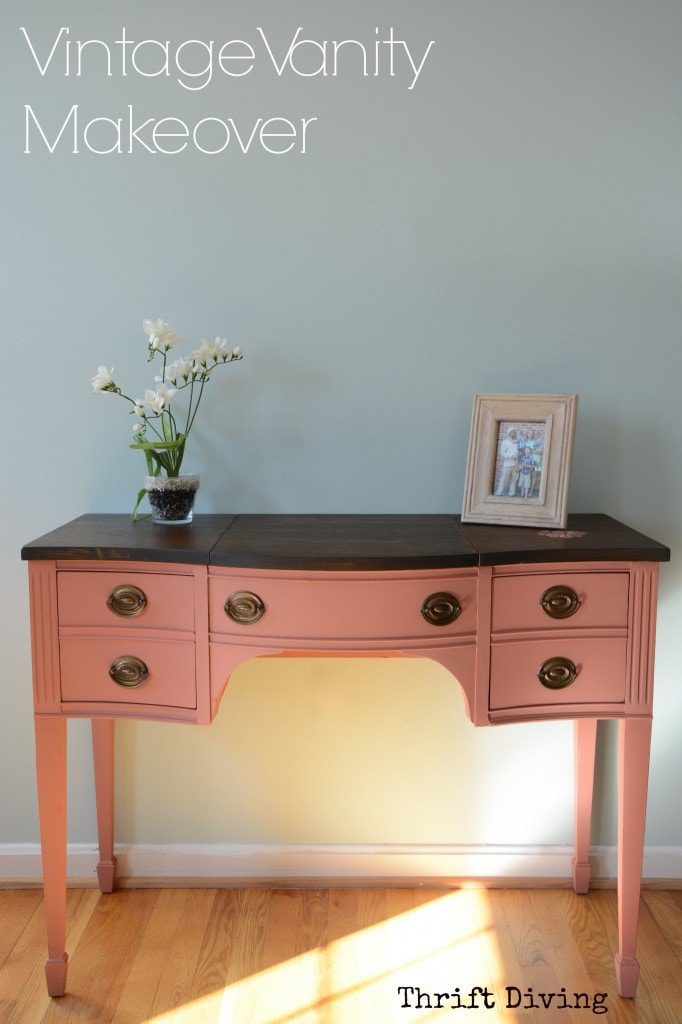
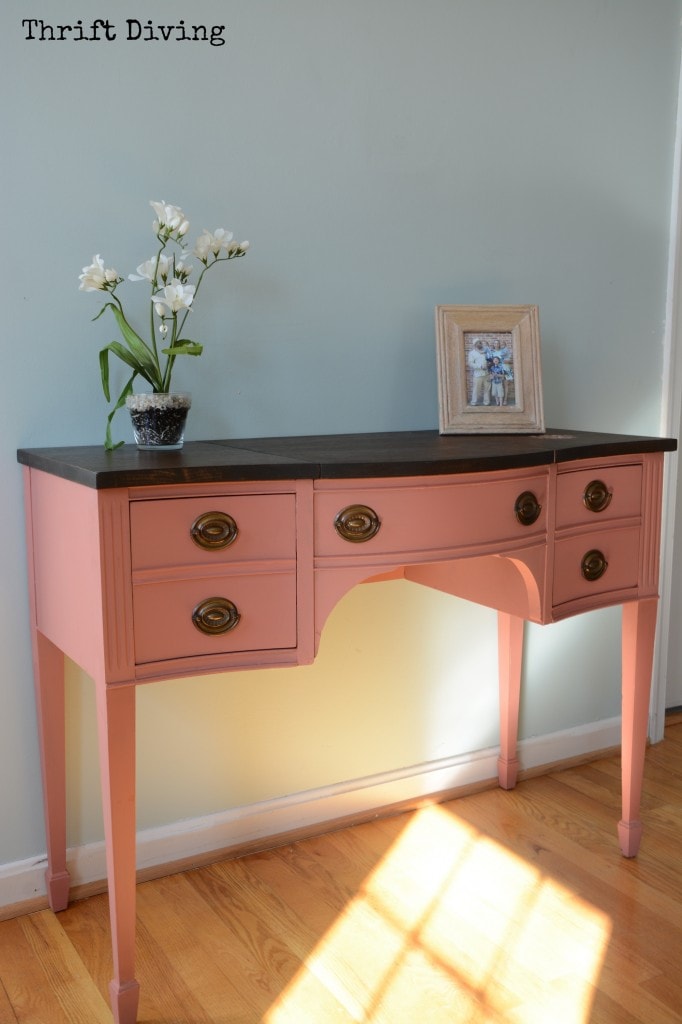
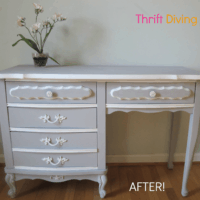
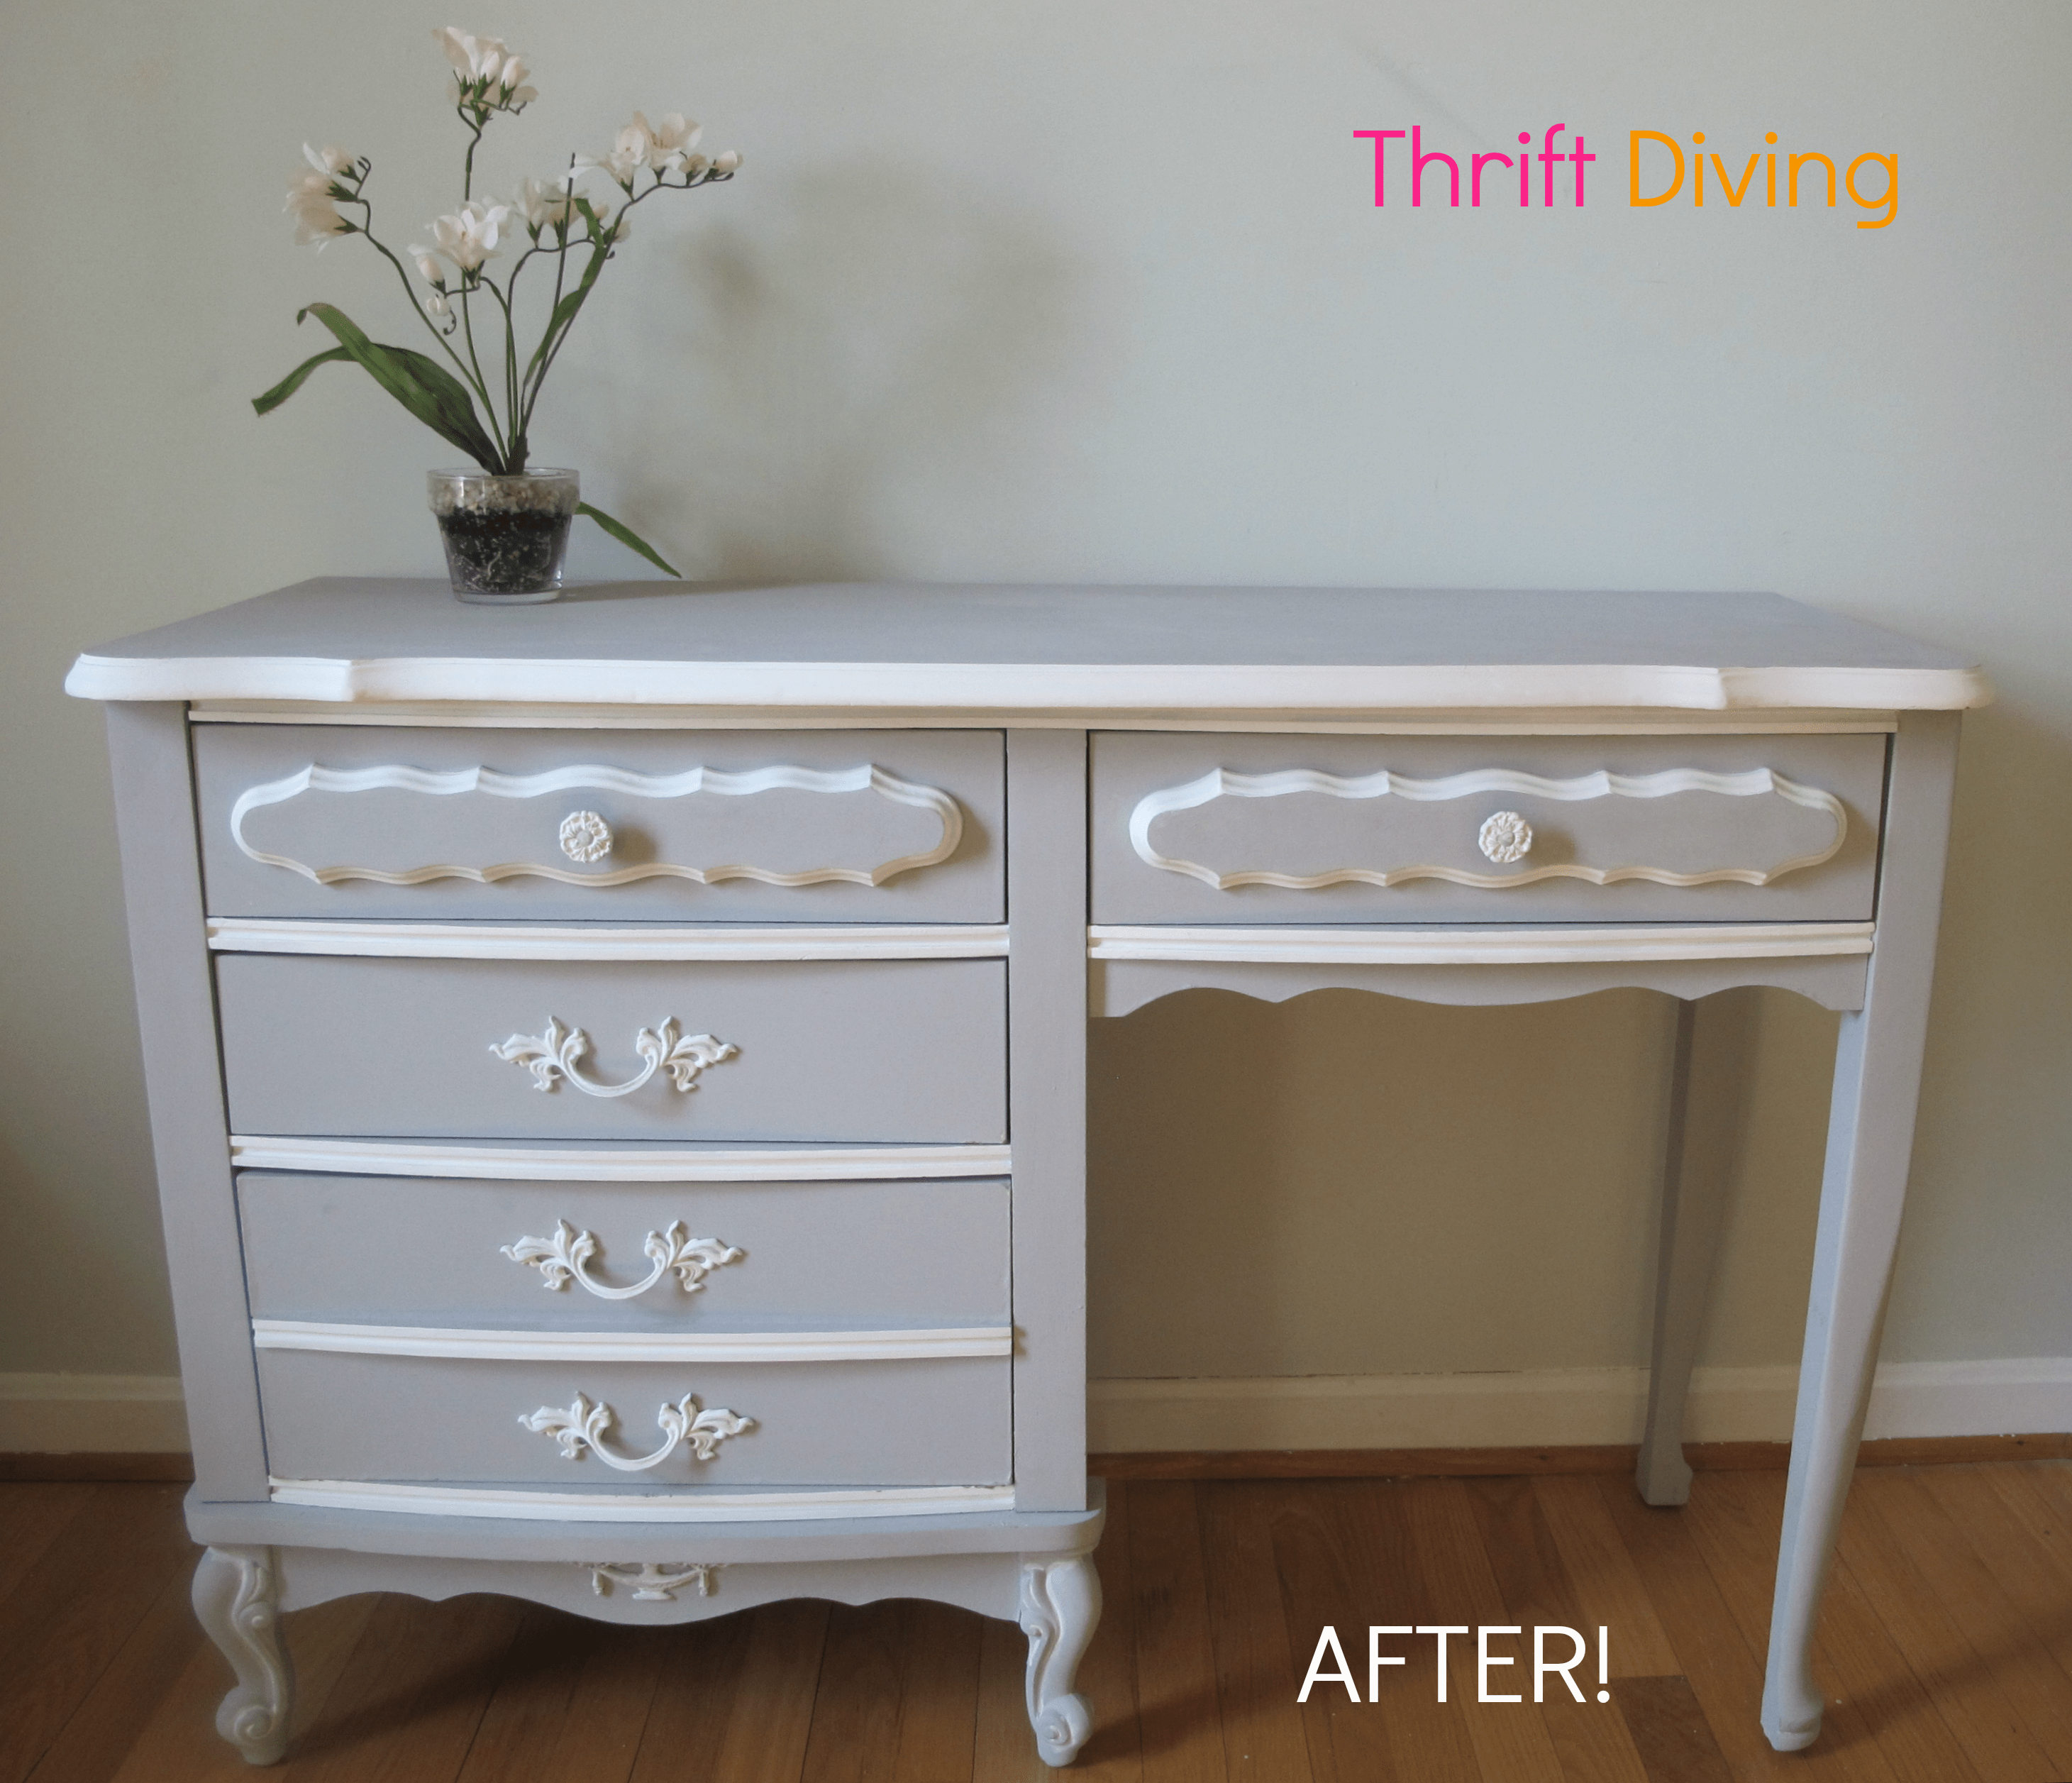
AFTER!
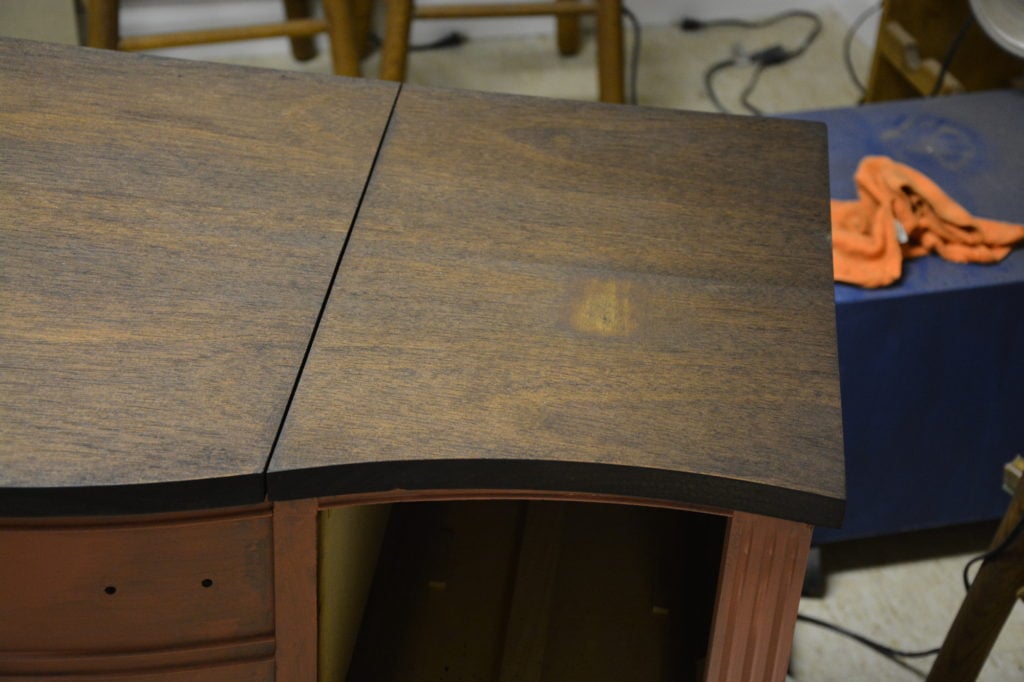
The vanity was really in good condition from the standpoint that it wasn’t falling apart or anything. It was missing a mirror inside, but–meh–who cares. And it didn’t need tons of surgery on it. But the top needed refinishing. It had some water rings and some chipping.
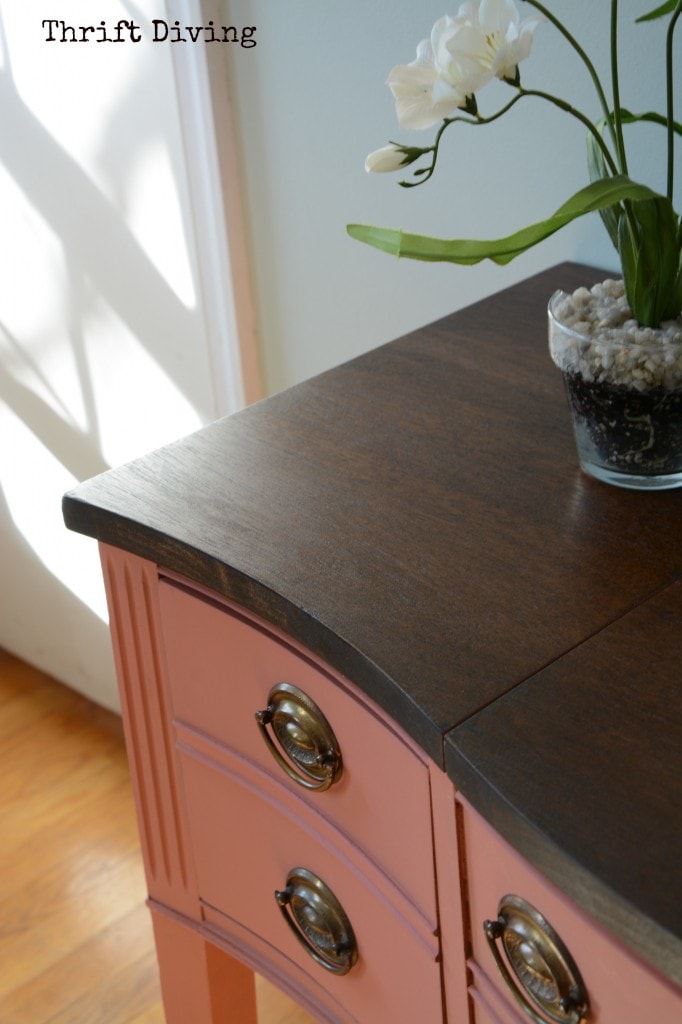
I’m totally in love with stained tops and painted bodies. So I knew I wanted that look! Heck–I think I may be refinishing all my pieces this way from now one! It’s such a great combo. And it really preserves the beauty of the wood, since some people think you should never paint wood. This is a great compromise, though, don’t you think? 😉
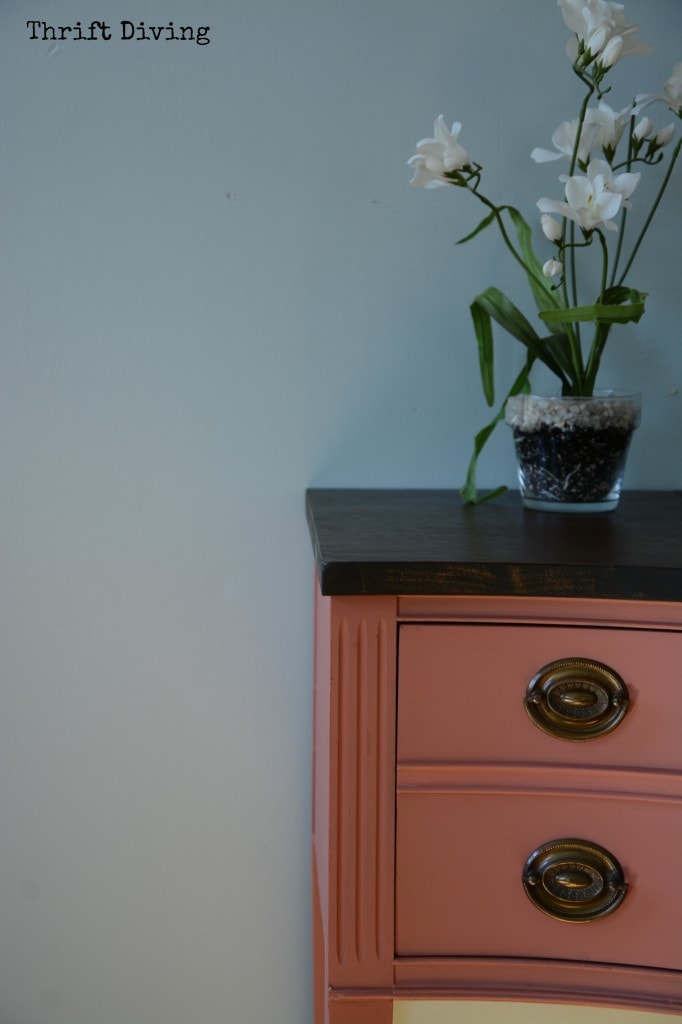
I used Annie Sloan Chalk Paint, Scandinavian Pink. LOVE that color! And my Sherwin William Rainwashed walls really goes well with this color!
How the Magic Happened on This Vintage Vanity
I’ve come to love stripping furniture! It’s very rewarding. Unearthing that pretty wood underneath, and then breathing life back into it with stain–ahhhhhh………But if you’ve never done it before, just know this: it’s messier and takes more time than just painting over a piece of furniture.
(Did I mention it’s messier….??)
However, the results are worth the extra effort. If you need more instruction, check out my blog post and video I did on How to Strip Furniture and Stain It.
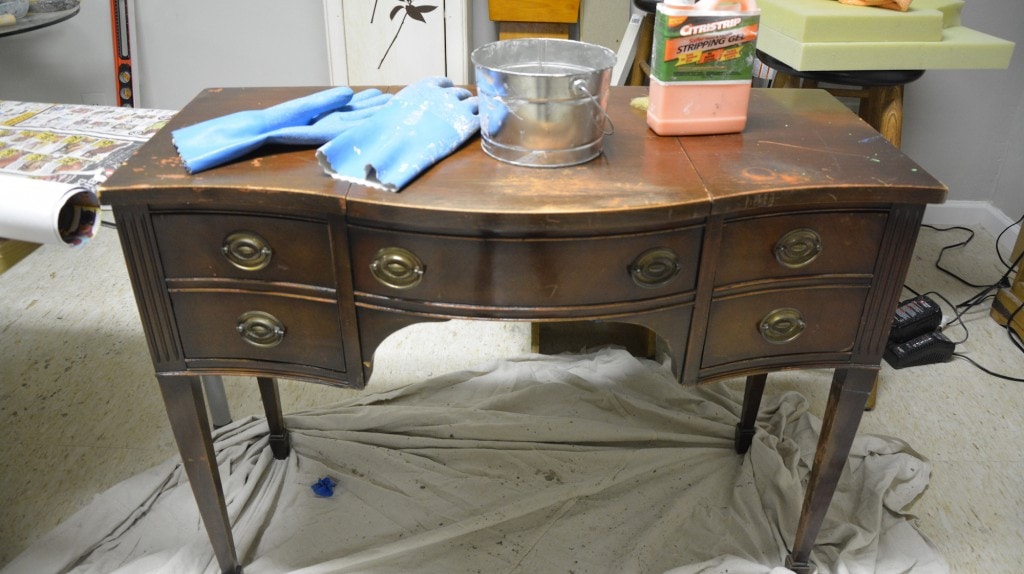
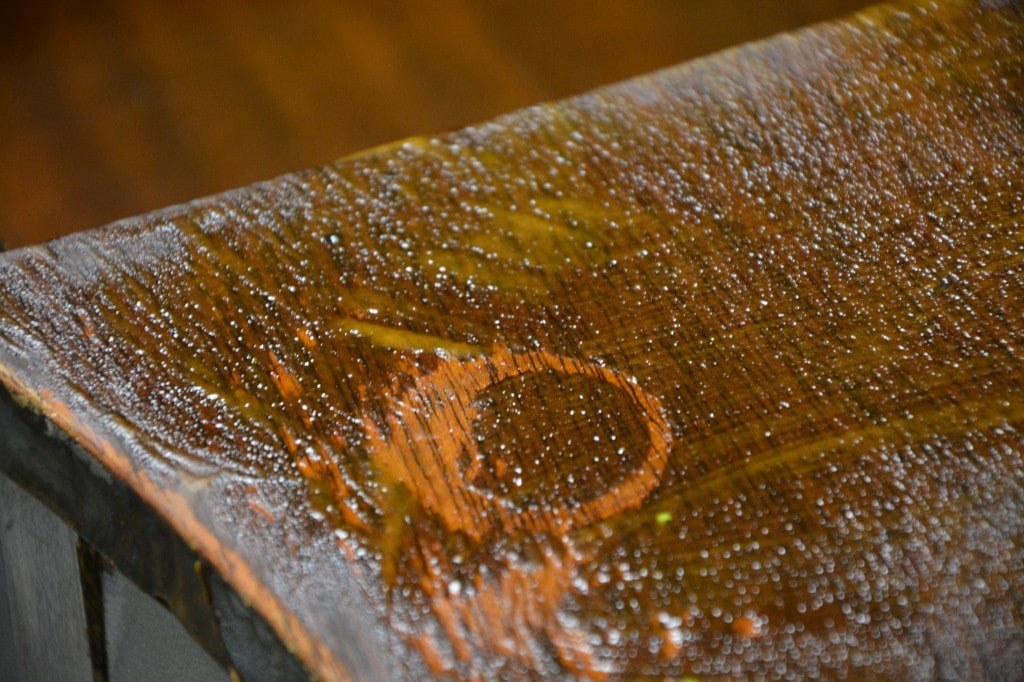
In this pic, you can see how the Citri-Strip paint and varnish stripping gel![]() I used is eating away the previous stain, exposing the natural wood underneath.
I used is eating away the previous stain, exposing the natural wood underneath.
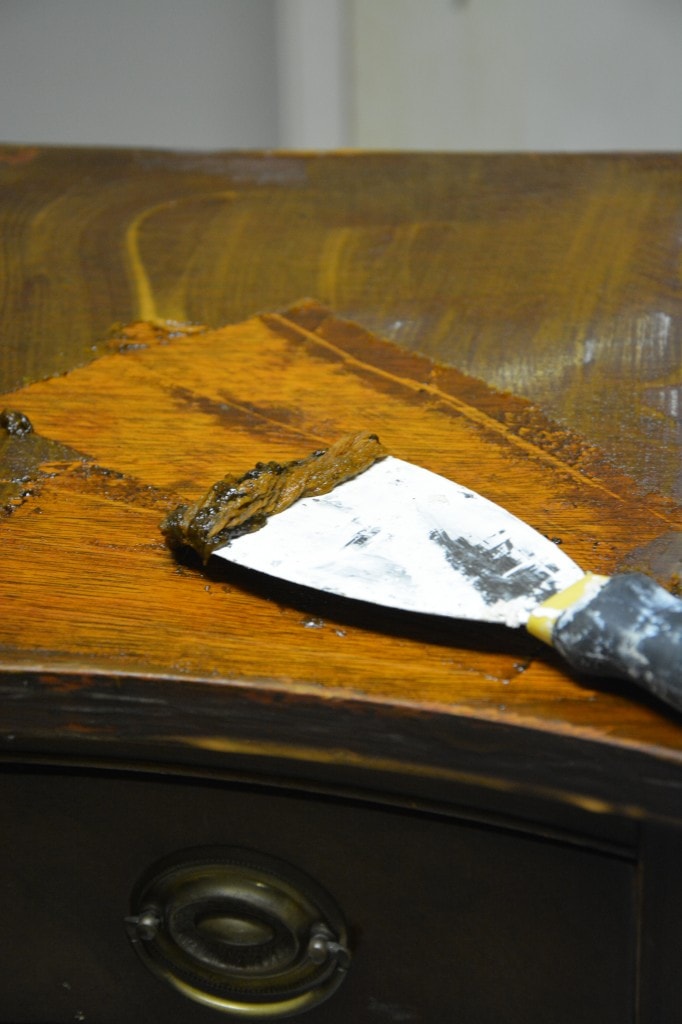
When it was ready to be scraped, I scraped all that “gunky” stuff with a putty knife. EEEWWWW!! (Be careful–use a plastic putty knife so you don’t gouge the wood. I used metal because it was all I had, but I was super careful).
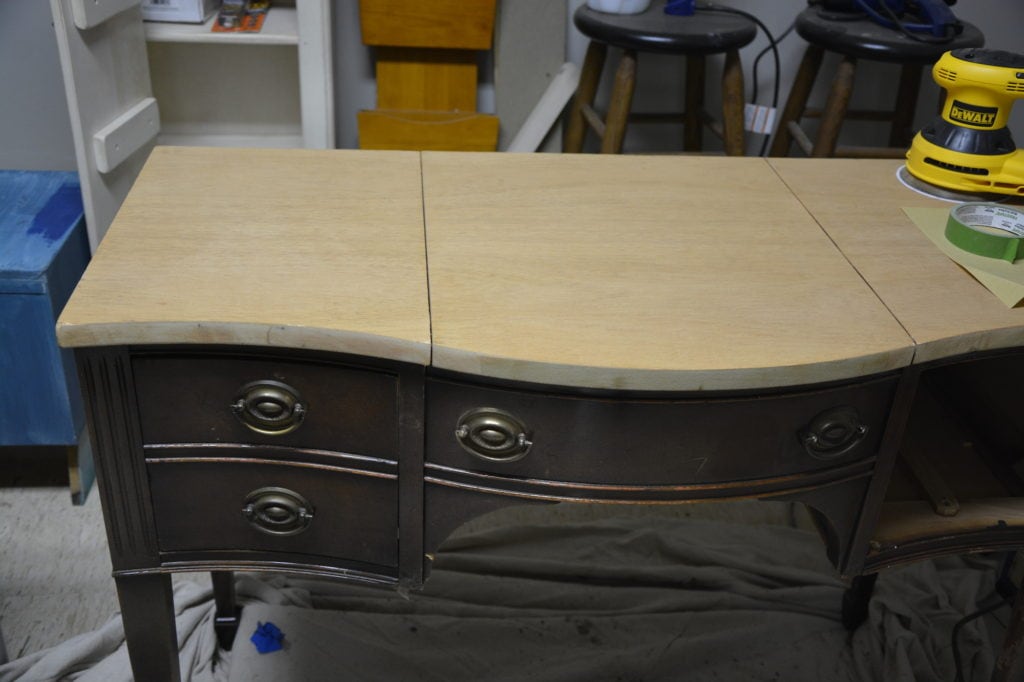
Once I scraped all the gunk off, I gave it a good sanding. Even when stripping, you’ve got to sand it out to get to this pretty wood. Otherwise, it will still be tinted with the old stain.
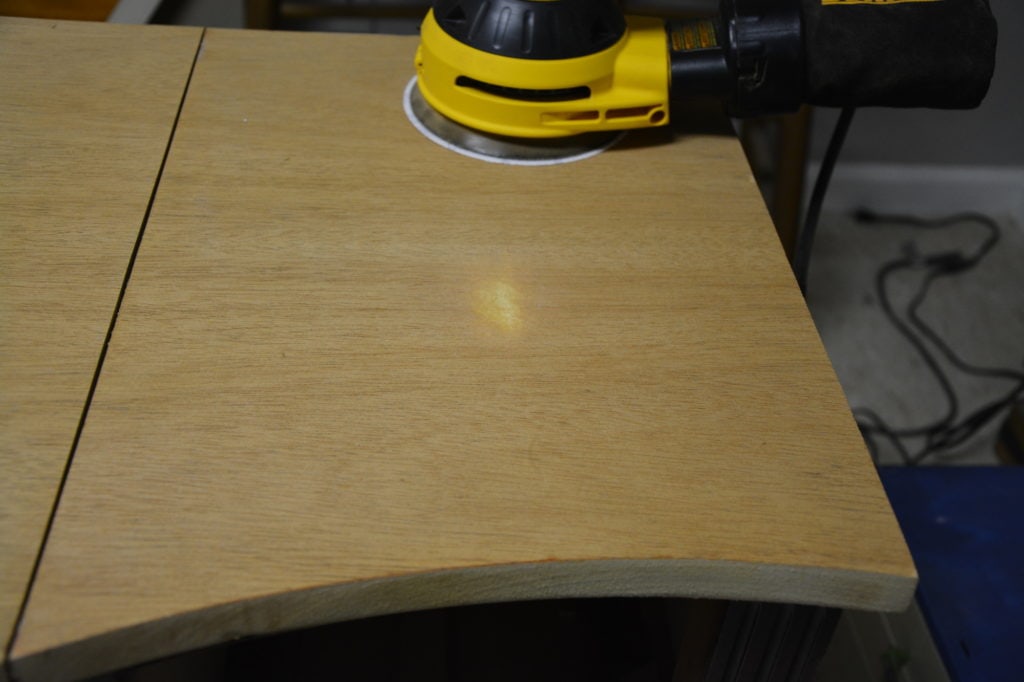
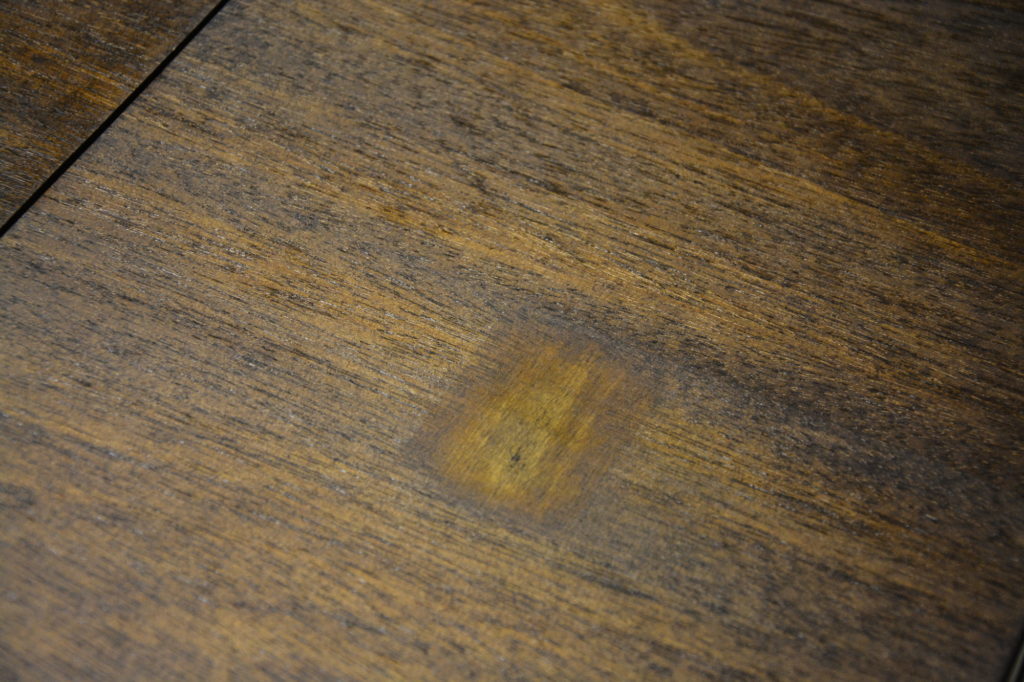
I Made a Mistake!!
Crap. I got carried away while sanding and gouged down to the MEAT! The bare meat!!
Oh!!! How in the world was I going to fix that?! I was afraid I’d have to scrap the whole “stain” idea and just paint over it.
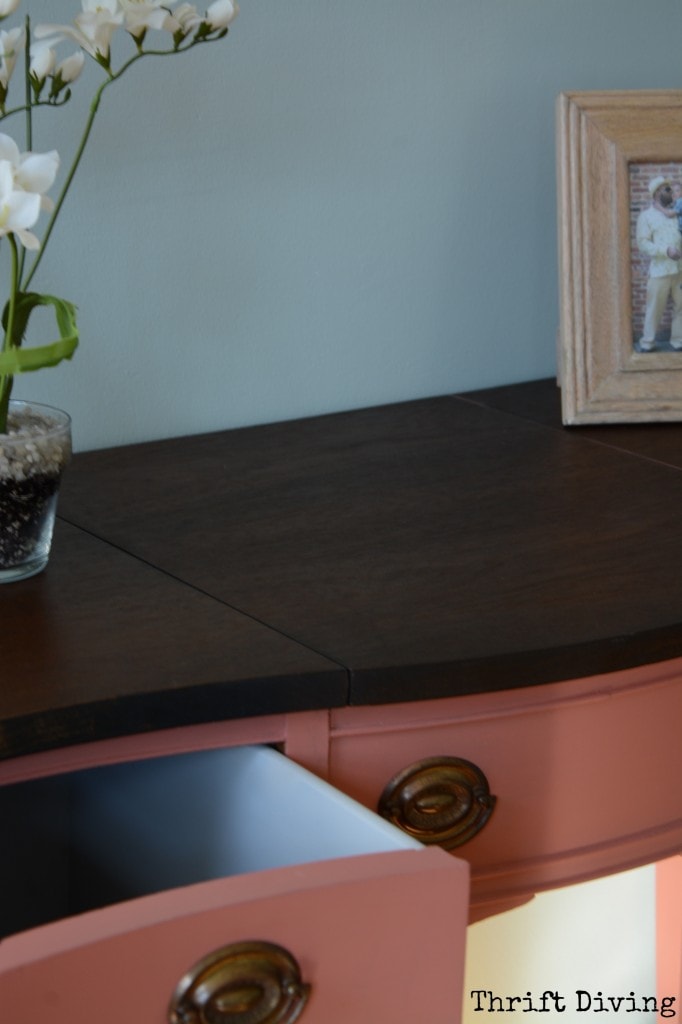
Once I applied the stain (I used Minwax Espresso), I was hoping it would just blend in.
WRONG!!
It stuck out like a sore thumb!
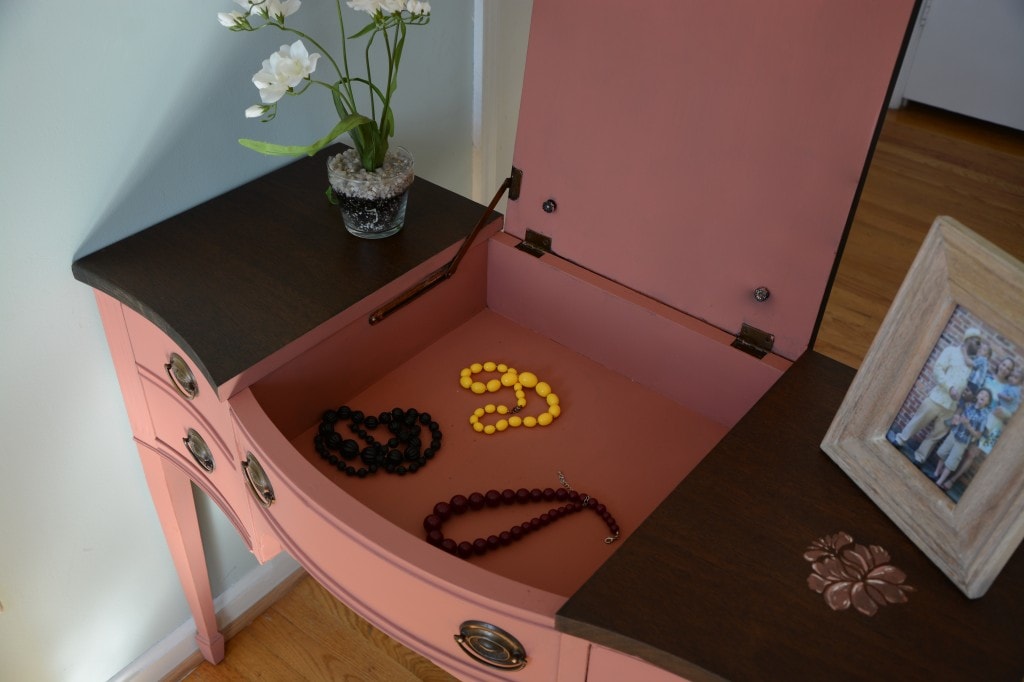
So I Did What Any Creative DIY’er Would Do….
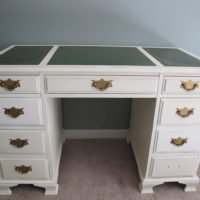
Yep. I broke out the stencils and painted a flower over the top of my mistake, then topped it off with some white highlights to give it some “depth.” Now it looks intentional!!!
Protecting the Top
I’ve never used this product before but wanted to try it out for protecting the top. I honestly HATE waxing furniture, so if there is something I can easily brush on and walk away from–I’m game.
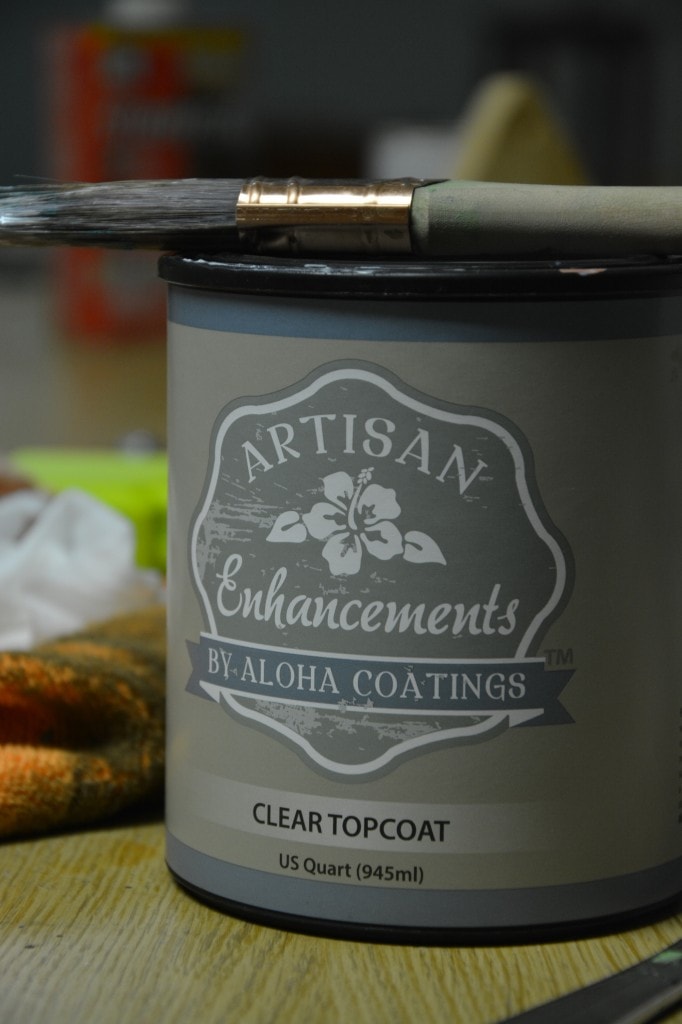
I was nervous as heck when I painted it on with a paint brush and saw that it was–GASP!–white…and milky! Ummmm……is this going to work??
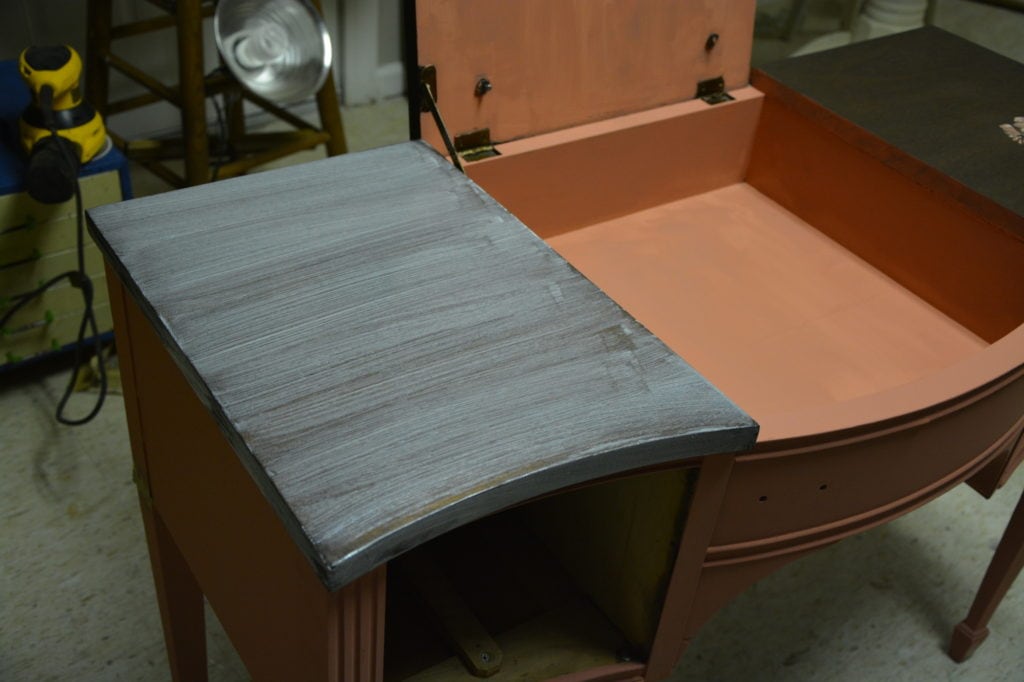
But it did! It dried beautifully! I wanted something with a bit more shine to it, but after seeing these “AFTER” pics, I think I love the matte look better. What do you prefer–matte or glossy finished on top of stained wood?
Don’t Forget the Inside!
I’m one of those DIY’ers that can’t stand to see a piece of painted furniture with the drawers all ugly and the back looking like it belongs in a crack house. LOL. You don’t have to go crazy and paint every inch of the inside and back (or bottom) but at least make an effort to make the other parts look great, too. I know it adds extra time, but I think it’s worth it.
I painted the inside of this vintage vanity in Annie Sloan Chalk Paint, Paris Grey. I just love this color combo! (If you remember, I painted this thrifted bucket gift basket for my mom in the same color combos).
Reuse and Recycle!
For this project, I left the hardware alone. I loved the brassy color, and I liked that it looks a little worn. I didn’t want it to be too pristine and “perfect.” By using the existing hardware, in its original condition, I saved myself time (and money!).
So what do you think of my vintage vanity?! 🙂 Have you ever stripped and stained furniture?
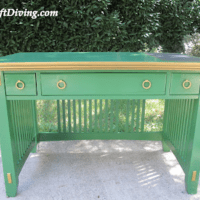
Want More??
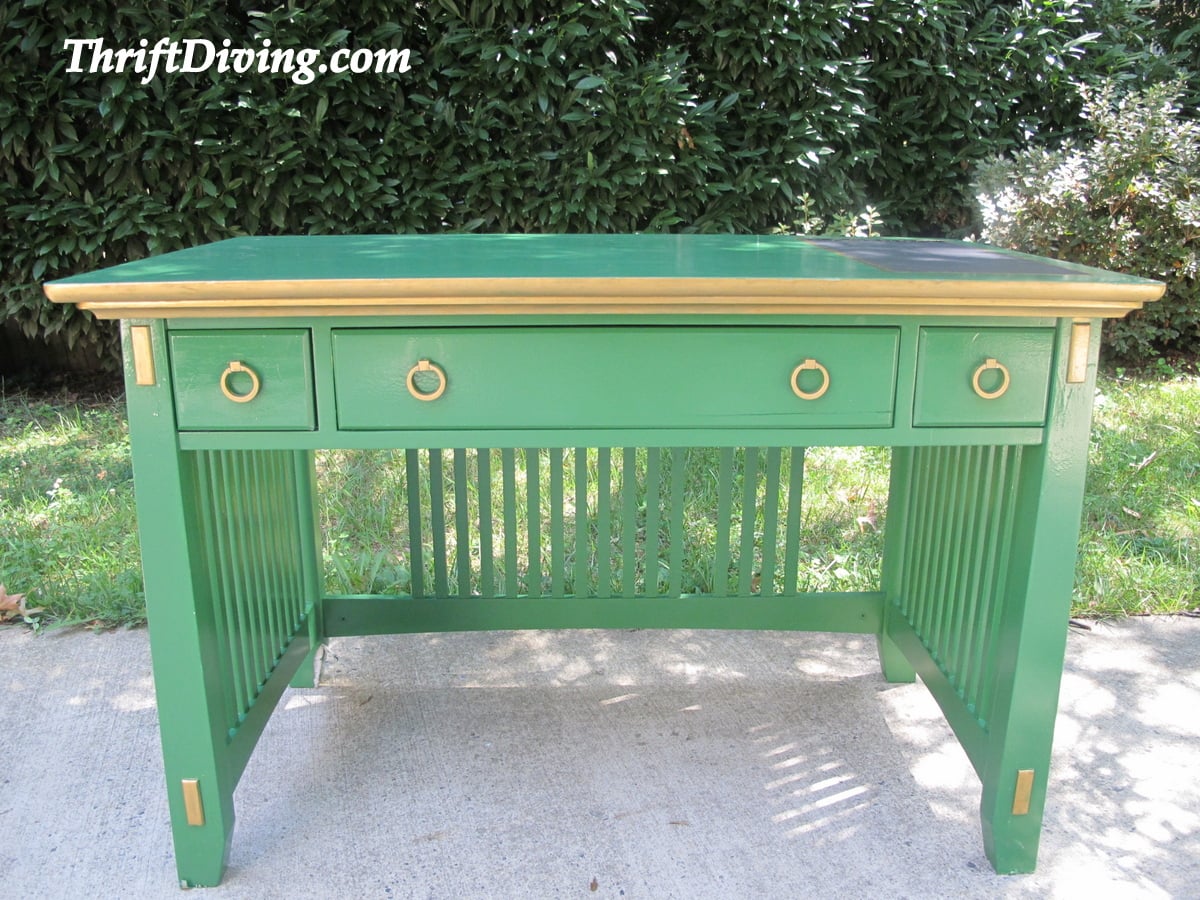
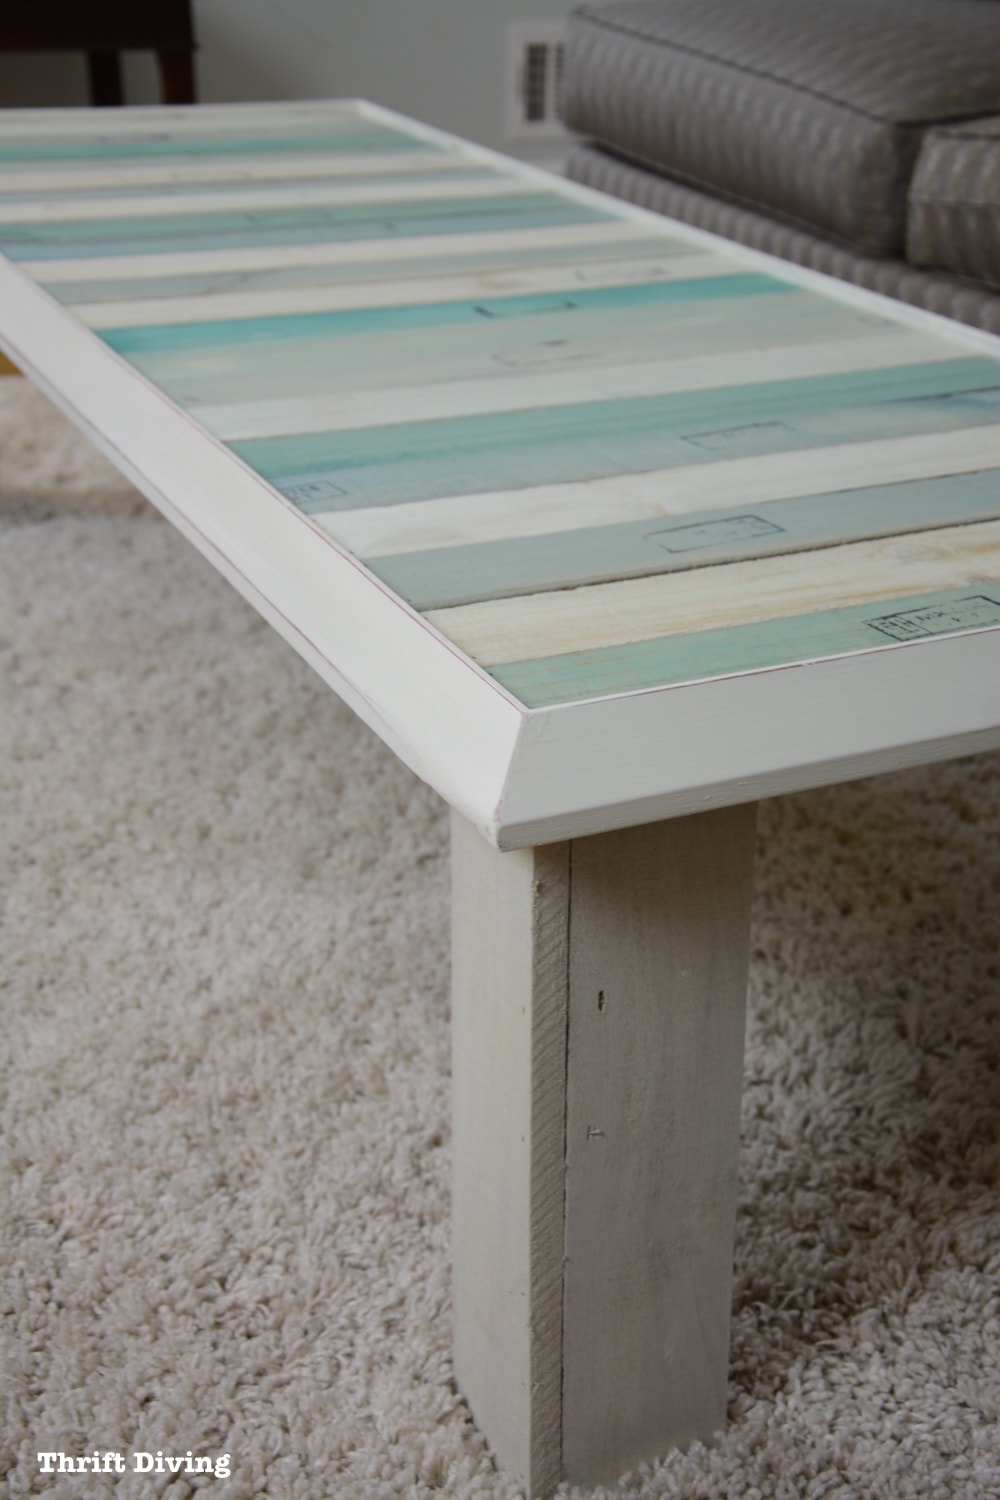
I’ve got a thing for desks and vanities and stuff. Here are some other desks/vanities I have refinished. Enjoy!


Download the 5 freebies!

Thrift Diving inspires women to decorate, improve, and maintain their home themselves...using paint, power tools, and thrift stores! Use these 5 printables, checklists, and ebooks to get started!

I love it! Scandinavian Pink is one of my favorites! I have it in tiny touches all over my house. The wood top is so nice….I like Satin best, a mix between matte and gloss! 🙂 It’s really lovely Serena!
Nancy
What a lovely color. It looks wonderful!
Thank you, Denise!
This is wonderful… I love the color. I wouldn’t have thought to use that color; but you made it look so attractive.
You’re so right! I don’t think I have seen a piece with this color. LOL!
Again…….great job! You make it look so easy. I will look for a bargain this weekend and I am going to give it a go. Your very inspiring Im feeling hopeful……me and my two left hands lol
That’s because I don’t show the blood, sweat, and tears (and long nights up until 2 a.m.!) from behind the scenes. HAHAHA! Thank you so much. Yes, please give it a go and let me know how it goes, okay! 🙂 So happy to have inspired you!!
Beautiful job!! I was wondering if you used that same product to seal the chalk paint or did you just use it on the stained top. I also HATE to wax and don’t like the upkeep of having to constantly be rewaxing.
I actually just used wax to seal the body. But I did try a little on a leg and I liked it. I’m thinking of using it for another piece, to seal. I hate waxing, too!! What a pain!!!
I love it, Serena!! The matte finish on the wood gives it an unconventional look that actually stands out more. The pink is gorgeous and really pops with the matte surface. Love the stenciled flower and it’s a fantastic idea to cover an “oops”.
Yeah, I agree with you! At first I thought the glossy would look good, but the matte is more sophisticated, I think! Thanks so much for commenting!
The color is fabulous! And I’m not typically a fan of many paint colors as they seem to go in and out of style so quickly. This little gem looks real classy. I love that you kept the brass ‘as-is’. It’s a lovely patina matching both the paint and the stain. I like the semi finish much better. I think too much shine would look ‘off’ next to chalk paint of any color. I also like that you kept the top stained (excellent fix – you are soooooo clever!). It gives a sophisticated look, keeping folks from thinking this only belongs in a girls room. This piece could easily go in any room of the house. A beautiful job Serena. You should be proud. 🙂
Hey Candyce! Thanks soooo much for your comment! I totally agree this piece could go in any room of the house. It doesn’t look little girlish, which is what I was hoping it wouldn’t look like. if it doesn’t sell, it’s got a permanent place in my bedroom!! 😉
First, let me say I absolutely love LOVE your vanity makeover. The colors you chose are fabulous. I have a very old dining room table that is stained very dark and I’ve been toying with the idea of painting the bottom and stripping the top and restraining it. I think you’ve given me the motivation I need. Thanks for sharing, and great job!
Oh yeah, did I mention YOU ROCK!
YAY!!! I’m so happy this project inspired you to do your dining room table!! Have you ever stained before? It’s really not hard, but just messy. But the outcome is soooo worth the effort! And YOU rock for commenting!!! 🙂
ABSOLUTELY BEAUTIFUL!!!!
The piece looks awesome! I love the colors, hardware, style. You have a talent for envisioning what
might be, rather that what is before your eyes. A woman out here had the same talent and she now
has a shop where she sells Annie Sloan and milk paint, brushes, etc, and also pieces that she has
done. She has two employees and is doing well. It’s called Knot too Shabby and it is in Glendora, CA. Look at their website and check out all they offer in the way of classes for painting. i went to a Free paint Day (Actually $28, but you bring a small piece to do and use ALL their paints, waxes, and brushes. I did a small chair and four frames. Then you have a feel for the chalk paint and can ask questions. You leave with your finished product. I ended up buying three quarts of Annie Sloan for a big project I want to do. Really fun.) You can do the same or something similar, like that. Check
them out if you have time.