Make Your Own DIY Rustic Wood Wall Art
No one should ever criticize a DIY’er for hoarding stuff.
No one.
Because usually, we end up doing something fabulous and useful with it. Doesn’t matter that it’s years later or next week. The point is, we know a keeper when we see it.
That’s what happened to me two years ago.
I had just left work at the end of the day on the military base where I worked. Parking was atrocious, so we usually had to walk all the way across campus to get a spot. Anyhow, on this day, I was grateful for the walk, because I never would have passed this lying in the grass on base:
BEFORE
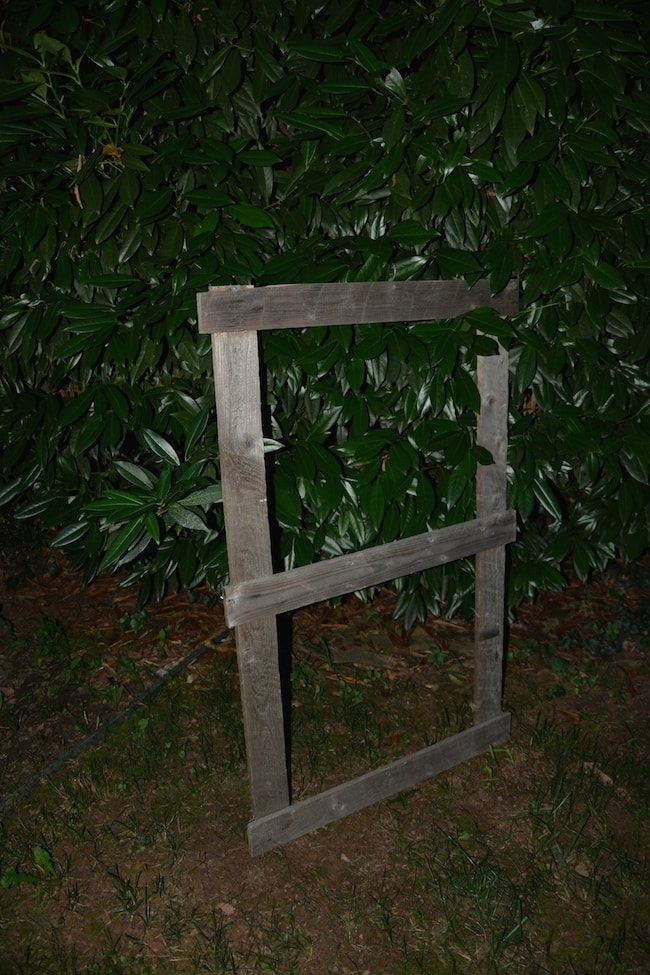
It was too perfectly weathered rustic wood to just leave there, you know? So I slung it over my arm and gleefully shoved it in my garage when I got home.
For two years.
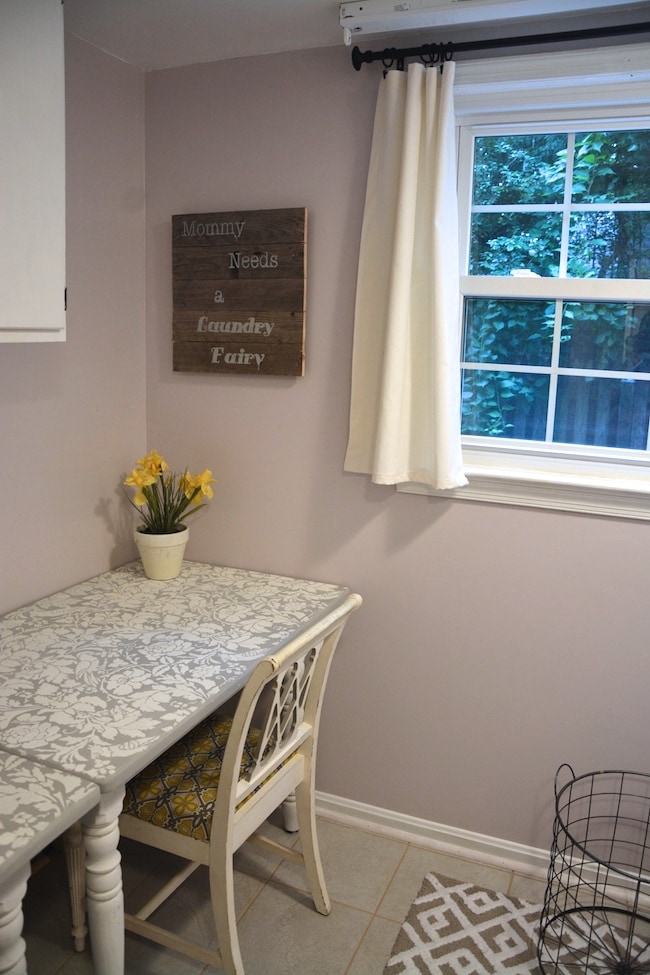
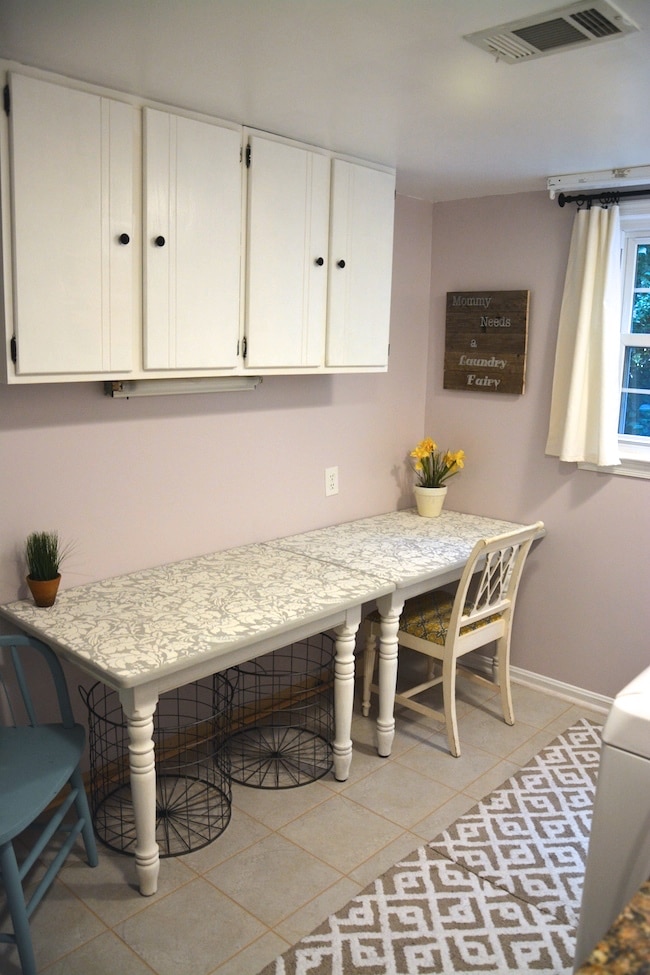
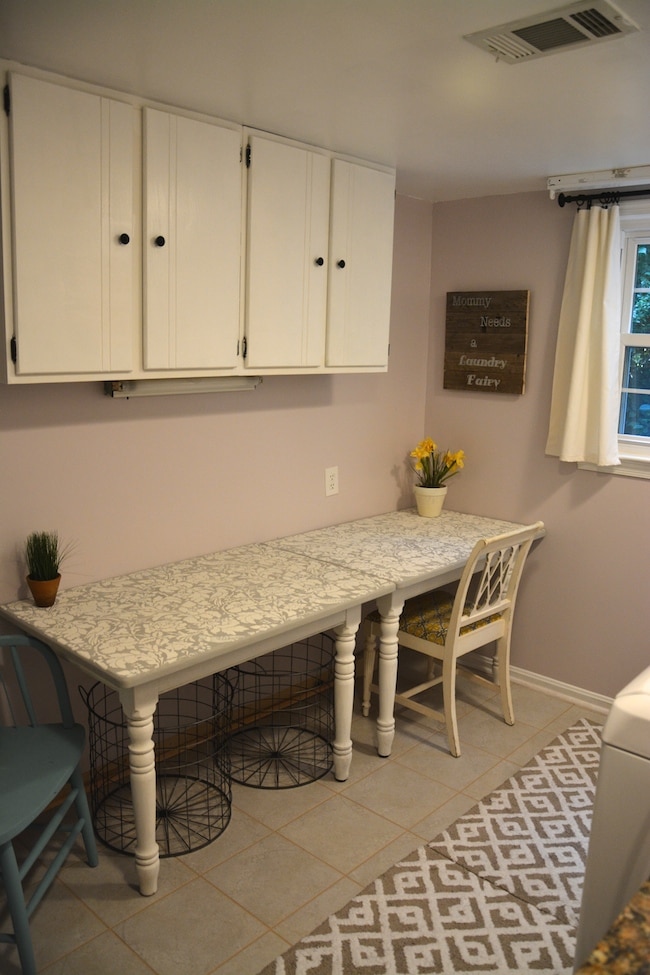
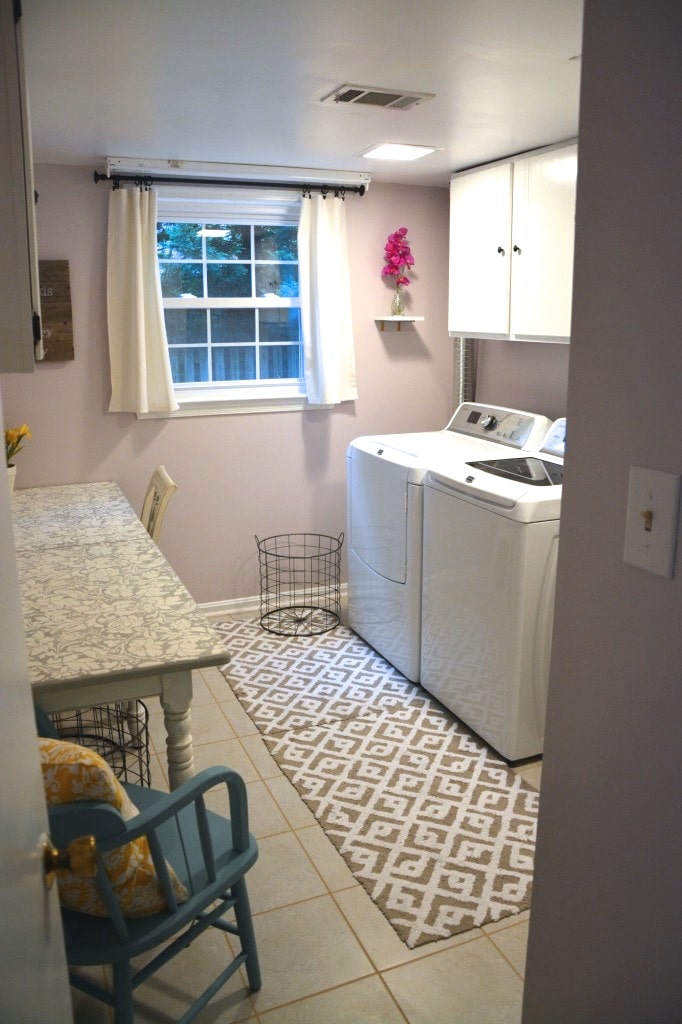
I almost tossed it out a few months ago. What was I thinking?? Back in June I transformed my laundry room (below) and knew I wanted inexpensive art and a touch of creativity in my laundry room.
This was going to be PERFECT.
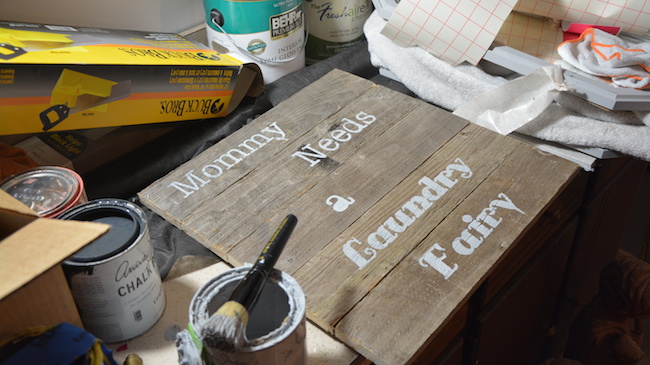
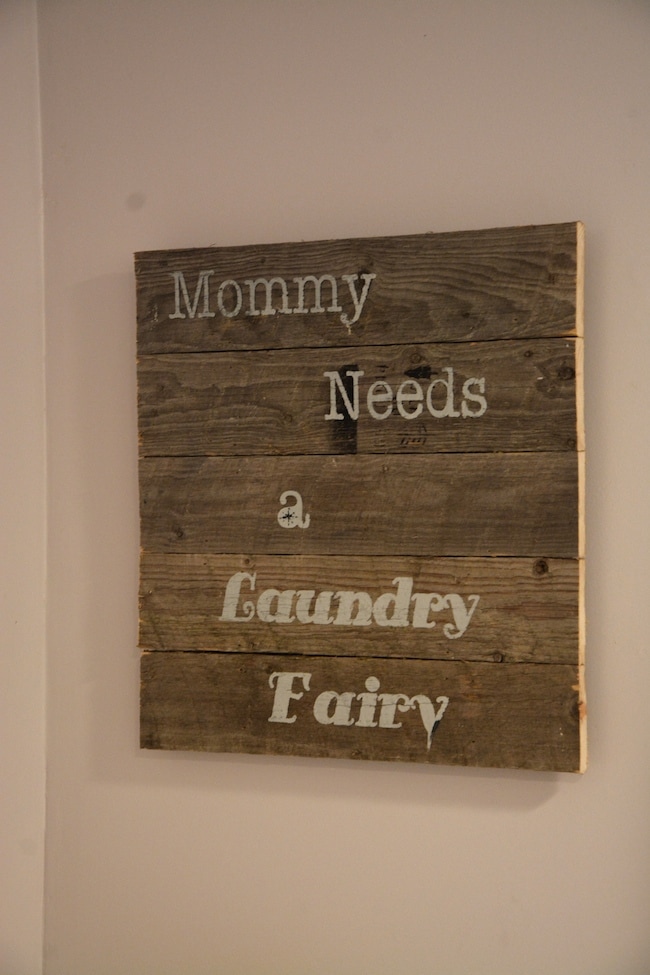
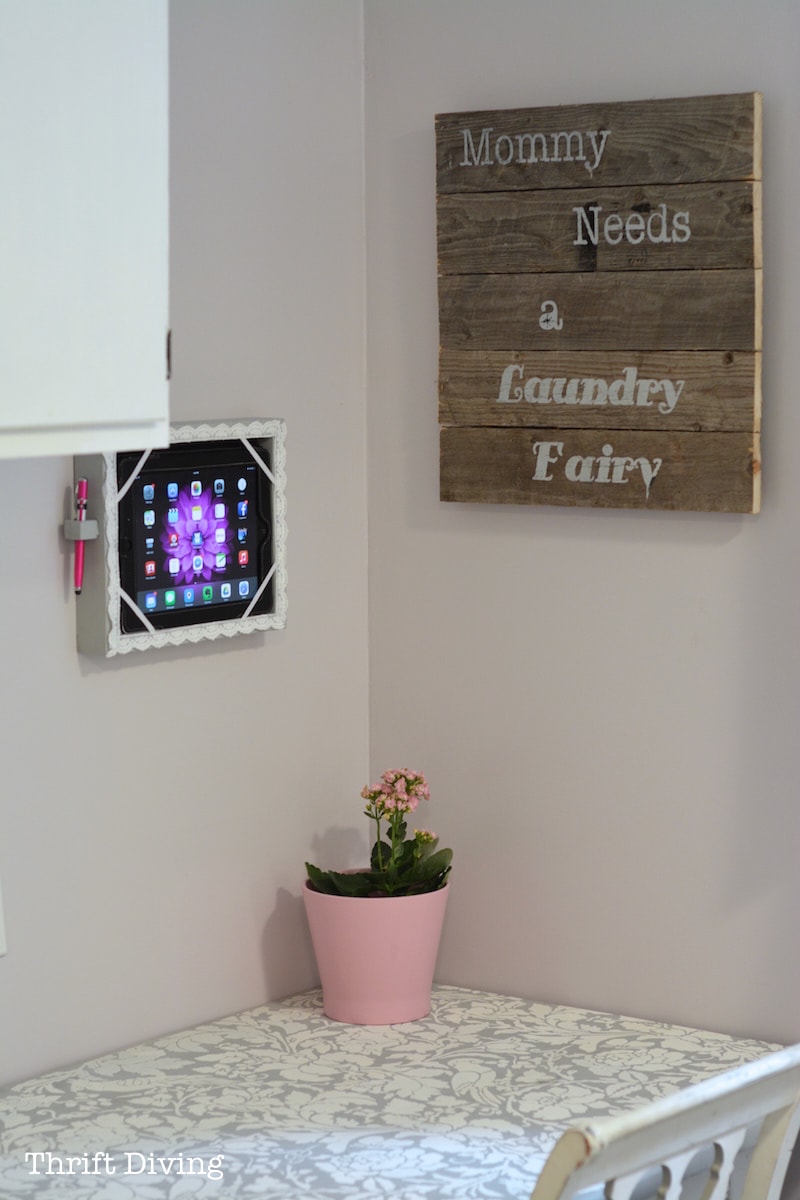
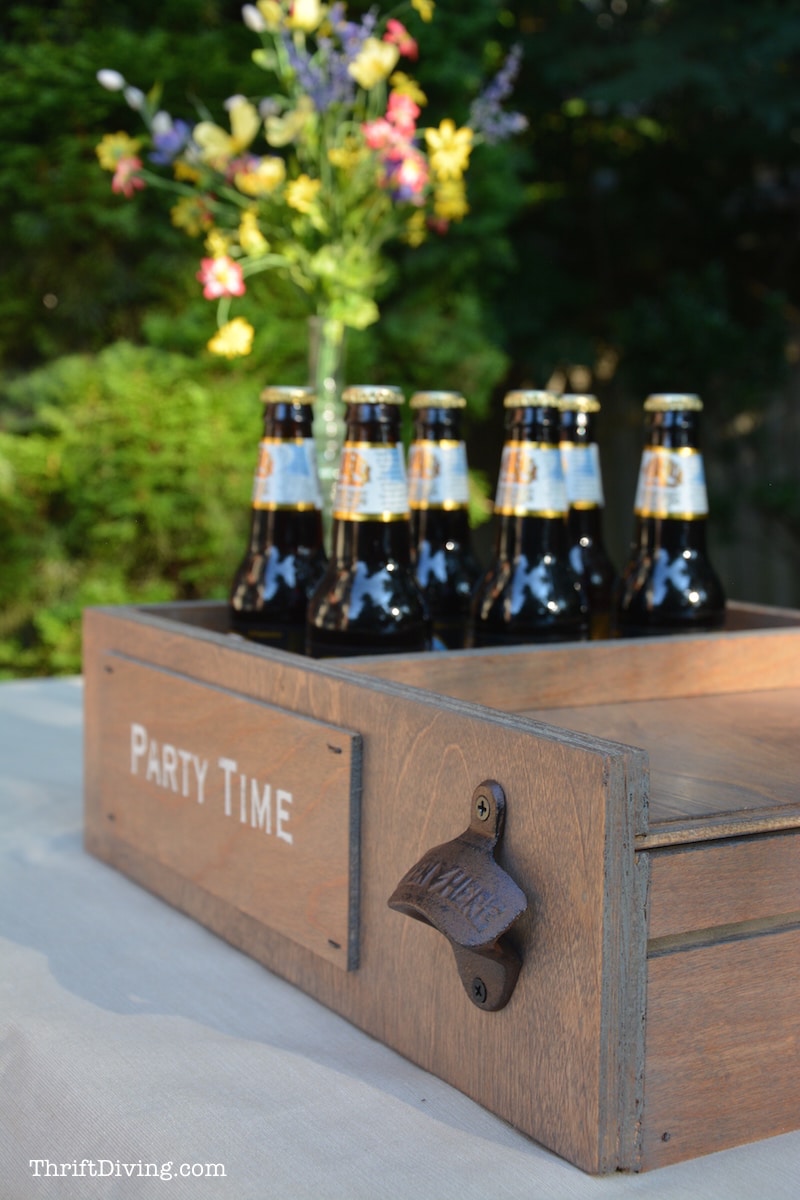
AFTER!
WATCH THE VIDEO!
And, if you didn’t know, I’ve got a YouTube channel (you can subscribe here) where I film nearly everything I do. 😉 Want to see the step-by-step quick video of me completing this project? Check it out HERE.
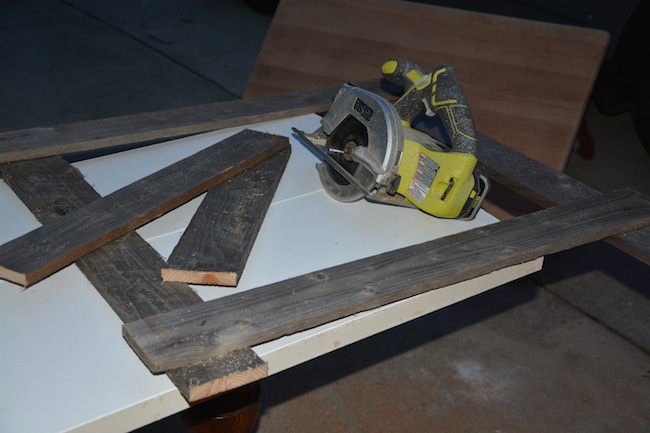
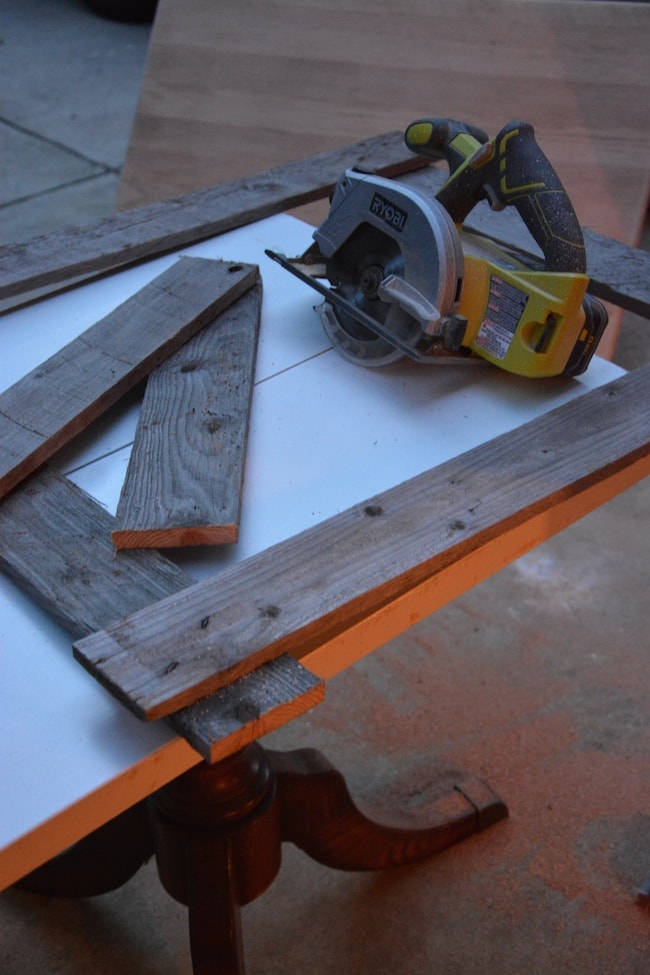
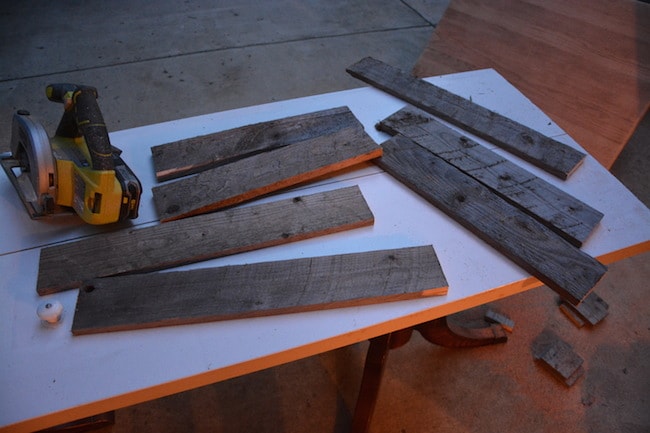
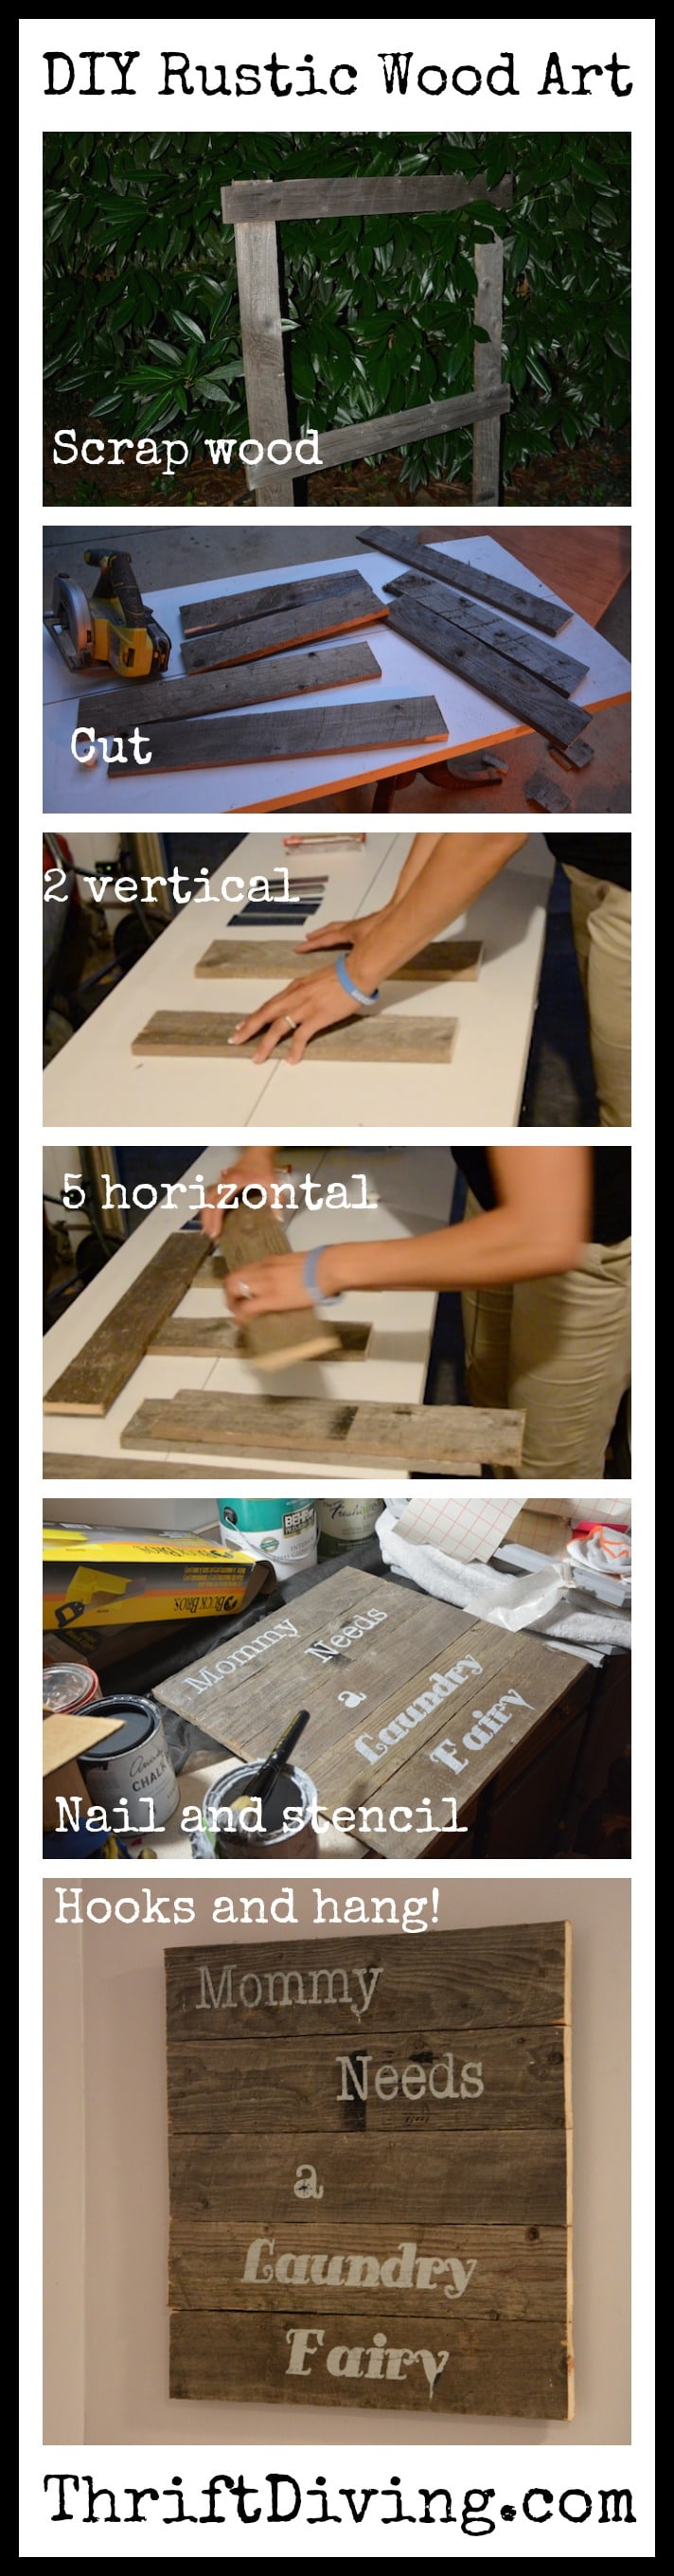
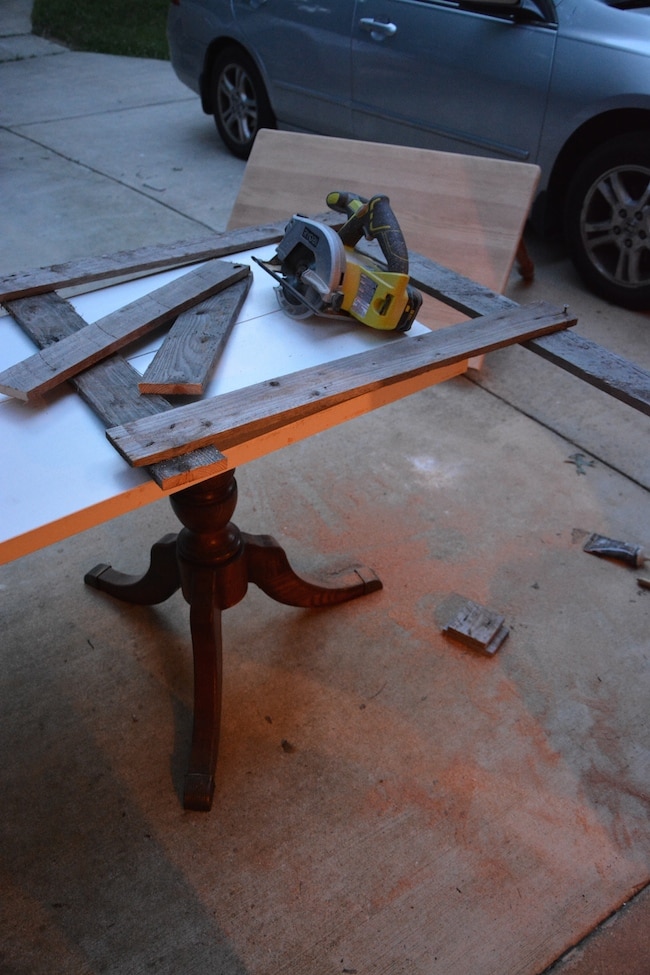
The first thing I needed to do was cut slabs of wood off. Thank God for this RYOBI circular saw. To think that I used to be afraid of using it…. Now I feel like a total DIY bad-ass when I pick it up.
Now I know why they call them power tools. Just sayin’.
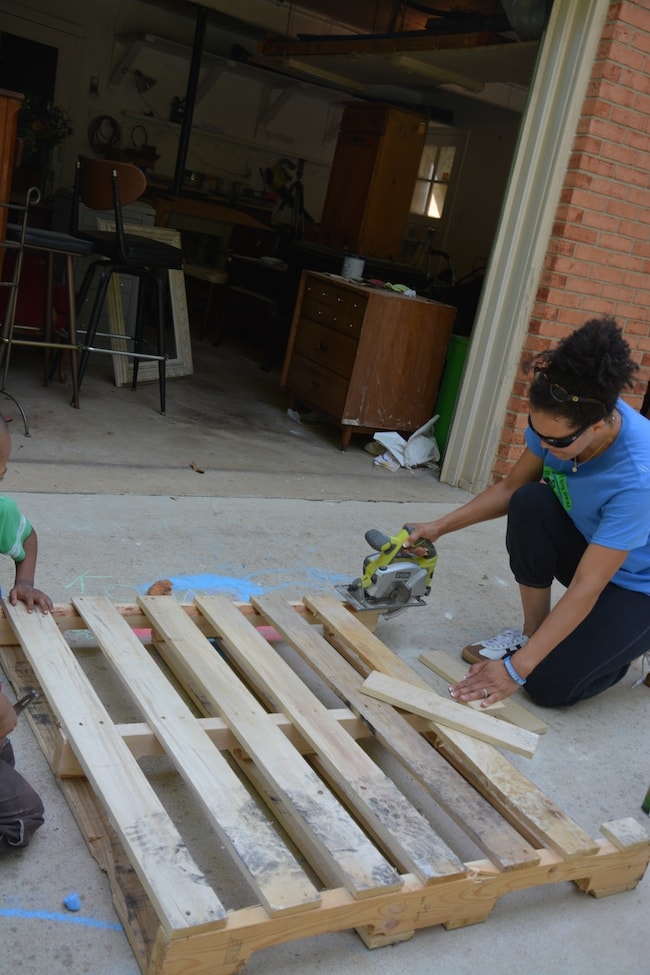
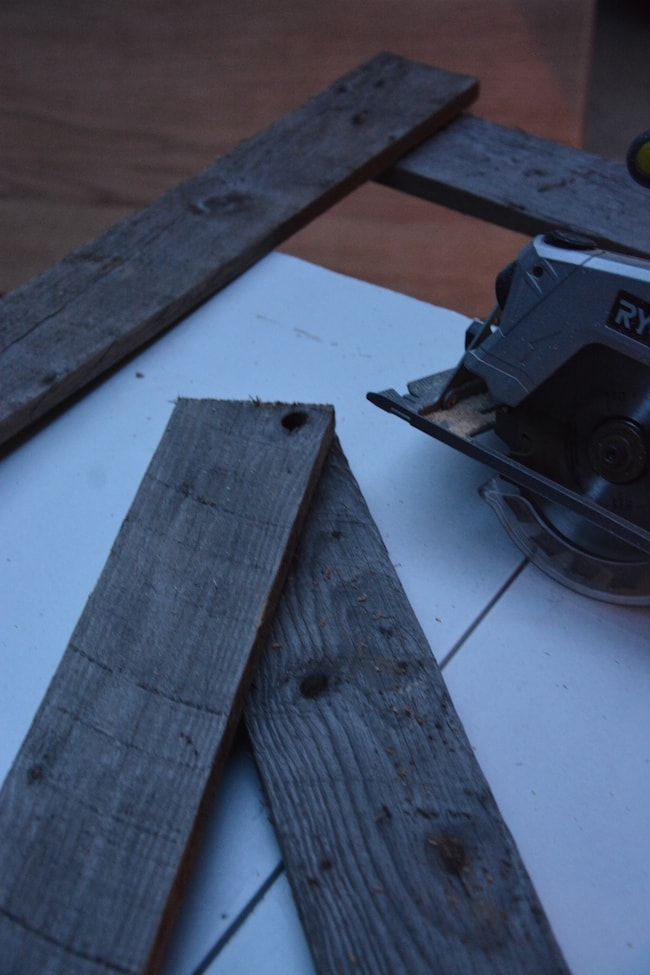
If you don’t have weathered wood like this, you can always scrounge up a pallet somewhere. They’re a dime a dozen nowadays. Just cut the juicy part off the pallet ;).
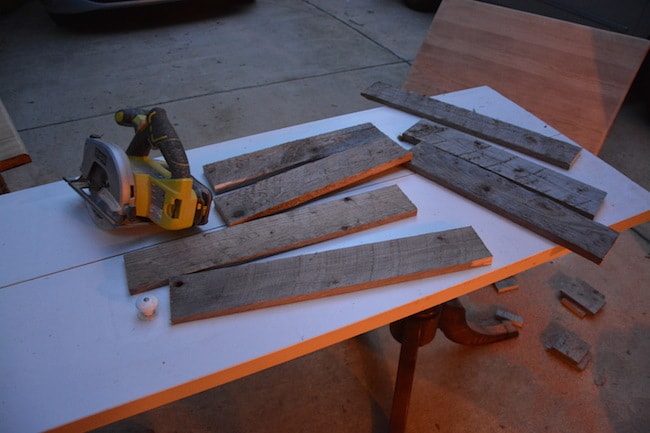
Now I had a stack of wood. I don’t think I even counted the pieces–just cut whatever I could salvage.
I took two of them and laid them down vertically. This formed the back upon which the horizontal pieces would be placed.
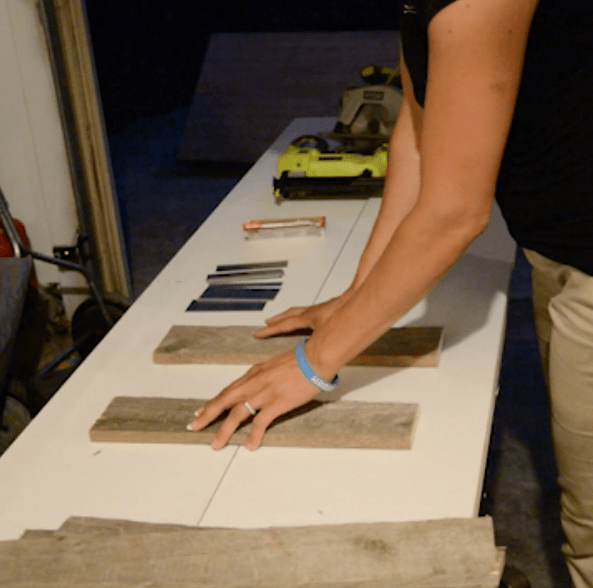
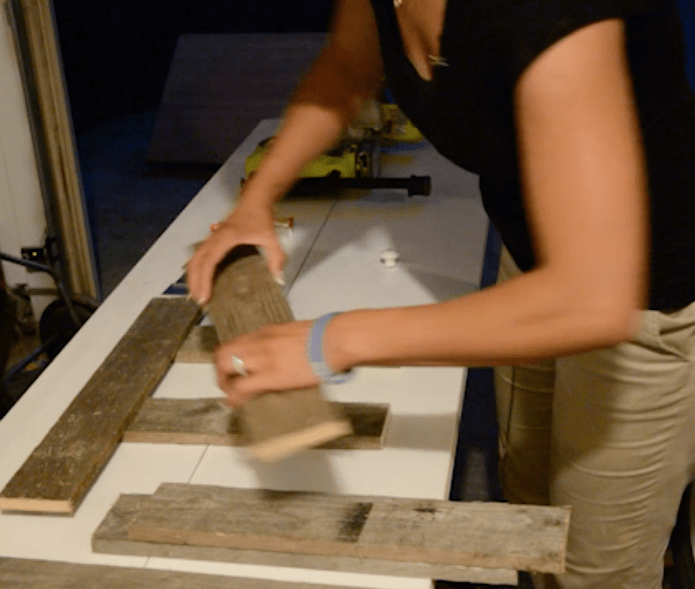
Then I laid down the rest of the board horizontally and used my RYOBI AirStrike to adhere the top boards to the bottom boards.
If You Don’t Have a Nail Gun
Just wing it with some nails and a hammer. Or if you want to get real creative, bust out the Gorilla Glue (watch my video on how NOT to use Gorilla Glue! Don’t say I didn’t warn you….)
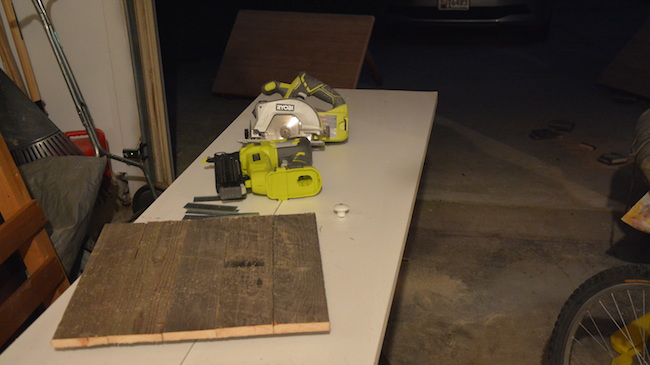
When you’re done, it looks like this:
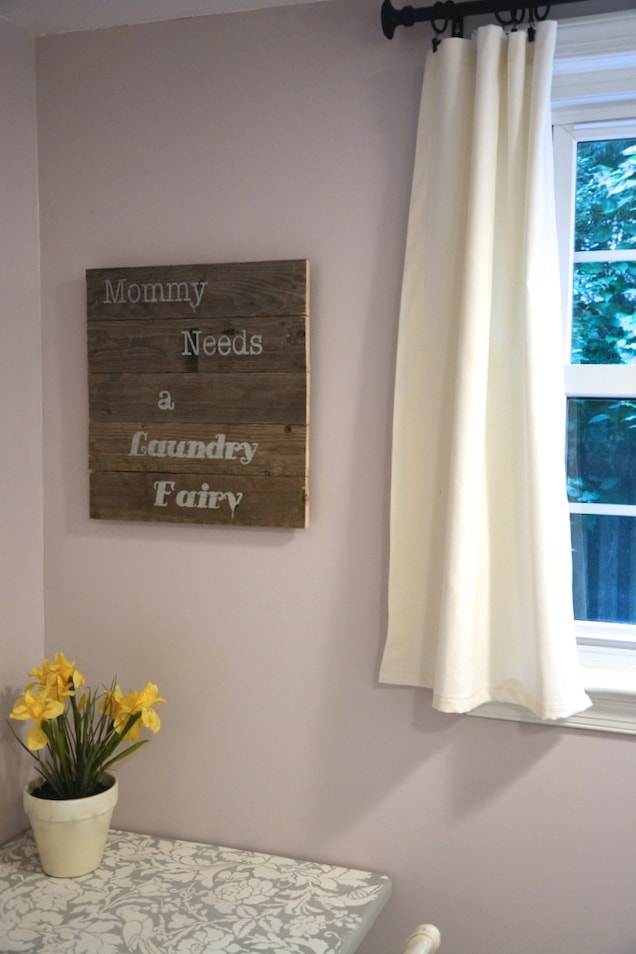
Next, I wanted to stencil something cute on it, so I used my Silhouette cutting machine and stenciled “Mommy Needs a Laundry Fairy.”
My best friend had the nerve to tell me that the saying was “corny.” (read: stupid…not cool…). Umm…..dude, whatever! Hasn’t she ever heard of whimsy??
I needed picture hangers, which were easy to install.
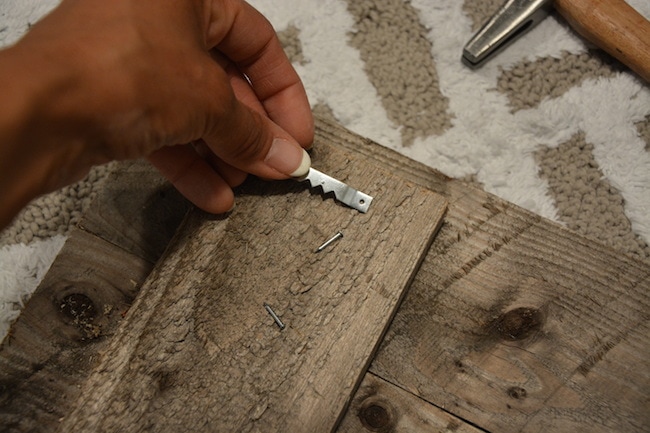
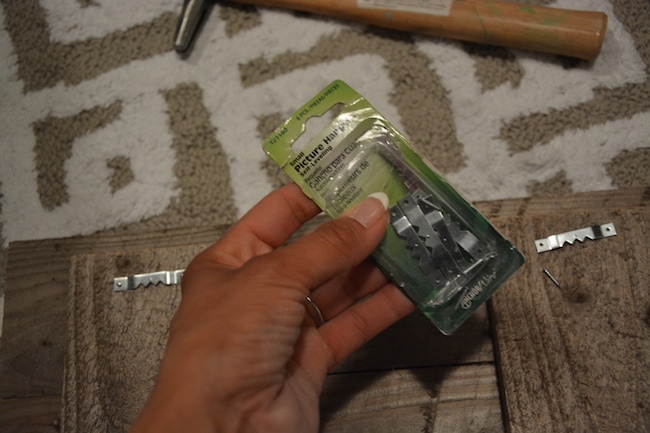
Did you know that these little picture hangers have a small ruler on the back! GENIUS for making sure the hooks are straight!

No need to spend lots of money on wall art, right? 🙂
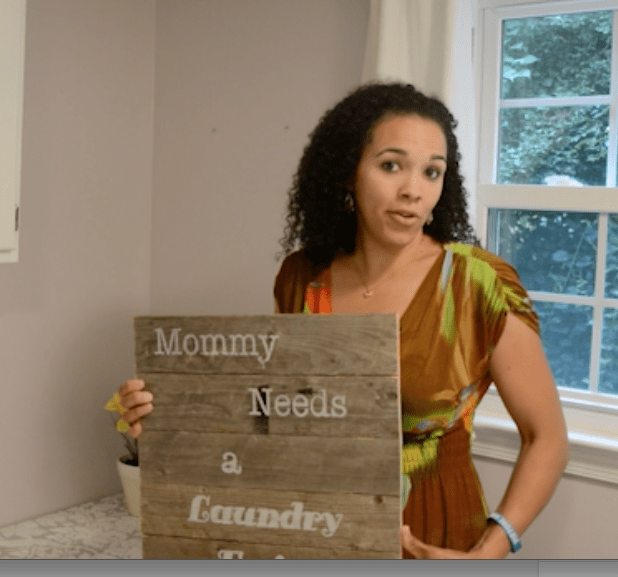
Love this!
It literally cost me nothing to make. And it’s cute, whimsical, and makes me smile when I see it. I’ve got more rooms coming up in my 30-Day Room Makeover series, so I’m sure I’ll be doing more of these in the near future!
CLICK HERE TO
PIN THIS PROJECT!
What do you think? Have you ever made wood wall art before? Thin this is a project you’d want to try? Leave a comment and let me know!

Download the 5 freebies!

Thrift Diving inspires women to decorate, improve, and maintain their home themselves...using paint, power tools, and thrift stores! Use these 5 printables, checklists, and ebooks to get started!
LOVE that!! I need some power tools!!