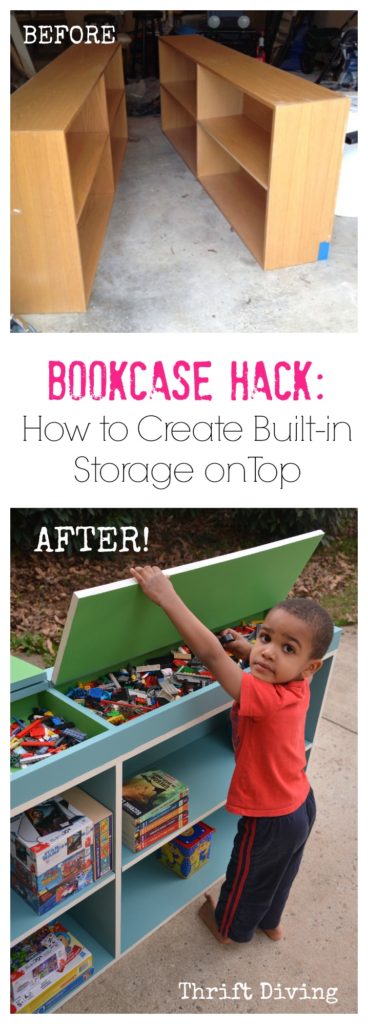
How to Hack a Bookcase and Add Built-in Storage on Top
My post contains affiliate links! Thank you for the support!
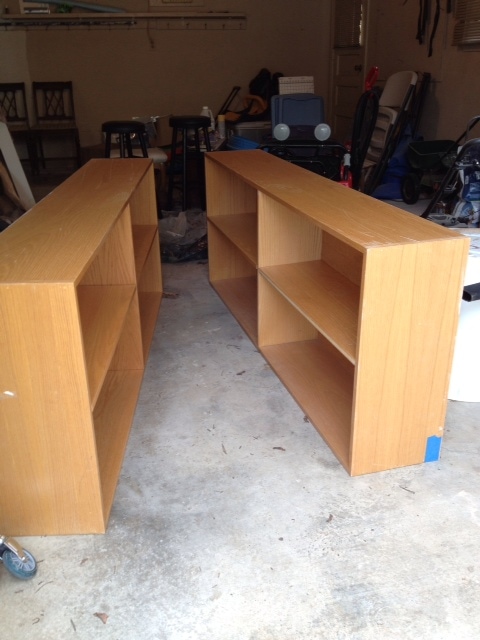
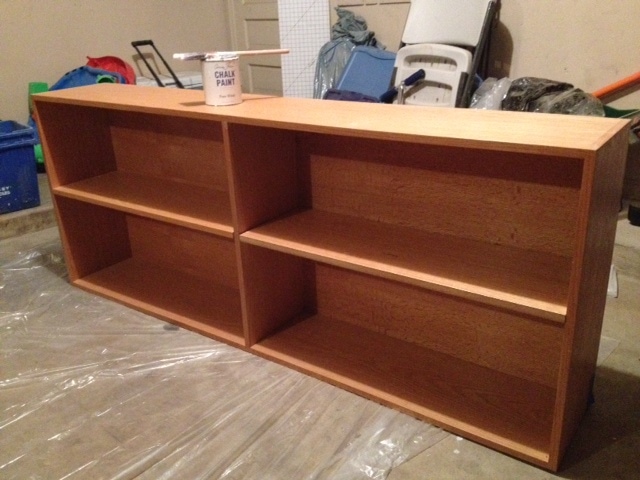
I’m convinced that the best stuff comes from 1) the thrift store, and 2) the side of the road. That’s the case with this here bookcase. In fact, there were two of them I picked up from the side of the road for $35 each (here’s how I transformed the other bookcase). They were massively solid, heavy, and used to sit in a classroom somewhere. Then they sat in my garage forever. But the second one, poor thing sat in our abandoned 4th bedroom for even longer.
Until now!!!
BEFORE
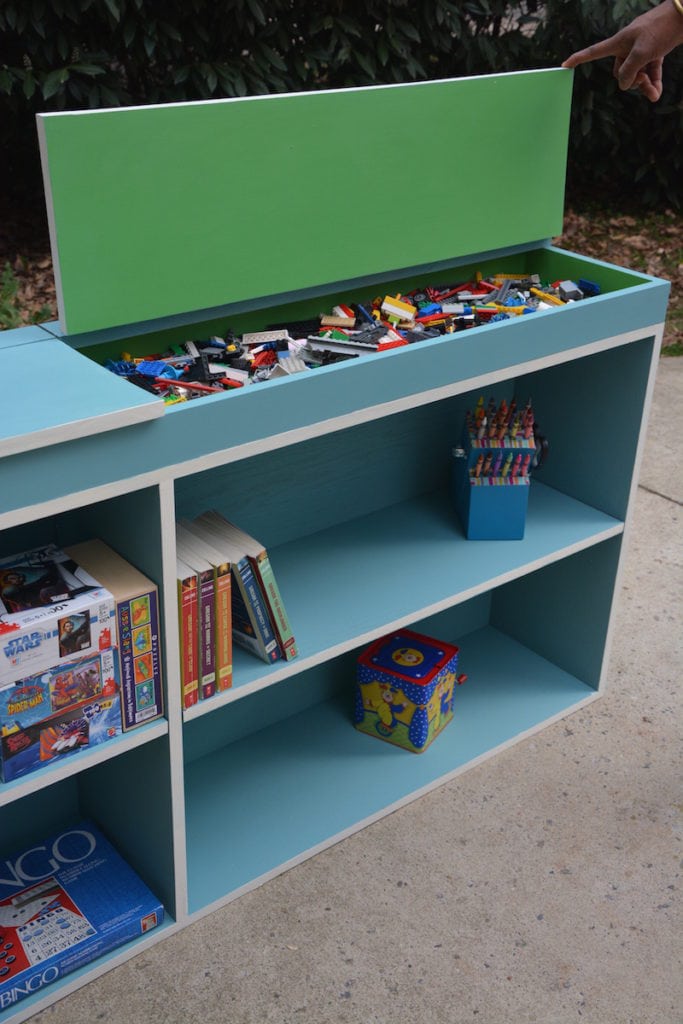
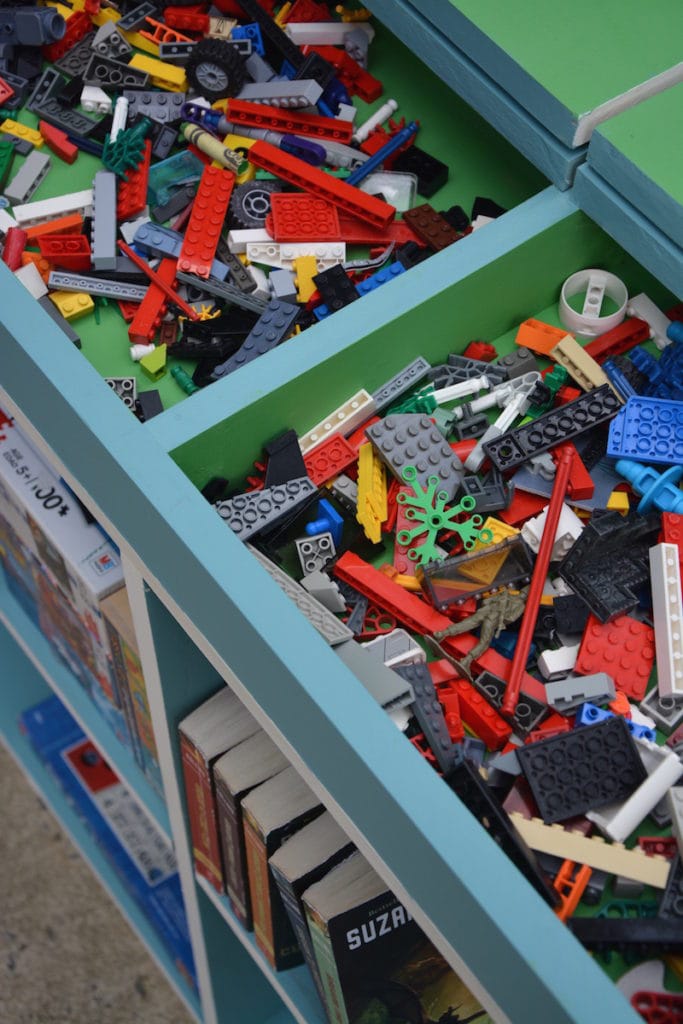
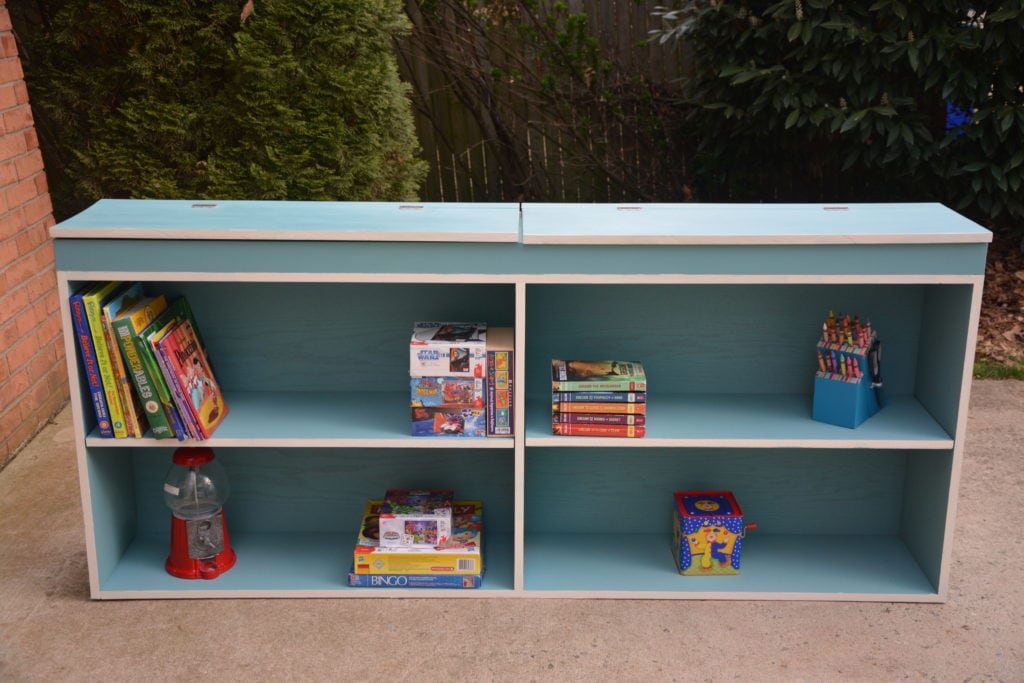
AFTER: Built-in storage on top!
I was stumped on what to do for this project. Other than paint and gluing paper to the back, what else could I do??
That is, until I was inspired by another project I was working on, and then it hit me–
Built-in storage on top!
This is what their current old Ikea bookcase looked like. Dirty dishes and all, heeeyyy :).
(P.S. Check out the “AFTER” of this little Ikea billy bookcase and learn how I used my favorite paint sprayer to paint it!)
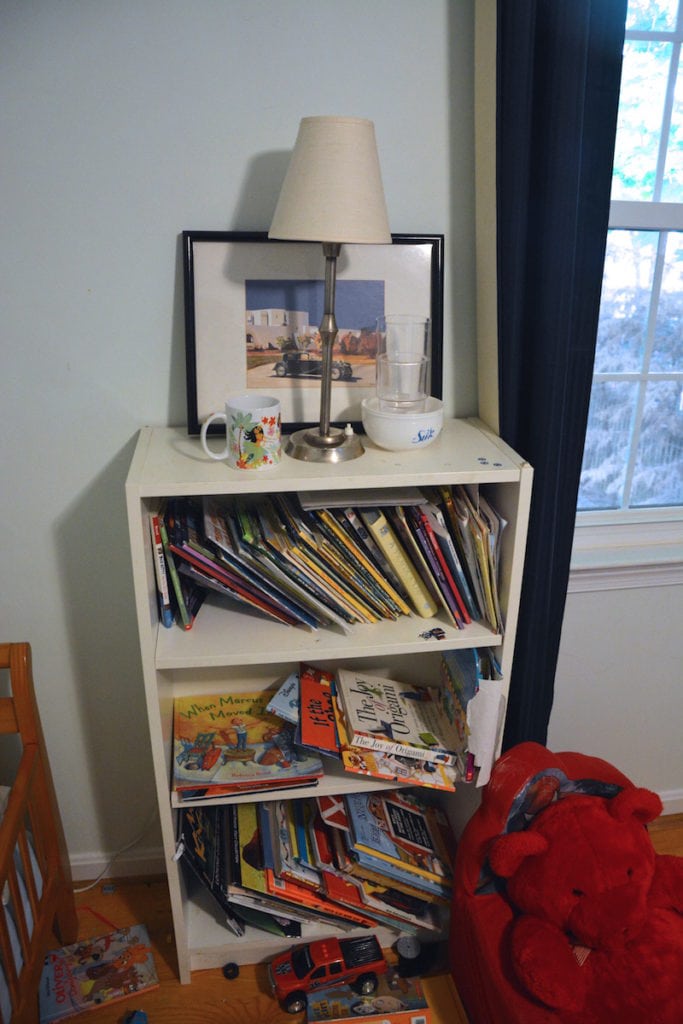
Very uninspiring, and most of the time, full of books and not enough room for them and their other things. They really needed better storage and organization.
My three boys all share a room (their choice, might I add), so the 4th bedroom has always been bare and held random furniture we hadn’t done anything with yet. I decided that in the next few months, I’ll get started on a spare bedroom/play room for them.
And this bookcase would be the perfect piece to get started with!
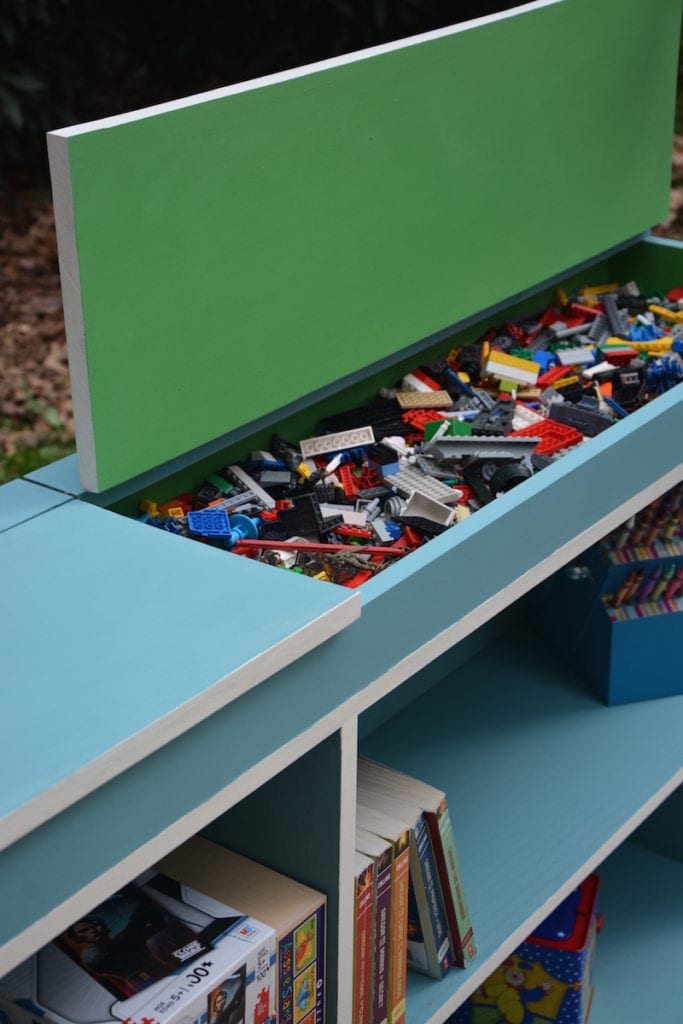
I decided to built up the top of the bookcase to store their Legos. They have a Lego container, but I wanted to combine the bookcase and storage. Plus, it’s just cooler with a built-in. Don’t you think?! 🙂
You’ll need some power tools and materials to do this project, along with these materials. Don’t be alarmed, though! I did a full video tutorial on how to create it, which you can see on my YouTube channel, as well as below:
WATCH THE VIDEO TUTORIAL!
Go Grab These Tools & Materials
*Sliding compound miter saw or a circular saw (<–better yet–ask the hardware store to make your cuts for you!!!).
*Nailer (or use hammer and nails) with 2″ brad nails
*Paint Sprayer
*Wood glue
*Fine Sandpaper
*Paint (I used Annie Sloan chalk paint, Florence and Antibes Green)
*Tape measure
*Marking pencil
*Some 1×3 pine boards (get enough to fit the top of your bookcase)
*Larger pine board for the lid (depends on the size of your bookcase)
*Decorative hinges (these ones are nice from Amazon!!!)
Step 1: Measure the top of your bookcase.
Mine was 6 foot x 1 foot. Here is a tip, though: when buying pieces of wood, if a board says it’s a 12″ x 1″, for example, that board doesn’t reeeeeeeally measure 12 inches long and 1 inch thick!! I have no idea why they round up like that, but just keep in mind that if you need a 12″ board, don’t be a dummy like me and buy a 12″ wide board, or else you’ll fall short. LOL
Step 2: Measure and cut your wood.
Cut two longer pieces and two shorter pieces to all fit together with 45 degree angles on top of your bookcase.
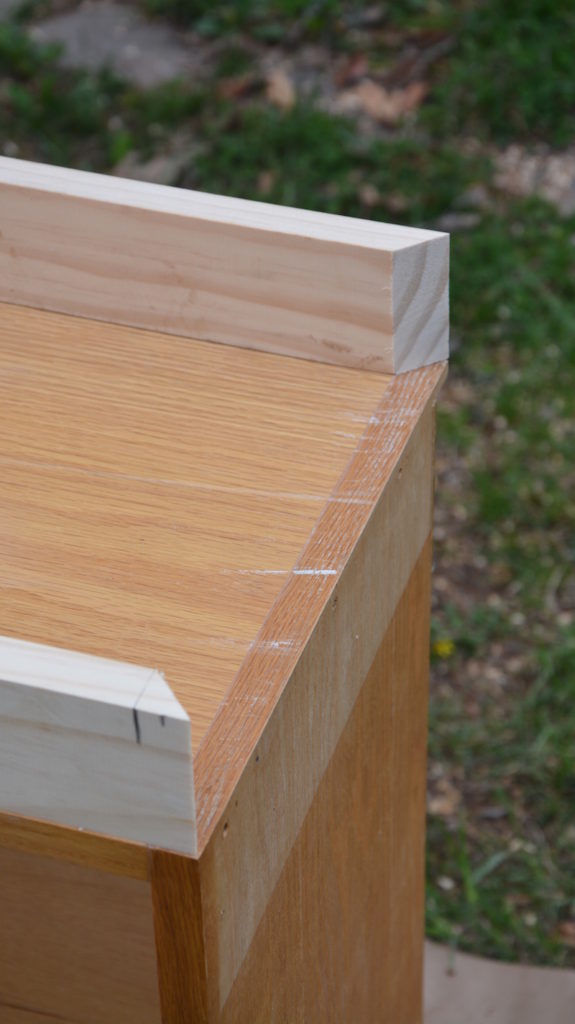
Step 3: Glue and nail side pieces.
Glue the pieces of wood down, followed by your nail gun to secure the pieces.

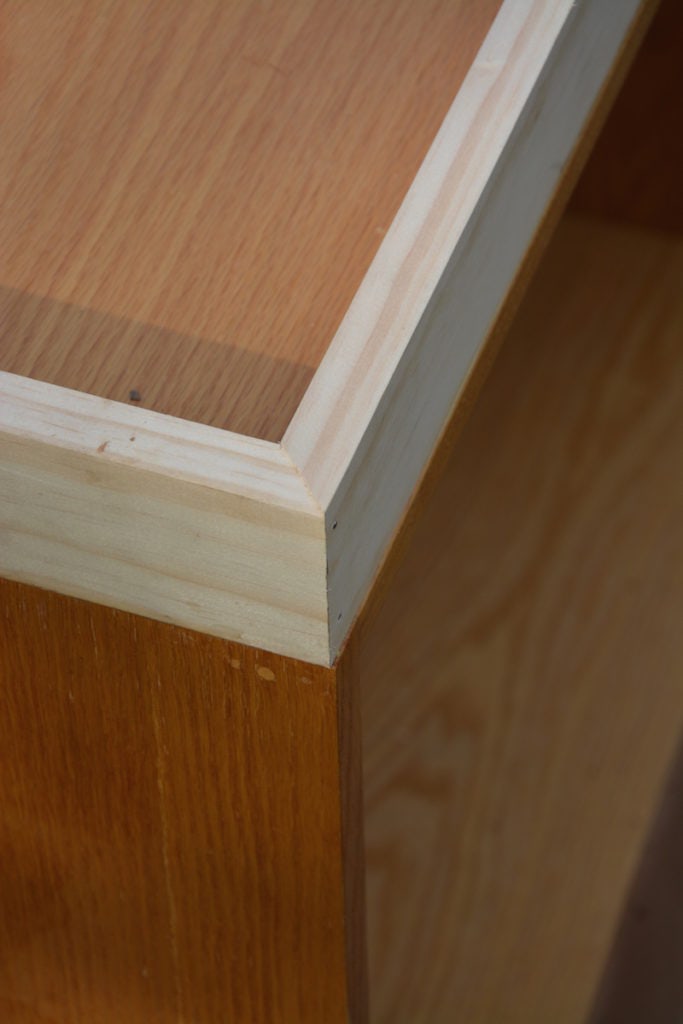
With the side and end panels on, it will look like this.

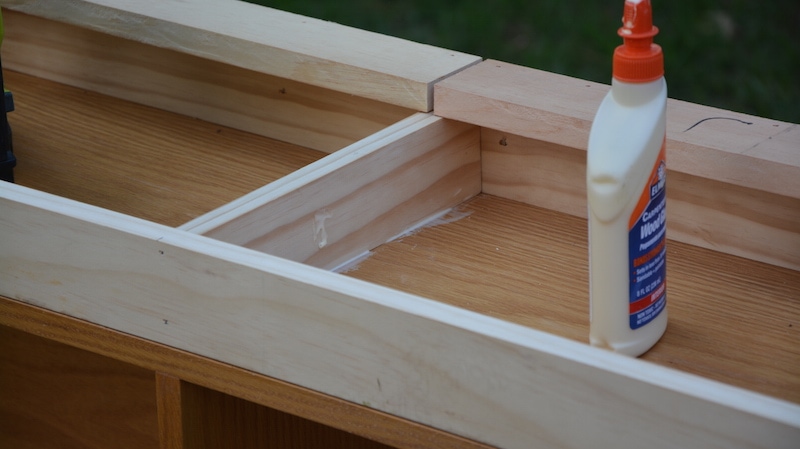
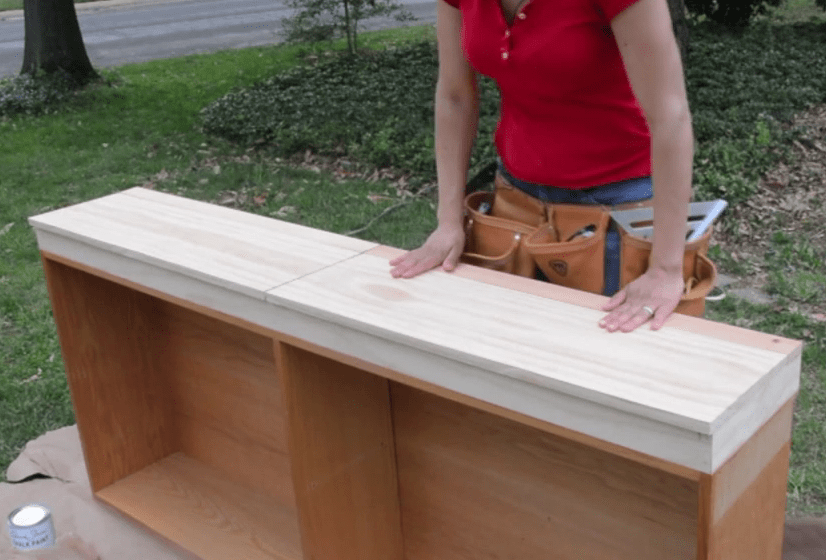
Step 4: Cut and add the top pieces and lids.
I decided I would put a piece in the middle and make two compartments, so I added this middle piece.
The other panels sitting on top there, total accident. As I mentioned, since my bookcase was 12″ wide, I thought a 12′ x 1′ board would suffice. Ummm…..the board wasn’t 12″ wide. More like 11.5″ wide. Therefore, there was no way I could put a lid on it without adding another piece of wood to the back.
It ended up working to my favor, though, because I like the way that extra piece gives the lid space to lean back again the wall when my kids are playing, like this:

I had used scrap wood to create those back pieces, but didn’t have quite enough to make it all one piece, so I made it look like I intentionally left them separately like this :). LOL
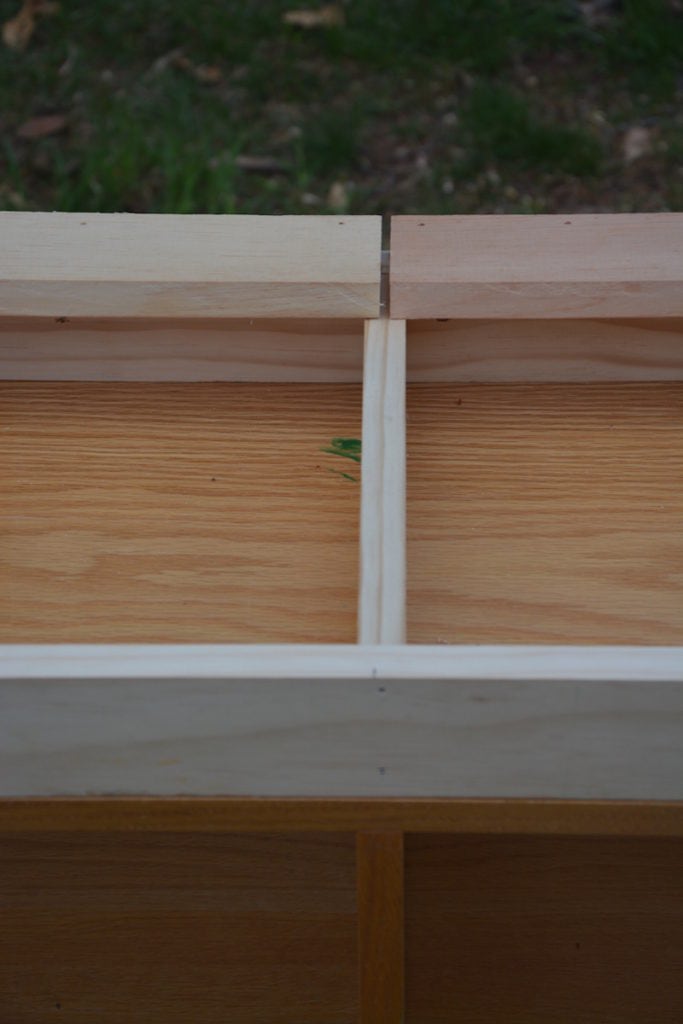
With the lids cut and in place, it looks like this, unpainted. I made sure to leave about 5/8″ overhang so the kids are able to grasp the lid to lift it.
Step 5: Paint it.
I hate painting large pieces of furniture like this.
I won’t lie.
I used my HomeRight Fine Finish Max Pro paint sprayer to help me get through it quickly. You’ll need two coats. (Check out the video I did on how to use chalk paint in a paint sprayer for detailed instructions on how to use it).
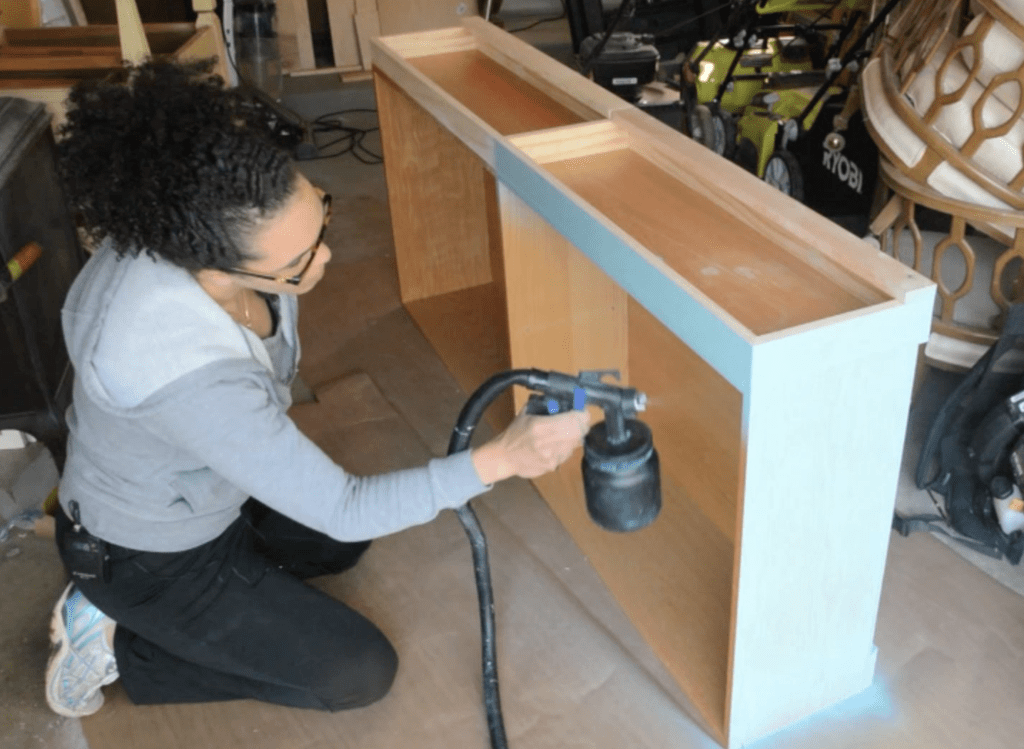
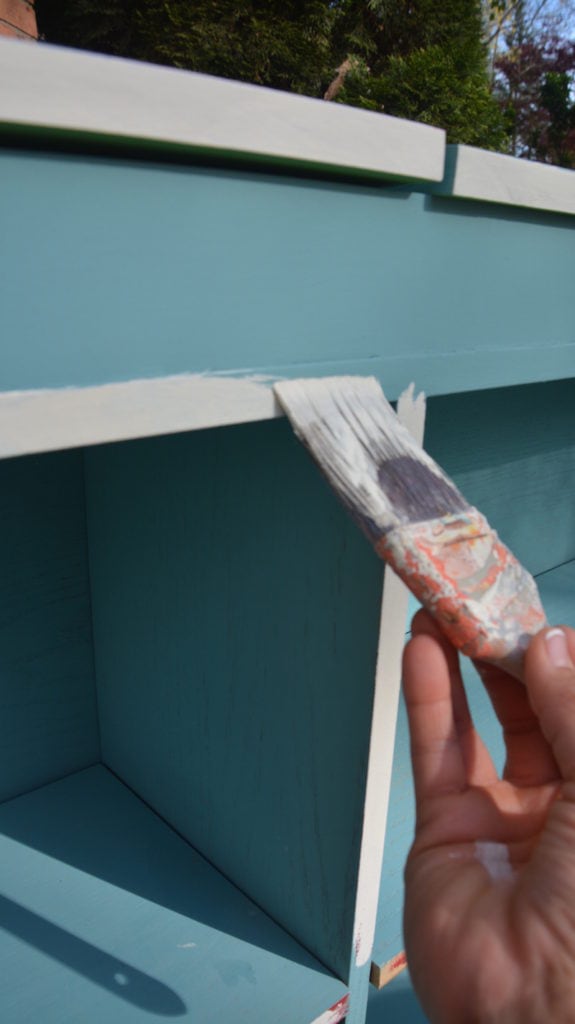
Step 6: Paint the inside built-in bookcase storage.
I hand painted the built-in part so that I didn’t mess up the outside finish with minor overspray.
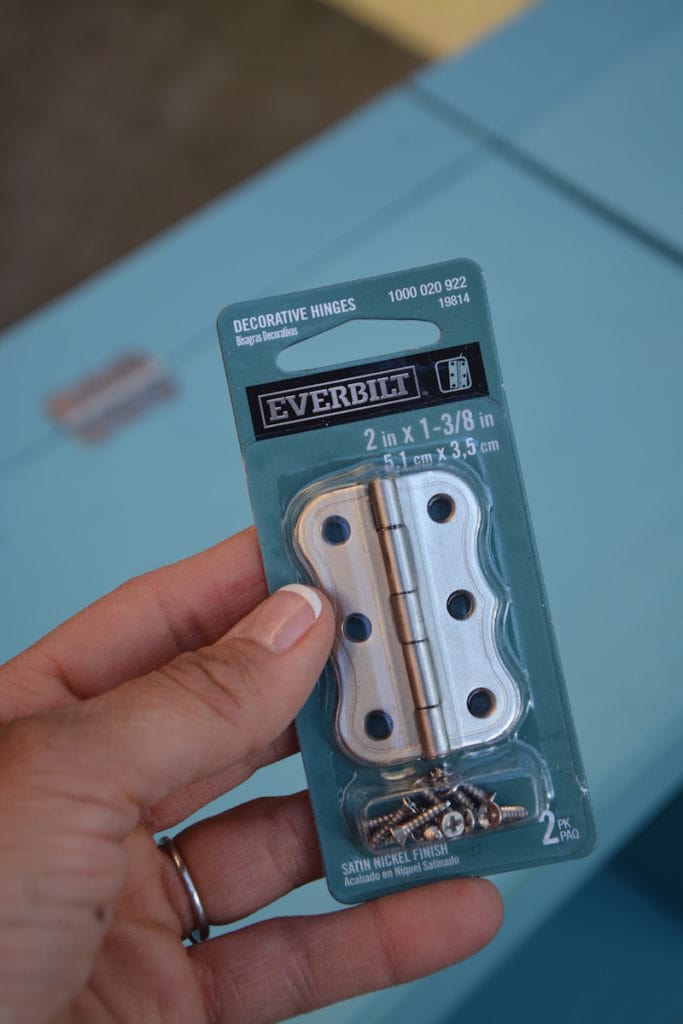
Step 7: Add decorative hinges.
I love these ones! I didn’t have a big selection, though, from the hardware store, but these will do! :). I really like these decorative hinges, though!
Use the hinges to join the lid to the back panel pieces, as seen below and in the video.
Step 8: Add finishing details.
I added these white edges at the last minute. I think it makes it look nicer, don’t you think?
I also lightly sanded and waxed the top. I’ll admit–I’m lazy and having waxed the body yet ;).
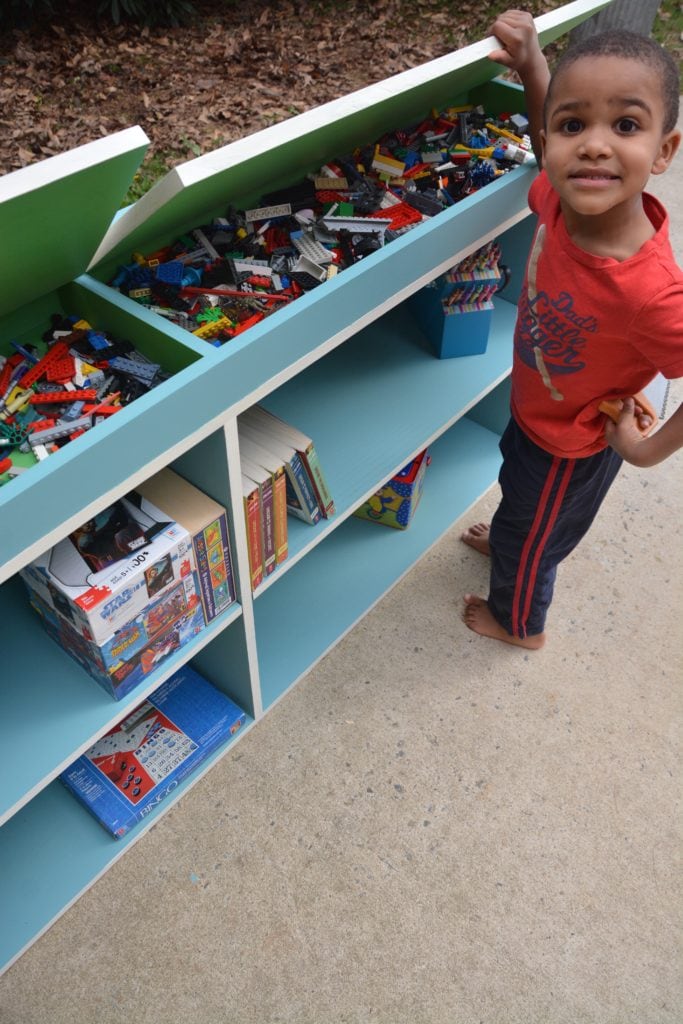
Step 9: Store your favorite stuff in your new built-ins!
You could seriously add anything you wanted to your new built-in storage. The cool thing is that if you change the size of the side panels, you could easily make this storage deeper to add other toys, or even things like crafting supplies, yarn and knitting needles, etc. 🙂

Step 10: Add the shelves!
Put the painted shelves back on the bookcase, and voila! All done! I can’t wait to get this into a play room for my kids! I think it will look amazing! I may have to make another one of these for myself! (P.S. I hope my kids enjoy using it as much as I had creating it!)
So what do you think?!?! Have you ever hacked a bookcase? Leave a comment below and let me know your thoughts! Don’t forget to watch the bookcase video tutorial from start to finish!
Download the 5 freebies!

Thrift Diving inspires women to decorate, improve, and maintain their home themselves...using paint, power tools, and thrift stores! Use these 5 printables, checklists, and ebooks to get started!
I think it would be a good idea to have those slow closing hinges to save little fingers.
An indoor garden would be such a great idea for your kitchen! That way you can bring some color and life into the space. Plus, you can get cute pots to decorate with, and you can customize the garden to your liking.
I love it! What a great idea. I love the way your brain thinks. I wouldn’t be able to come up with an 1/8 of the ideas you come up with. Love your blog. Keep the wonderful idea coming. One of these days when I have some extra money I have some dressers I want to re do,